woodshedding

This summer I decided to wood-shed in the tiny (wool) house, which is a little walk into the woods (beyond Juno), and spend the days in the company of some primitive hand tools like drop spindle, hand carders, and a dye pot. I have been dyeing up a lot of wool in the tiny dye kitchen, experimenting with colors to call my own, re-inventing the wheel in so many ways. Most of all I think that I love this space for what I can achieve with short light photography.

At times I am exhausted of my obsessions, and I worry that I am just a dilettante. But heading into the dog days of summer I dive deeper into refining my creative pursuits, as I try to convince myself that textiles are not just a hobby, but a way of life. I am relishing the isolation, the hours of silence, the palpable feel of time, as I keep walking down to the tiny wool house, two or three times a day, sometimes just to think.

June is almost over and even if I haven’t made any significant finishes to show for the last couple of months, at least I’ve put together a hodgepodge post about some of the tweed tests I’ve been working on.

marigold

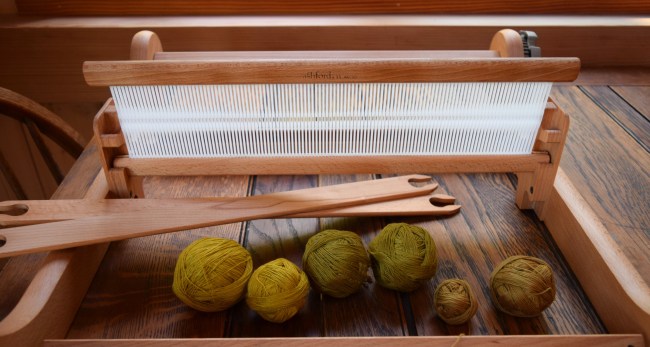
I have just put together my little Ashford 16-inch rigid heddle loom. It arrived yesterday, and immediately after I rubbed all the wood pieces with butcher block wax, then this morning I assembled it with excitement, as my mind filled with visions as to what beautiful and interesting textiles will be woven on it. There is no denying these rigid heddle looms are addictive and tend to fill as much available space in one’s life as there is ambition to weave on them.

I know, I know, I already have several other looms, but I decided to get this little one anyway, and it really wasn’t at all that expensive. I just wanted a simple small loom to weave simple plain weave scarves only, a modest little destination loom for my modest little dye experiments, natural or commercial dyes, I’m no snob about it.

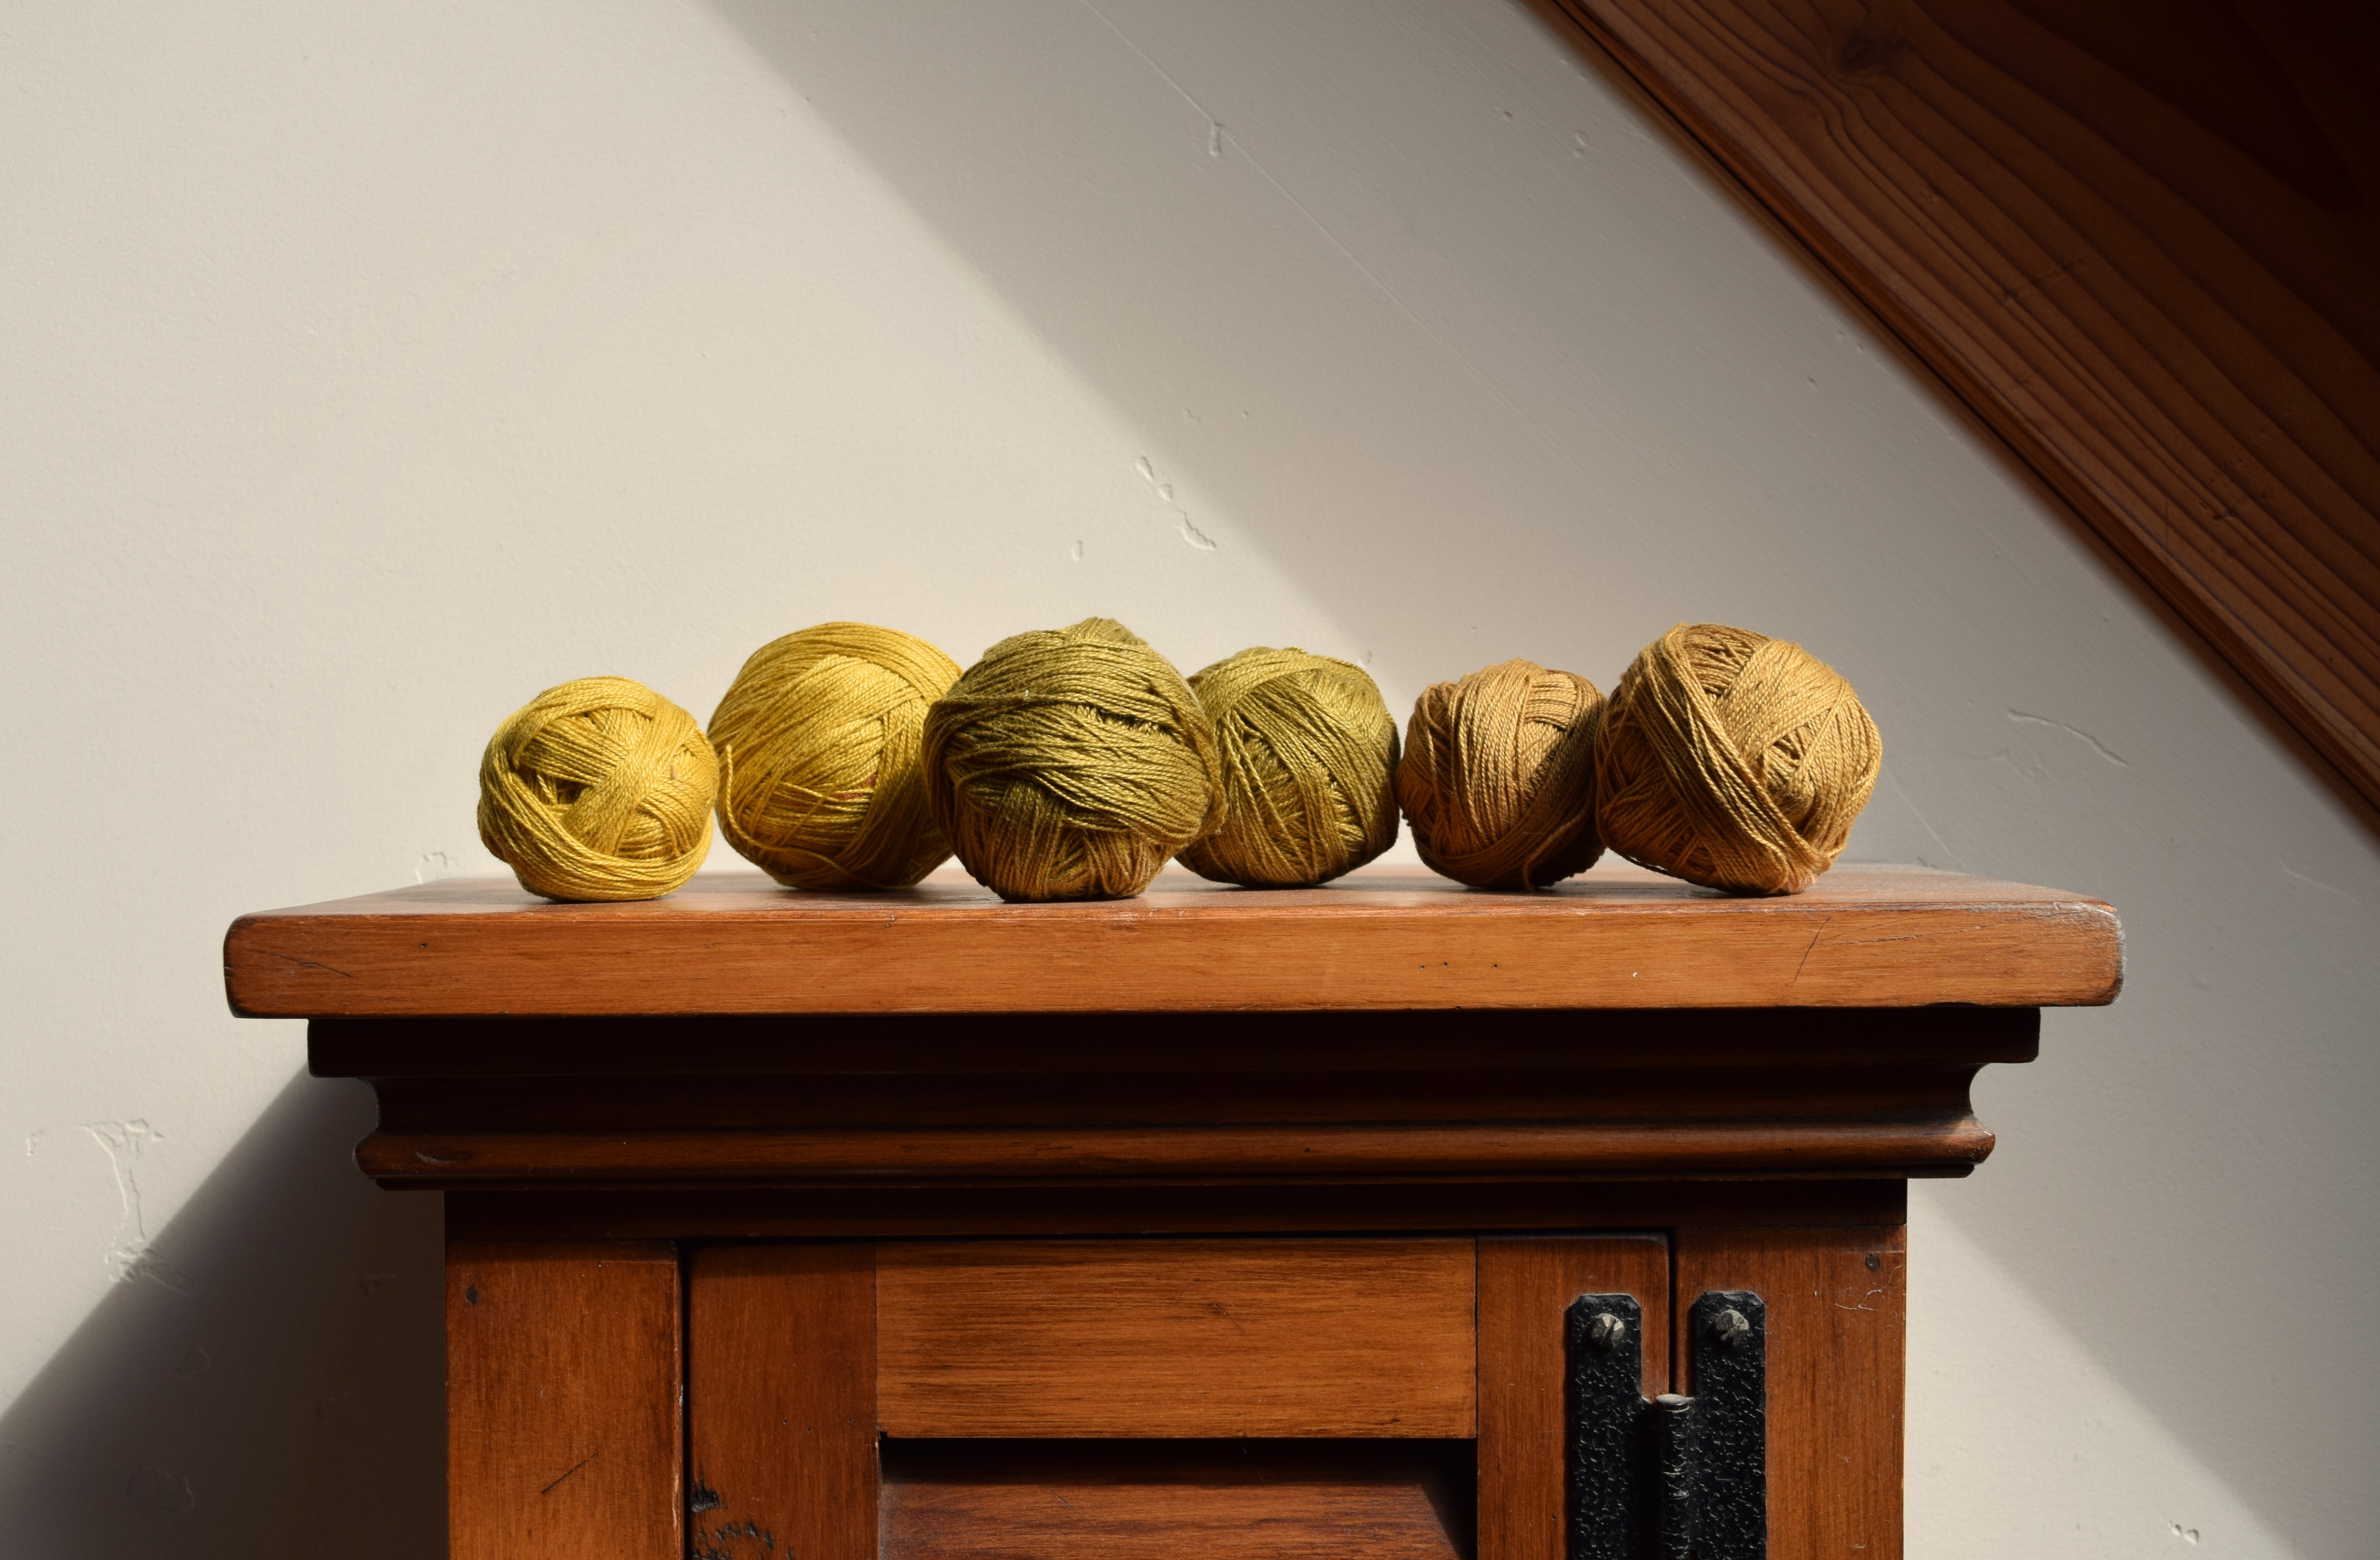
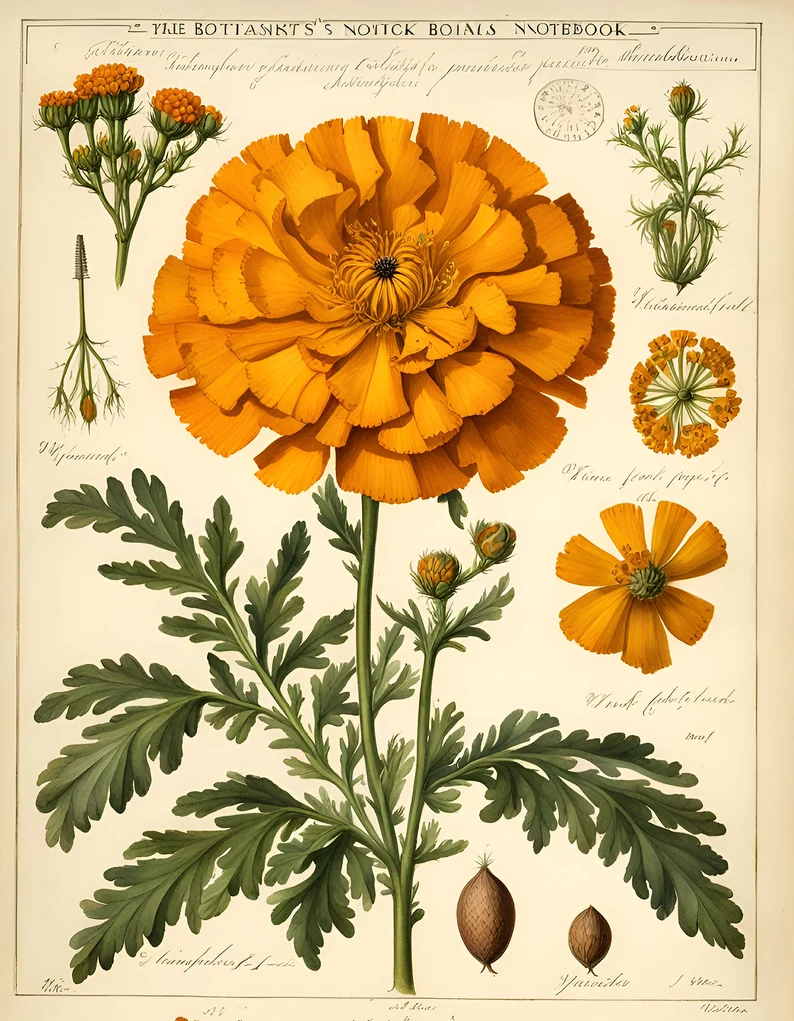
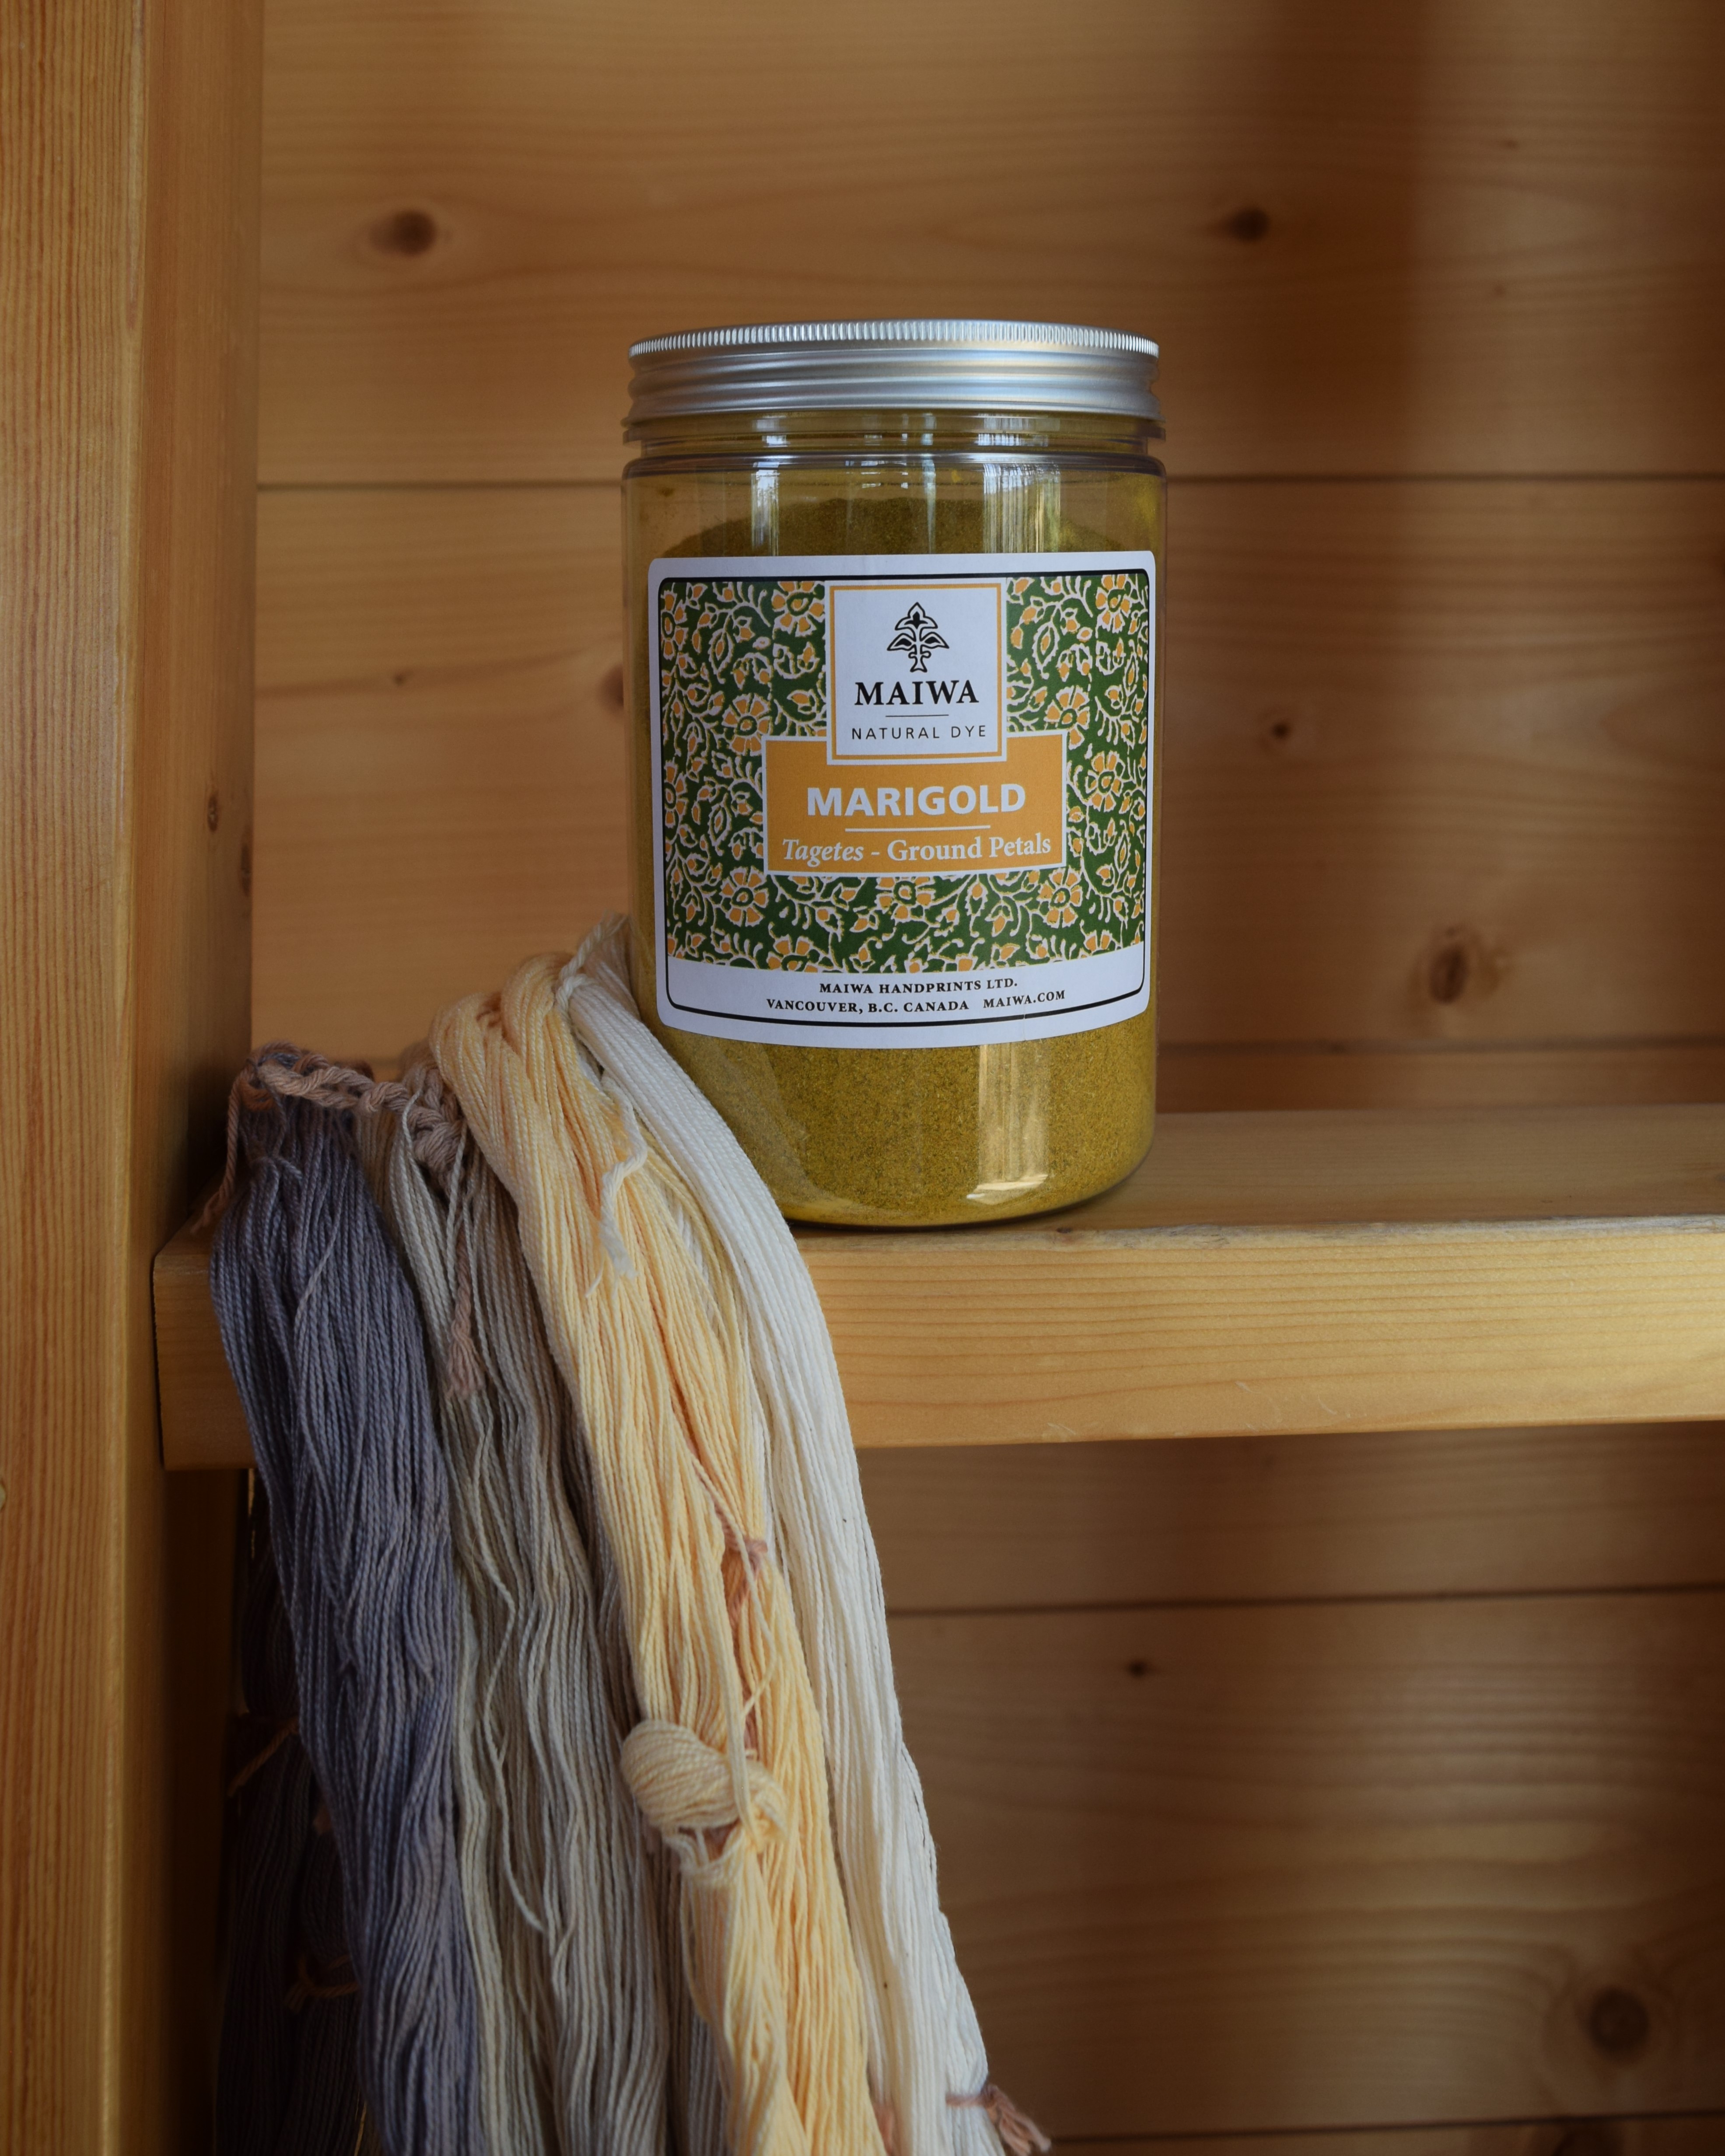
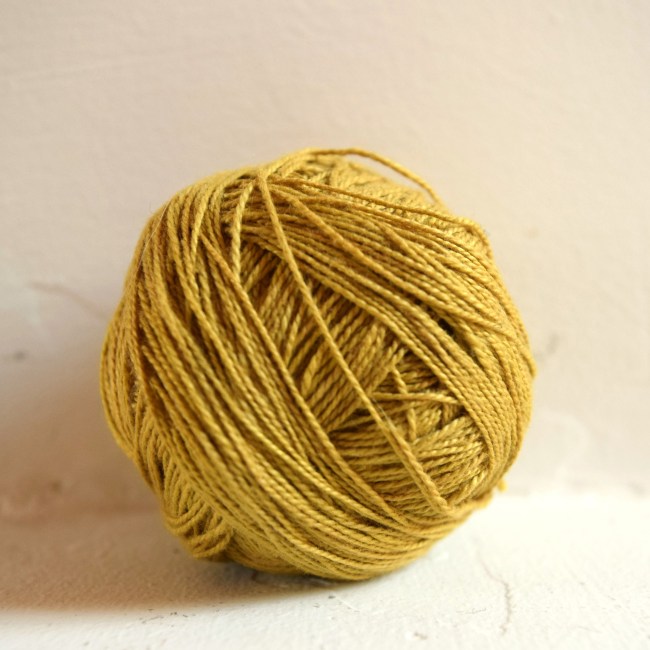
This first project is cotton dyed with natural marigold flower petals! The remarkable thing about this project is that I used a shortcut to a varied colorway by simply over-dying different shades of neutral tones, all in one dye bath of marigold flower petals. Plain and simple, the way I like to do things. I’ve written detailed dye notes below and stay tuned for a finished weaving coming up in the territory ahead.

♣   Dye Notes ♣

I got back to the dye pot, determined to have an easier time of it, working over all my beginner’s doubt with a fine-tooth comb. I hovered over the instructions nervously, double and triple checked every step before commencing, and yet still I was having to improvise and make adjustments. Scoured, check! Mordanted, check! Dyed, check! One hour devoted to each step, not including the tea over-dye. I was quite exhausted by the end of it all.

I started out with four colors of varying tones and hues of neutral, wrongly assumed I would have four colors over overdyed yarns, and ended up with only two; the grey was a darker shade, but all the others looked almost the same. After all was rinsed and hanging dry on the clothesline, I quick made literal quart sized pot of strong tea of Yorkshire Red, basically a tannin bath, and in went the lightest of the yellow shades which shifted immediately to a rusty brownish orange, absolutely beautiful! Love the way nothing can be predictable, and I am ready to make a panic decision at any moment. Now that all is dried the result is three slightly different shades of marigold, and what I figure is the spectrum of the marigold flower, from yellow to deep gold to greyish yellow green.

  • Yarn: Valley Yarns 10/2 mercerized cotton in colors: Natural (8176), Autumn Blonde (1405), Shell (7503), and Frost Gray (8798).
    • All were scoured together for 1 hour with soda ash.
    • All were mordanted together for 1 hour with Alum Acetate.
    • All were overdyed in same bath with marigold petals, but colors Natural and possibly some of the others were again overdyed in Yorkshire Red tea, for about 6 minutes in the pressure cooker on low pressure, for just a kiss of color to deepen the yellow, which turned to a deeper gold.
    • The marigold overdyed Grey yarn appears a deeper greenish yellow, a wonderful surprise! There must have been a little blue in the grey.
  • What I will do differently next time: I will use distinct different values of neutrals, such as natural or white, light grey, and medium-dark grey. The Natural, Autumn Blonde, and Shell colors may have been different hues very slightly but all the same very light value, so after overdyed and dry, all looked the same, I could not tell the difference — I should have labeled the yarns!

Dyery

I’ve been trying out some natural dyes from my new natural dye kit, and decided to start a dye diary — a DYERY — on my blog, to keep track of successes, failures need not be mentioned. On the summer solstice I bought myself the Earthhues Color Collection Kit which promises to be completely safe and I love the motto on the instruction booklet “What comes from the earth shall not harm the earth” ~~ I’m on board! The kit includes everything needed for one or two indigo vats as well as a dozen other color dye extracts, and mordants, plus color shifters, for both protein fibers as well as cellulose fibers, really quite a value when you open the box and it is packed with pouches and jars and a booklet too. I want to have my basic primary natural colors which is indigo, madder, and weld, but wanted to explore with some neutral and golden tones too, so these were my first two experiments all using 10/2 mercerized cotton for weaving …

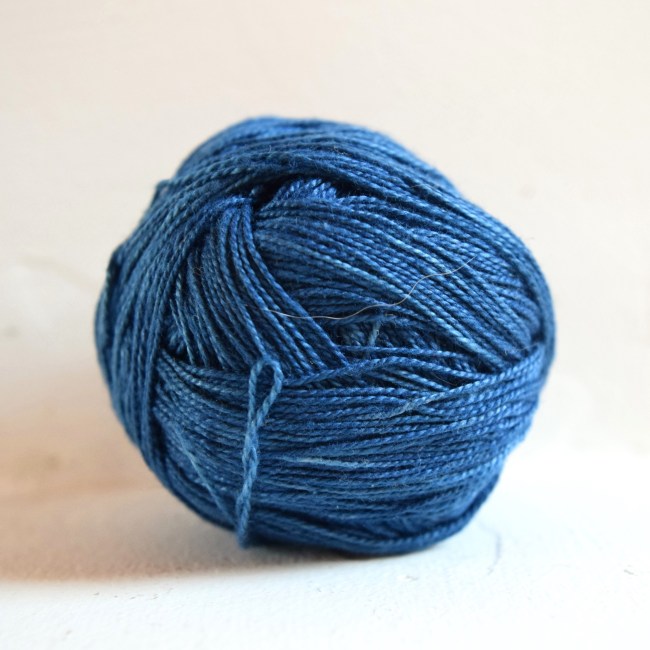
Indigo: The dye used indigo extract powder, lye powder to make the vat alkaline and thiourea dioxide to reduce the oxygen in the bath — very fast — but the chemicals did not smell at all pleasant. I think next indigo dye vat I will try the well-known “1-2-3 fructose vat” which uses powdered food-grade lime (calcium hydroxide) to make the vat alkaline and fructose powder to reduce the oxygen. The color striations are from when I tied some warps for ikat that I posted in Knotty after being very inspired by the Japanese ikat video. I hope to try my first ikat weaving very soon, but that will be a different post. As I tied off the ikat warps 5 inches center-to-center, I figured I could go ahead and wind into a ball and align the ikat patterning on the loom when I weave.

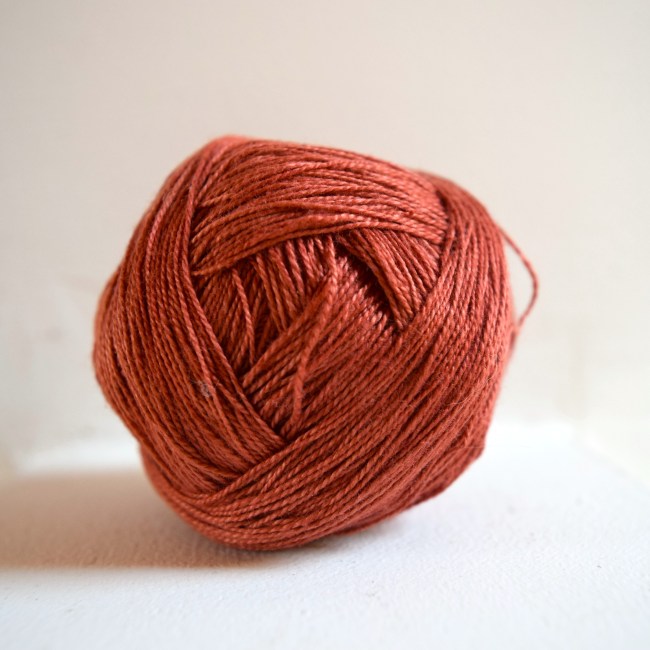
Madder, Weld, Pomegranite, and mix of Wattle & Quebracho: Four at once, after scouring and then mordanting the cotton fiber with aluminum acetate solution. The four dyes simmered in separate pint jars in a huge electric 12 quart instant pot that I got just for dying, scouring, and mordanting with, and can set different sized jars inside of the heating water, which makes a very clean and flexible heat source. I don’t know which dye jars were the pomegranite and waddle/quebracho as I didn’t label the dye jars, a bad oversight out of inexperience to run up to the house and get pen to mark the jars with writing on rubberbands ~ next time for sure!

♣   Dye Notes  ♣

  • Indigo: No need to mordant, and I forgot to scour. I didn’t weigh the parts, just used the vat recipe in the booklet which was in tsp/tbsp/cup measures — it really is magic, the blue is a beautiful earthy warm blue, truly a gorgeous blue light, medium, or dark shades.
  • Madder (15% wof “weight of fiber”): Came out exactly how I predicted, a beautiful warm brick red. In future if I want it darker, I think I’ll just overdye a grey or brown yarn or wool, and that should be perfect.
  • Weld (15% wof): Came out neon bright yellow, and ended up borrowing little bits of dye out of the other jars to tone it down. In future, I’ll only use weld in combo with other dyes or overdye another color like grey or brown, should be lovely.
  • Pomegranite (15% wof): What I suspect was the lovely gold, bottom left, but I can’t be sure. Once I find out for sure, I will repeat this percentage of wof because its a perfect gold.
  • Wattle & Quebracho (12% & 3% wof): What I suspect is the rosy beige the booklet recipe listed.

A natural dye experiment: black oak leaves

jenjoycedesign© autumn-black-oak-leaves-dye 5

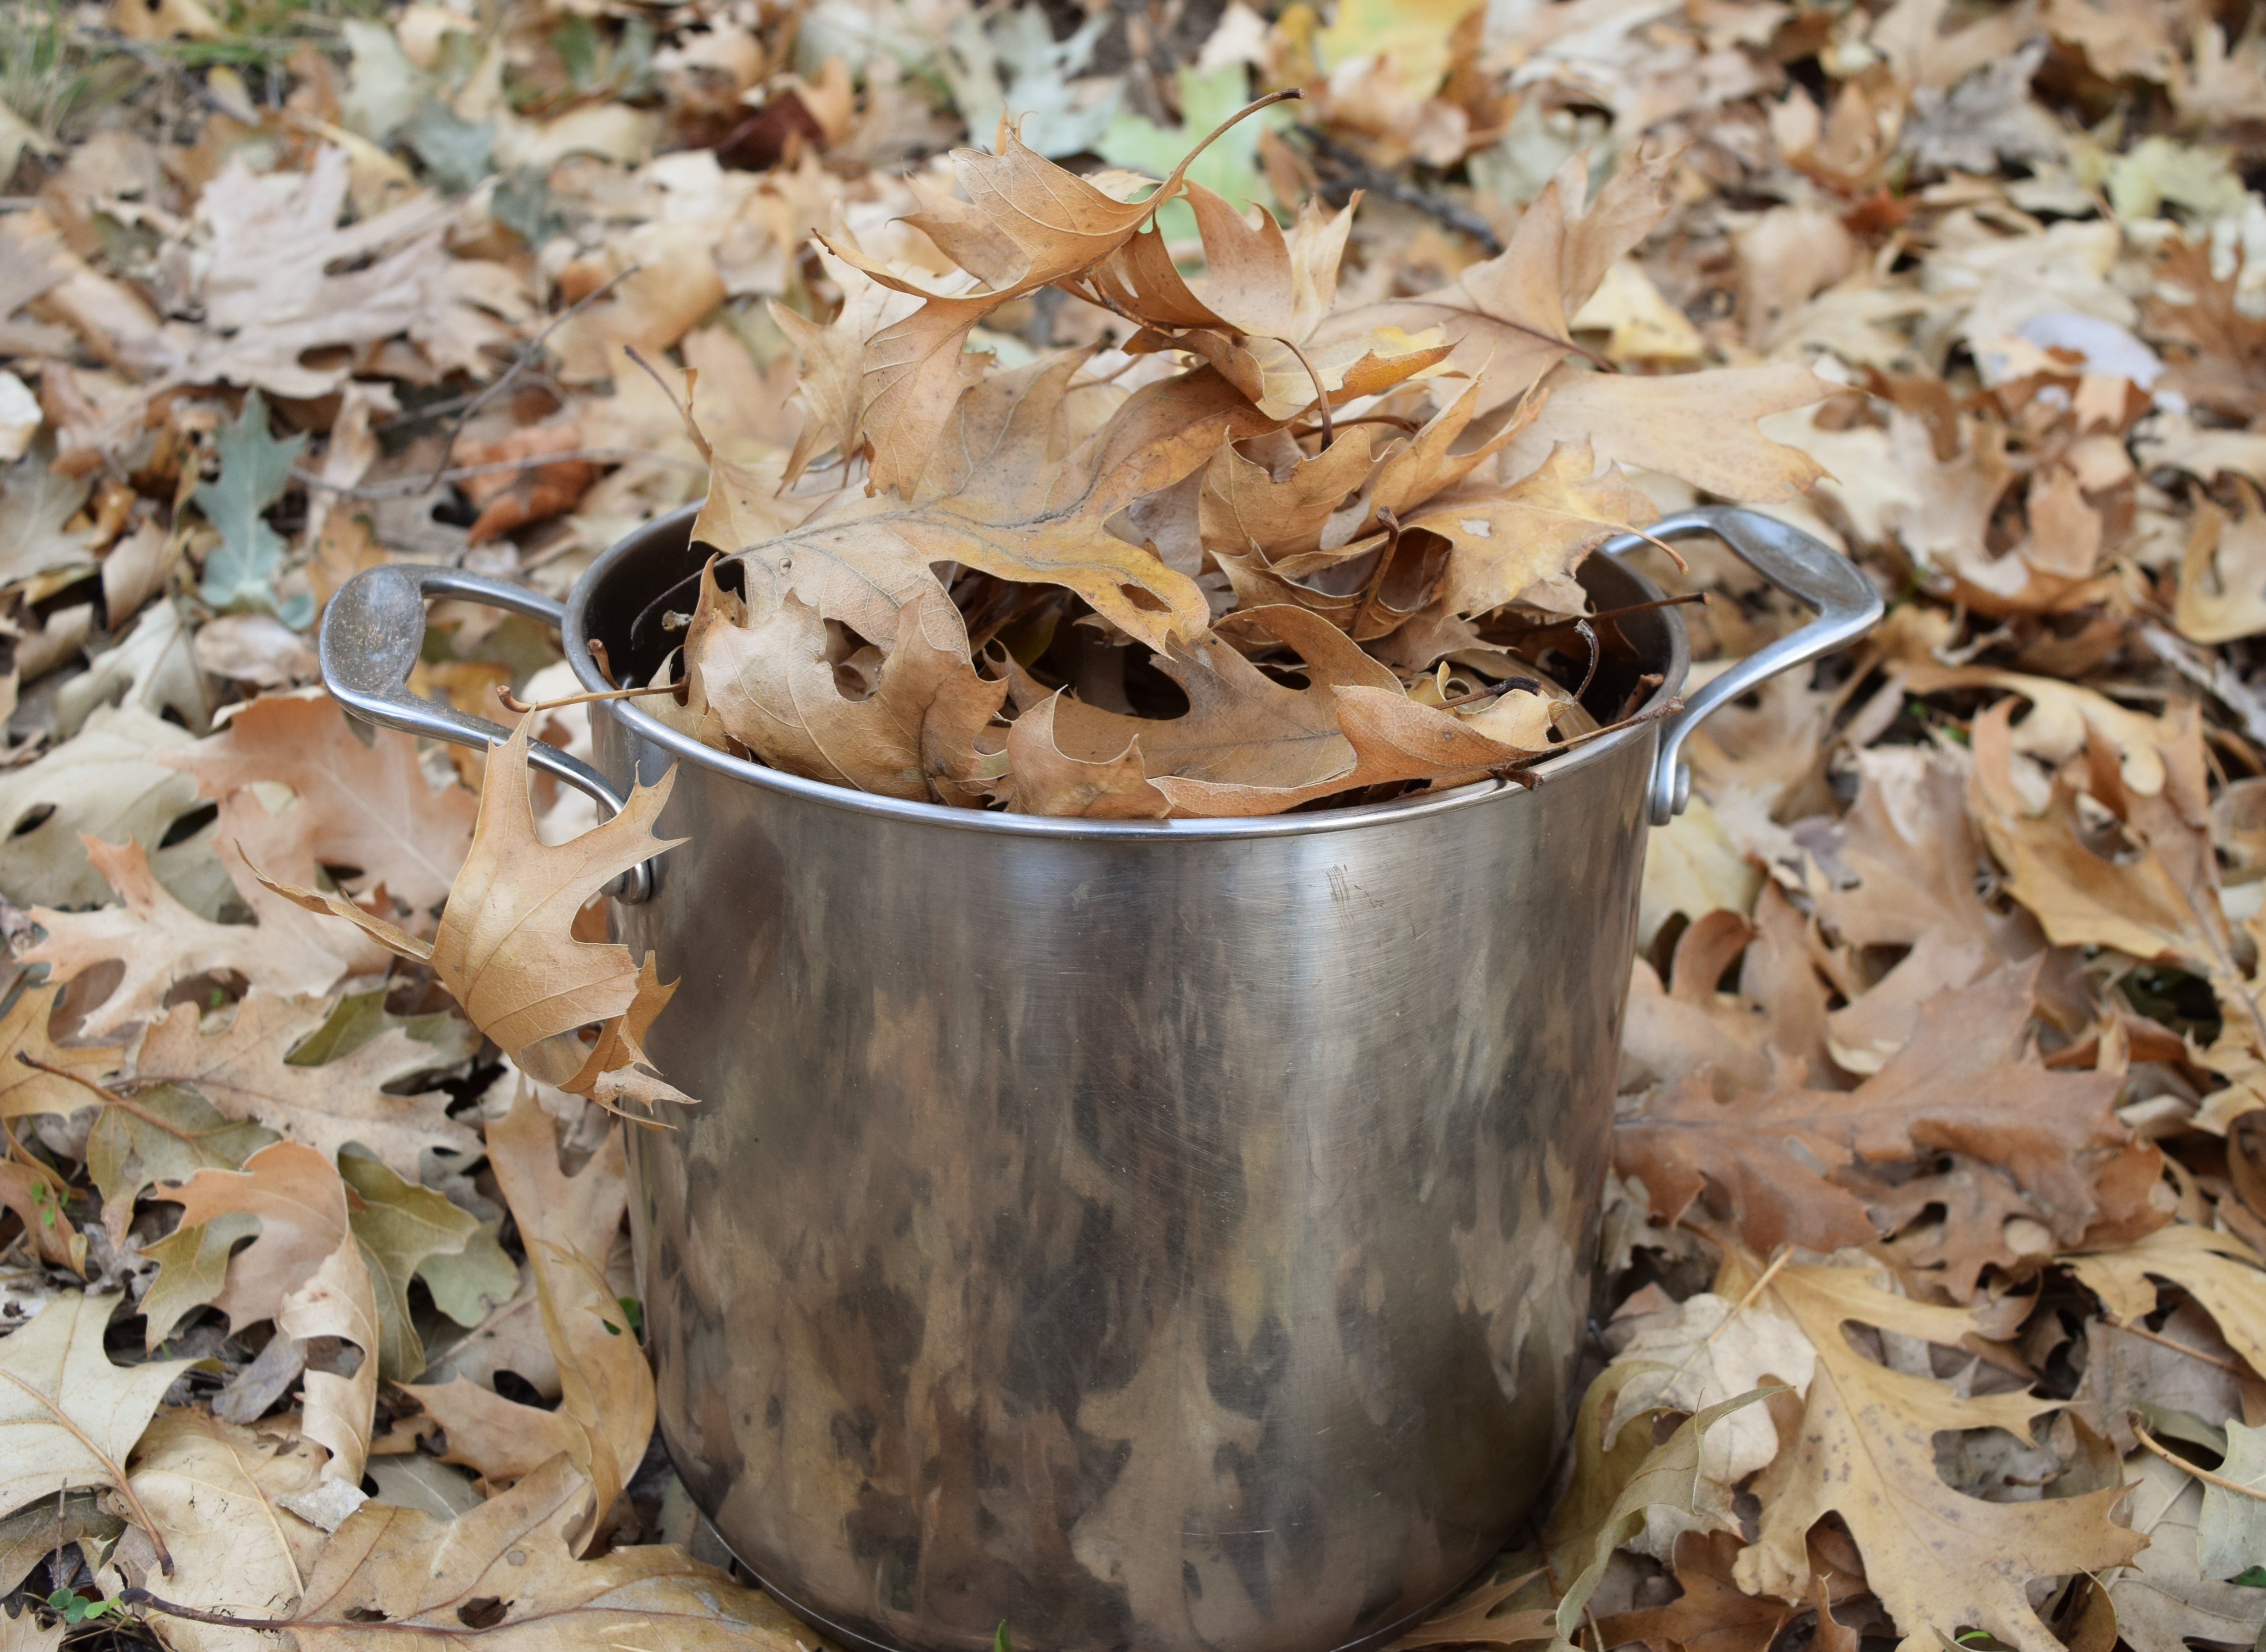
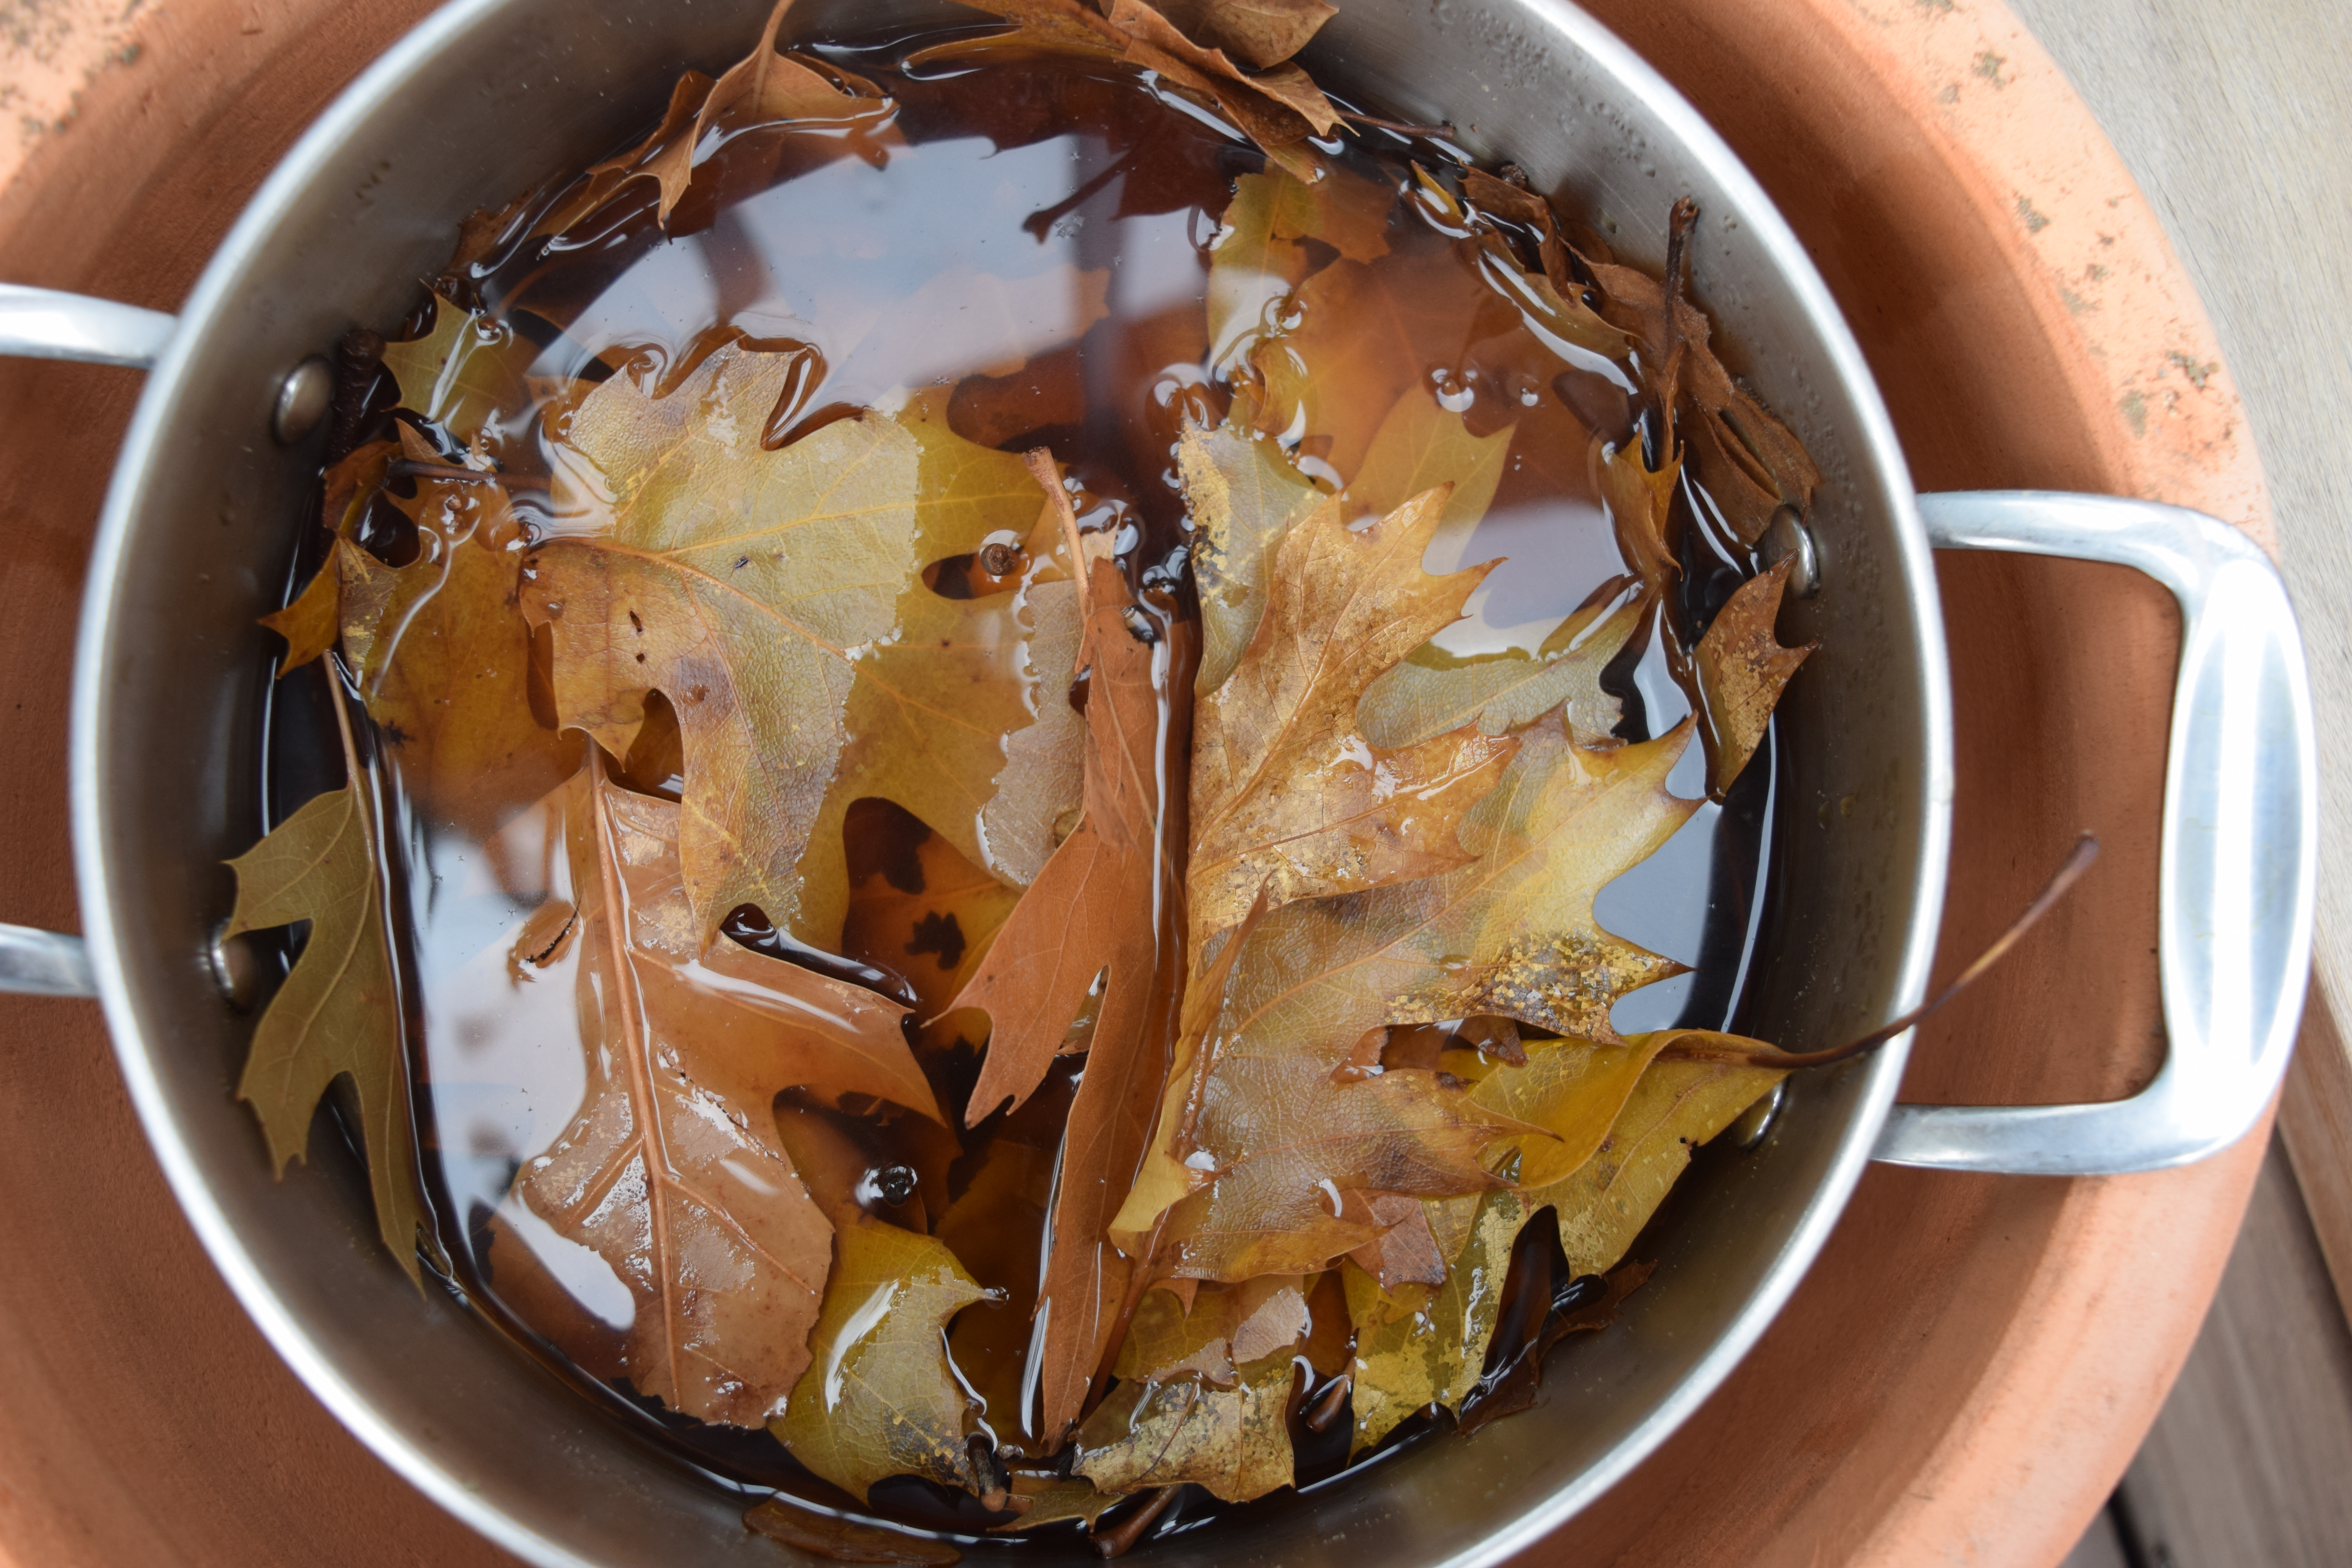
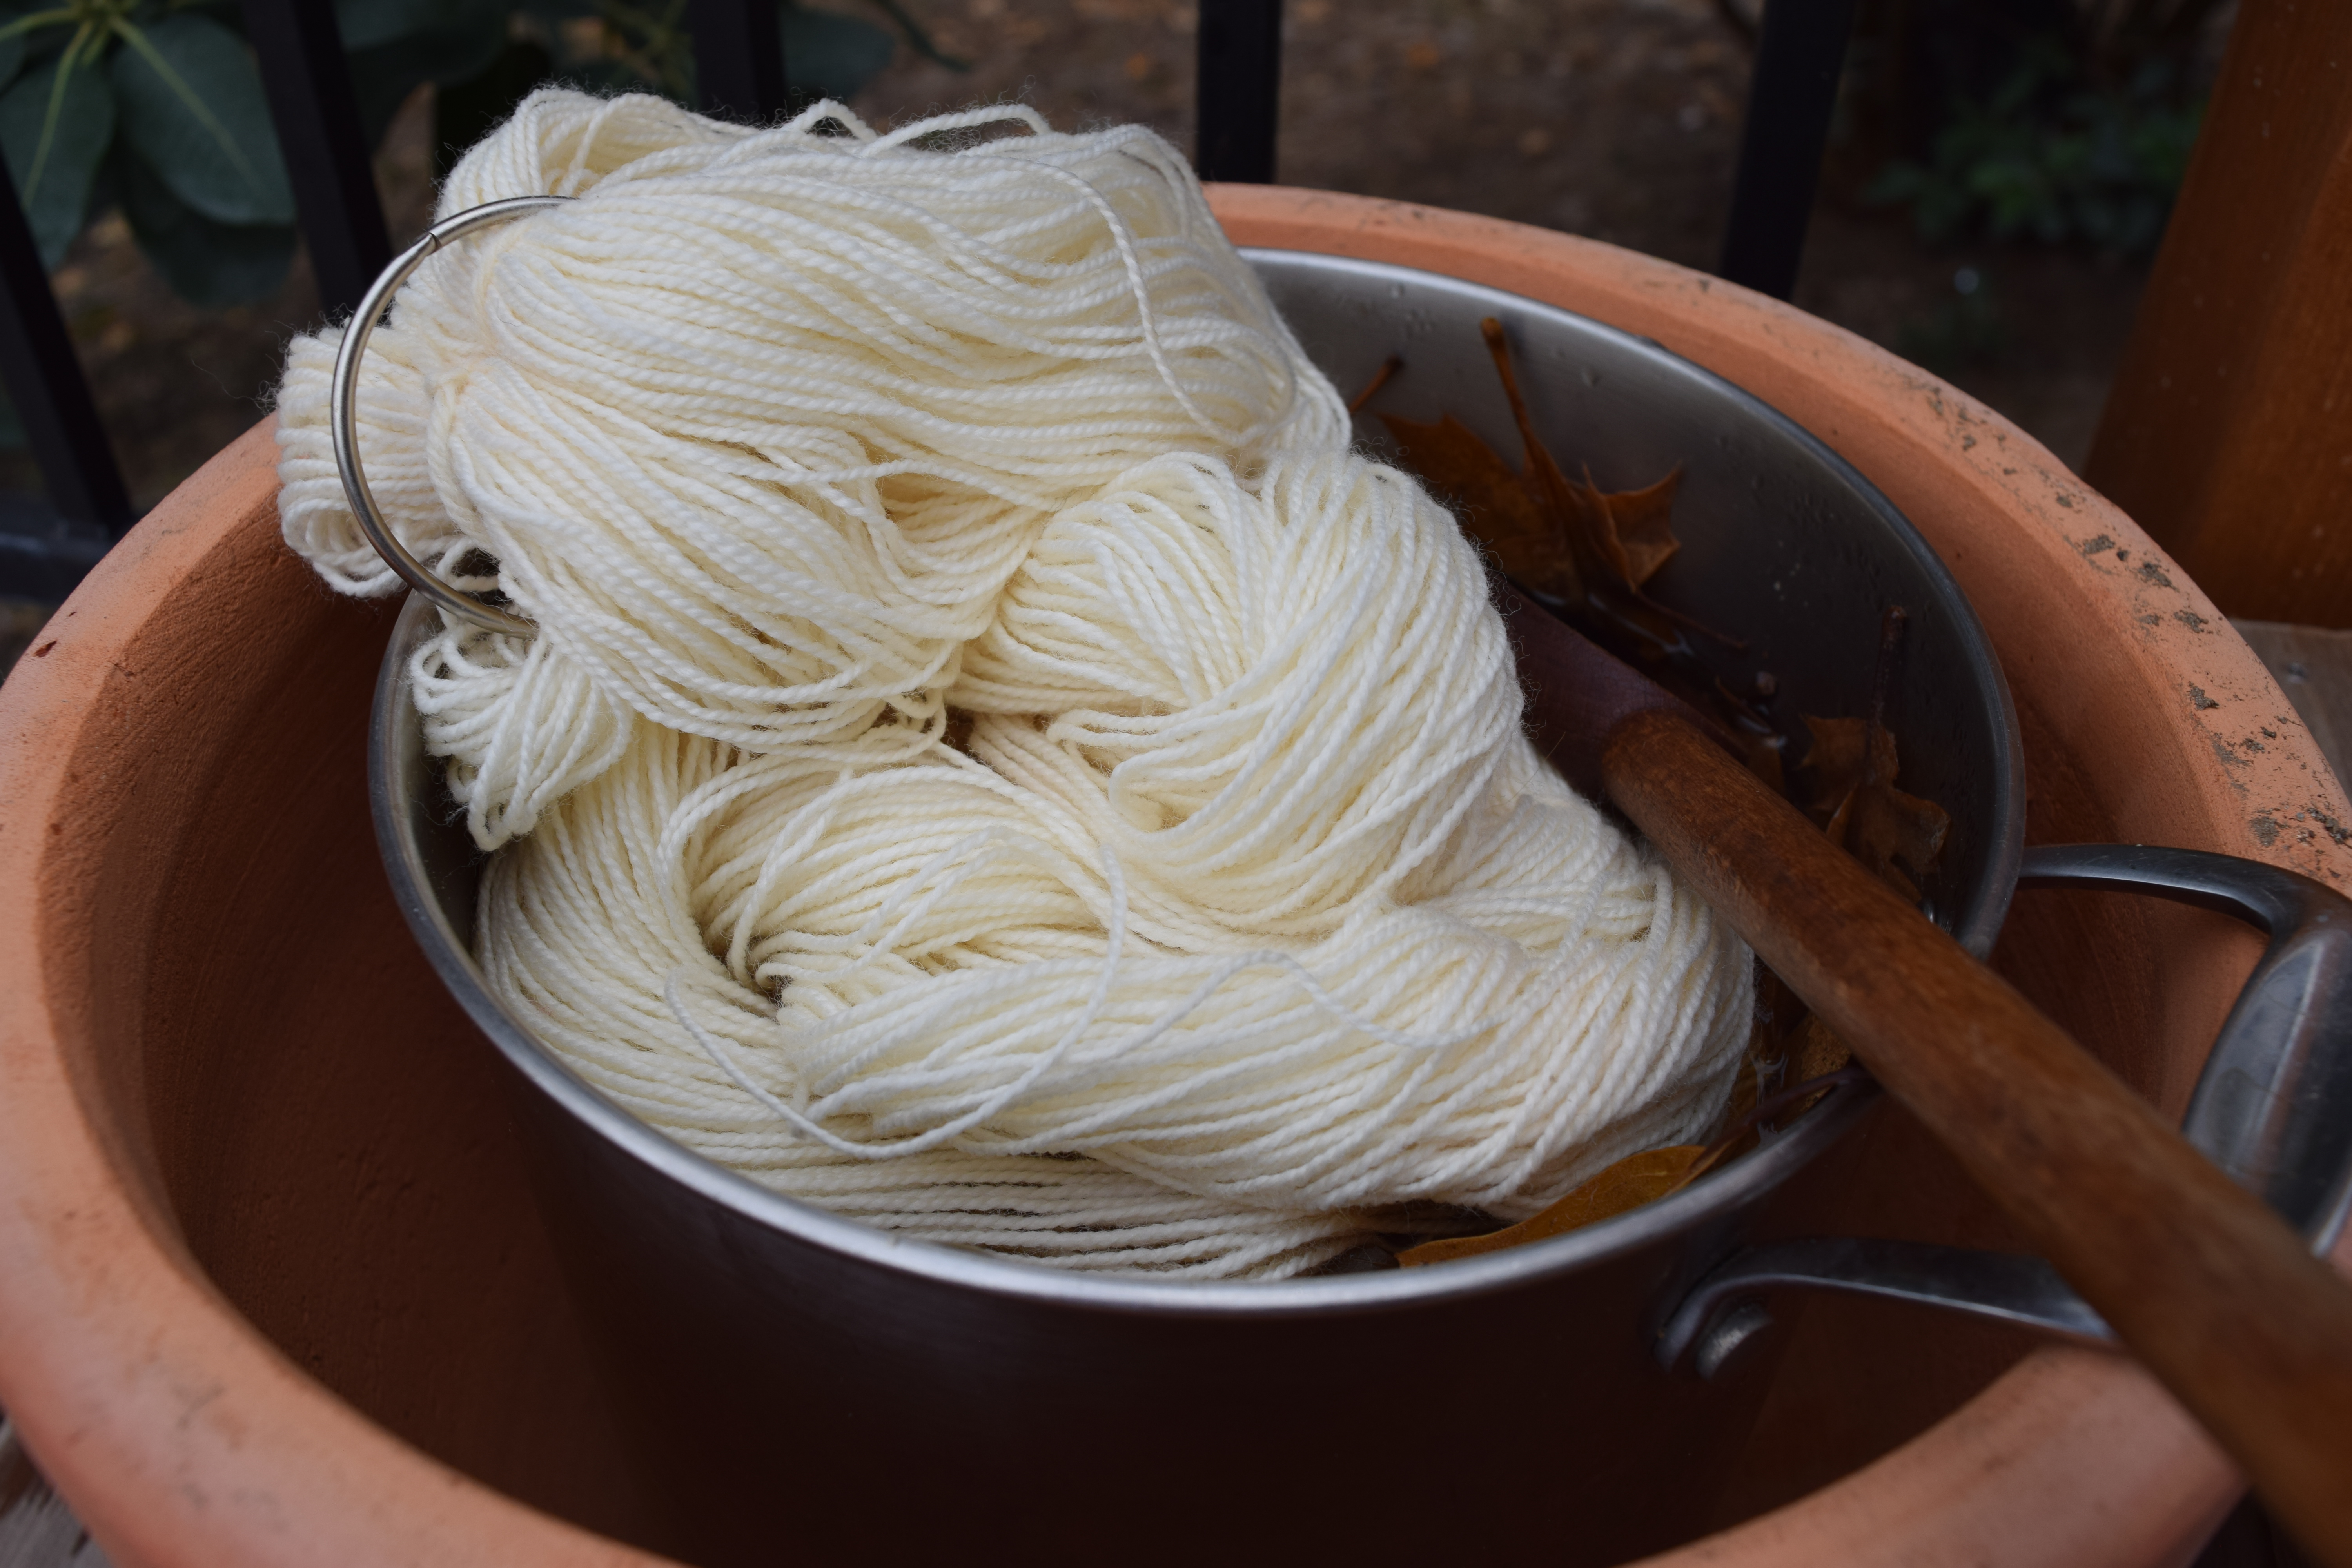
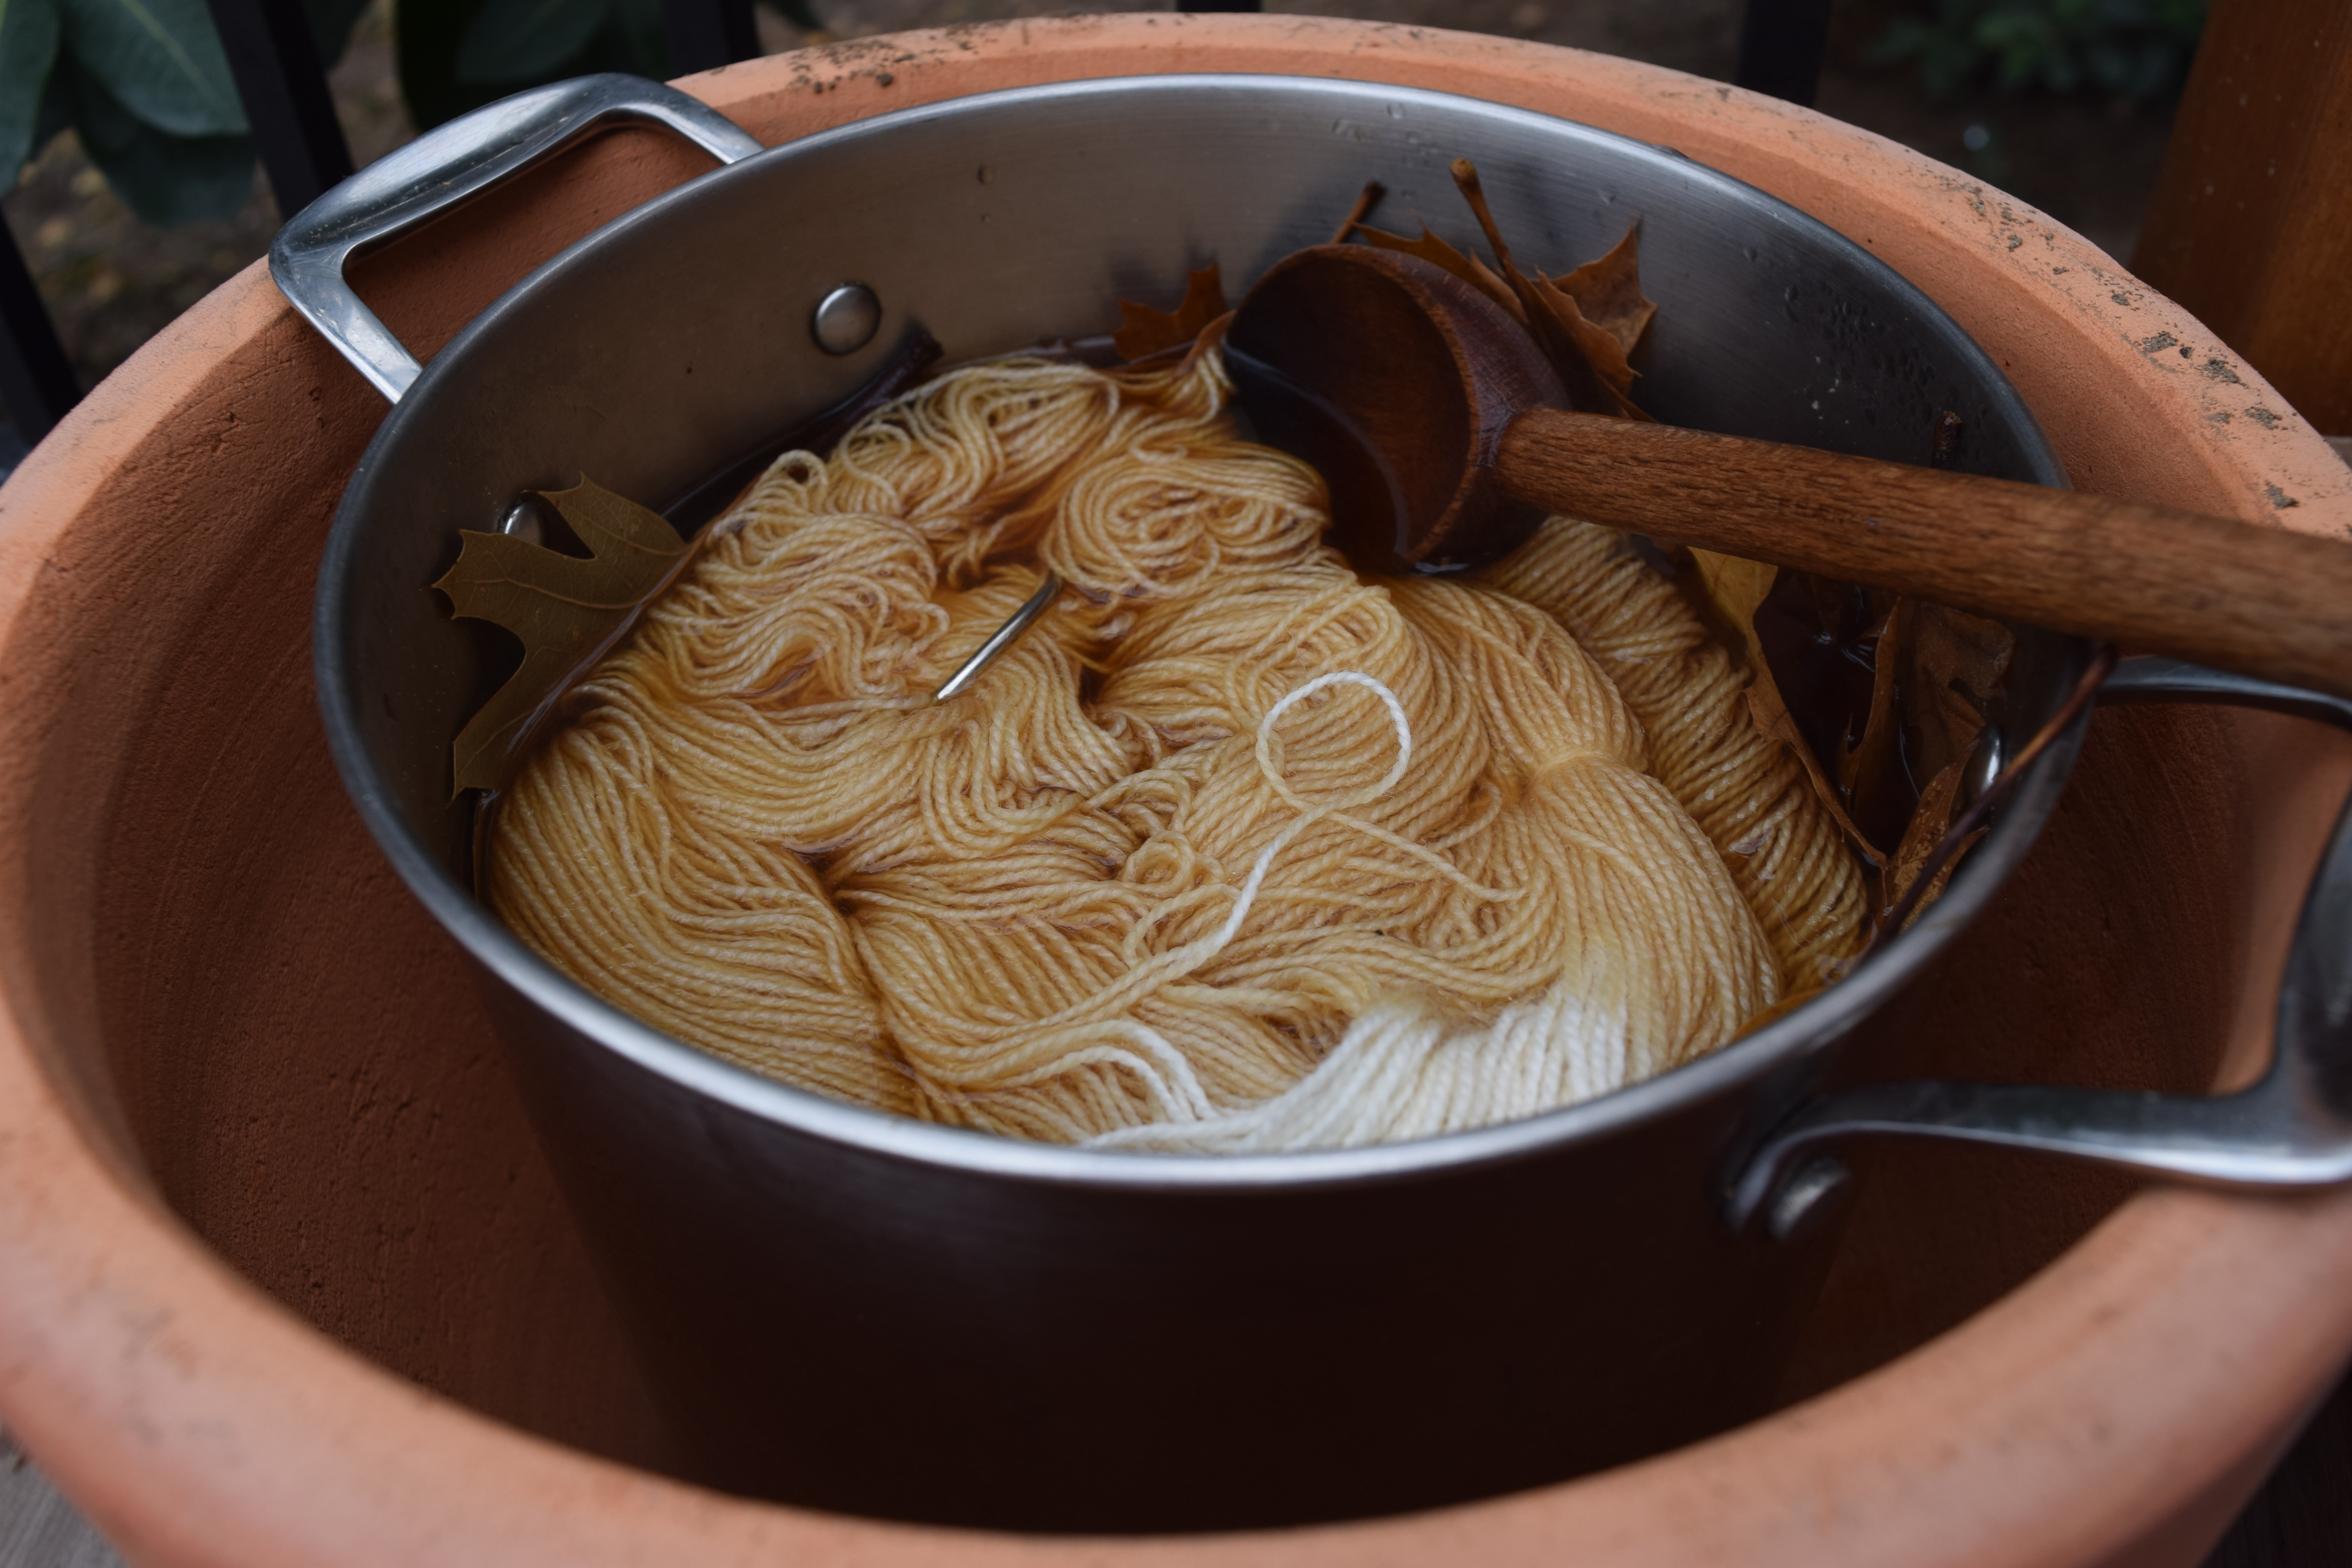
Going back a few decades in my life and realizing with a bit of surprise that I am caught again in the natural dye thing. Autumn in full swing, the golden yellow leaves falling and then turning quickly dull ochre, I could not resist scooping them up and boiling them into a leaf soup, filling the house with a spicy woody fragrance. I opened my sock yarn drawer and finding a bare Hawthorne ready to be dyed, I grabbed it, and prepared it for its dye bath and let it sink down in the lovely golden rusty liquid, and I knew I was going to find another signature color. But as everything in the kitchen, I do these things on pure instinct with a good splash of impatience in the mix too.

The next morning I lifted the sock yarn out of the leaf soup, as it had stewed overnight, and although the tint was subtle, I washed it in warm suds, rinsed, let dry on the clothes line, and quite pleased, I thought about trying some more! I went out and gathered more leaves, and stuffed all I could into my stock pot, and boiled again for about an hour, the liquid was again golden rusty brown, and so I pulled out about 400 grams of Knit Picks Simply Wool (Wilbur) I had rejected for another project and decided to sacrifice it for the cause, hoping it would transform from dull medium grey/brown to a deep golden hue. Oh, but chaos began to emanate from the kitchen at this point. I strained out the leaves from the pot, certain my five skeins would fit. They didn’t, yet they were already partially dunked. I switched pots, to big cast iron, thinking a little iron would only improve. Even smaller! I began to panic, texted Jeff’s daughter in the tiny house to please let me use her large slow cooker, woke her up, ran down there, and when I brought it back up to meet the occasion, such relief, yes it fit! During all this time there was a power outage, and I had to also switch out the power to generator, and then it came back on and switch it again. By the afternoon I was poking the slow-cooking yarn to see if any of the brown fluid would go into the yarn, like it did with the Hawthorn Bare sock yarn. Um, no such luck, even though I did the right things, splash of white vinegar for the protein fiber and good luck. All day this continued, and determined to see some color, poking, gently lifting and then submerging. Nothing showed over the natural grey, not even the tie yarns showed much. In disbelief I fetched a white skein of Simply Wool I also had left over, and tried my luck ( I had two dye baths going at this point), and the best it got was “off – white” . Still determined, I fetched some unspun roving. A splash more vinegar in the dye bath, probably unnecessary, and put 100g of Targhee Top roving I recently bought in to soak, nearly on my knees praying to the providence. Nothing. Actually, maybe an ever-so-slight tint of color, and I decided to let it stew overnight if maybe something of a miracle could happen. I don’t think there are many miracles in natural dying though.

Thinking about it more technically: The superwash sock yarn worked beautifully, right in front of my eyes, I saw it happen. I repeated the same process with the other fiber, and it failed. Natural dying is nothing like chemical color dying, and I’m finding the only sure thing in this experiment was the type of fiber that made the difference. The minimally processed “Simply Wool” yarn must have natural oils in the yarn ( which I recall bled out in the garment wash at blocking) so perhaps not a good yarn to natural dye with, but also the immaculately clean white targhee top roving failed to absorb the dye, even after soaking over night. Just a slight beige off-white color.

I am referring to my dye process as “easy” because I’m not using any mordants, just a splash of vinegar for the protein wool fibers to open up a bit, definitely nothing toxic or chemical to poison my cooking pans & spoons. Besides, black oak leaves have quite a lot of natural tannic acid, so I figured that I wouldn’t be needing much else. I also would like to add that my choice of dyable material is limited to what I find around outside our house, as I did madrone bark last summer, and I won’t be ordering exotic plant based dyes from elsewhere for I am exploring my micro environment for a very personal seasonal palette. In the next experiment I will not be using five hundred grams of over-confidence, but limit my first tests to one skein of superwash sock yarn, if I am to continue casually dying with gathered natural ingredients I find about the woods here. At least I’ve got one very cheery little skein of golden ochre sock yarn as a souvenir.

A natural dye experiment: part 2

jenjoycedesign© dyed1I have been noticing how popular natural dying is at the moment.  I would even say it is undergoing yet another renaissance! So many craft podcasters and yarn dyer tutorials, its hard to resist trying it out.  Yet I have wanted to do this very thing with the indigenous madrone around our house long since before the new dying trend reminded me. In fact, I have wanted to make a colorway of yarn dyed from the materials I find nearby,  and had at one time entertained the dream of being a yarn-dyer on a slightly larger scale. But I realize very sanely that it is best in keeping things within my means, having a very quiet impact on my surroundings. Only so much madrone bark can be shed. It is plentiful outside presently, and being so happy with the results of this “quiet yarn” I am going to go out and collect enough for one more dye pot,  a little more generous amount, and strive for a slightly more saturated affect. I think that the madrone has created perhaps, my personal signature color . . .

jenjoycedesign© madrone dyed

♣  ♣  ♣

The Tech Stuff. . .

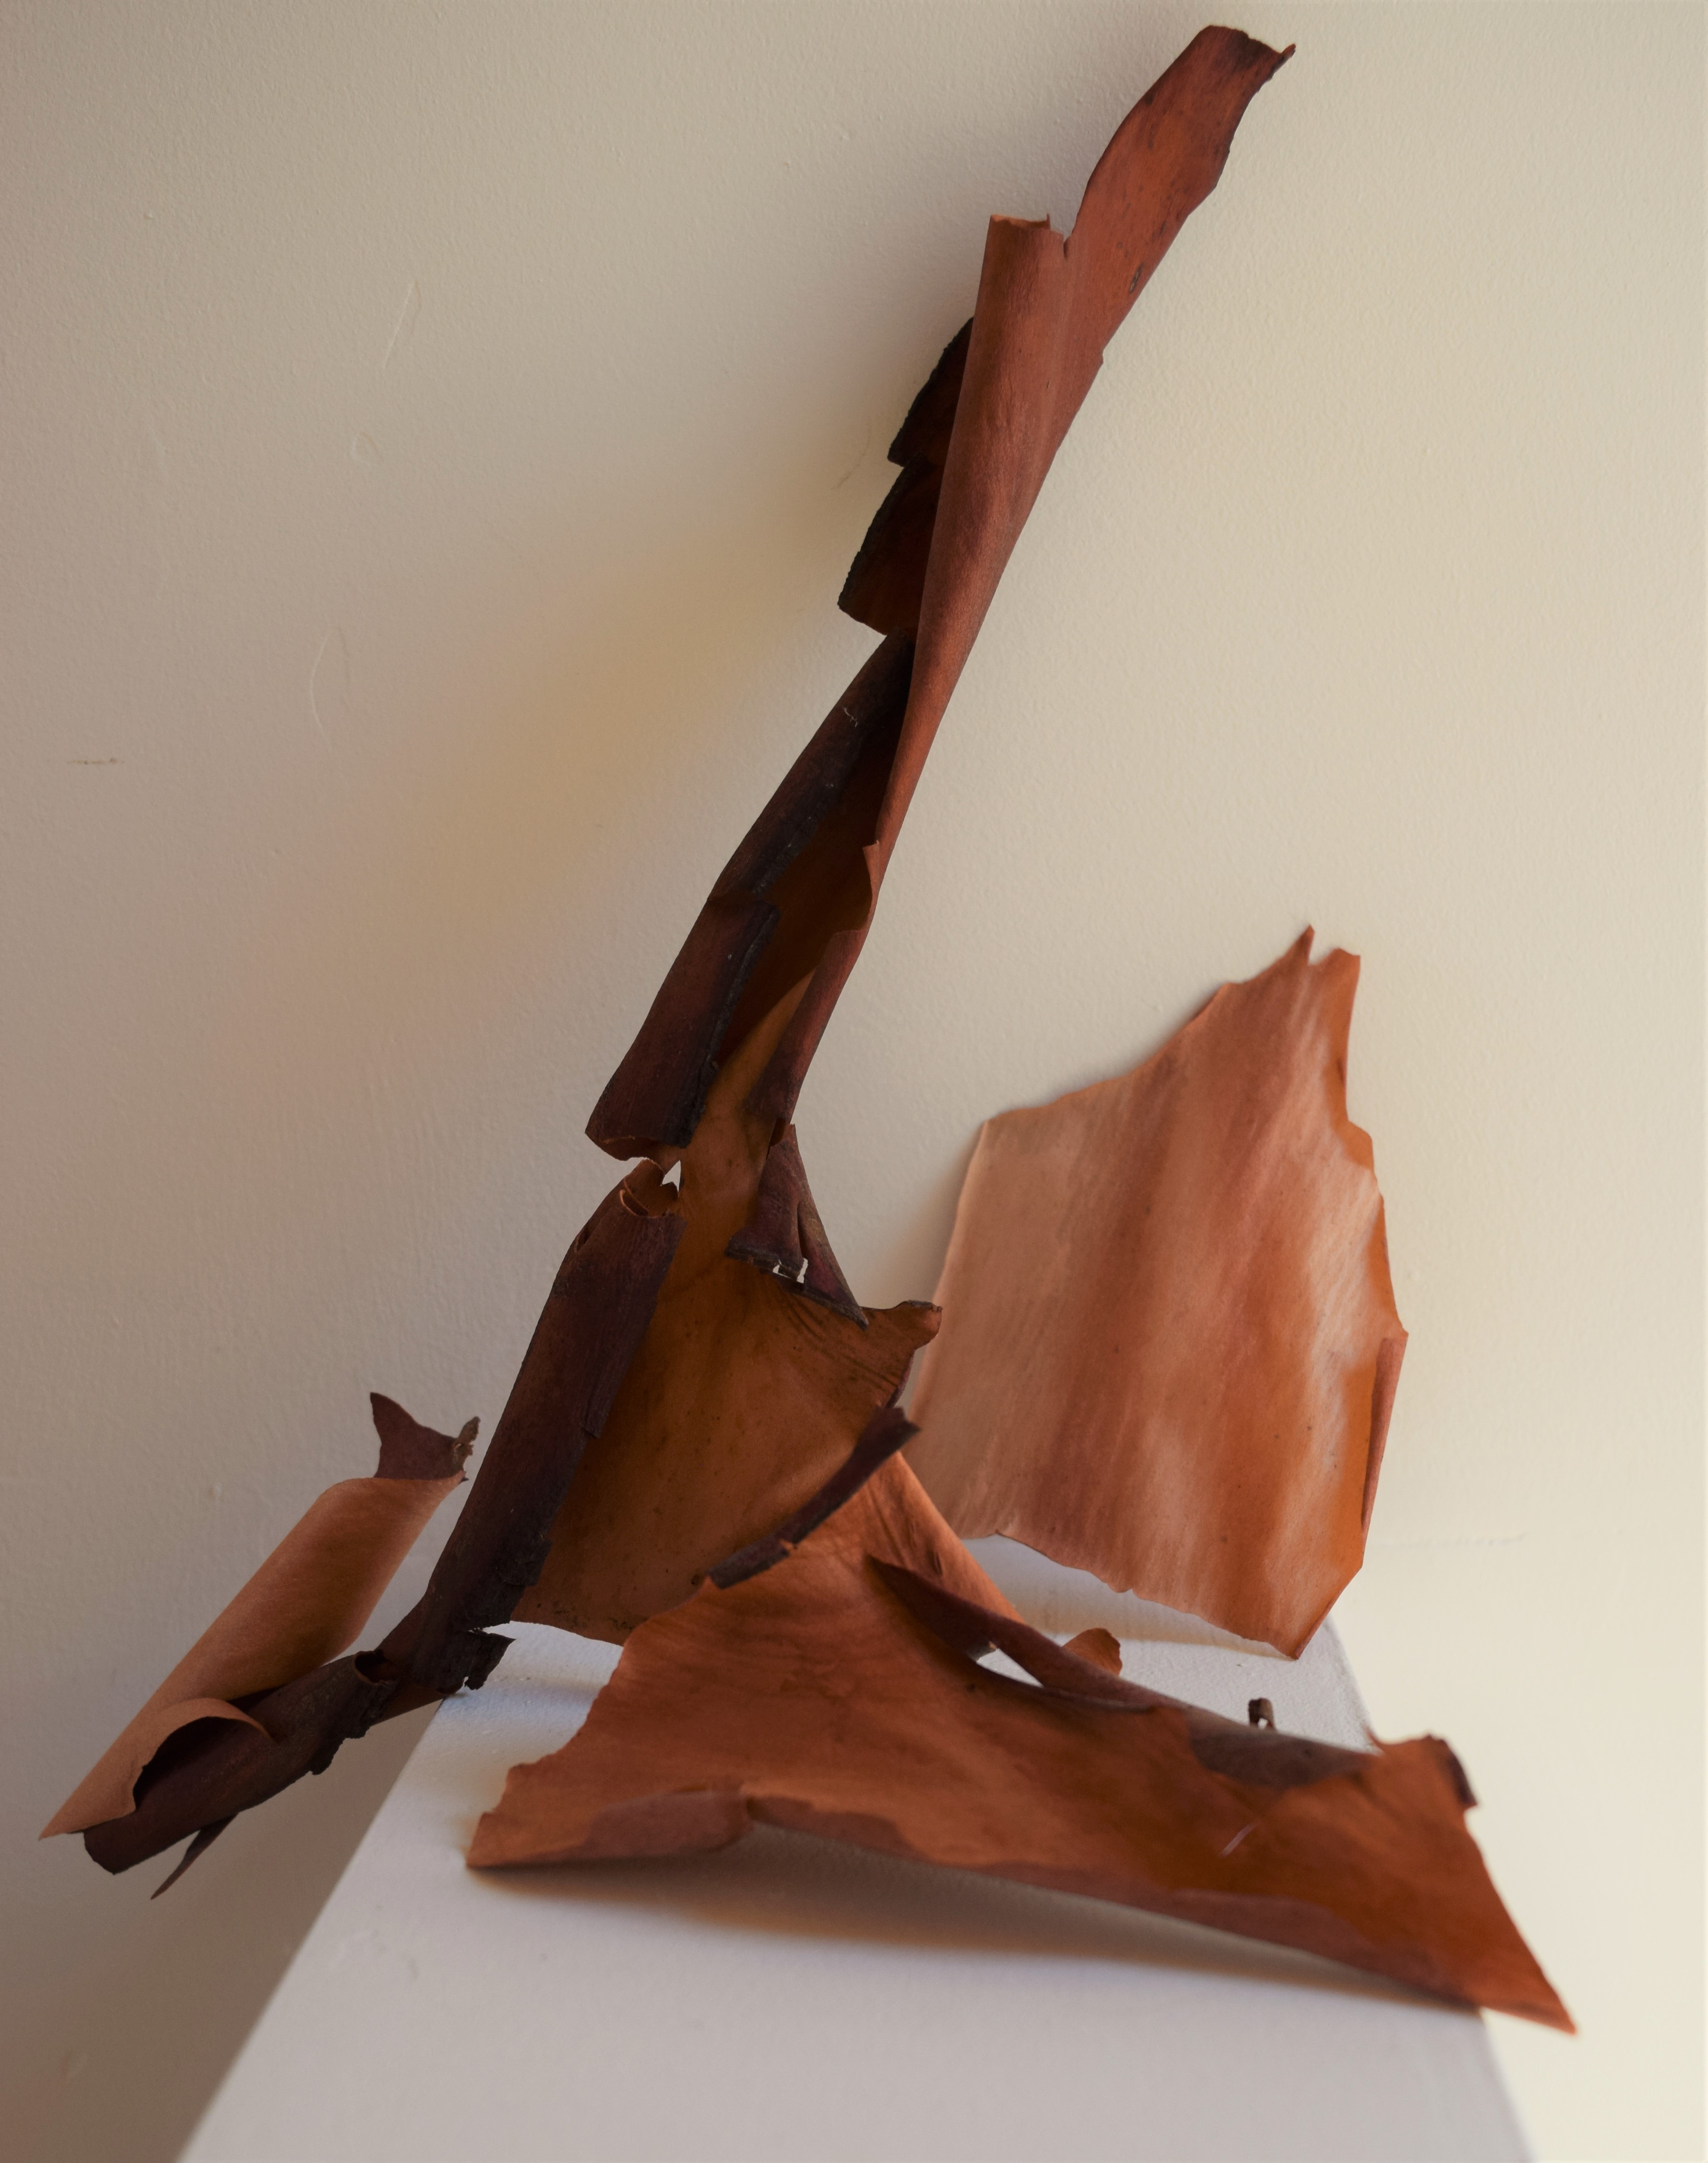
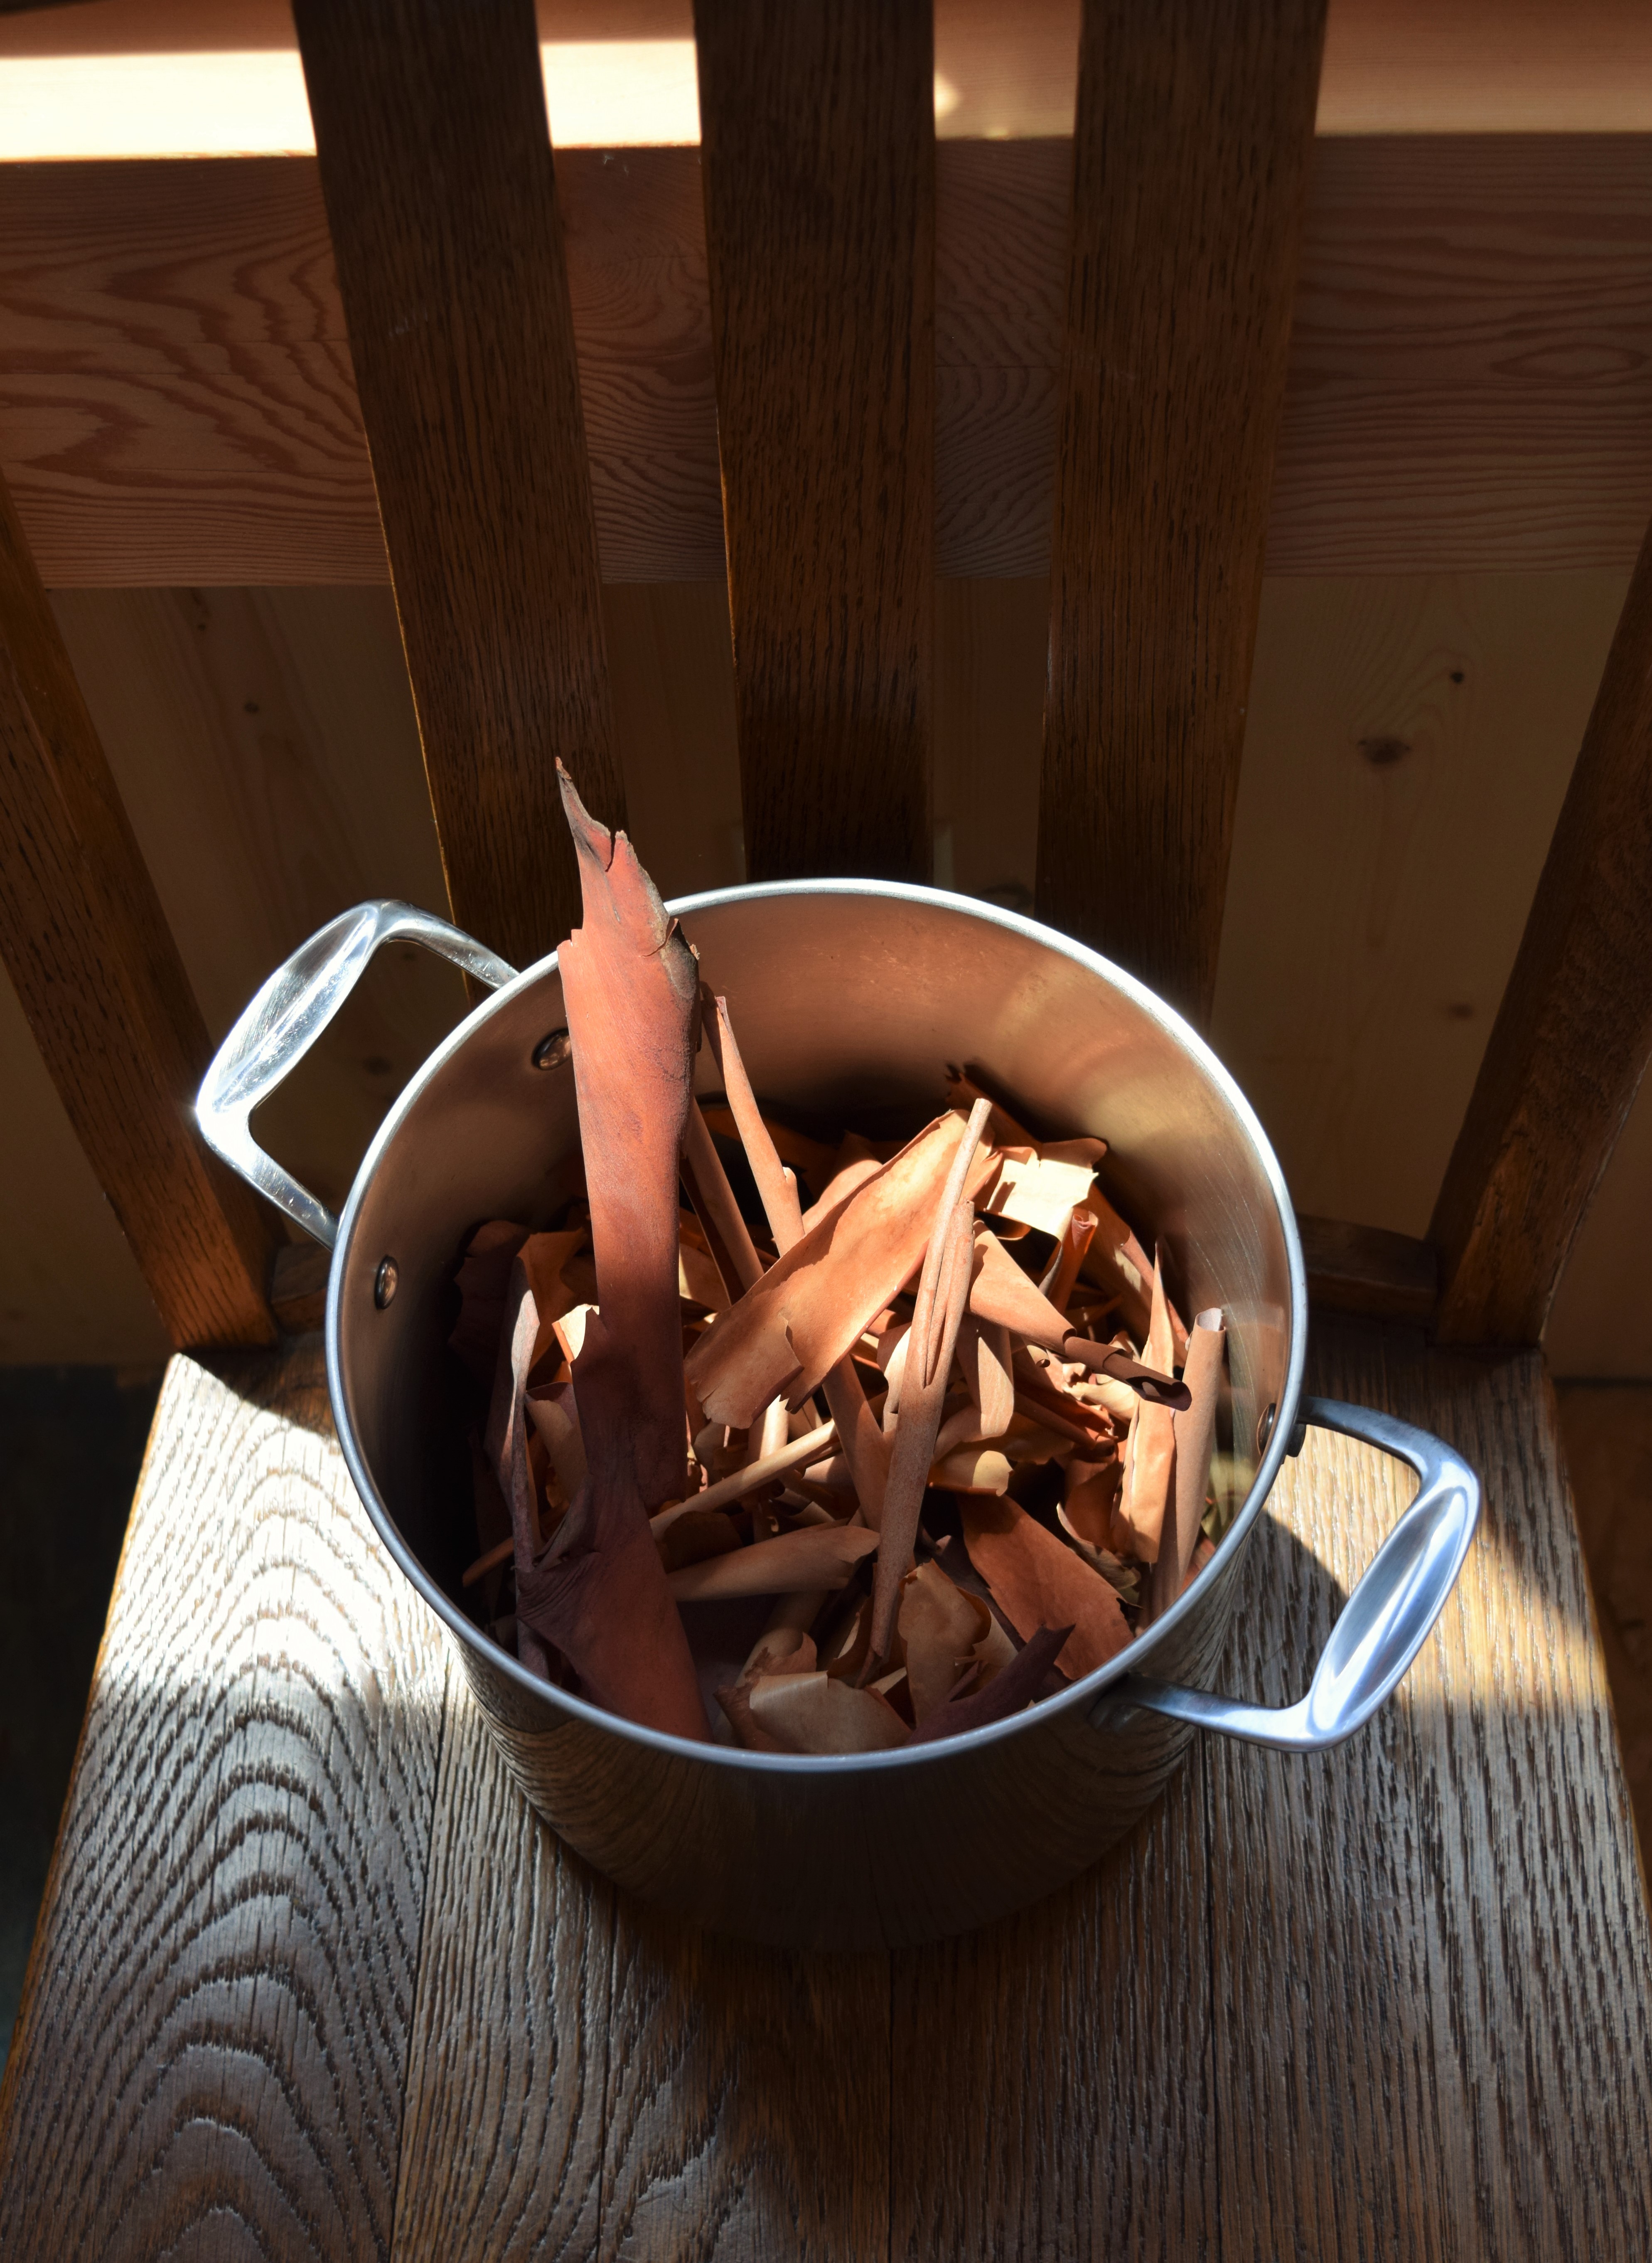
In Part-1   Out on a walk I notice the bark is shedding, and can’t help myself to collect some bark, fill the pot loosely a little over half, and set the series in motion.  This is Part 2, where I dye some sock yarn!  My natural dye experiment is all I could have expected or hoped for with the limitations of using only a splash of vinegar and water in a stainless steel stock pot. I am not worried in the least about contaminating my cookware because the abundant madrone peels of bark underfoot everywhere are not toxic or odorous in the least.

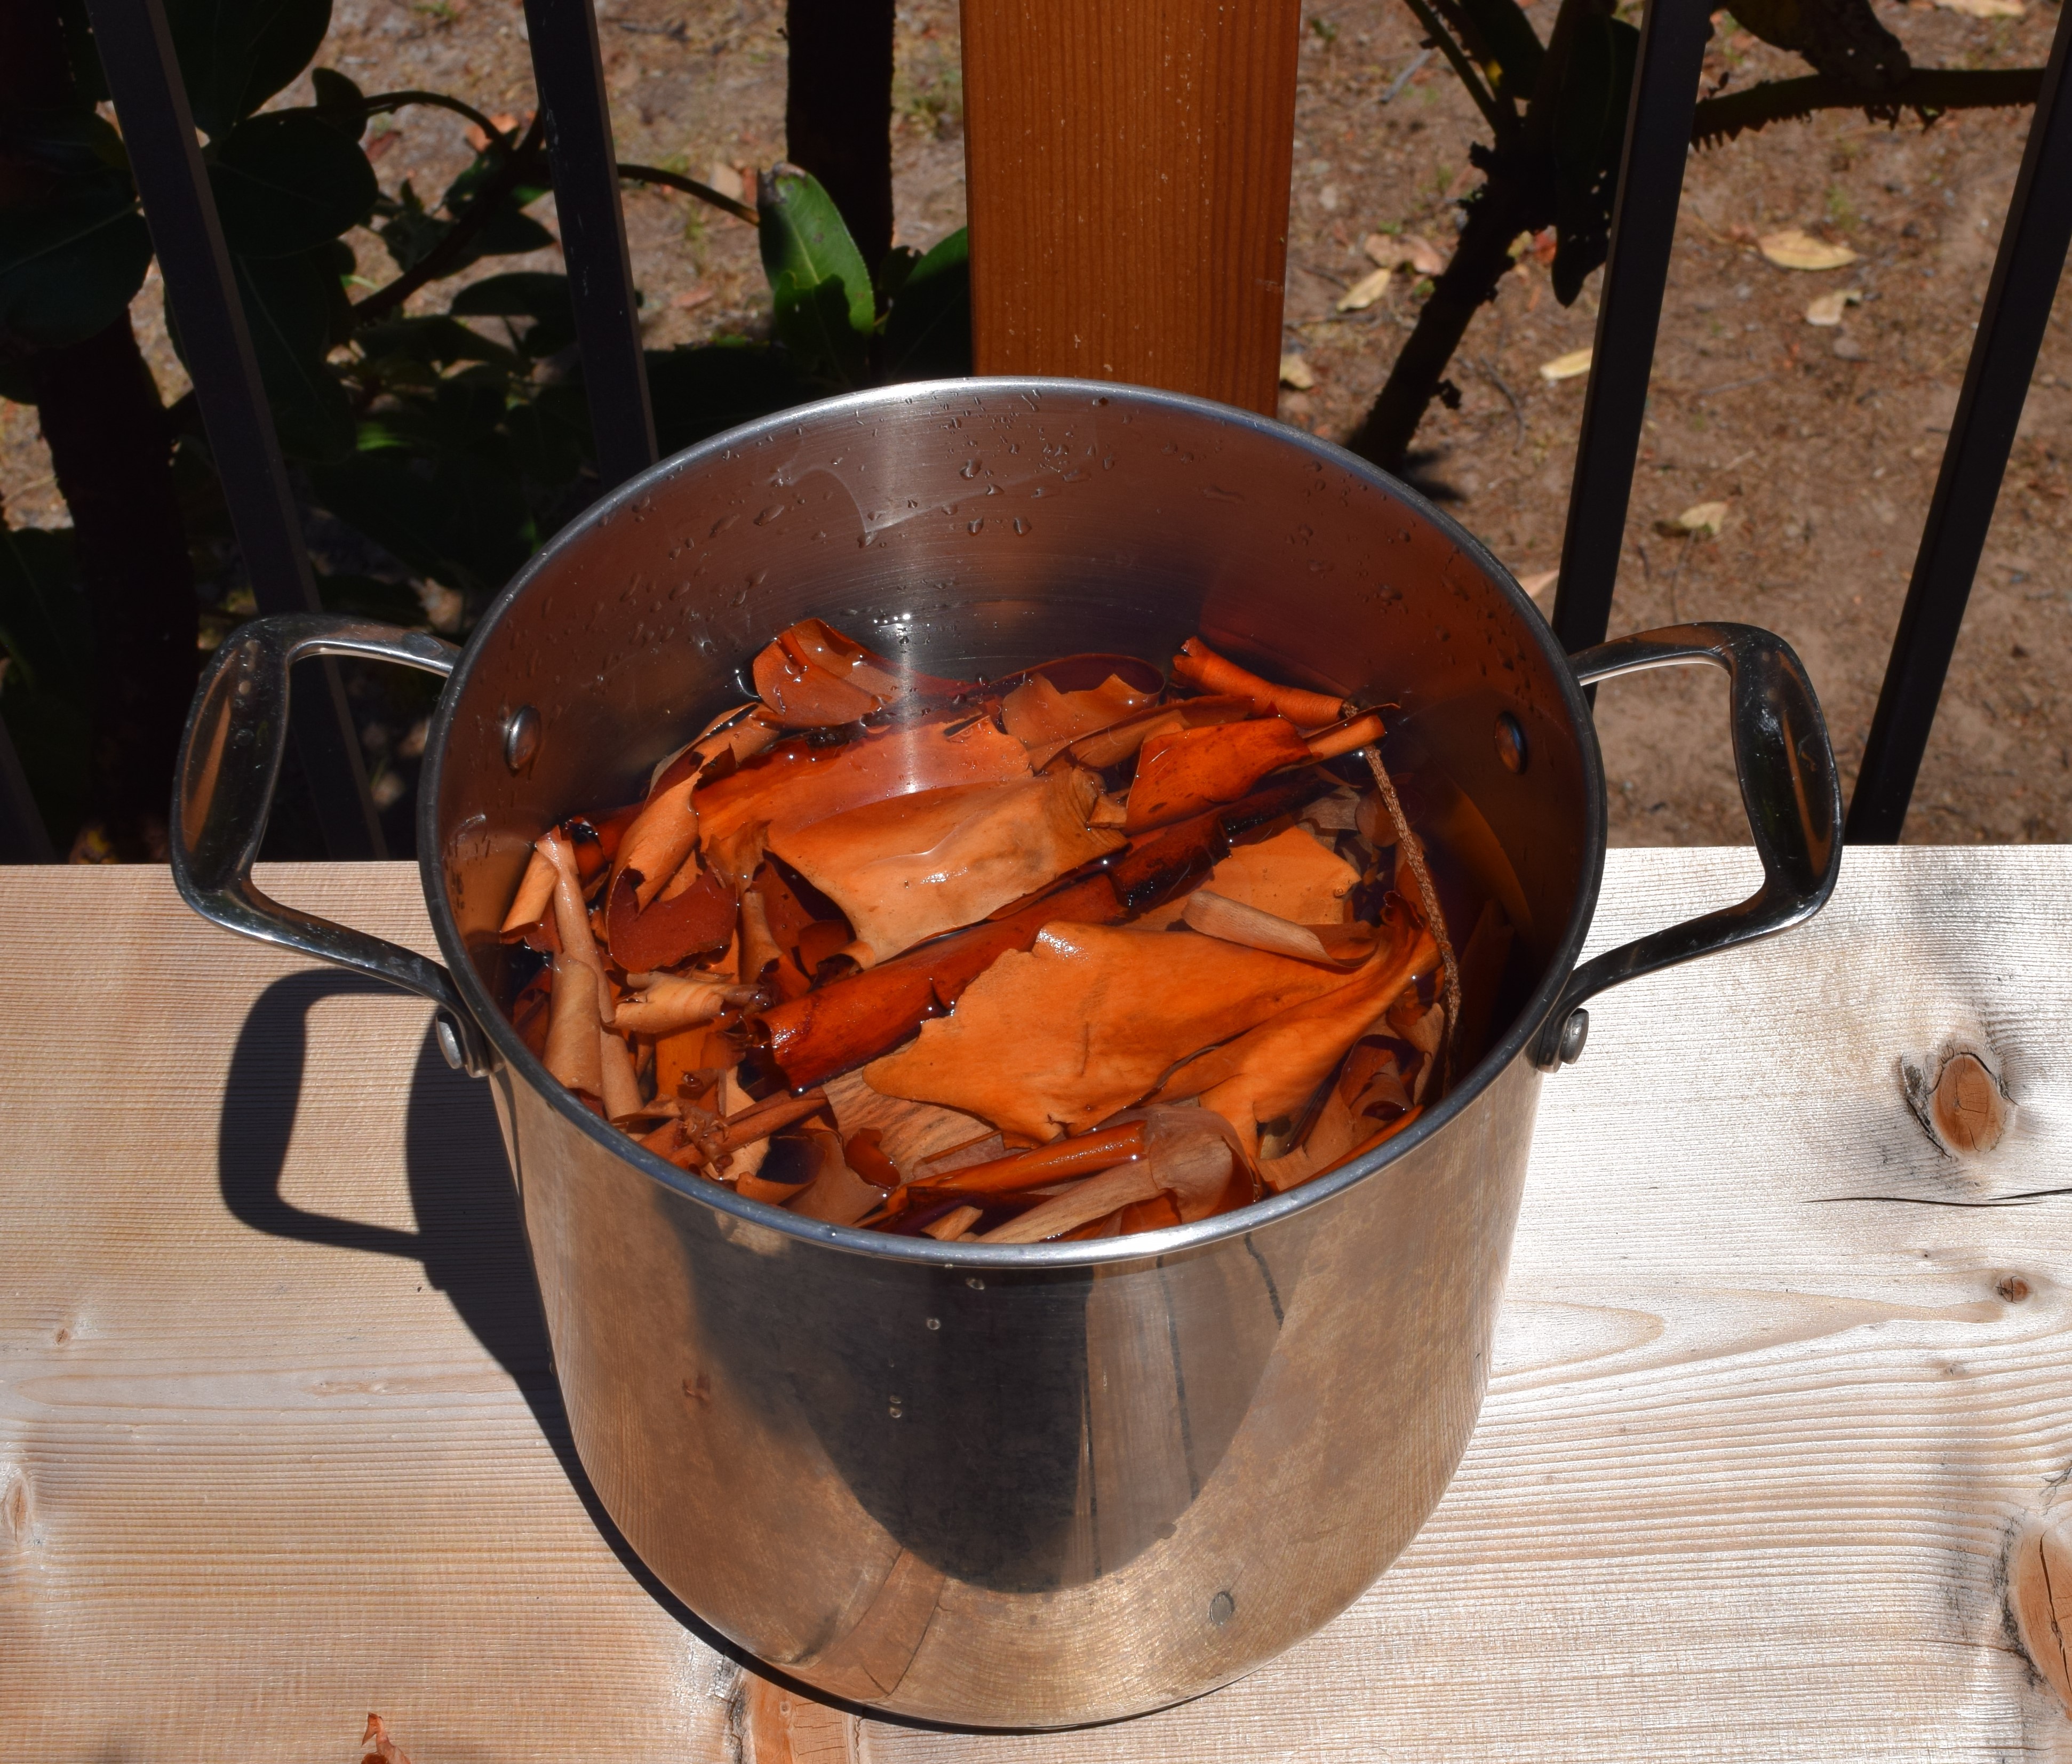
Here’s what I did: First I let a half-full pot of peels soak in water for one week, out in the hot summer sun. The water evaporated significantly, and I topped off with the hose when I filled the little bird bath. The color of the water was rich and deep orange-brown, and so very much like the actual bark.

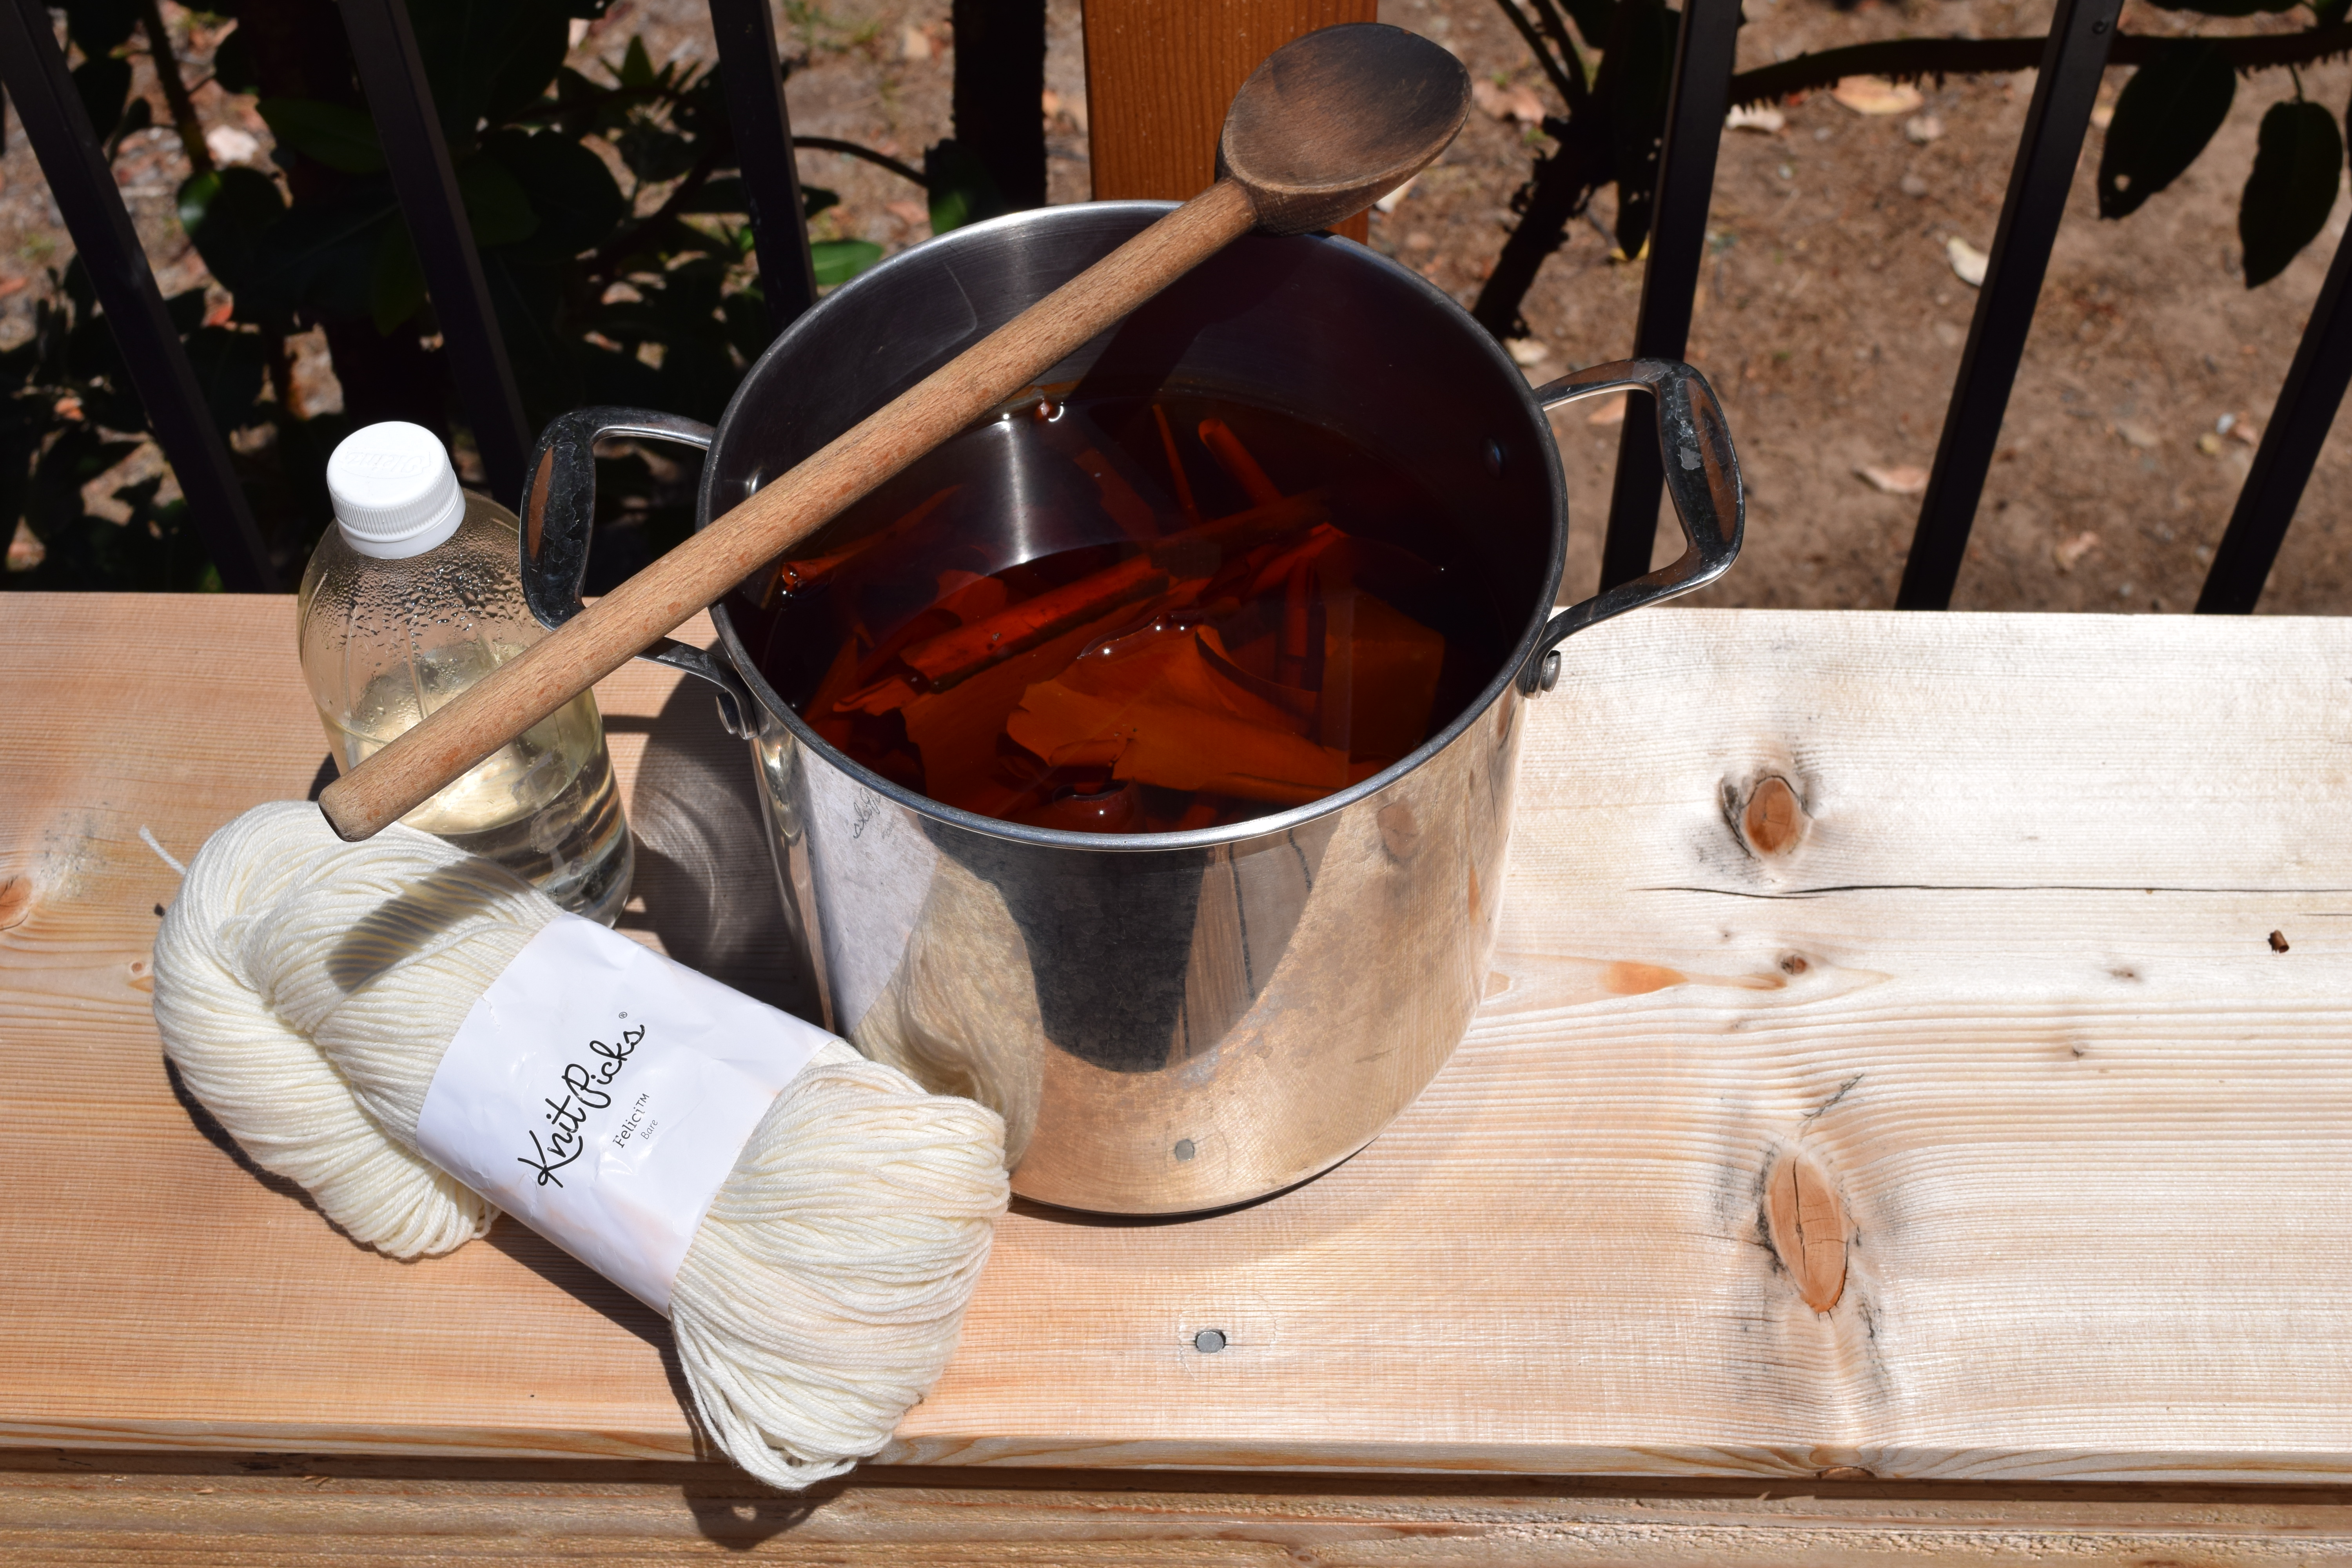
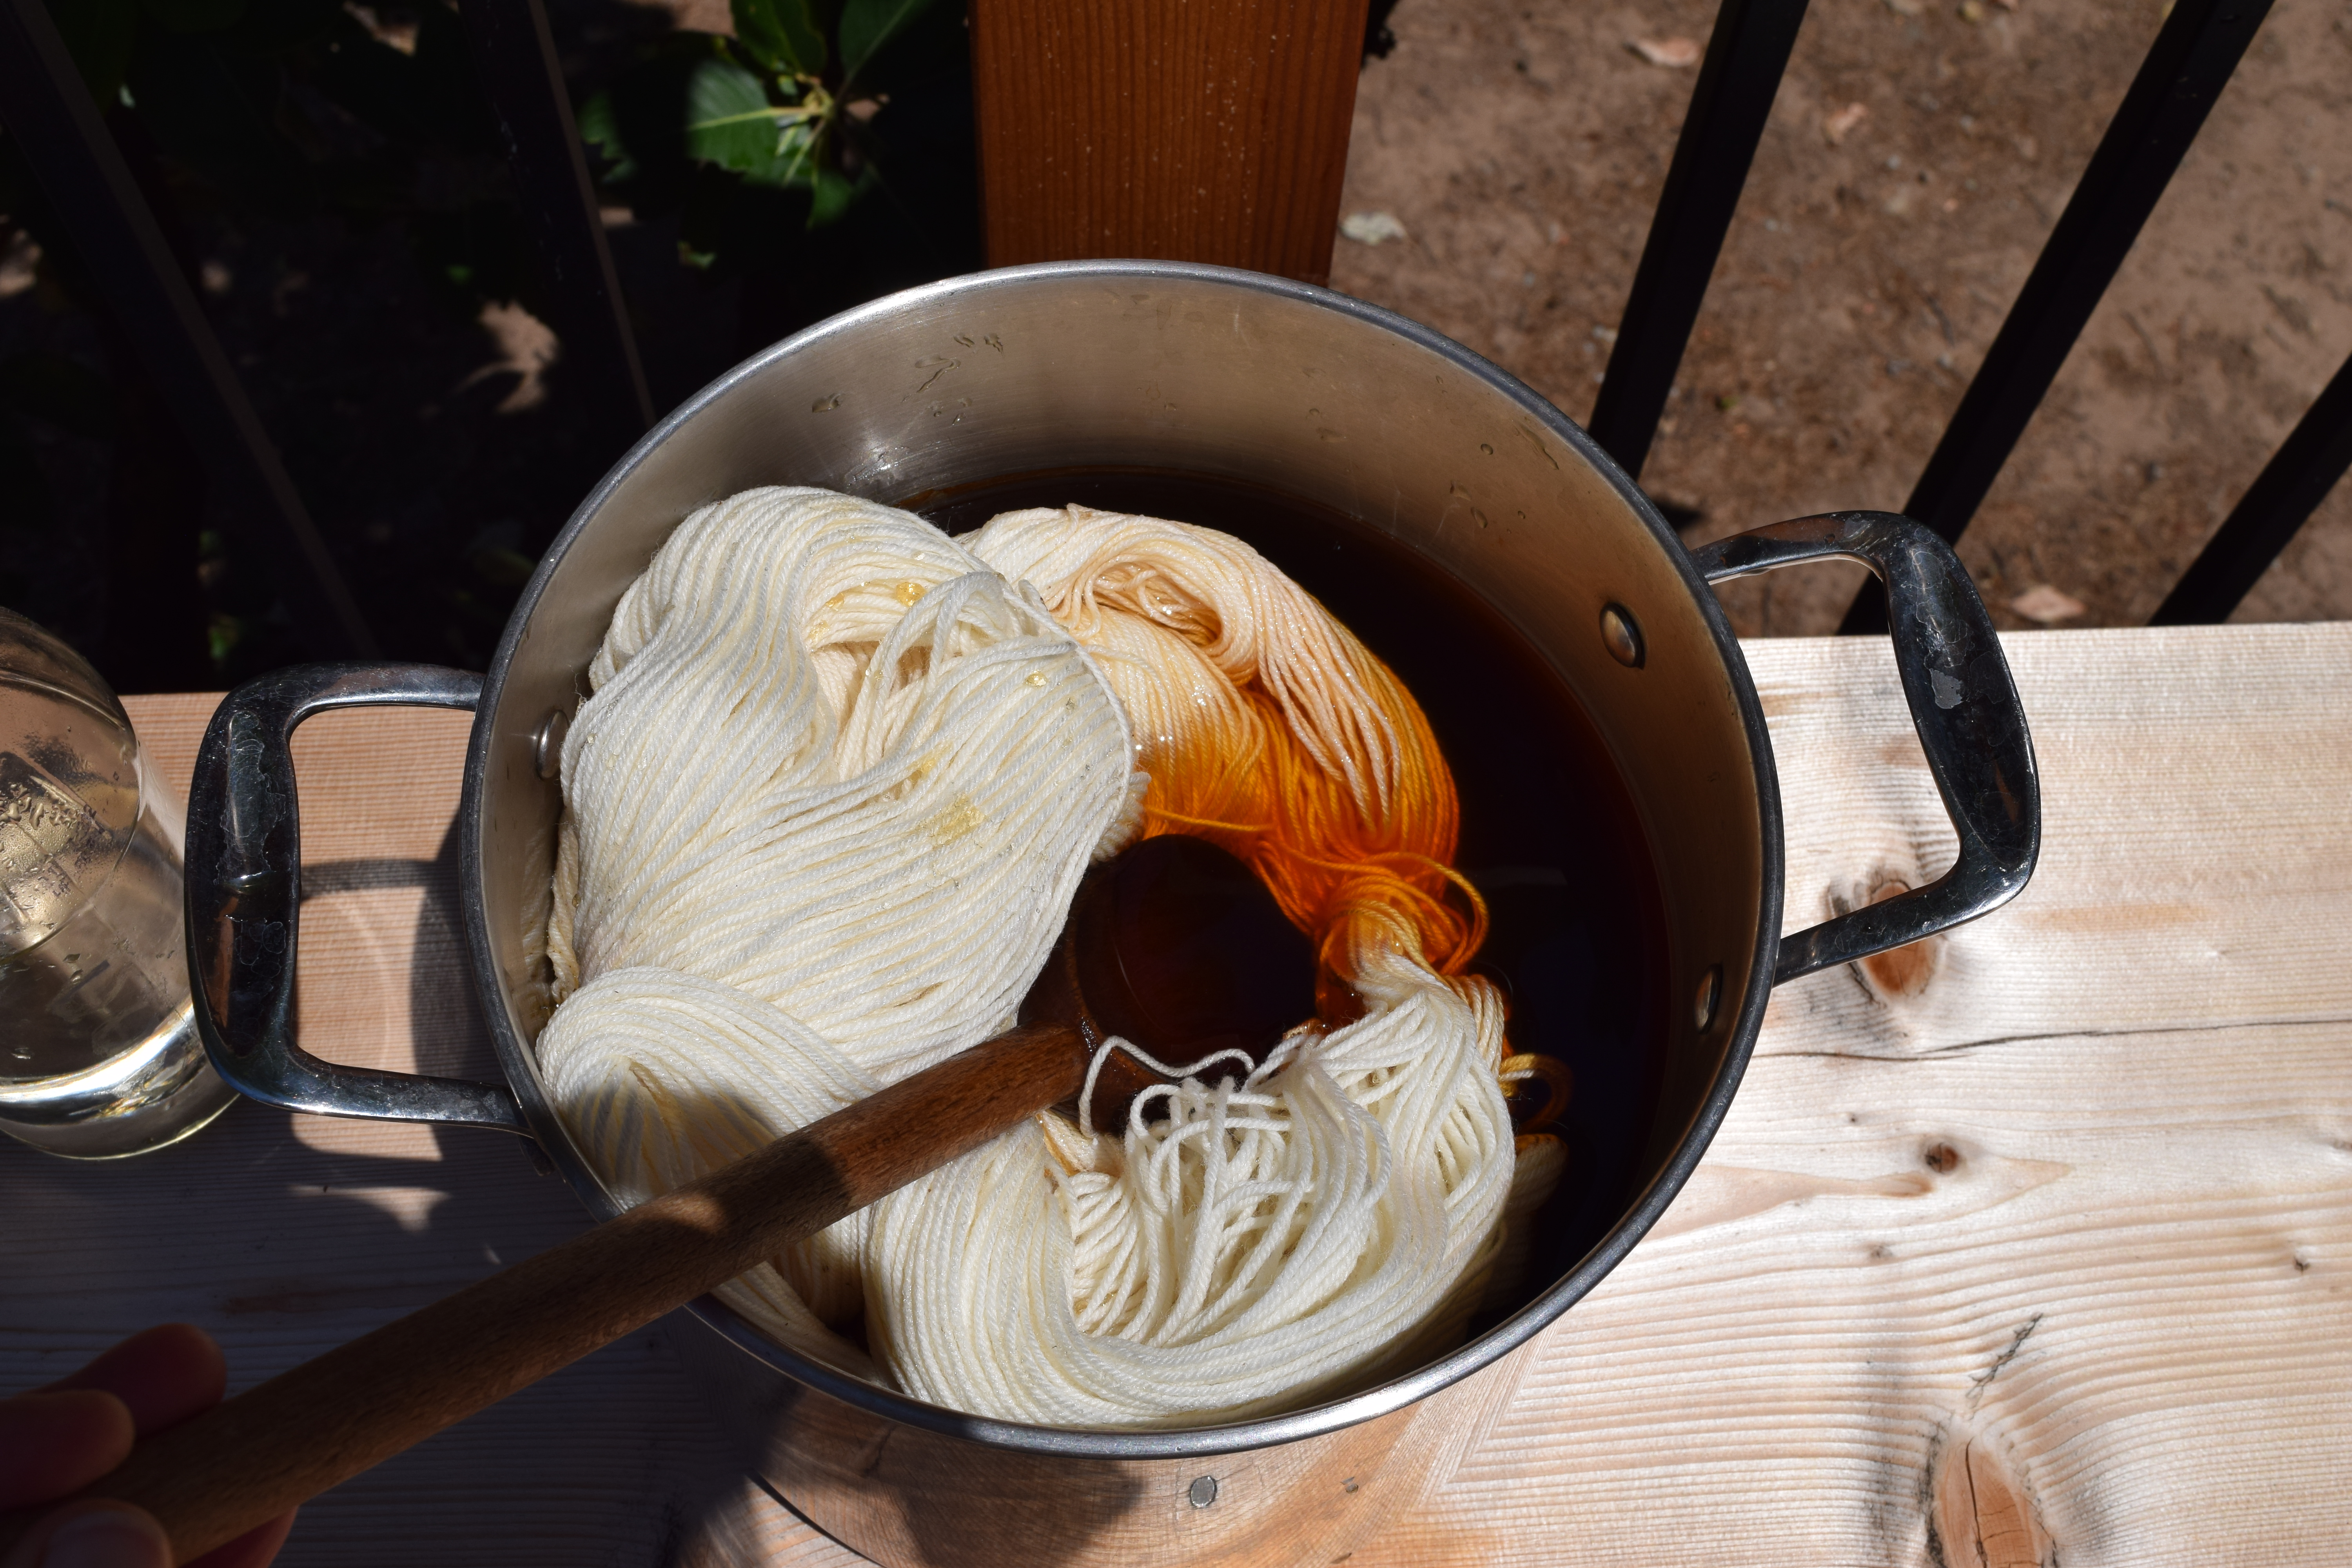
After a week had gone by, I looked in my yarn drawers, and decided that the 100g skein of Knit Picks Felici (75% Superwash Merino, 25% nylon) sock yarn would be perfect. Then I merely lifted the peels of bark out, as I don’t have another large pot to pour into through a sieve, poured a splash of white vinegar in and pushed the skein in dry. The rest is up to temperature, so I simmered slowly for about 40 minutes, the dye exhausted in the water as much as it could, and into the yarn.

The camera never can describe a color as well as words: It is beautiful pale warm shade, just like the varied colors of terra cotta as the madrone leaves everywhere, which honestly has been a favorite nature shade of mine since I can remember. Wet, the color of brick fired clay.   Dry, it is nearly indescribable… a very light clay. Pinker than beige, or more orange. Oh well, the camera is going to have to do the job. Satisfied with the tone and hue of the yarn, I’ve decided to try another dye bath of this now, only foraging a full stock pot of madrone bark (and weighing the bark!) actually simmering it after it has steeped for a week in the sun, before dying, that might be Part 3 (Click first image and see slide show of the process) .

 Please see my post

Tweed Chronicles : Madrone