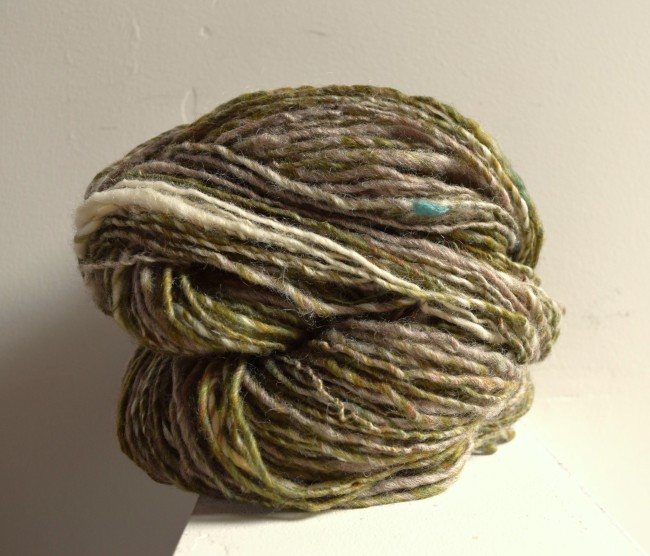
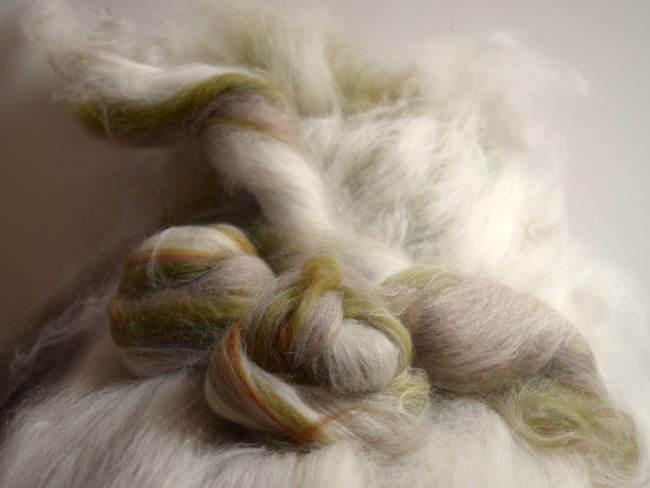
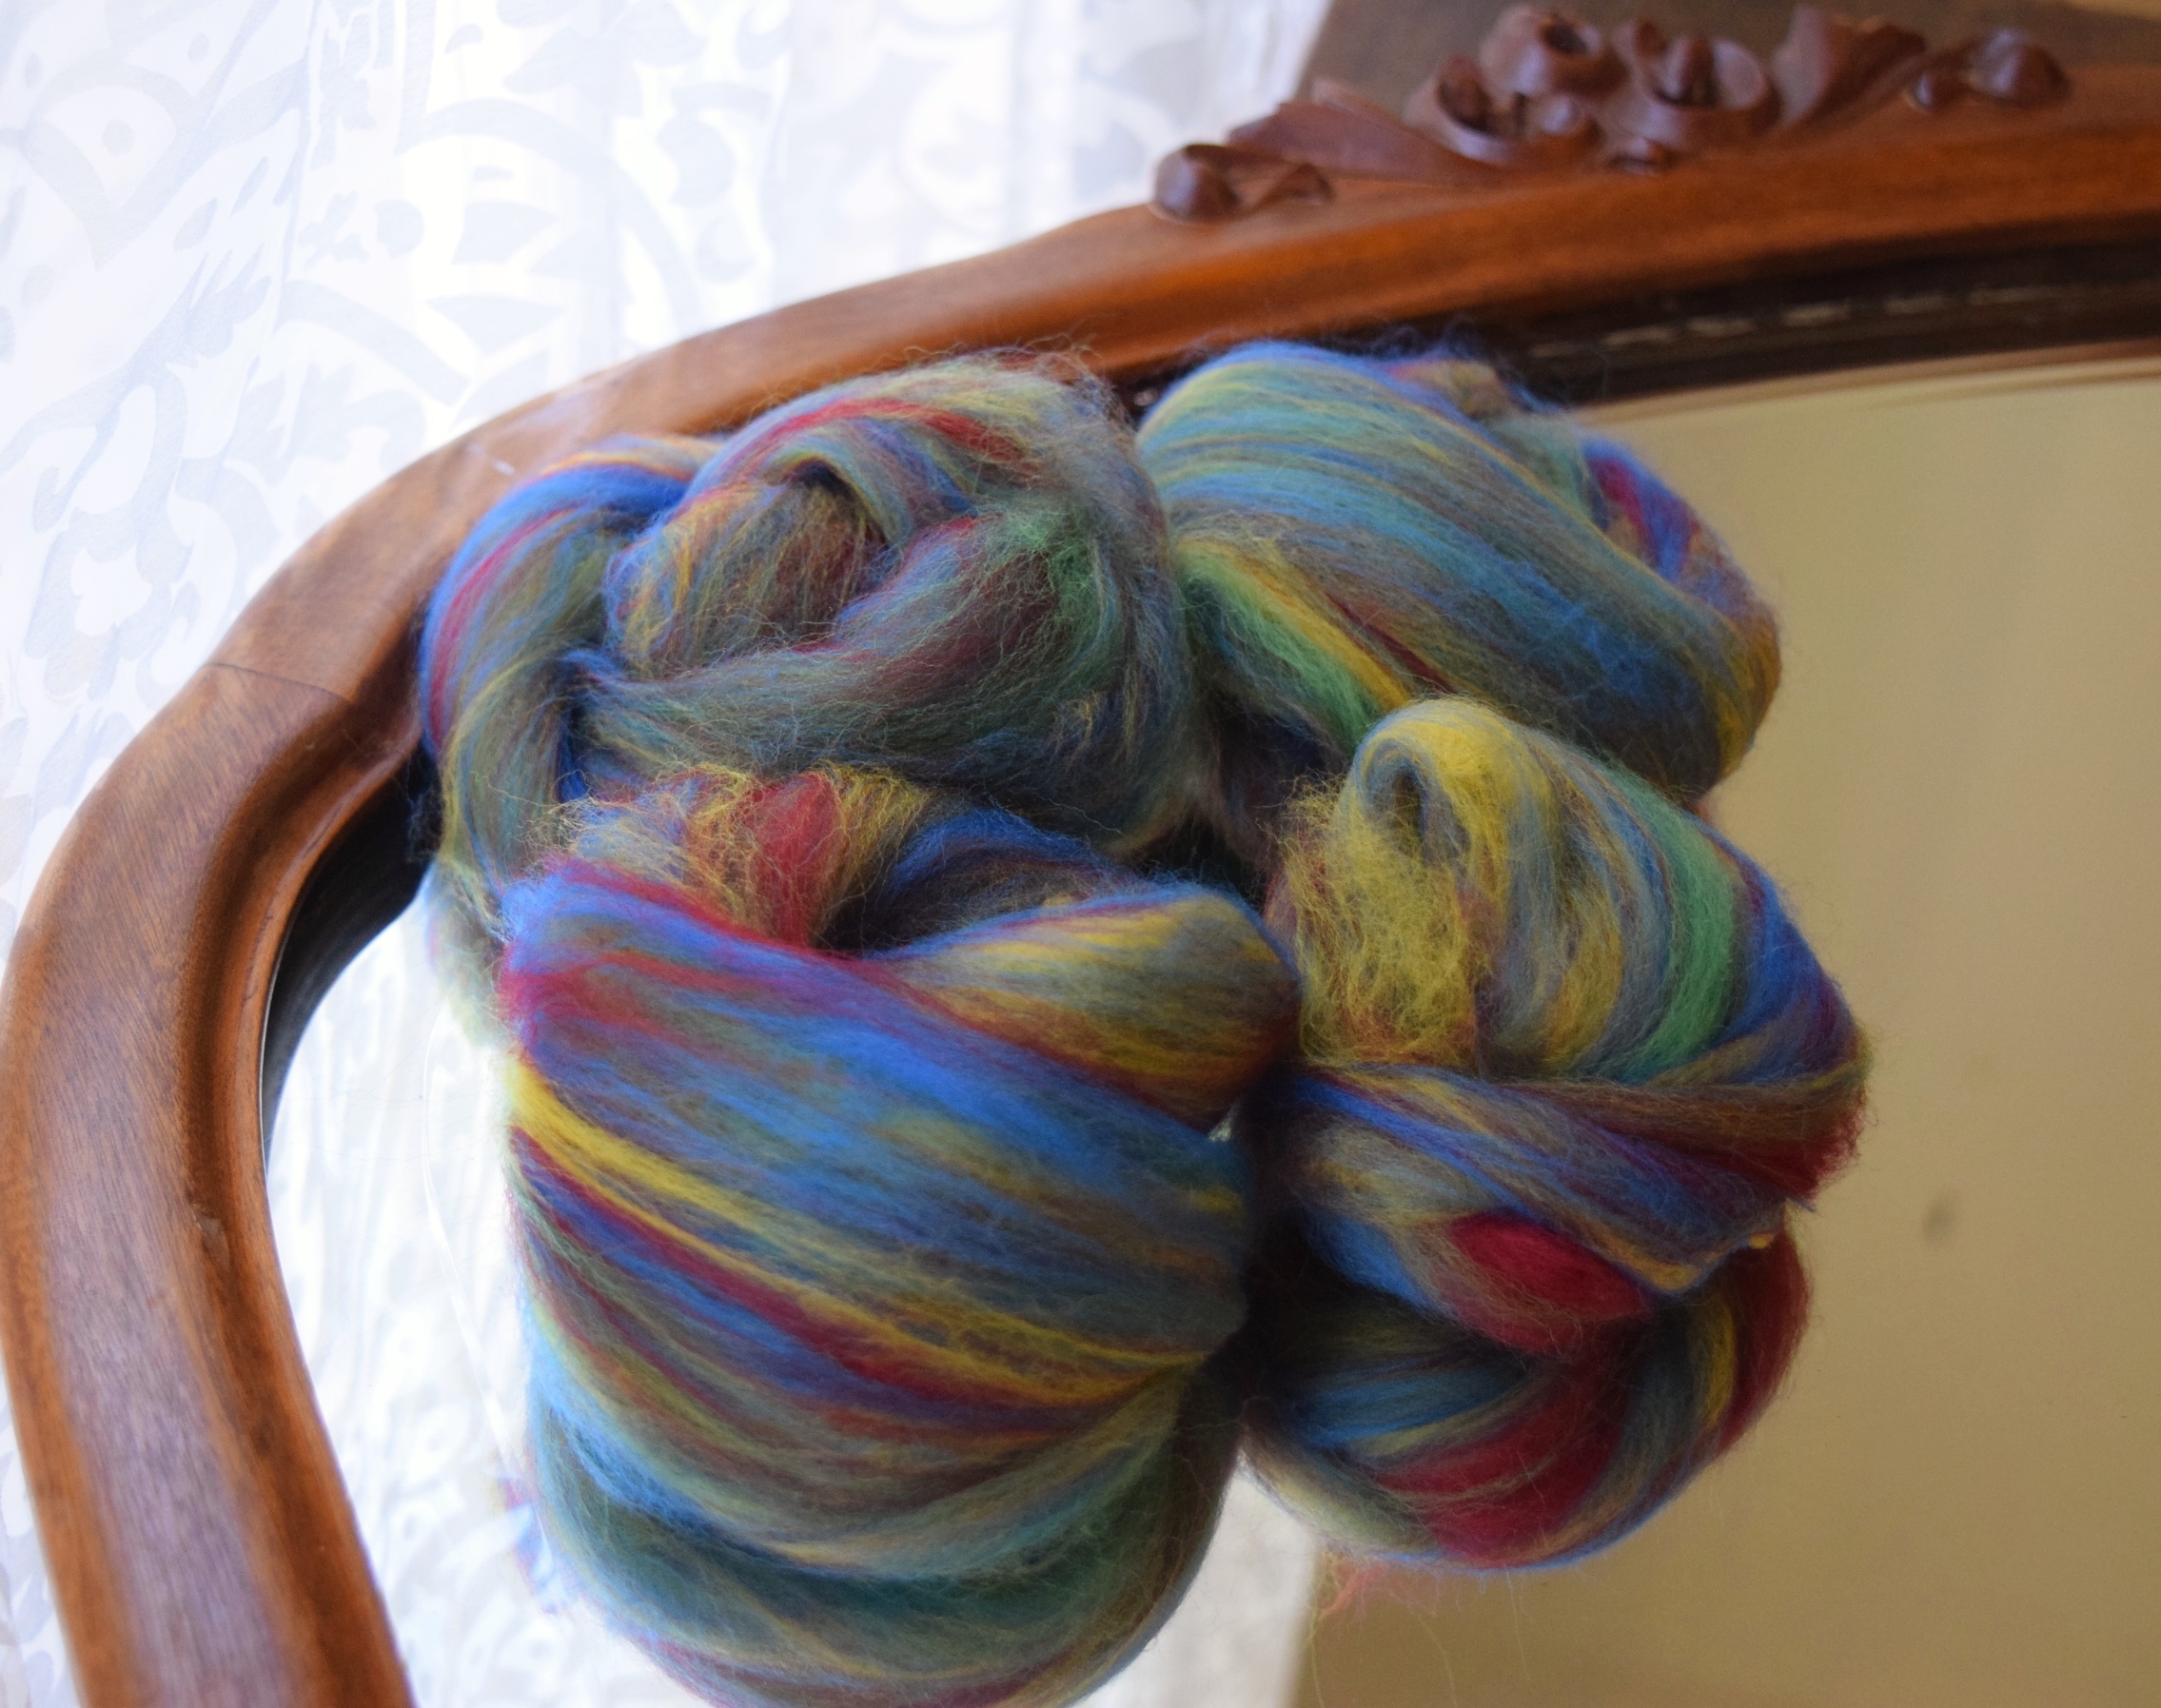
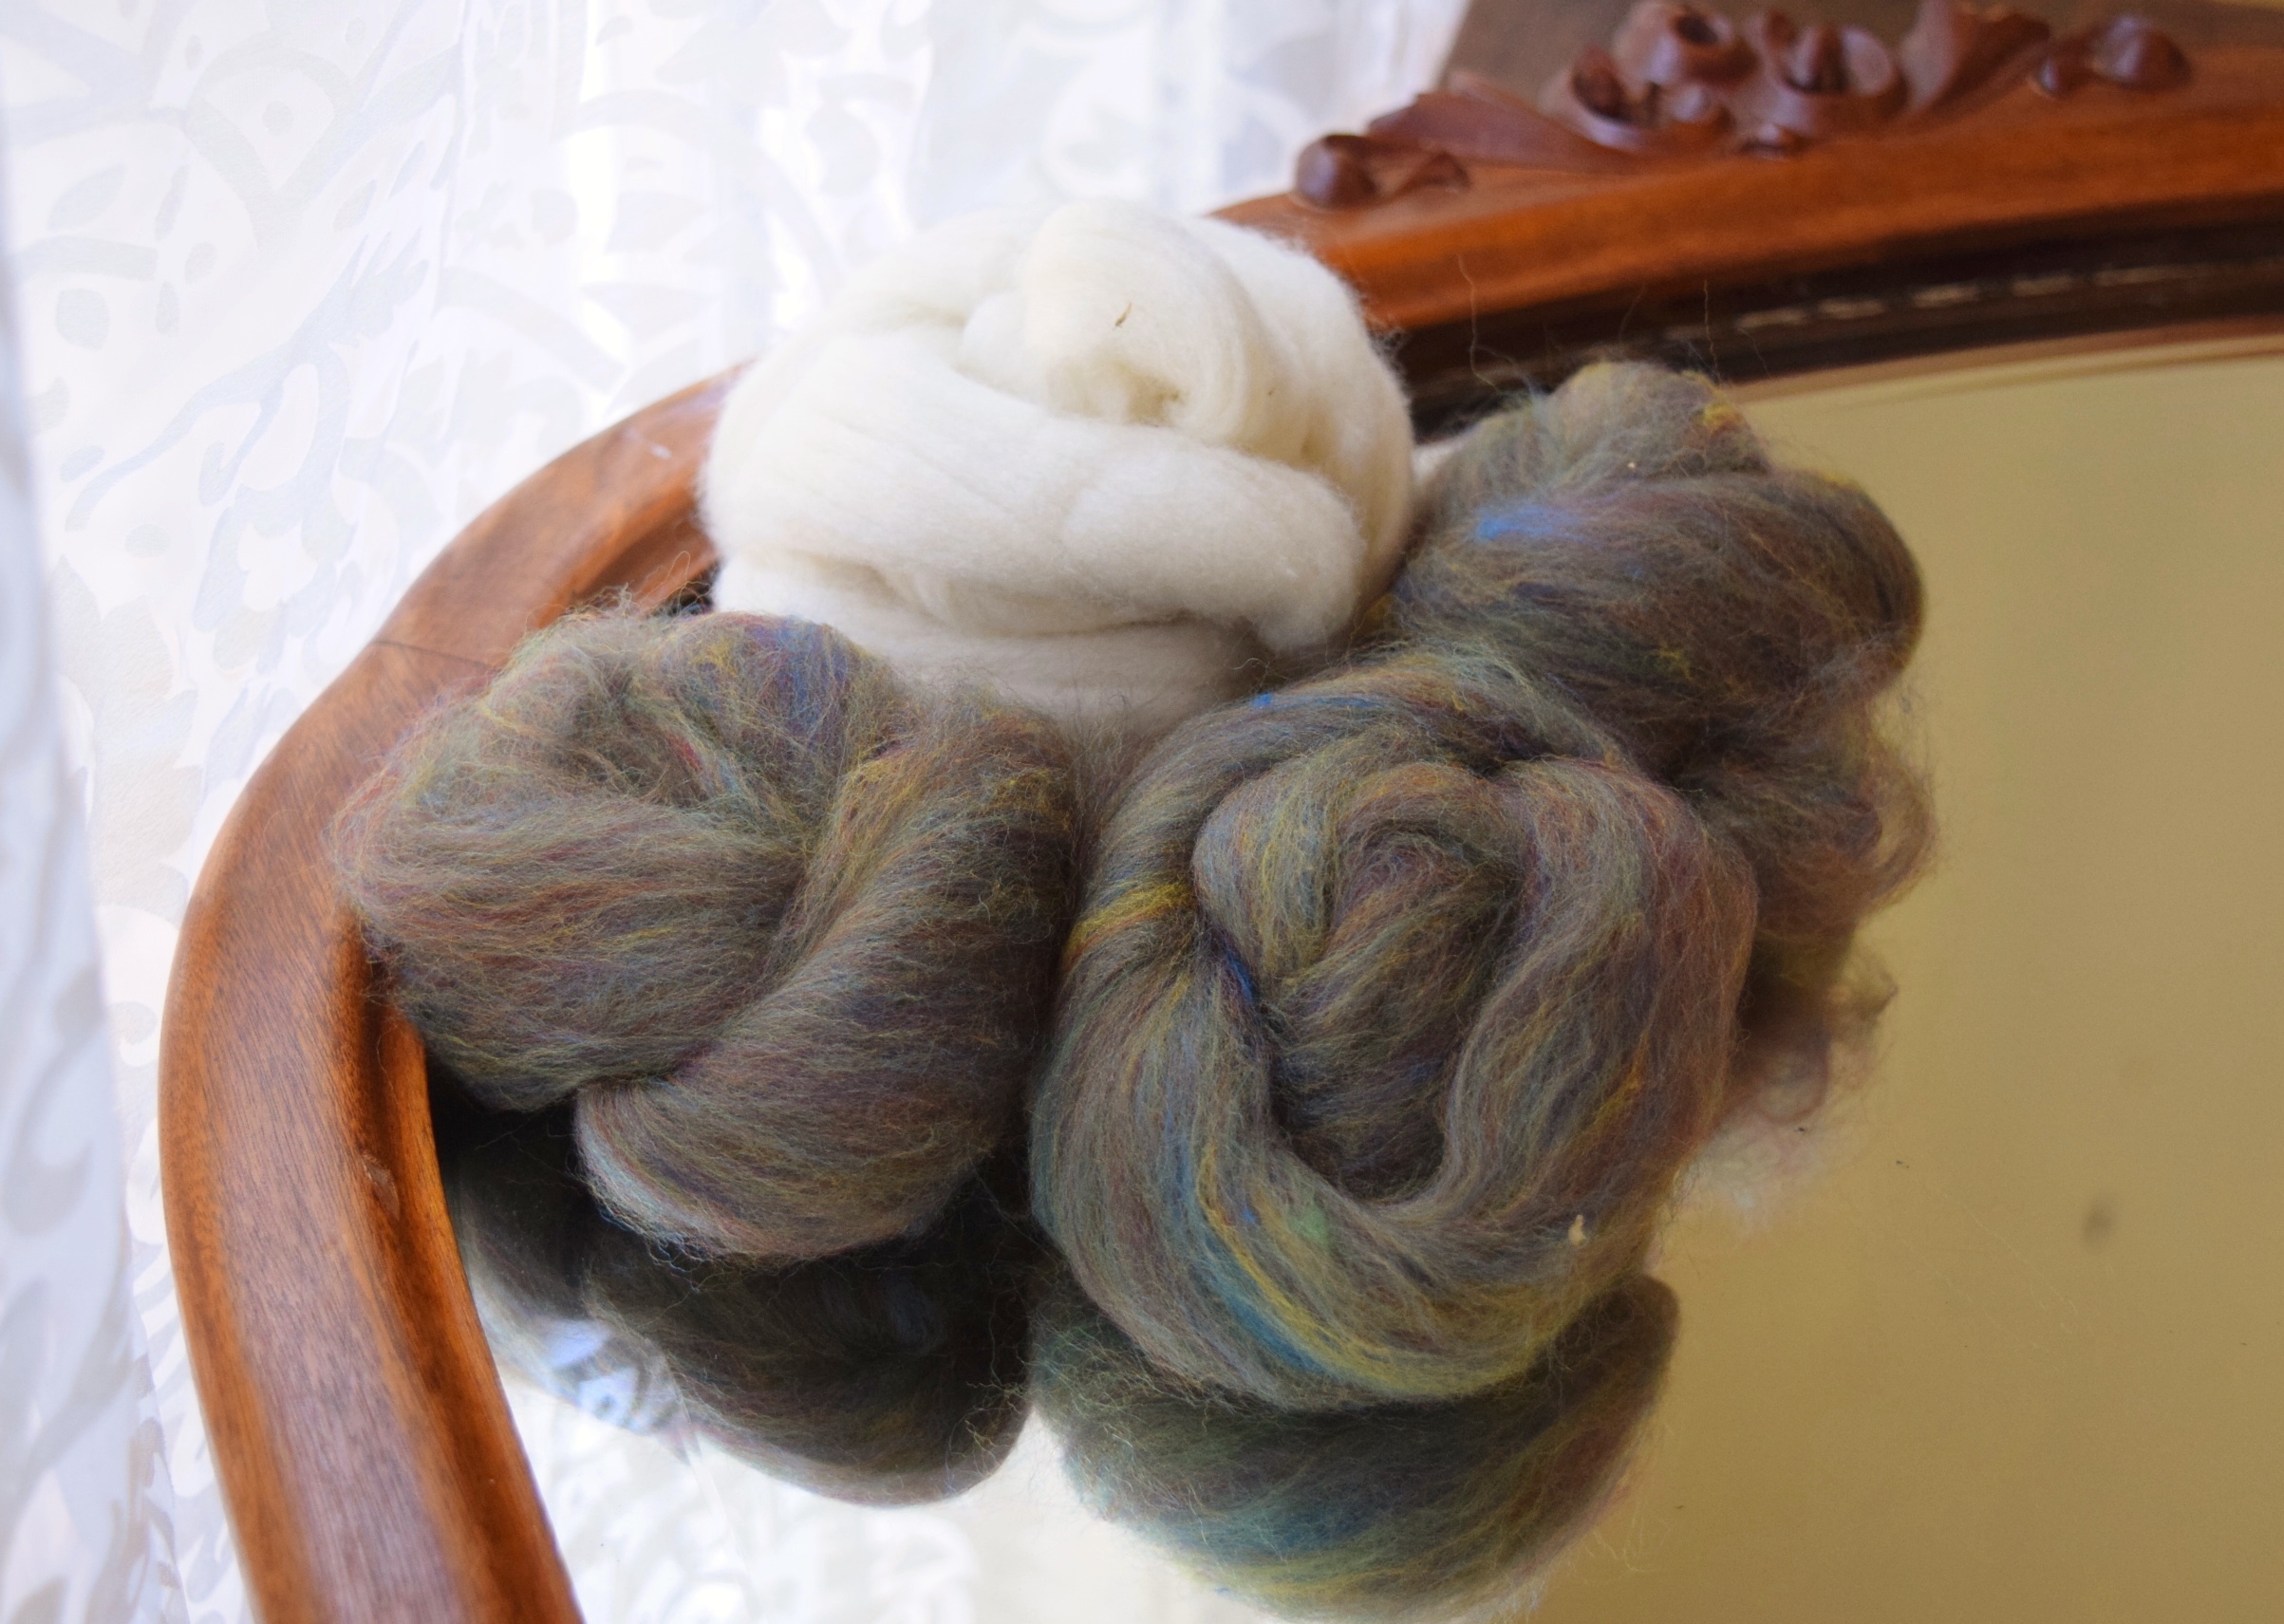
Speed Tweed #2 spun.

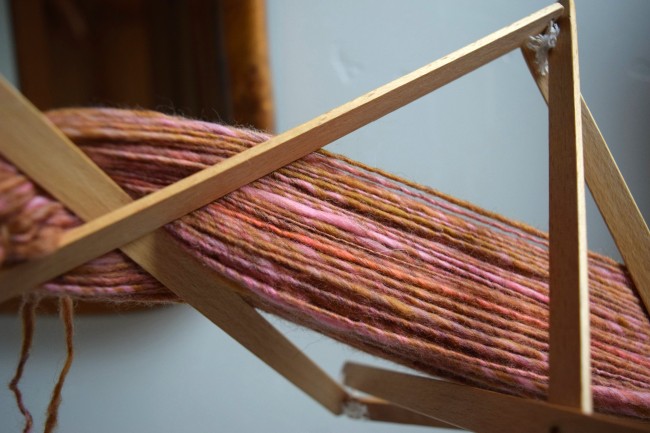
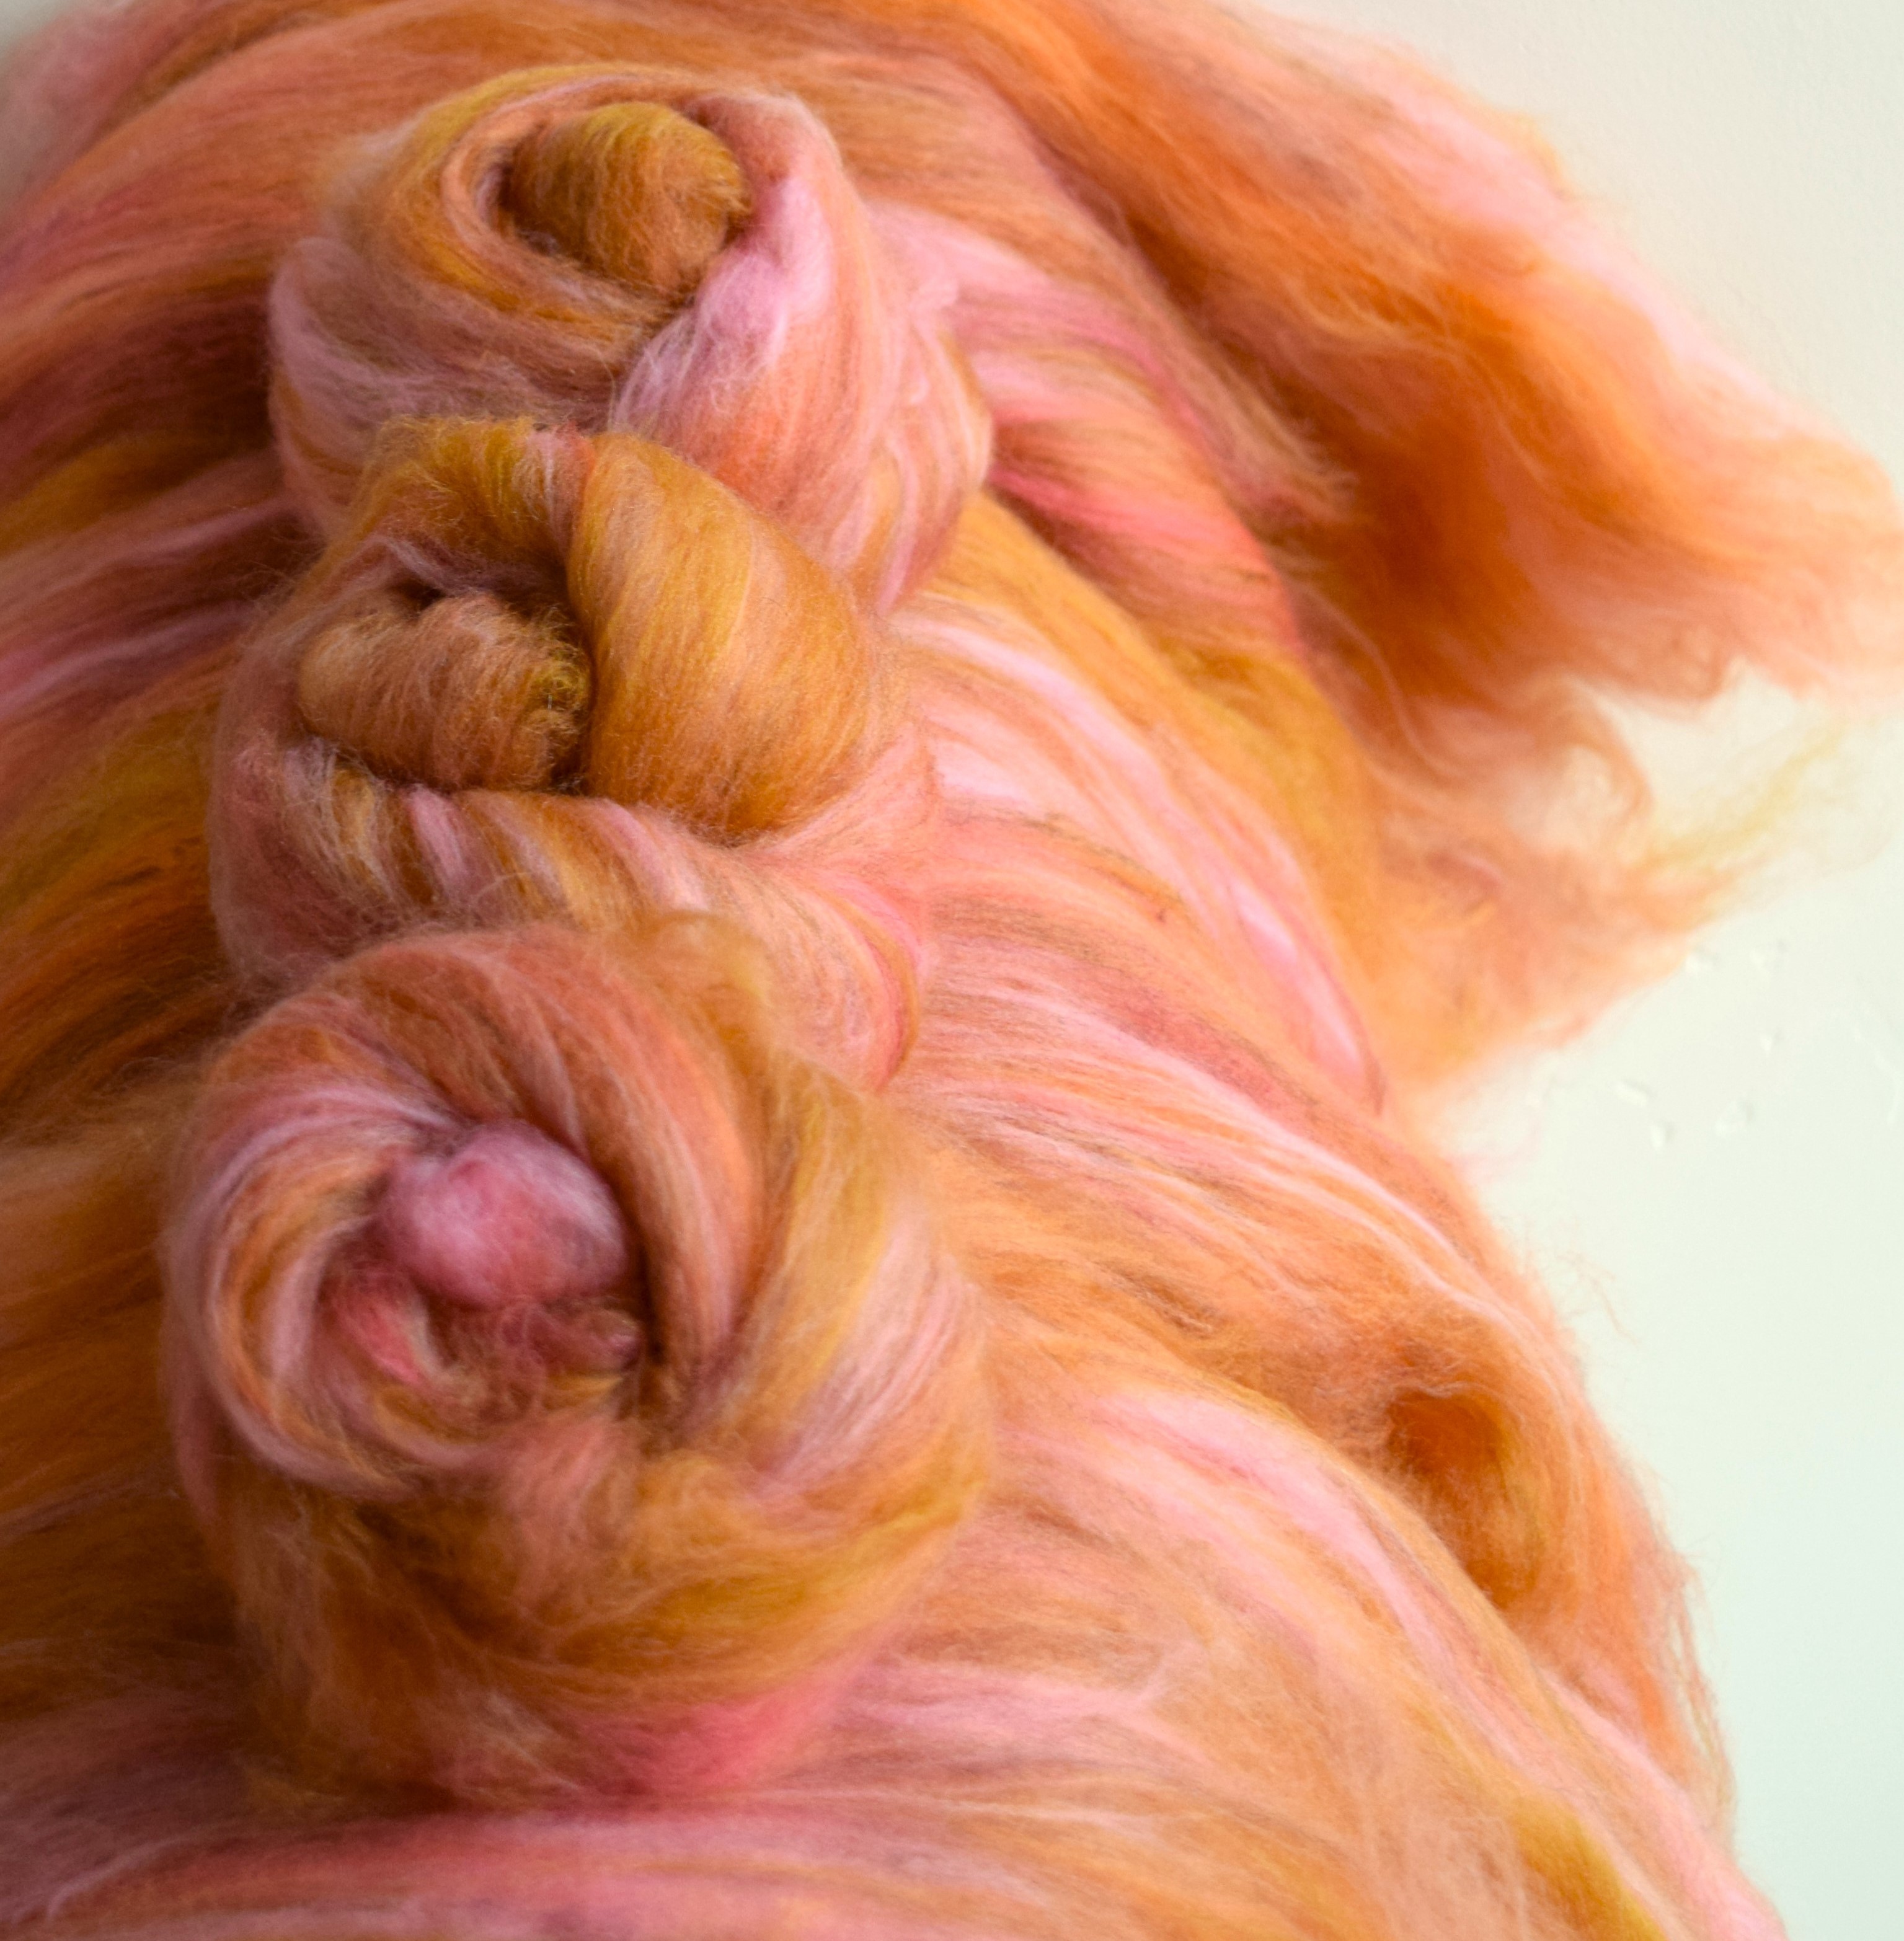
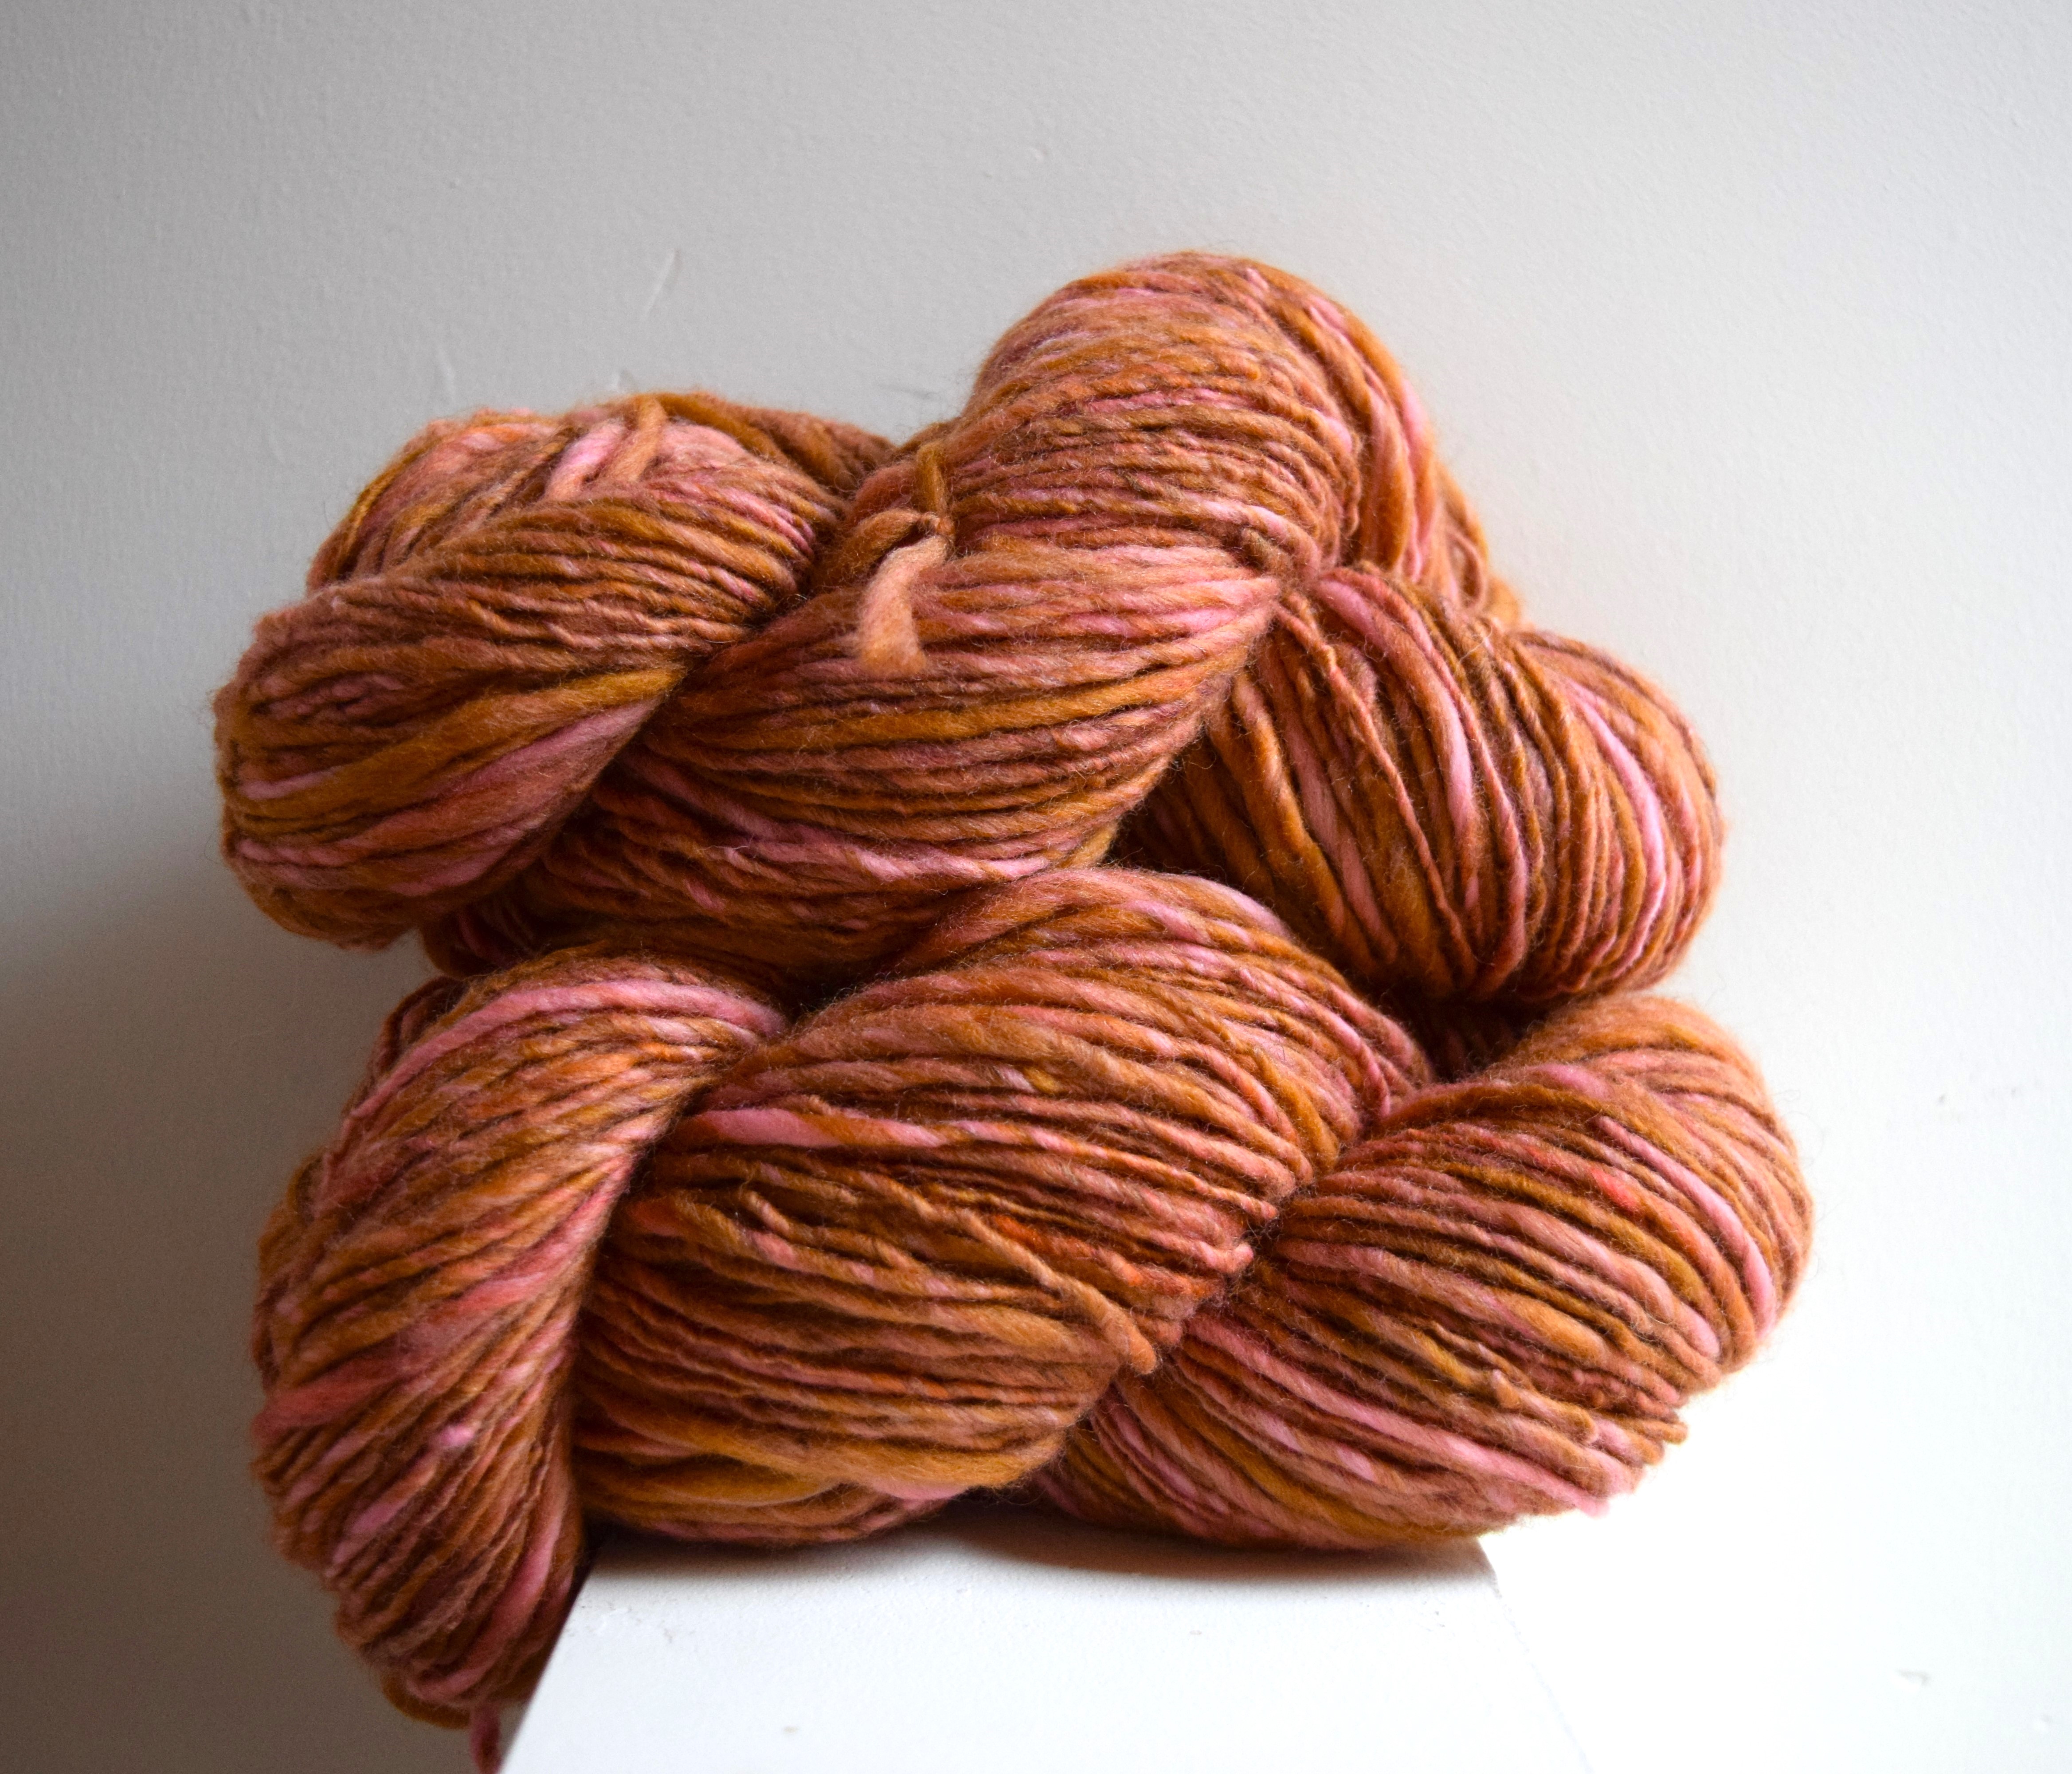
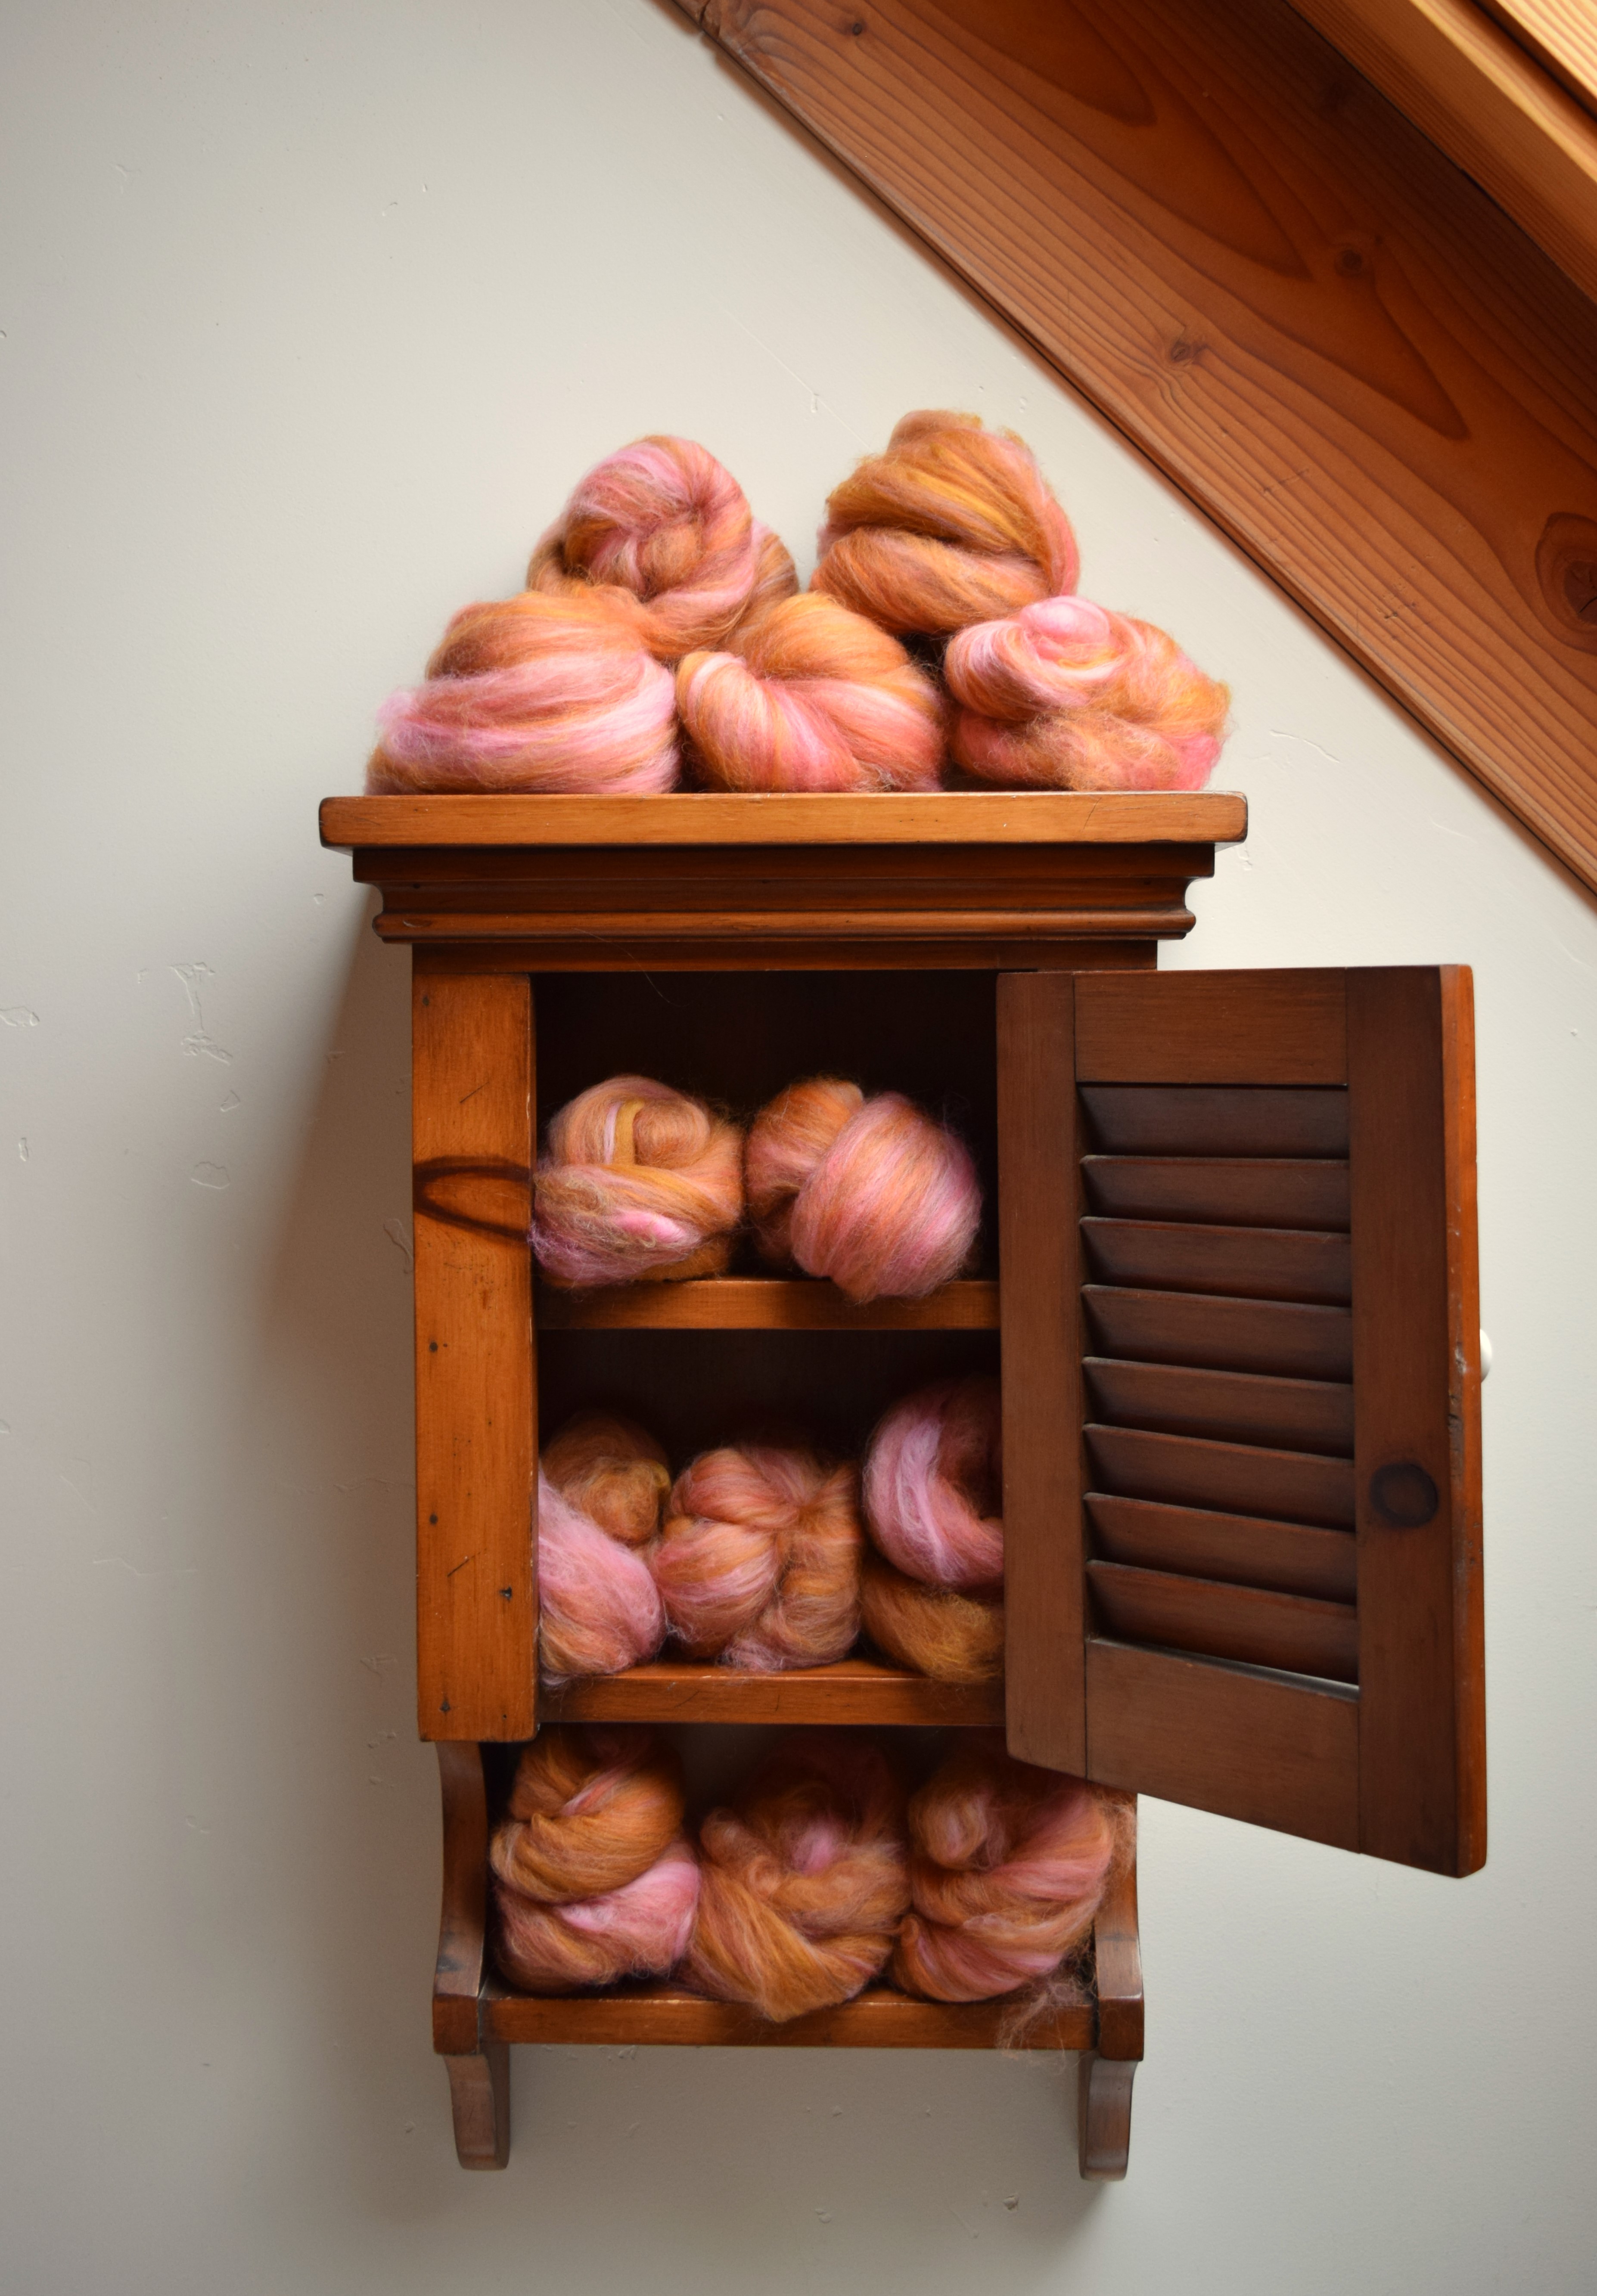
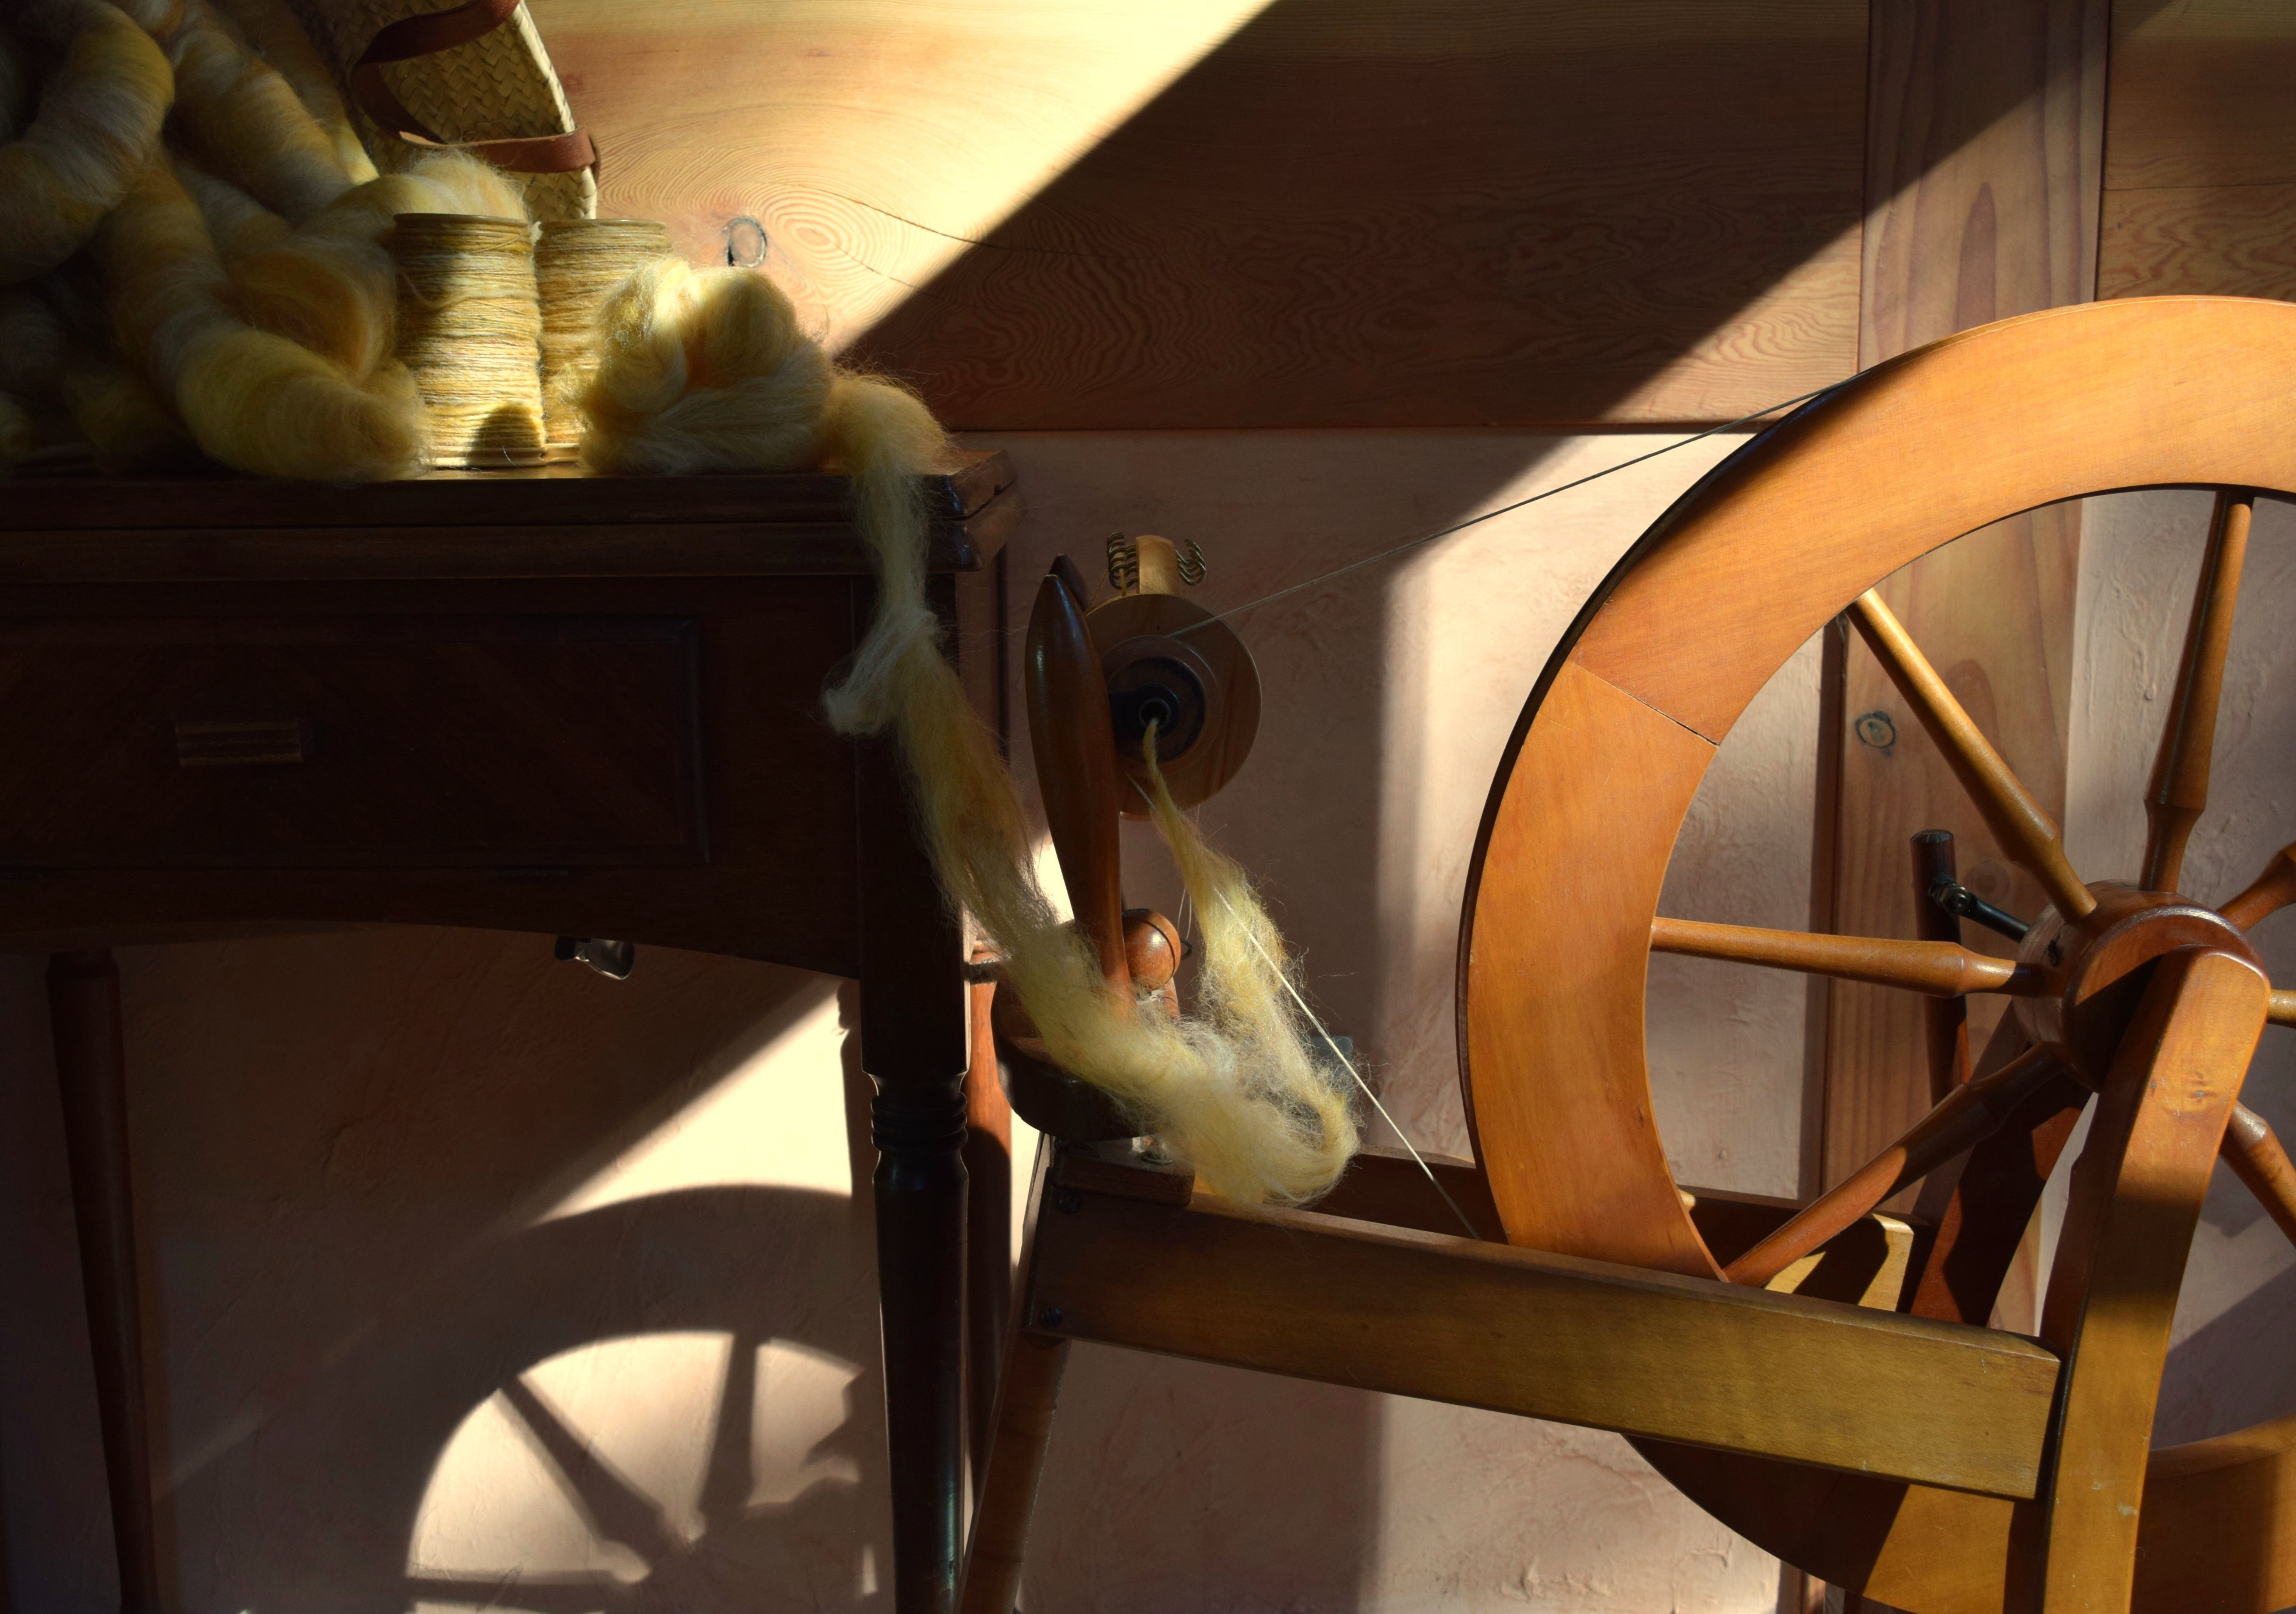
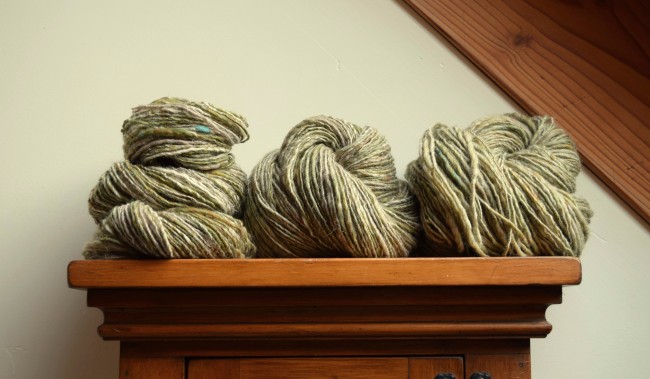
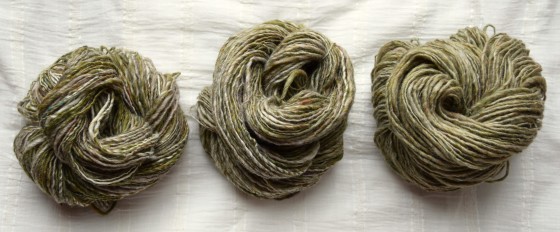
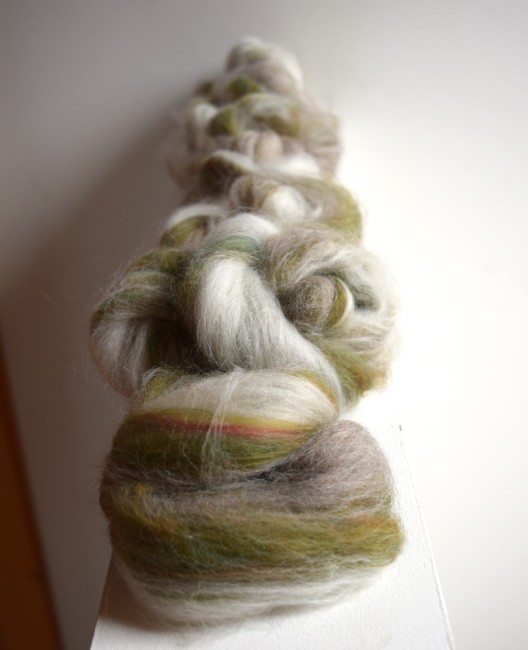
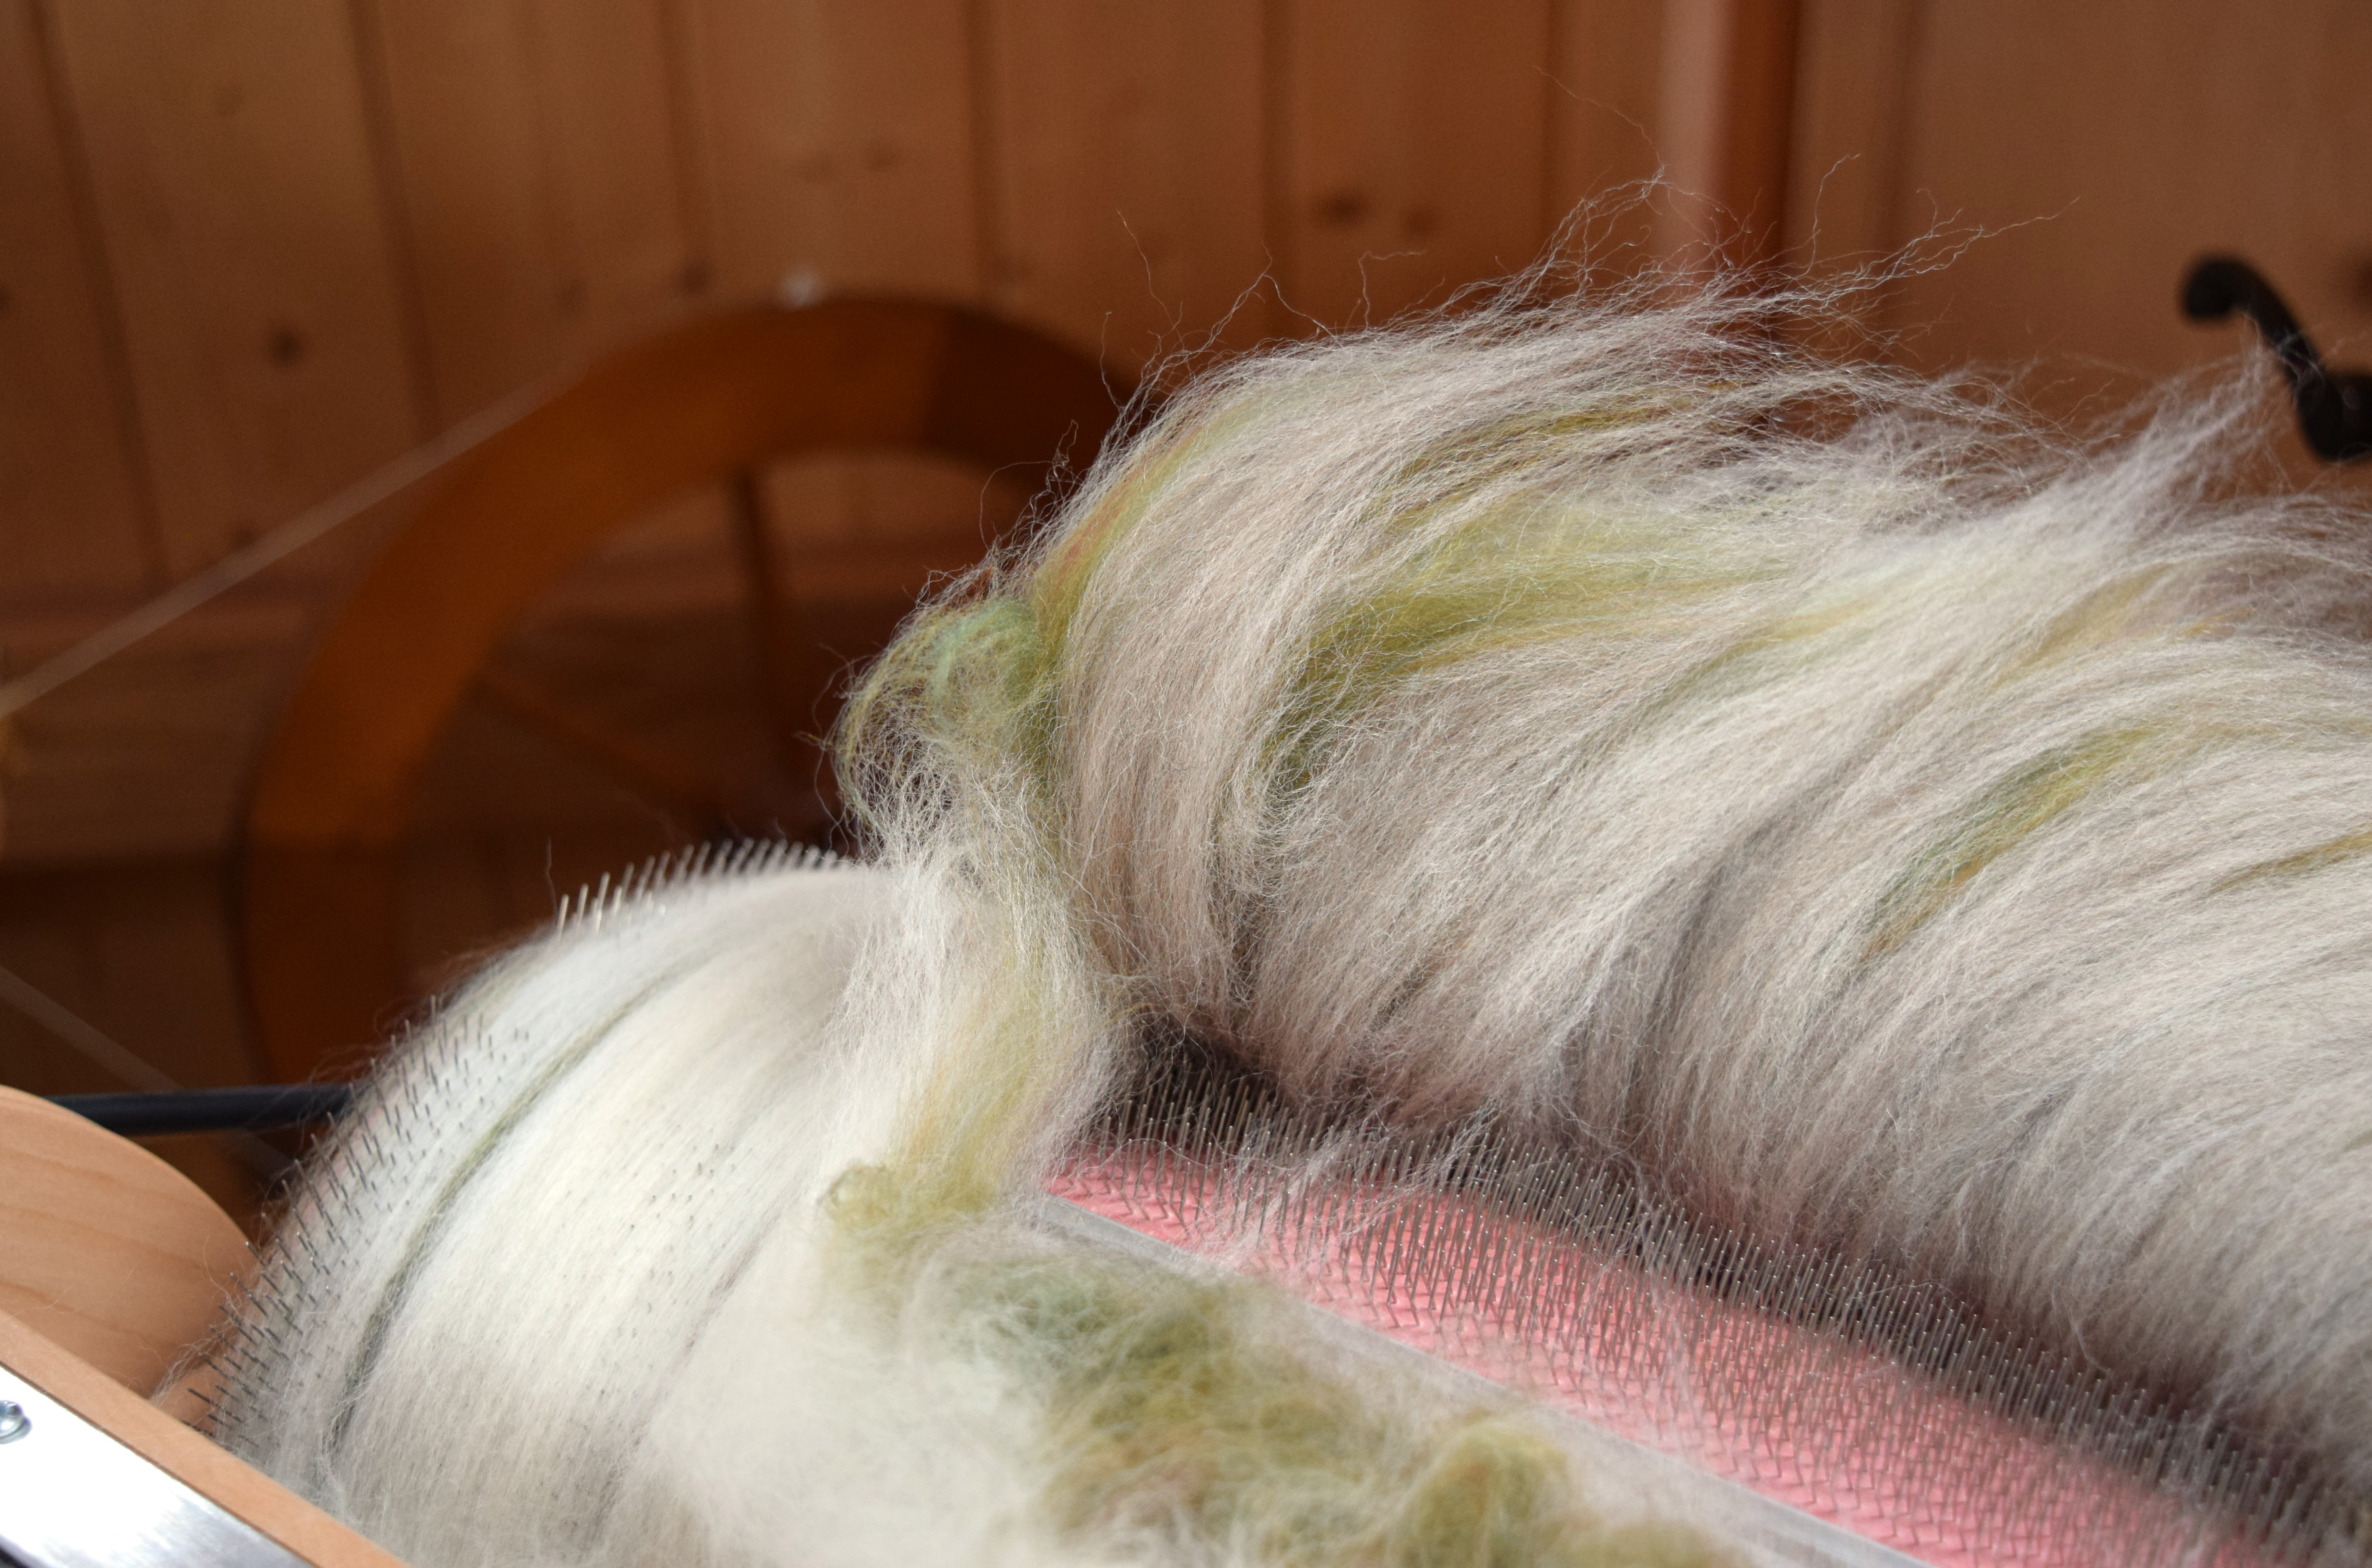
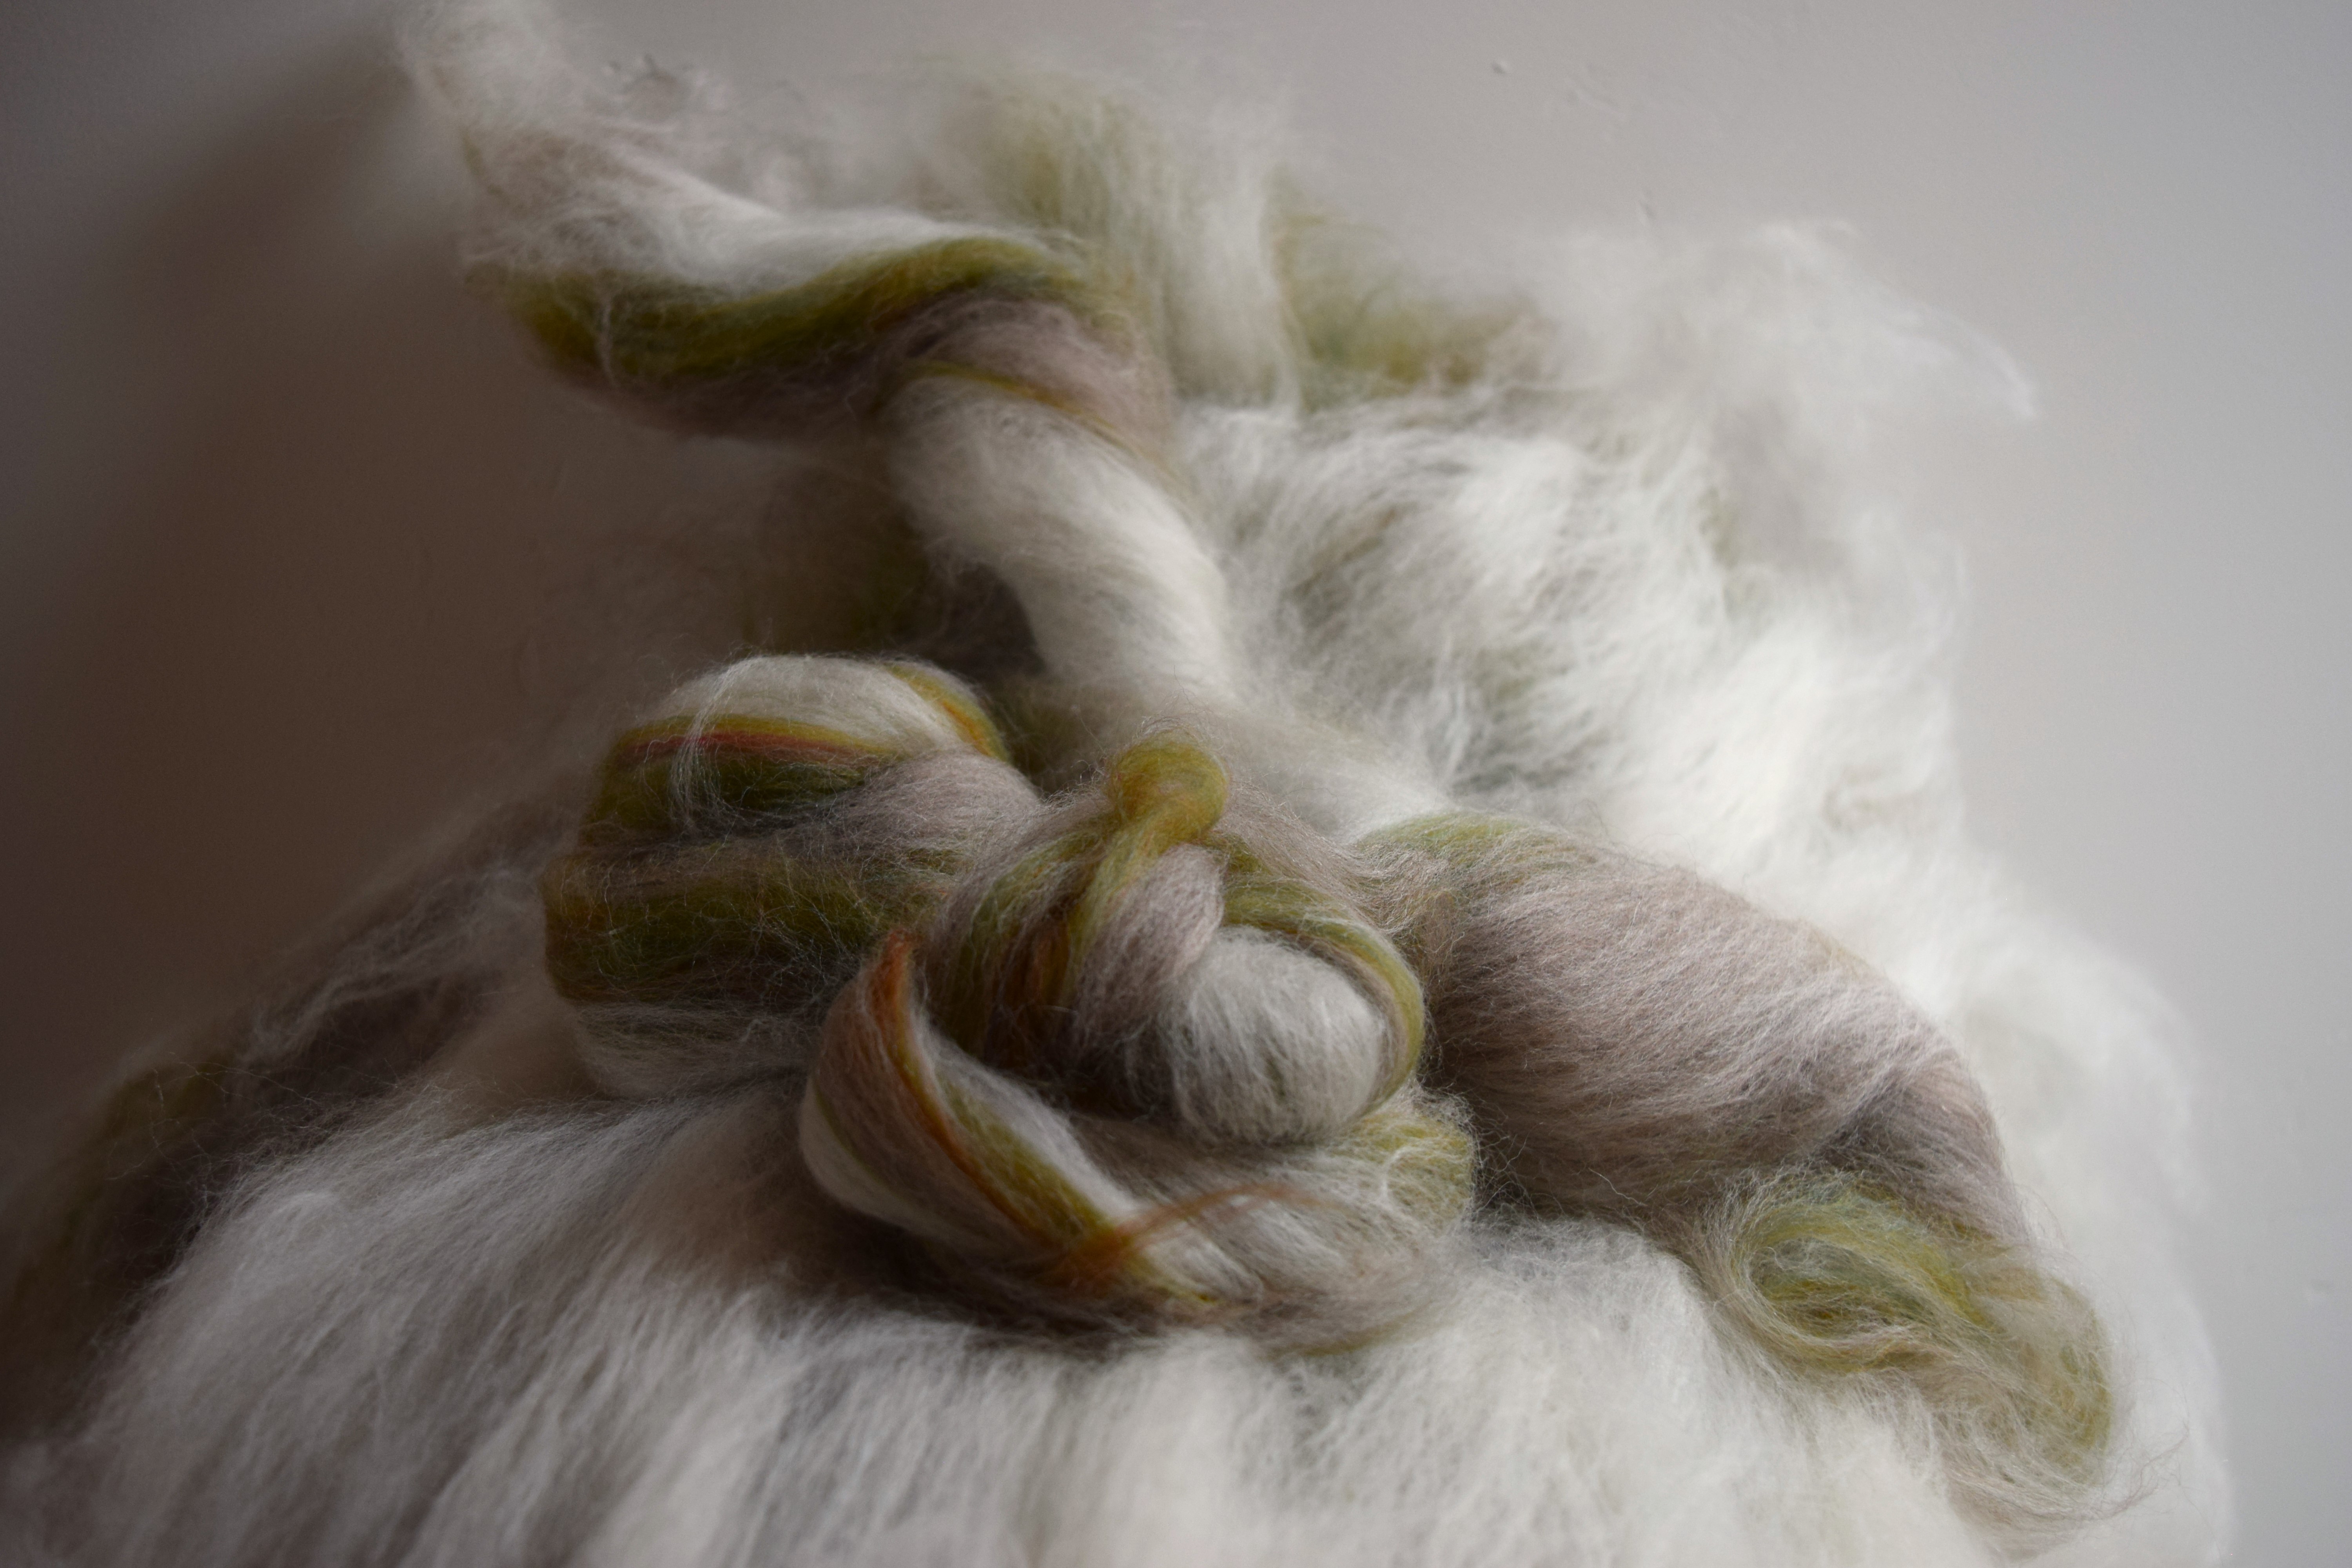
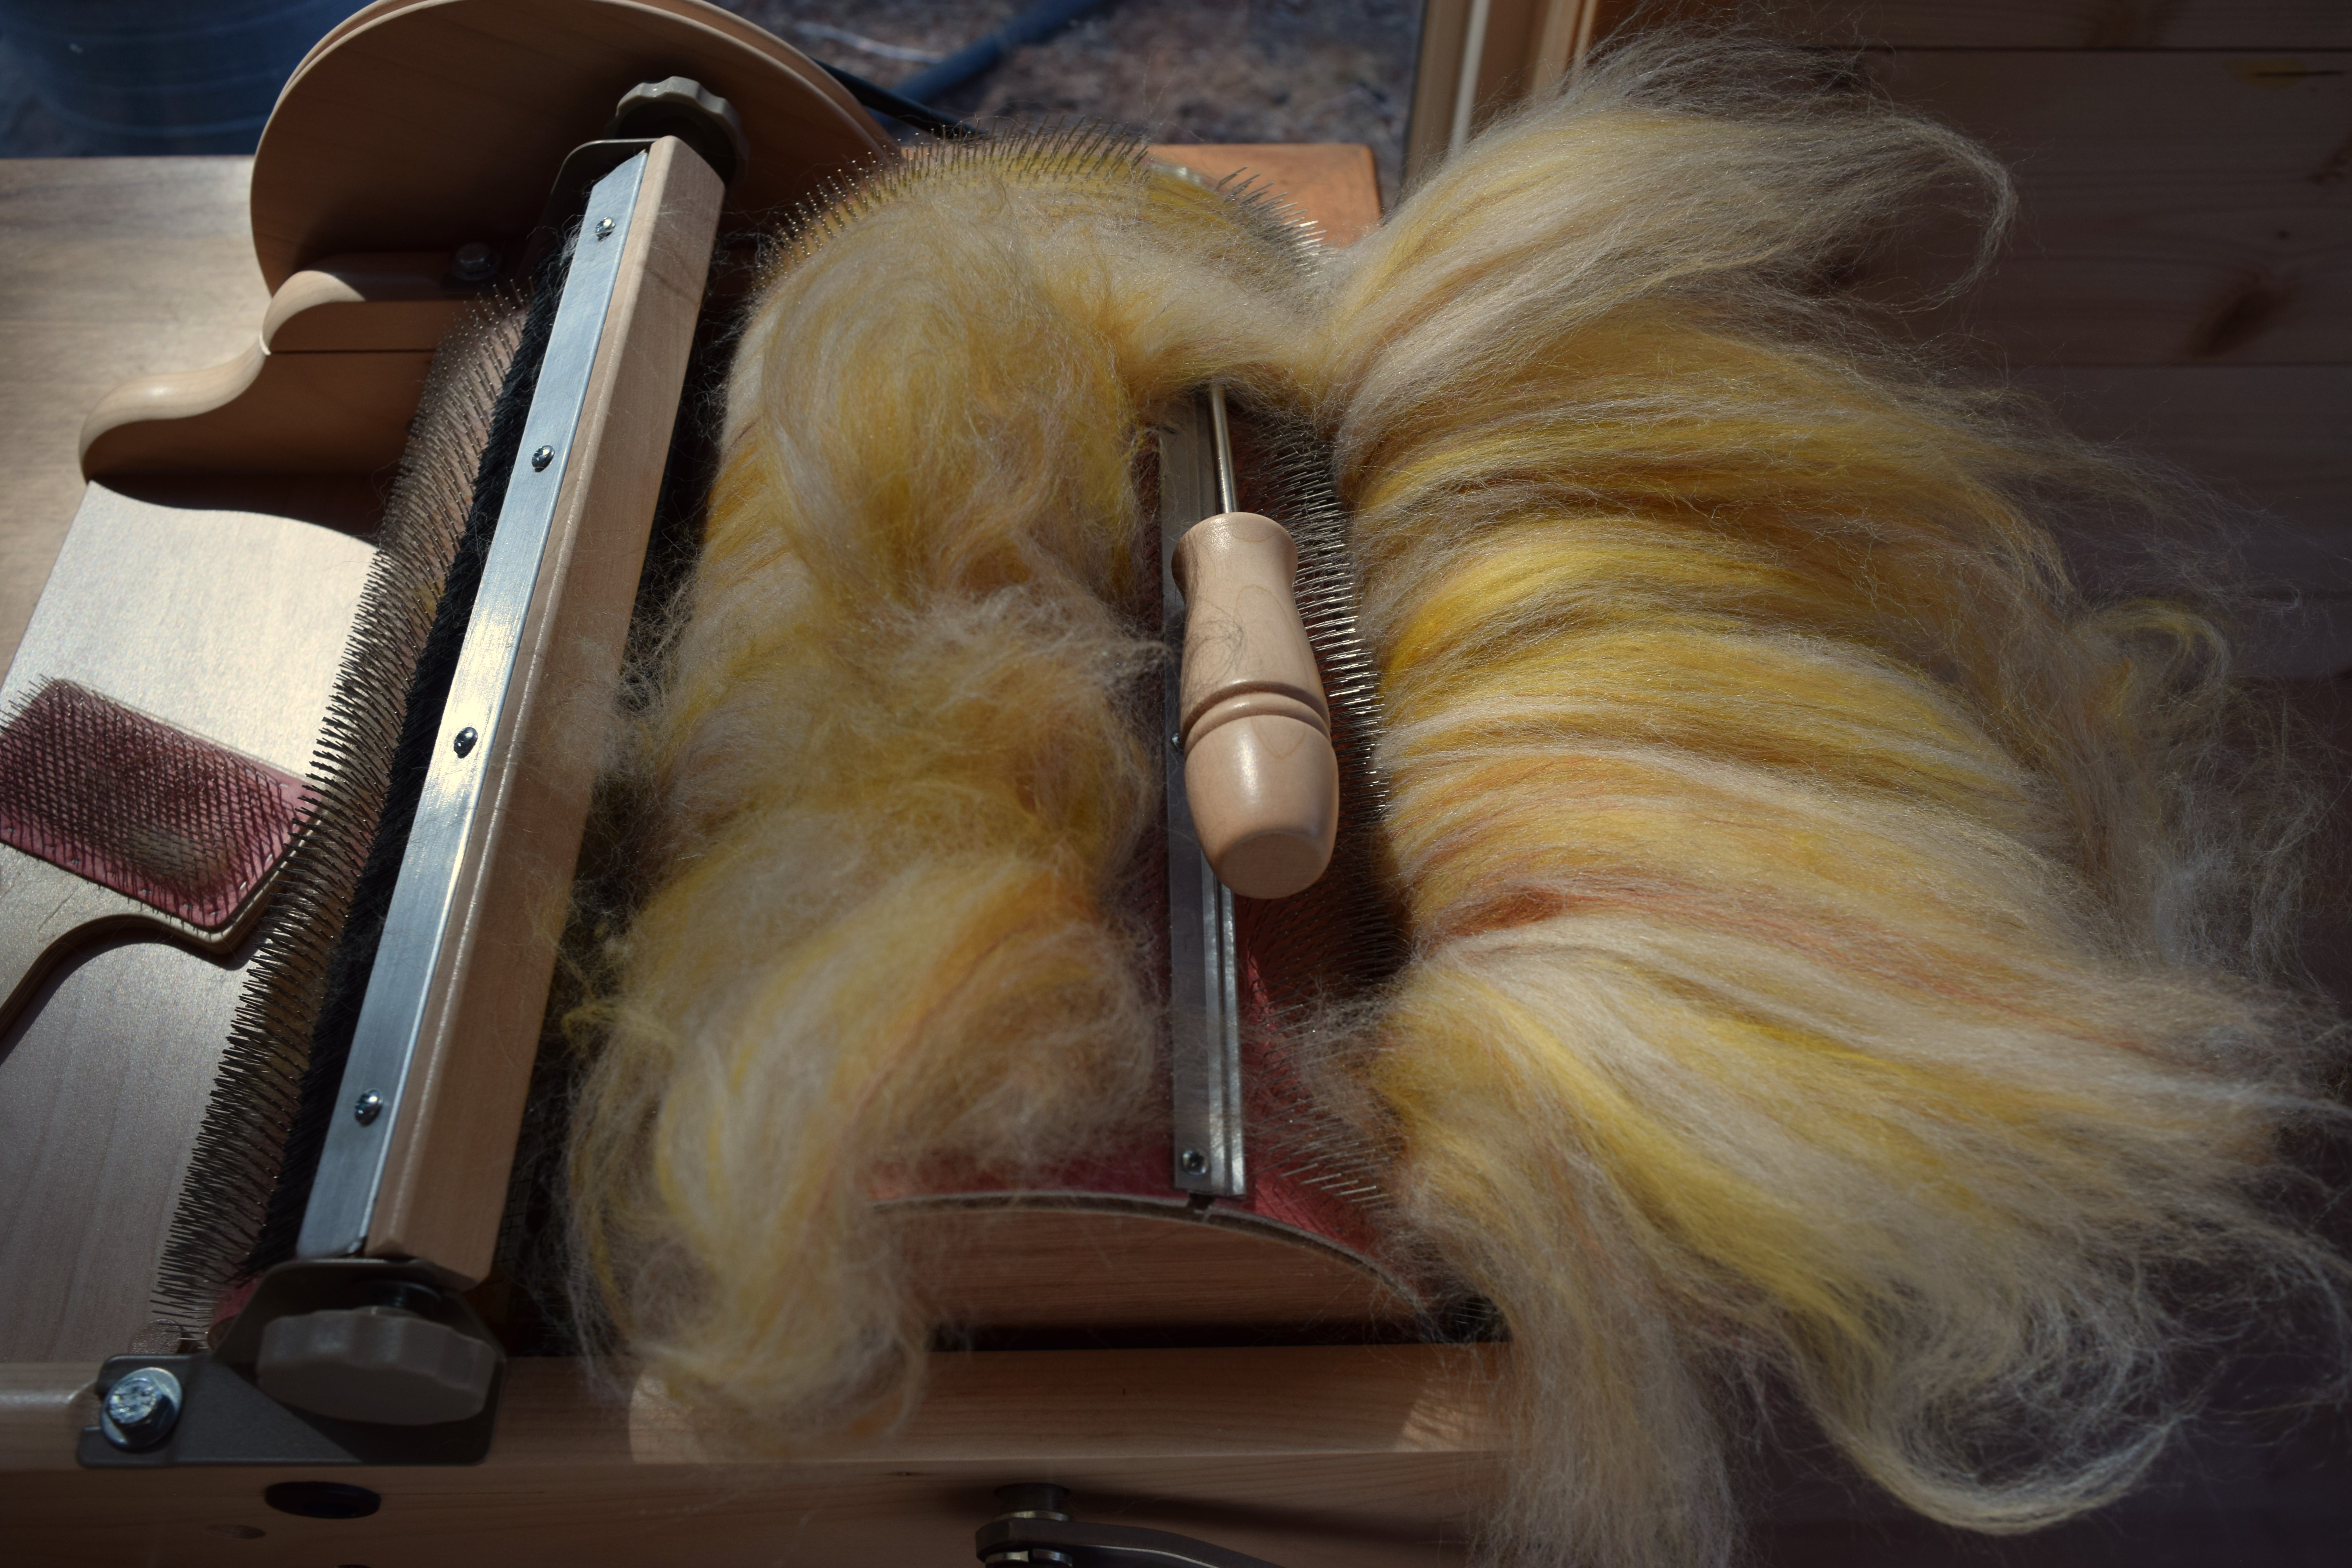
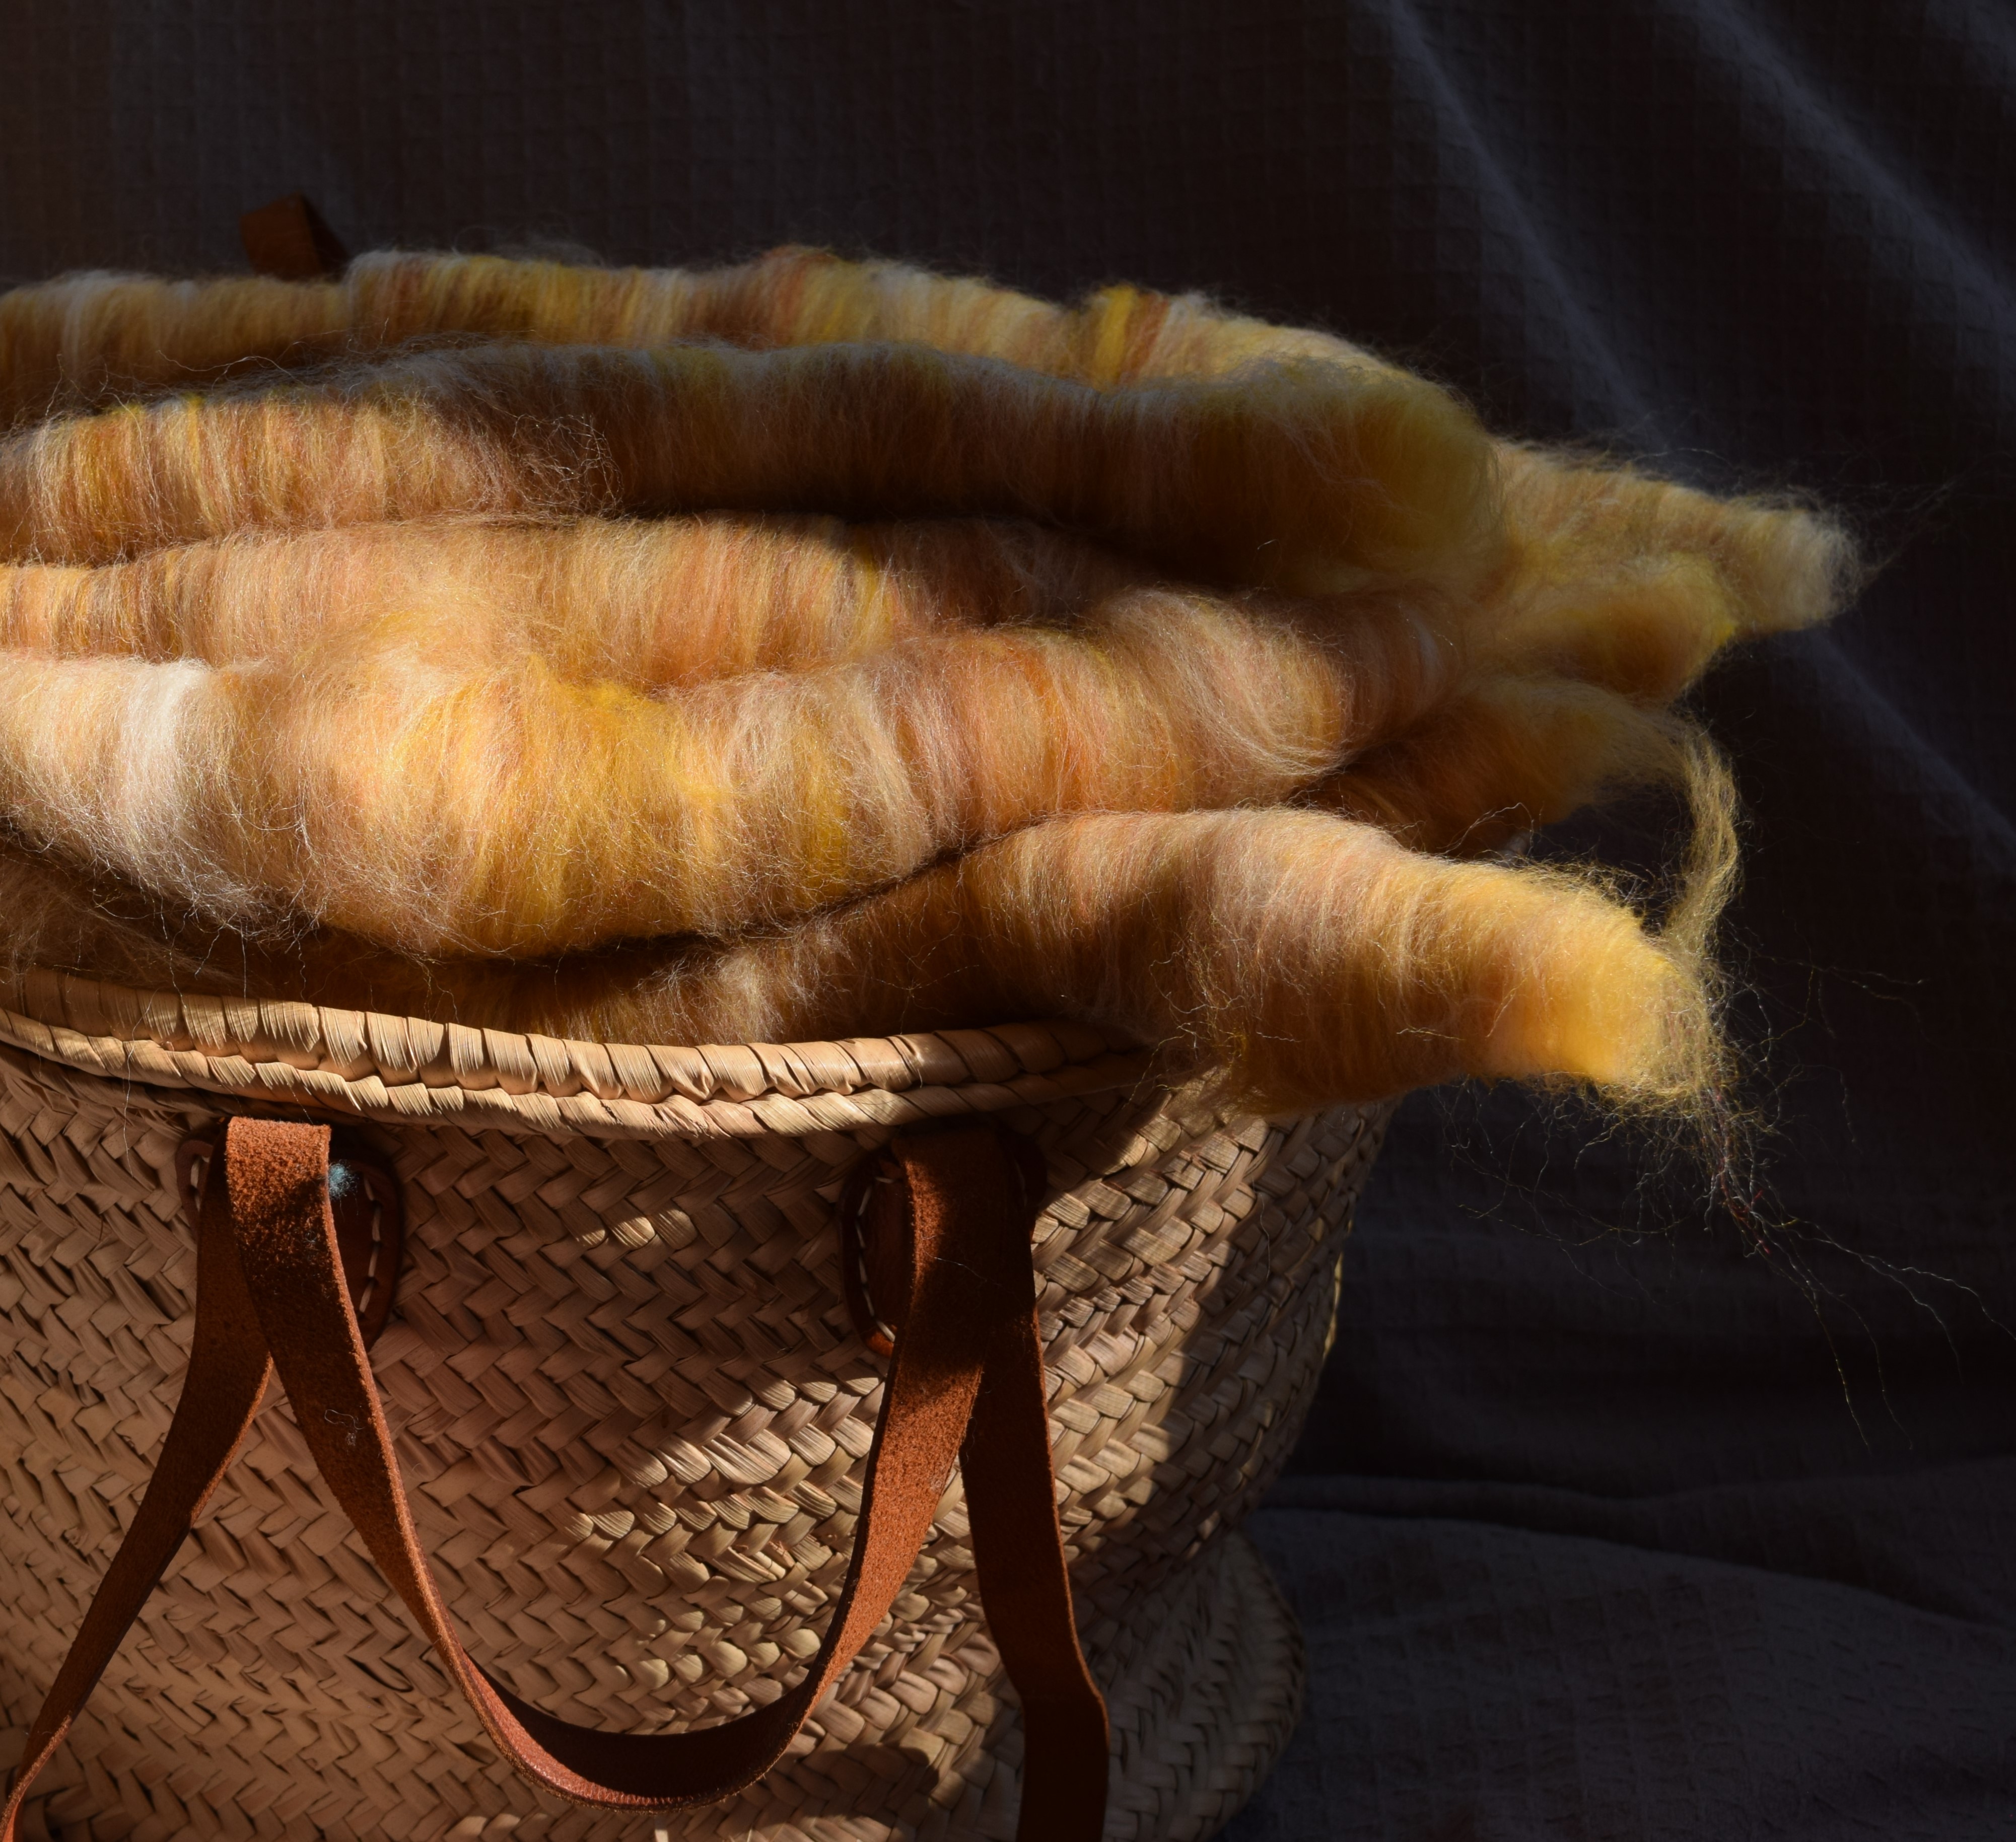
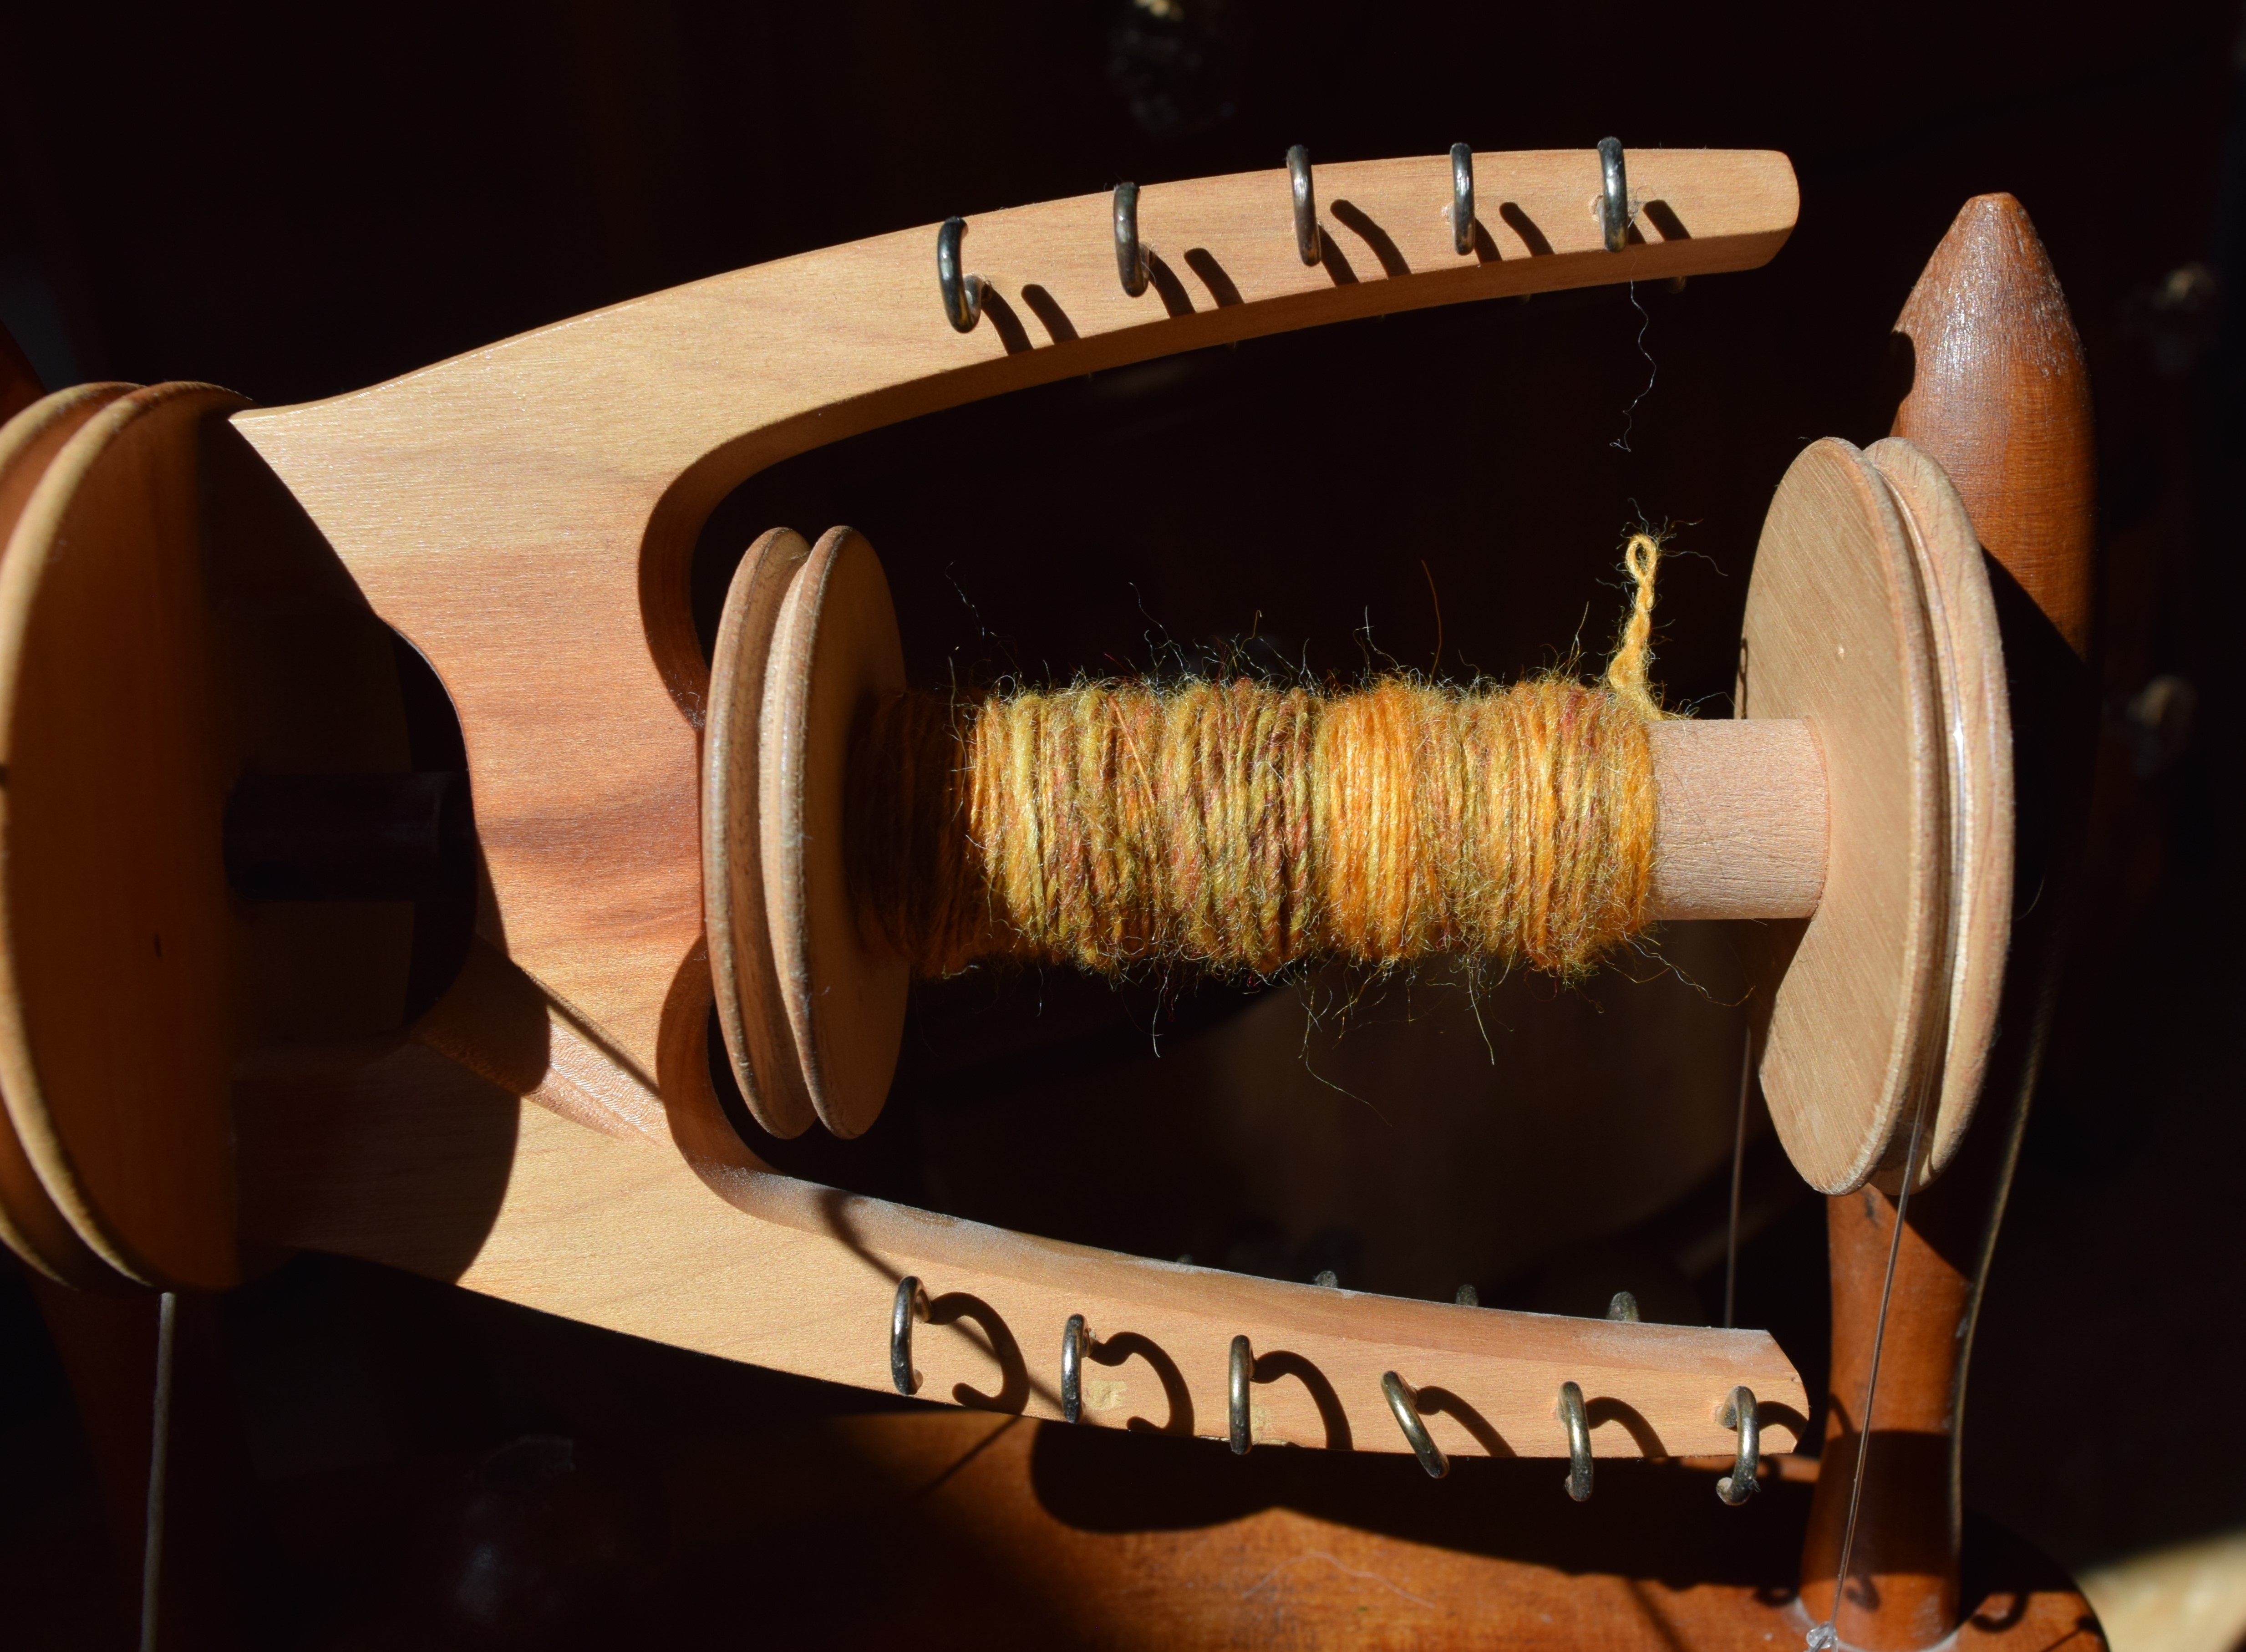
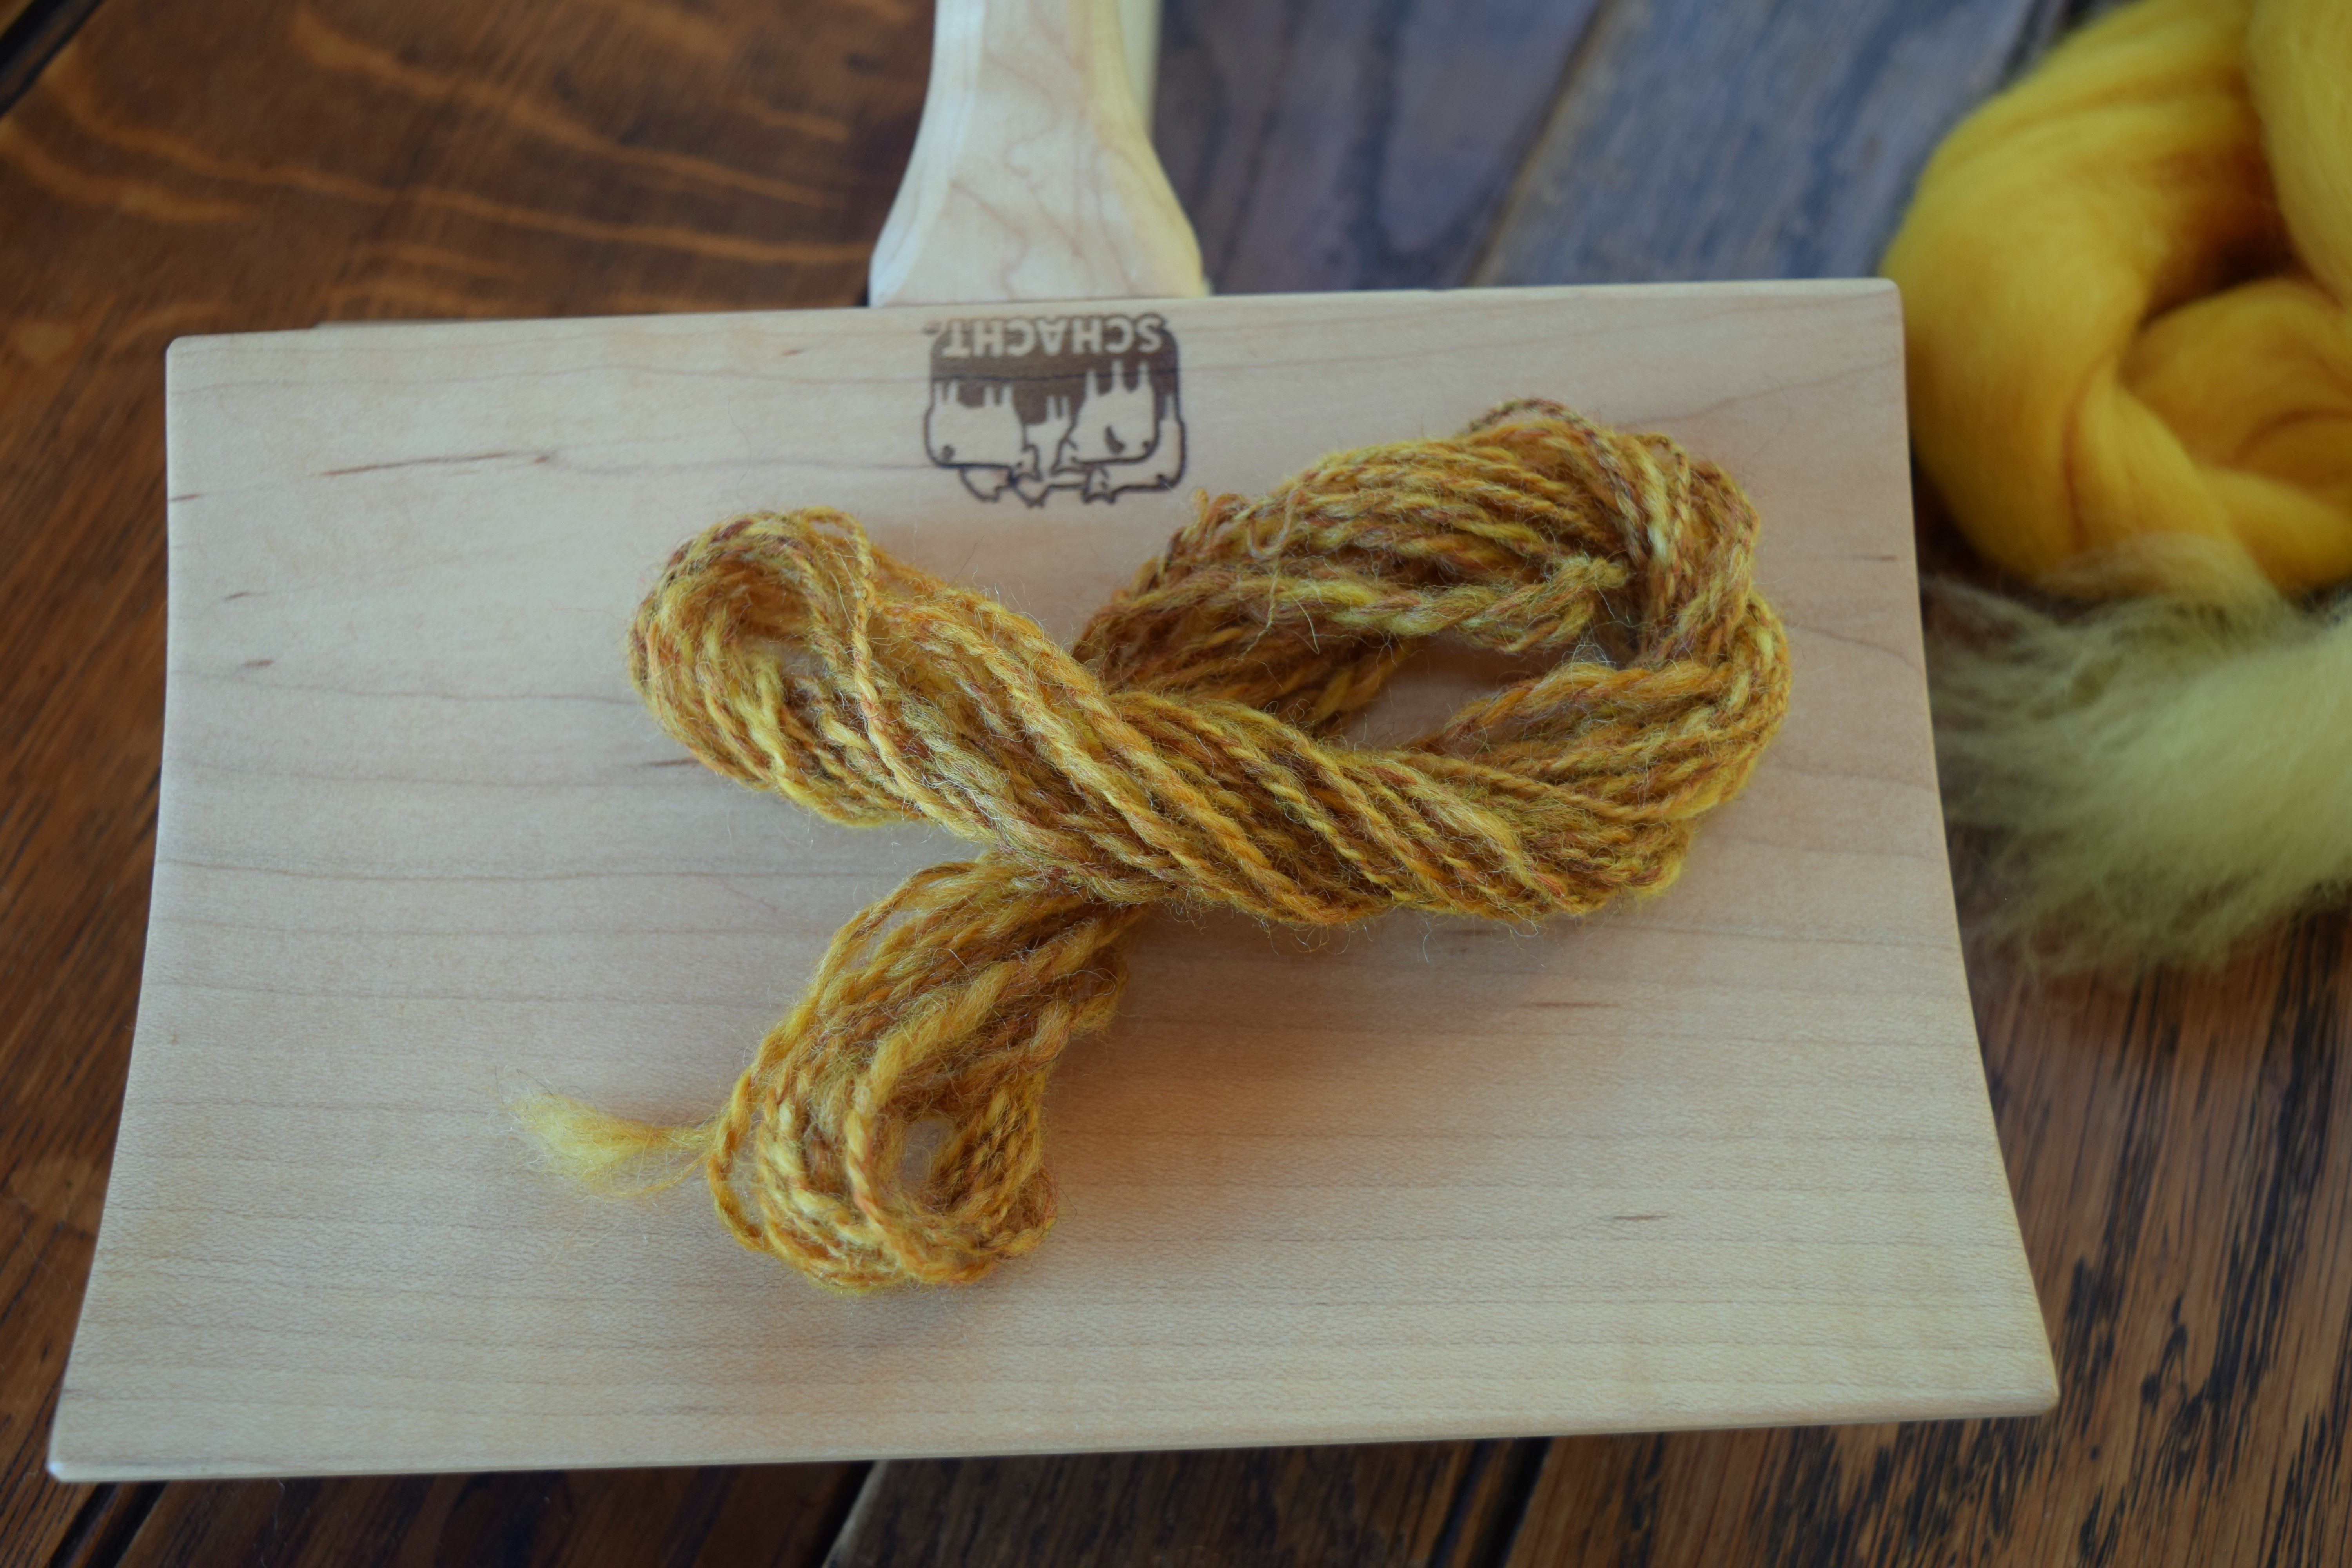
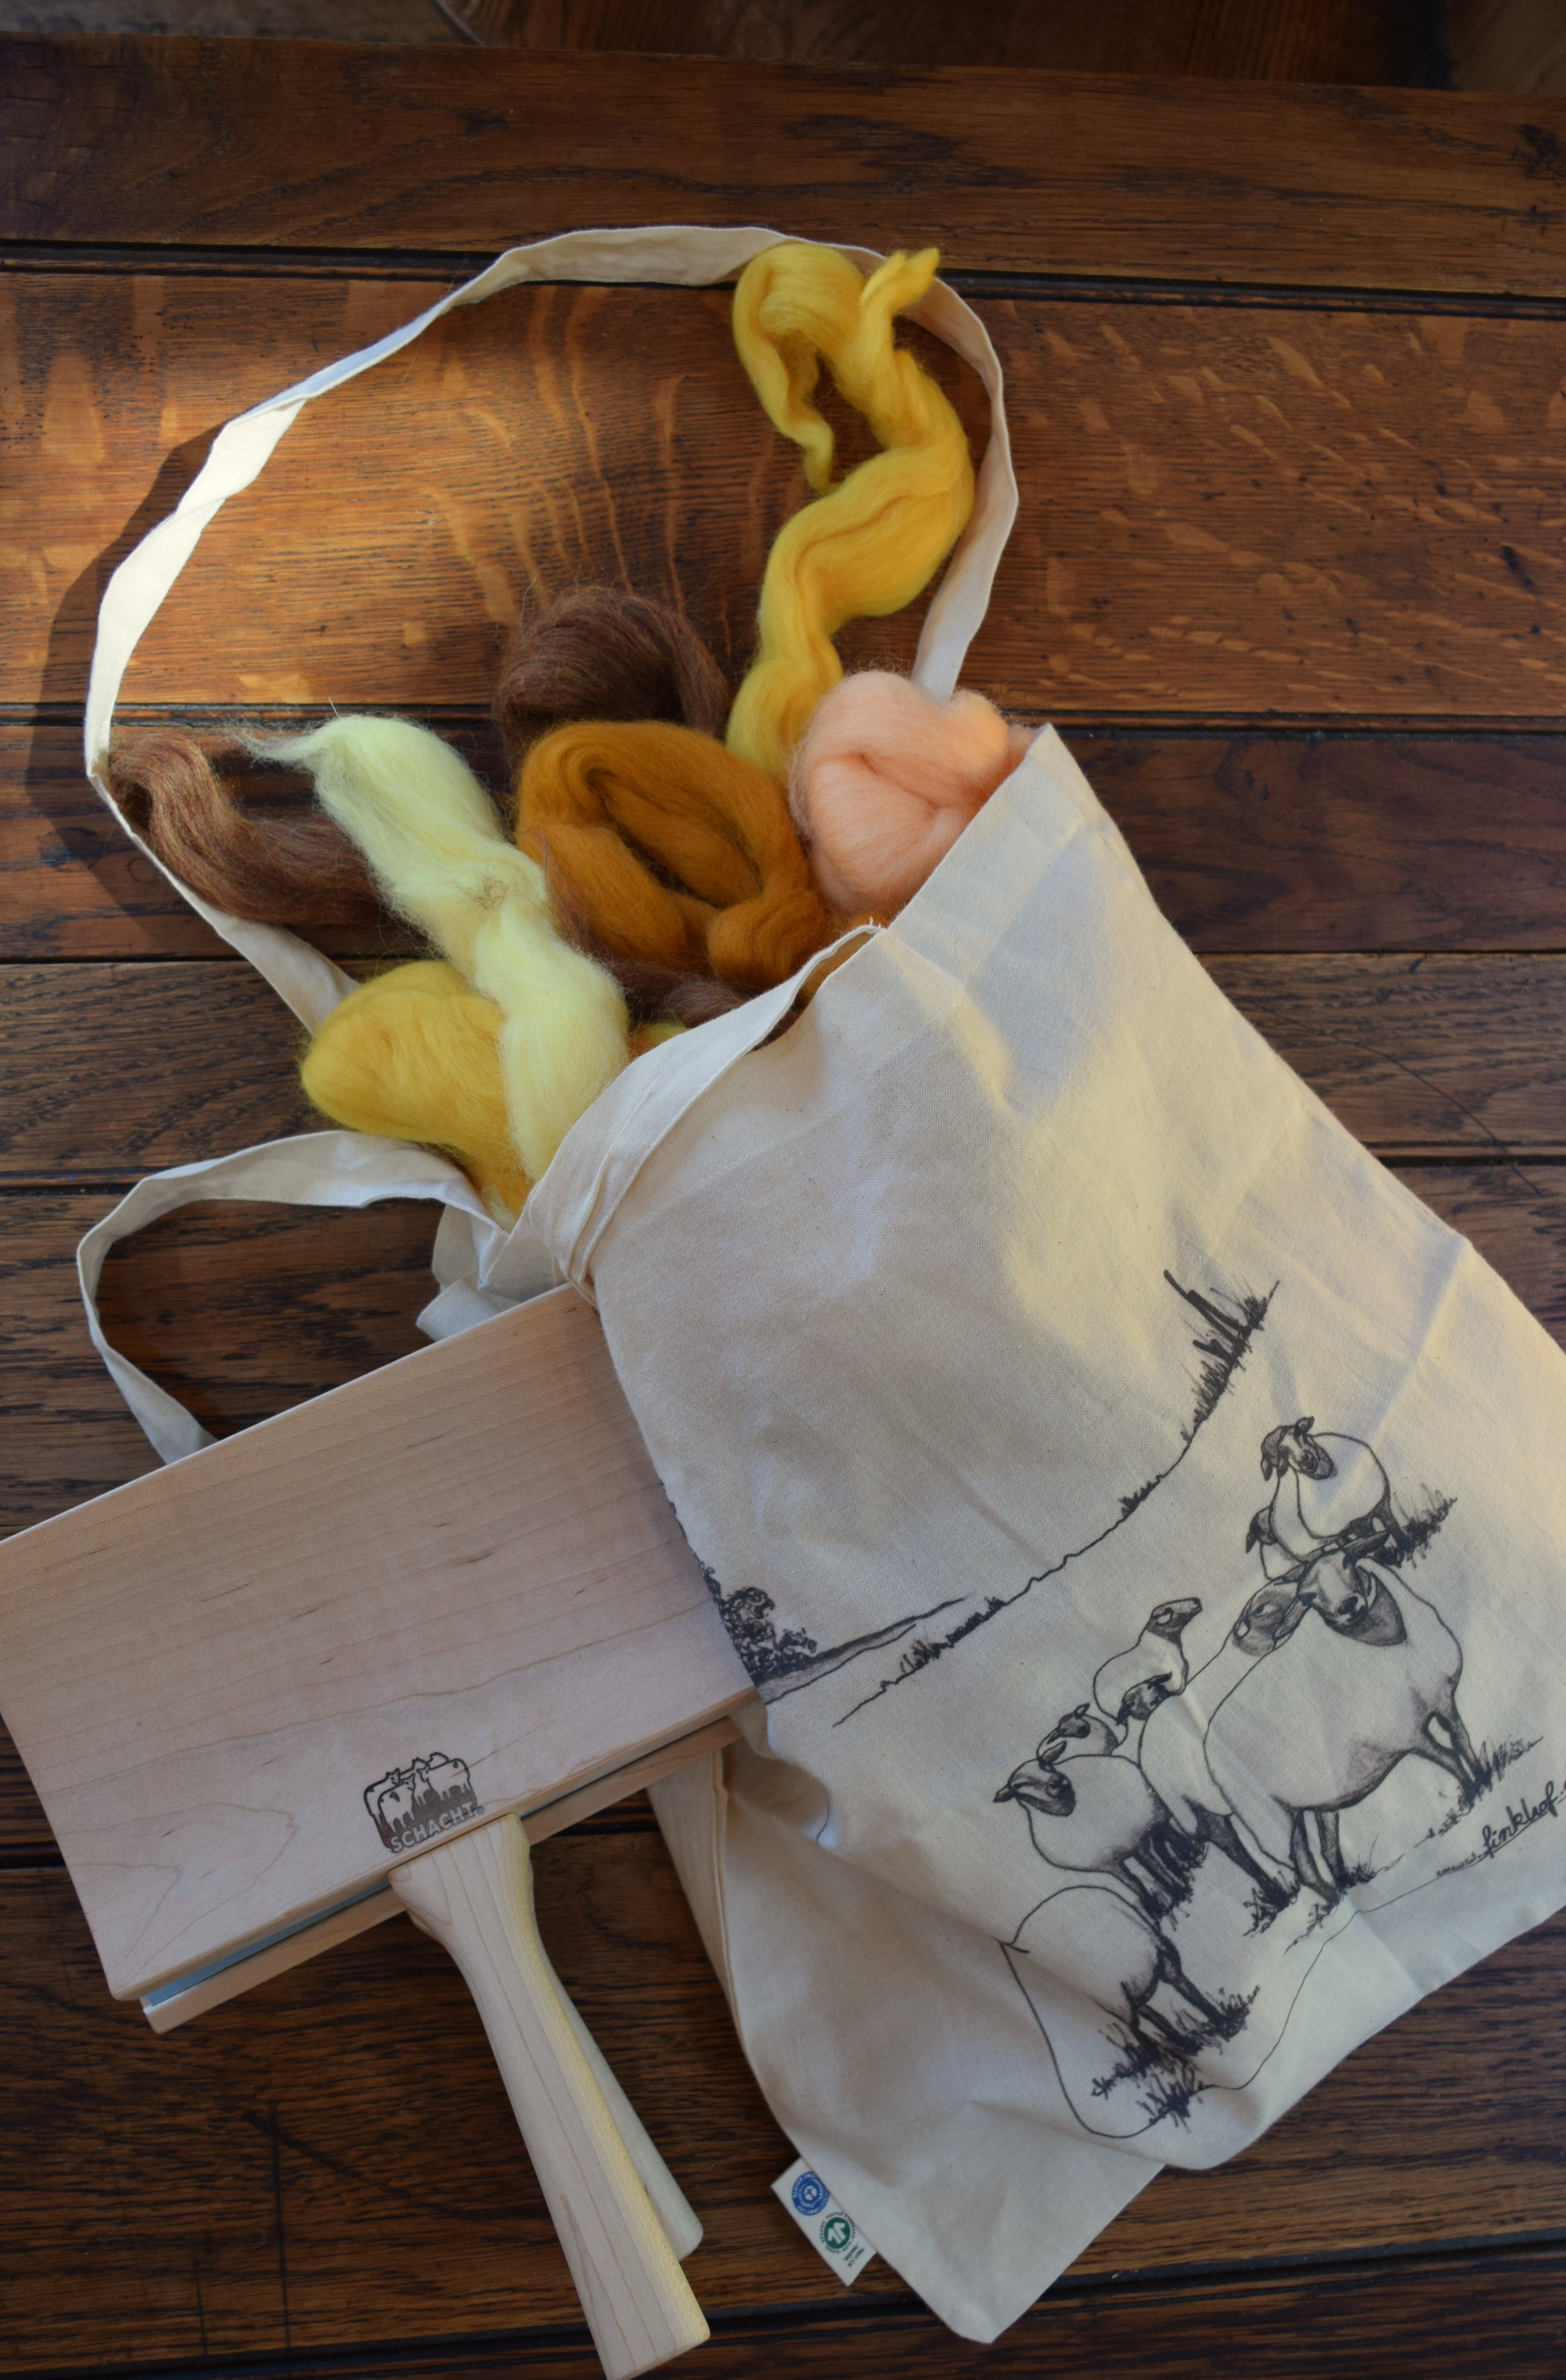
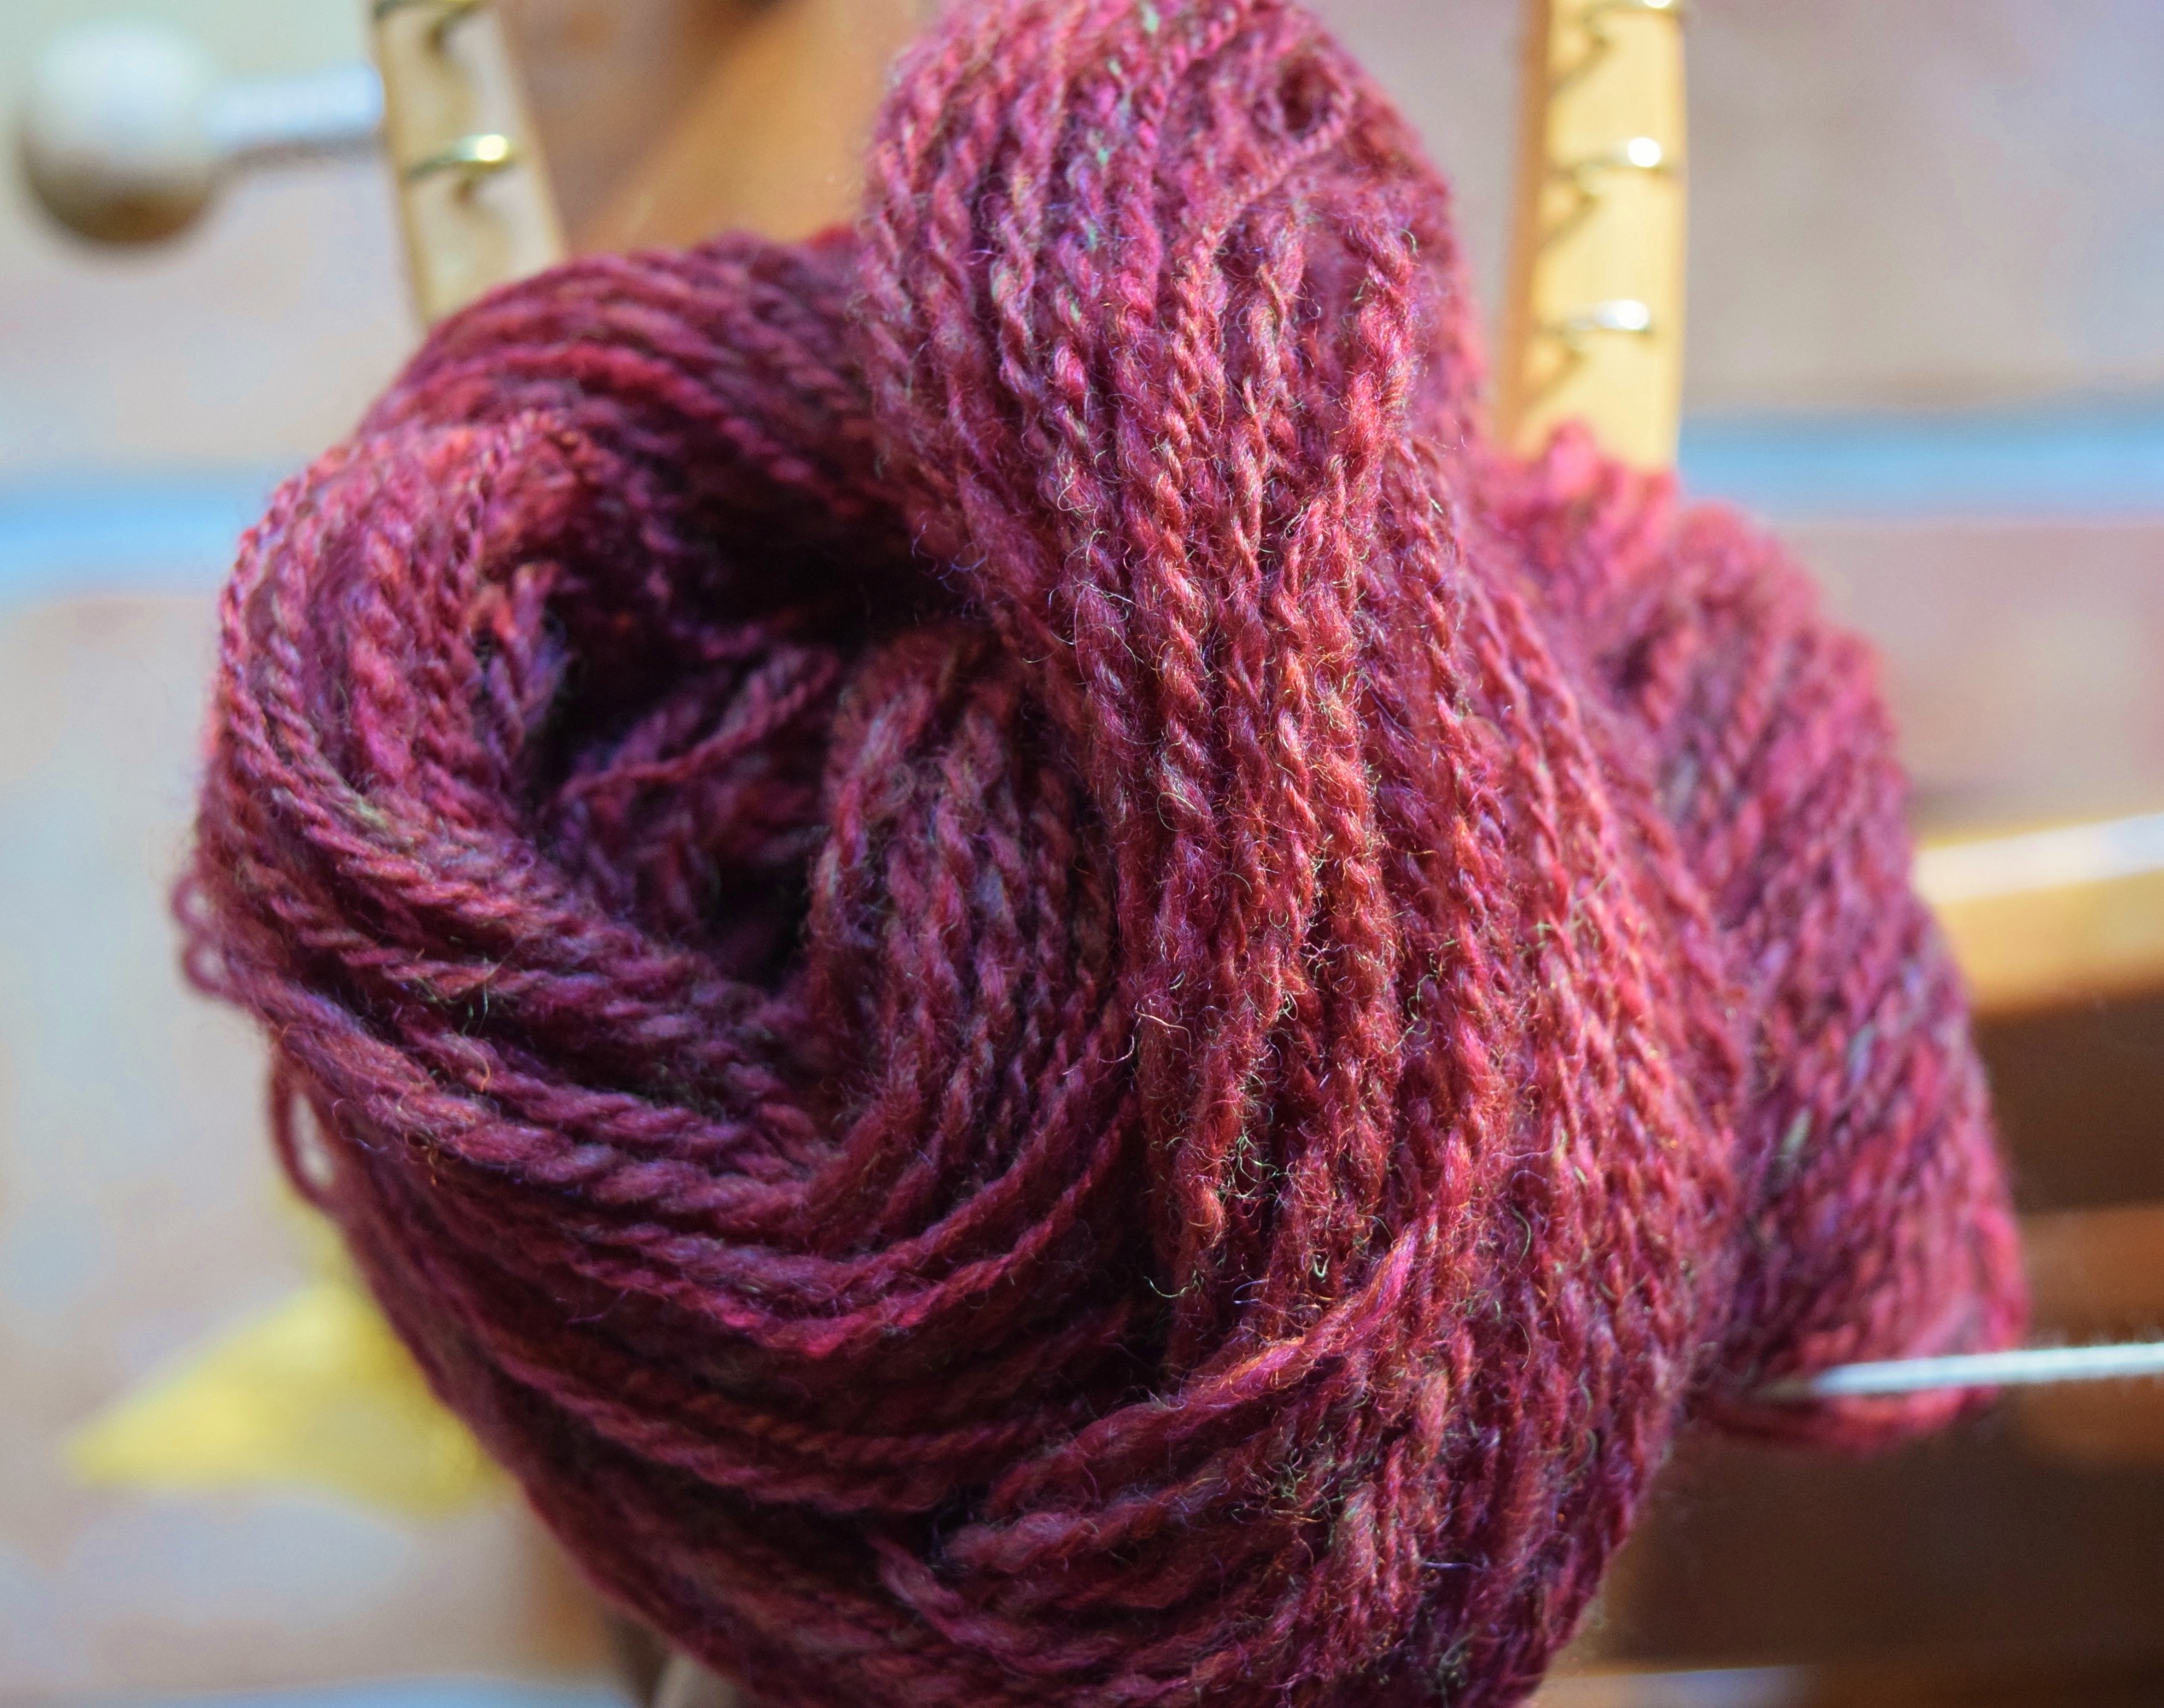
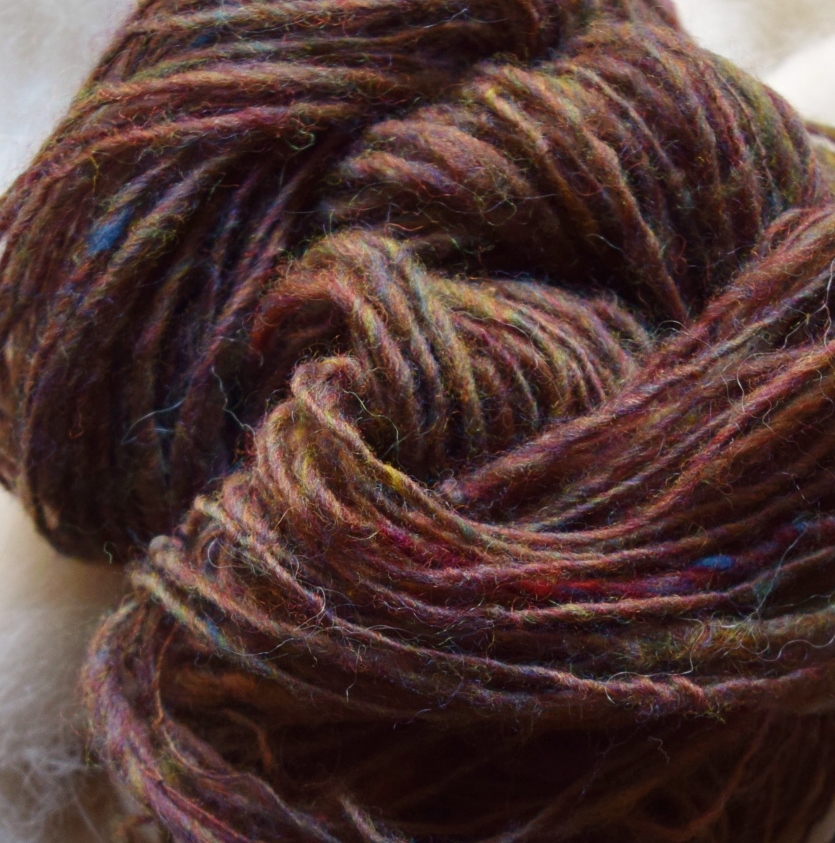
The batts were simply lifted off of the carder and split into strips, wrapped into nests, and then photographed. They spun up perfectly, and I think I have arrived at my method of methods for a fast and uniquely interesting way to make yarn. In this color mix I chose solid tones that were already dominant in the hand-dyed braid, which end up creating a very subtle contrast of tweedy colors, if any at all, more like enhancing the hand-dyed braid. From the camera’s eye, the presence of color changes from the dyed braid are practically unnoticeable. I spun up as close to worsted/aran weight as I could, short draw and single ply, calming the twist energy with a scalding finish bath, thwack, and hang dry. This spinning method absolutely is the easiest I’ve ever done, and I was hanging the spun skeins dry before I could even blink. For the quick and easy way I prepared the wool, see tech notes in Tweed Chronicles: Speed Tweed #2 , and stay tuned, there will be more of the speed tweed experiments in the territory ahead!

My Summer Fields Spun

Spinning finally finished, a few weeks ago, and My Summer Fields project has thus far taken me through the summer well into autumn since the resident drum carder arrived. All that work messing with raw fleece, then giving up on it because I couldn’t get the strong smell of sheep out of it (and imbedded into my new drum carder) then changing course and instead using yards of undyed merino-corriedale Wool Of The Andes roving I had in my stash, I finally worked out the batts, and I drafted almost 600g of rolags ready to spin. On and on I spun a little here and there, then as I ended up spinning it a little too fine (my new default it seems), I decided to try a 3ply yarn. But the more one cards, drafts, spins, and plies the careful color variegations in the wool, the more the colors all diffuse! Unfortunately, a lot of work for that sad reality. However, I am pleased enough with it, but it is slow tweed for sure. I wanted to knit a sweater out of this, but am distracted by the looms in my life, and the holidays are now upon us with the new year coming just around the corner. So perhaps this would best be knit up in the calm mid-winter months. Oh, and I’ve had a chance to gauge the weight: 135y = 100g. I am thinking a bulky weight which will probably be 14-16 sts = 4 inches with US9-10 [5.5-6mm] needles.

Speed Tweed #1 spun.

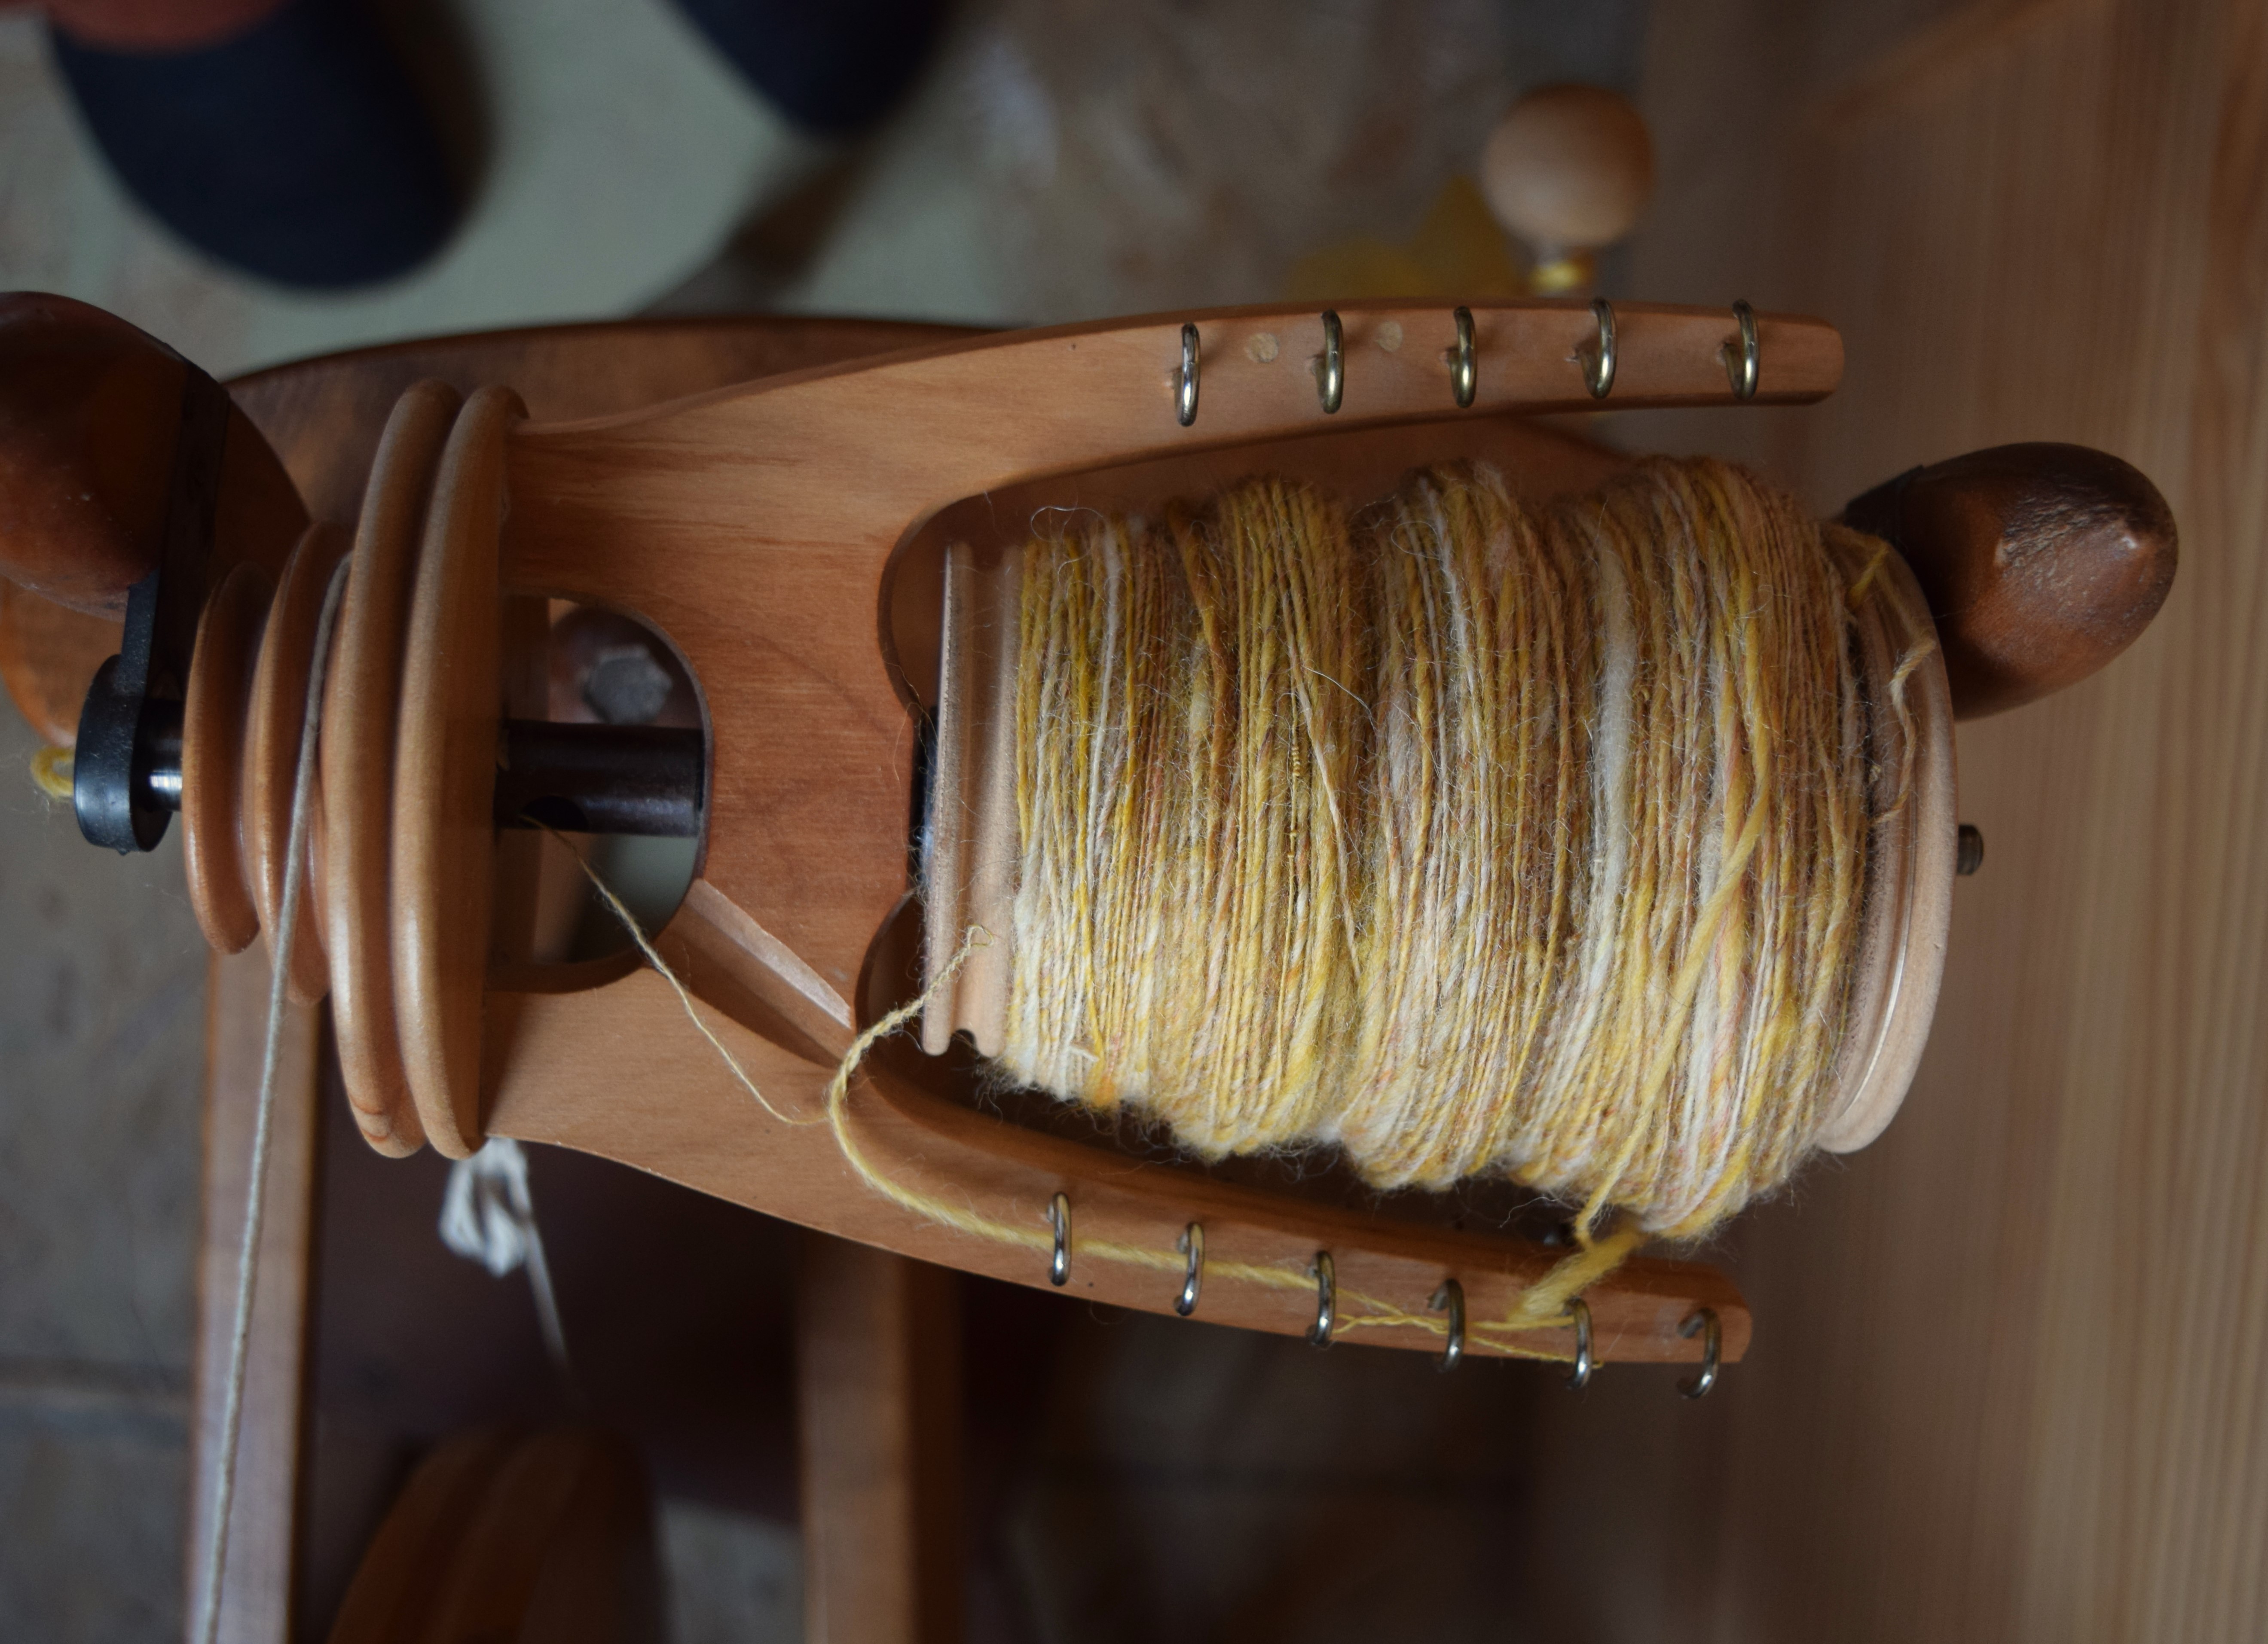
The carded wool from Speed Tweed #1 has been spun and I have some observations. In this experiment I chose the ” layered batt ” for my first speed tweed experiment, as the colors & fibers will be least blended of all, and yet one can at the point of lifting the batt off the carder, begin spinning. These skeins were spun single ply, aran-worsted weight, short draw, soaked in super hot water, and hang dried, completely relaxing the twist. I’m finding that it really doesn’t get much speedier than that! 

Above are samples of the first run through the carder (left), the second run through (middle), and the third (right), each time the colors homogenizing more. The most dramatic tweedy splashes of color happen in the first sample . . .

In summary, this fiber preparation was very easy, laying the layers down in one go, no hand-mix, just one trip through the carder. However, I think the process I’ve prepared the wool in Speed Tweed #2 may be the speediest preparation of all, requiring least number of steps, and in one carding its done, ready to spin. Got to spin that up and wrap up the speed tweed series.

Tweed Chronicles: Speed Tweed

I am experimenting on simplifying spinning the carding process as much as possible, so that eventually I may have a recipe, so to speak, to spin in the tweed style much like the Donegal mills spin that I love so much. Since my last big spinning project I have wanted to liberate myself from so many tedious steps, and so speeding up the process is what I’m after in “speed tweed” series.

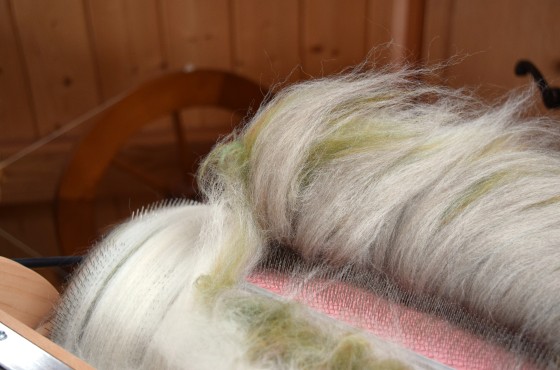
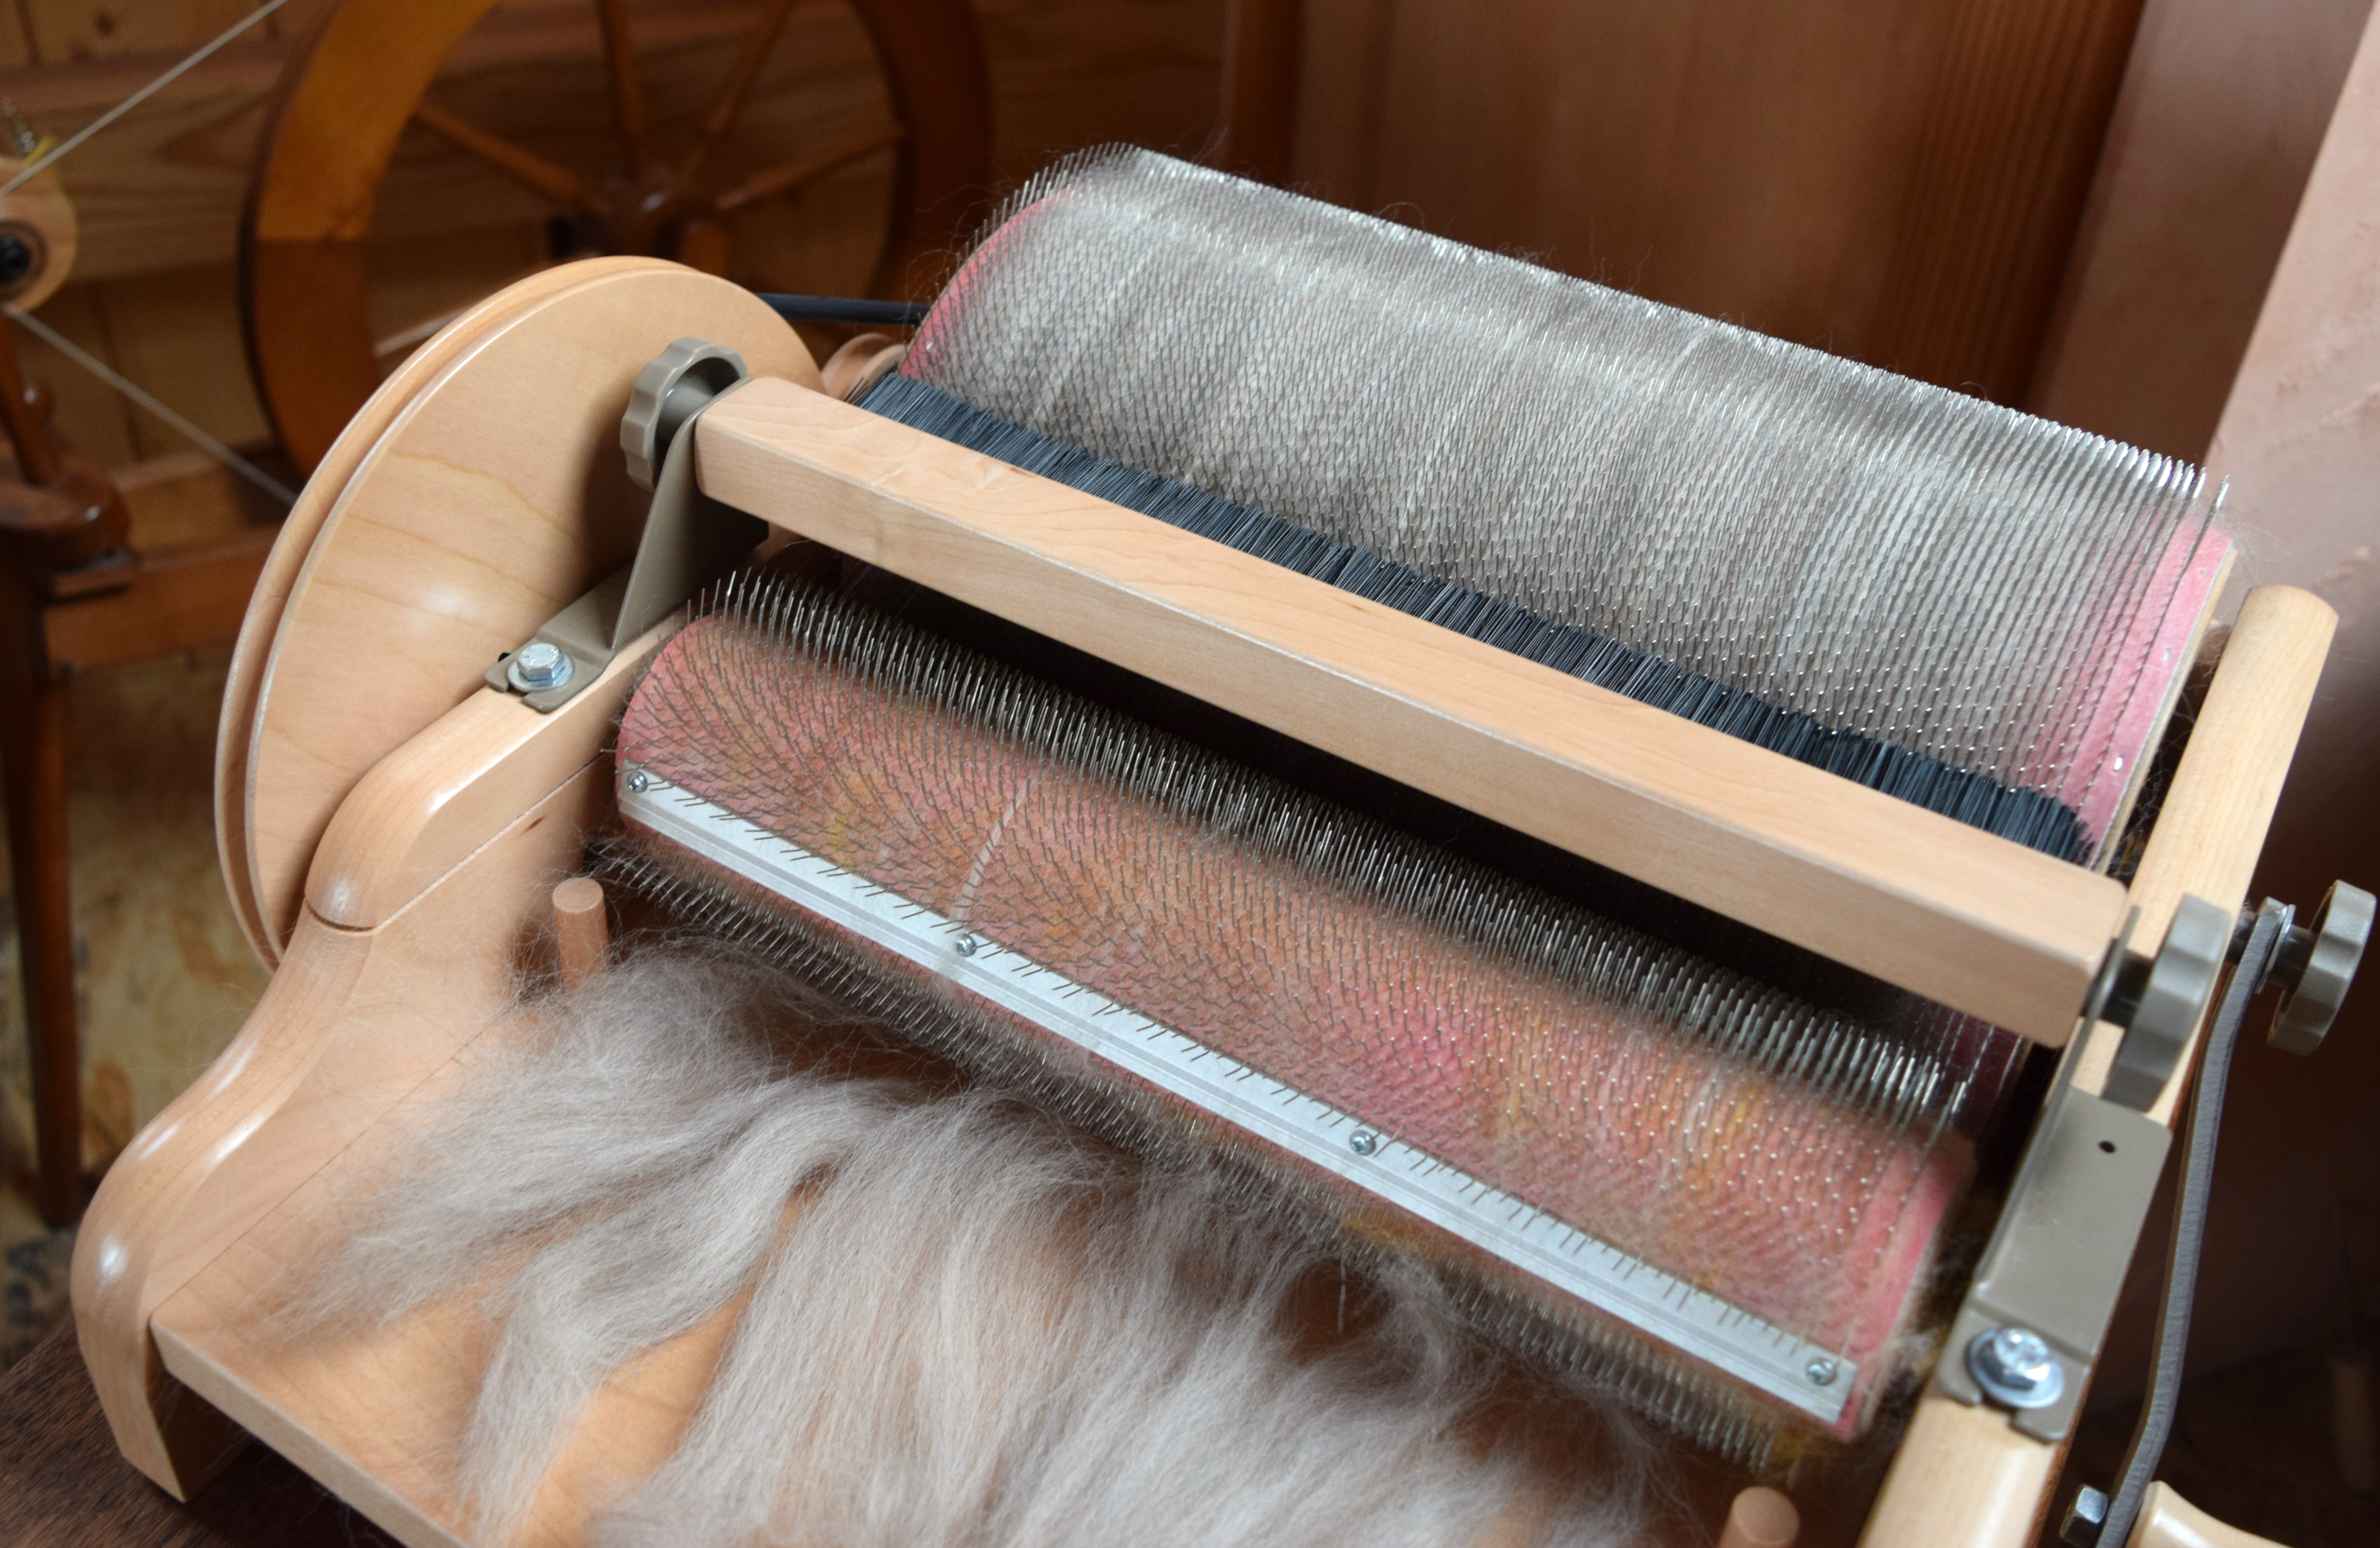
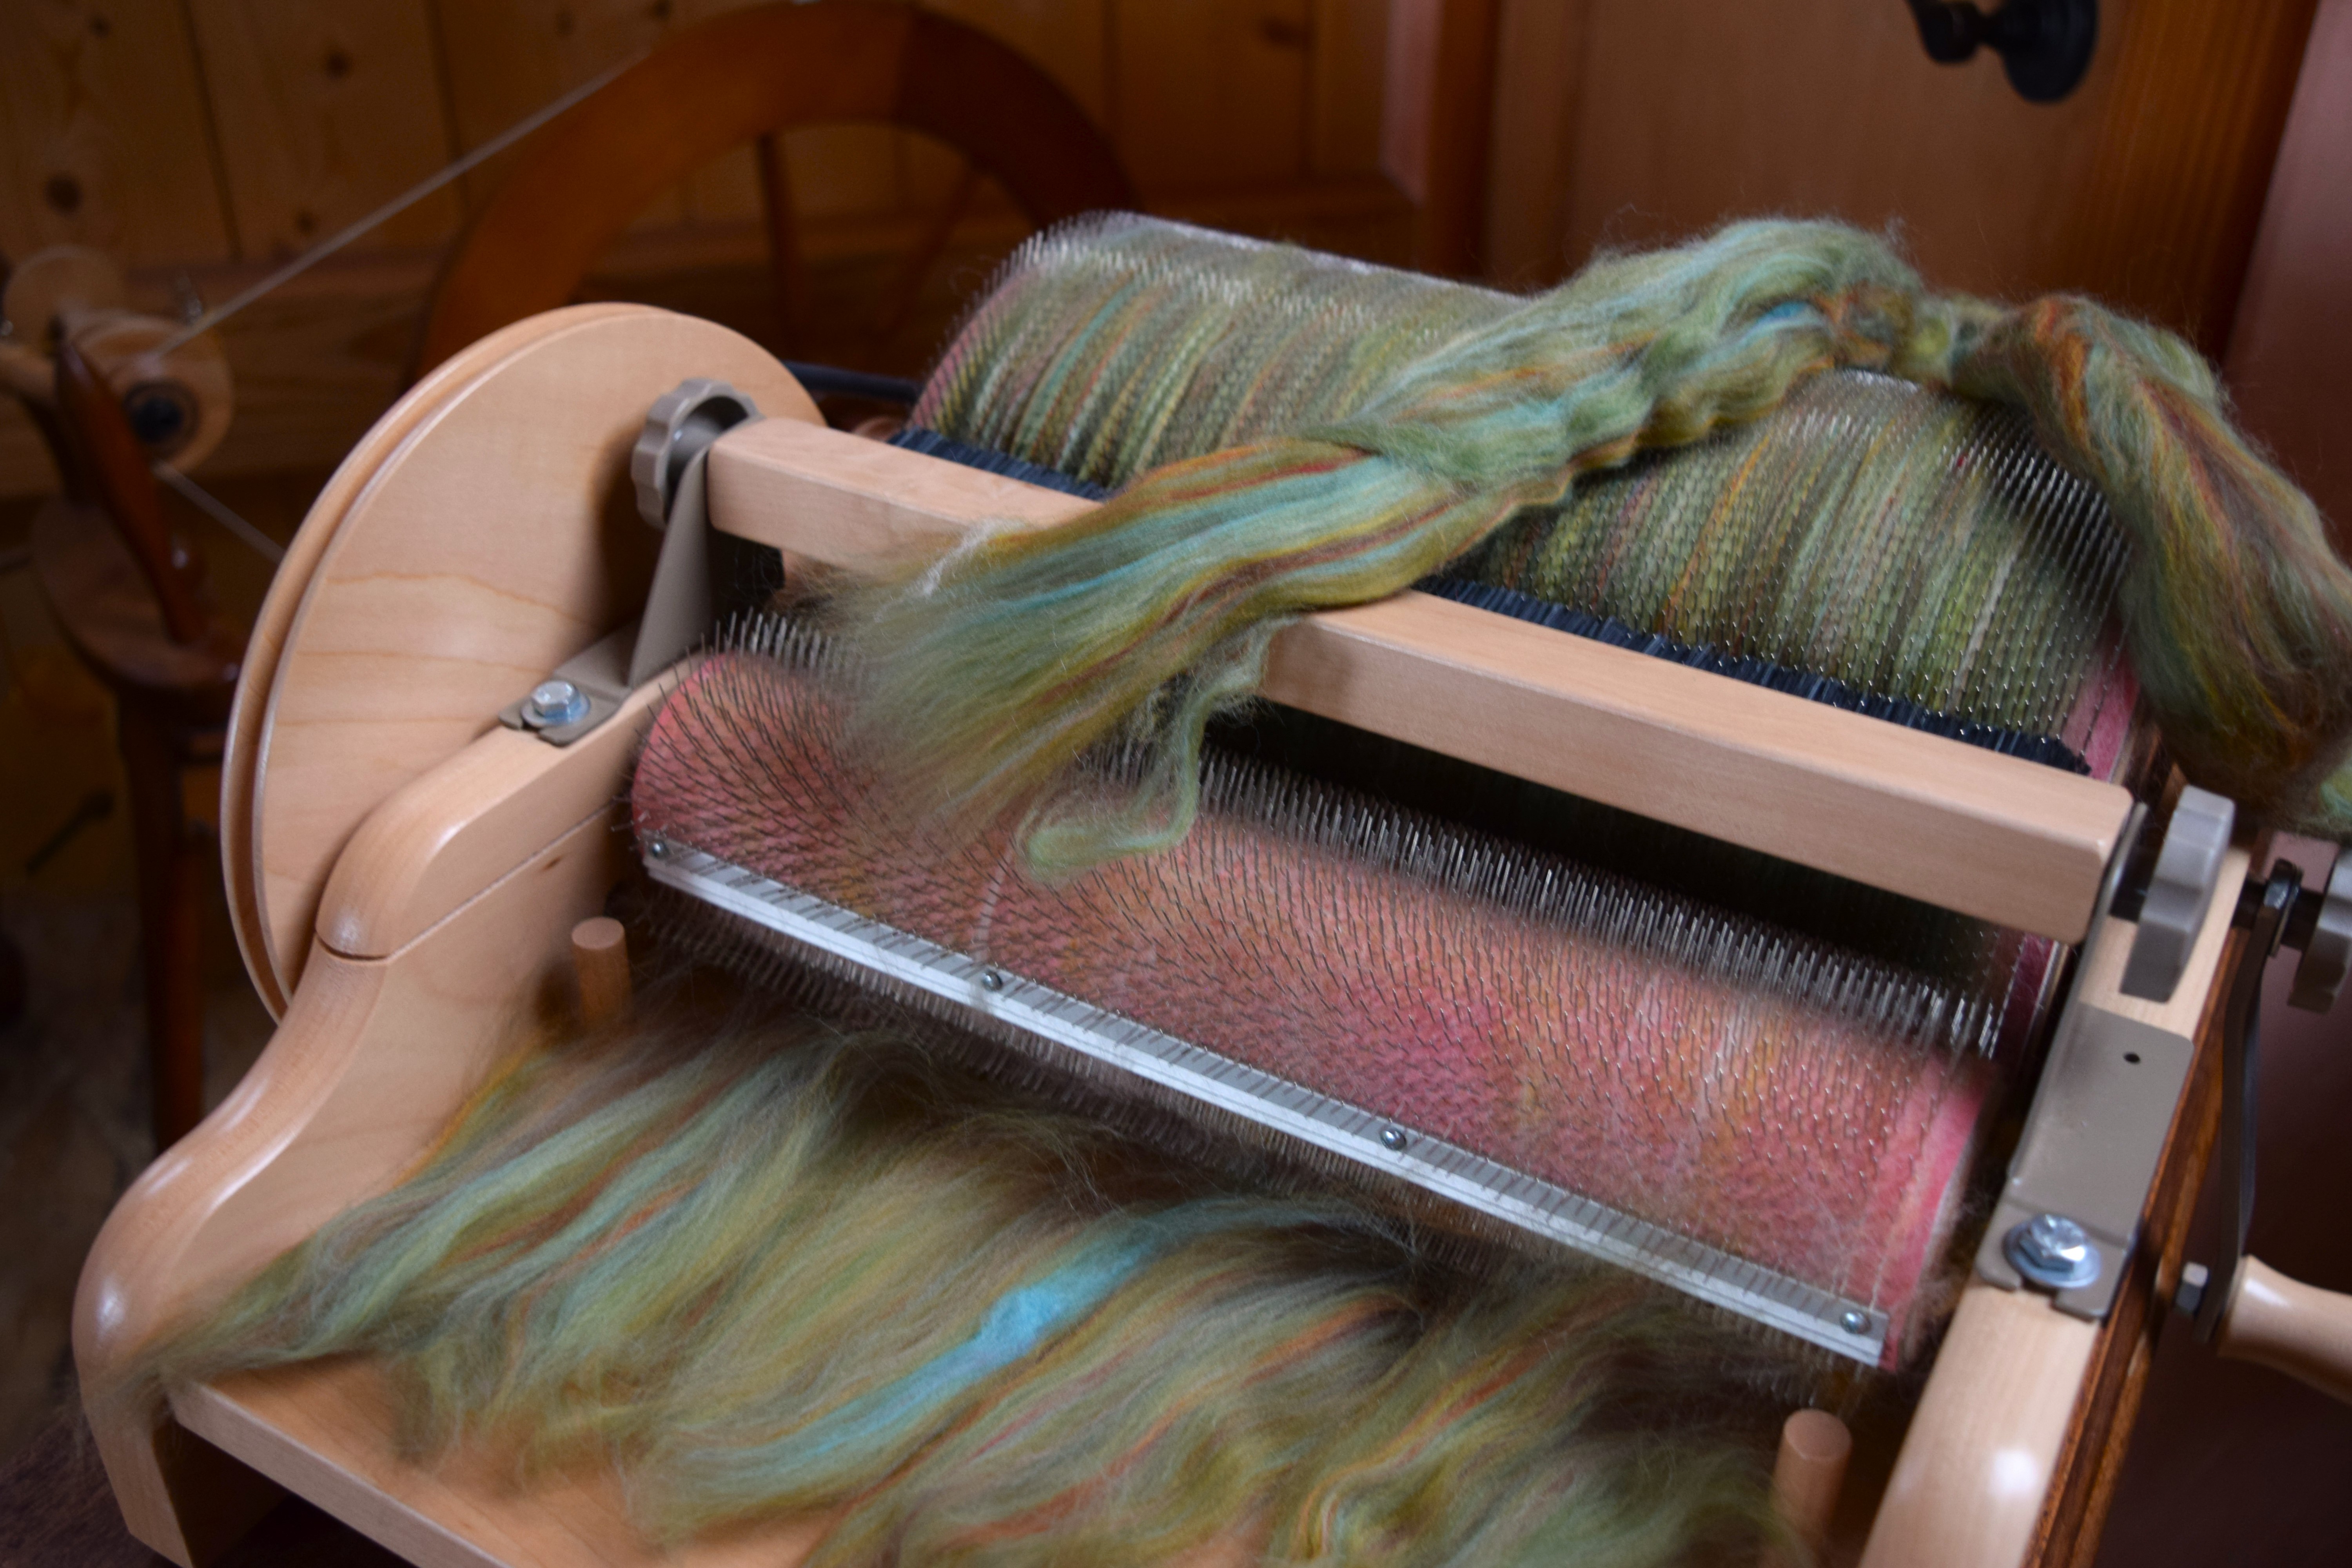
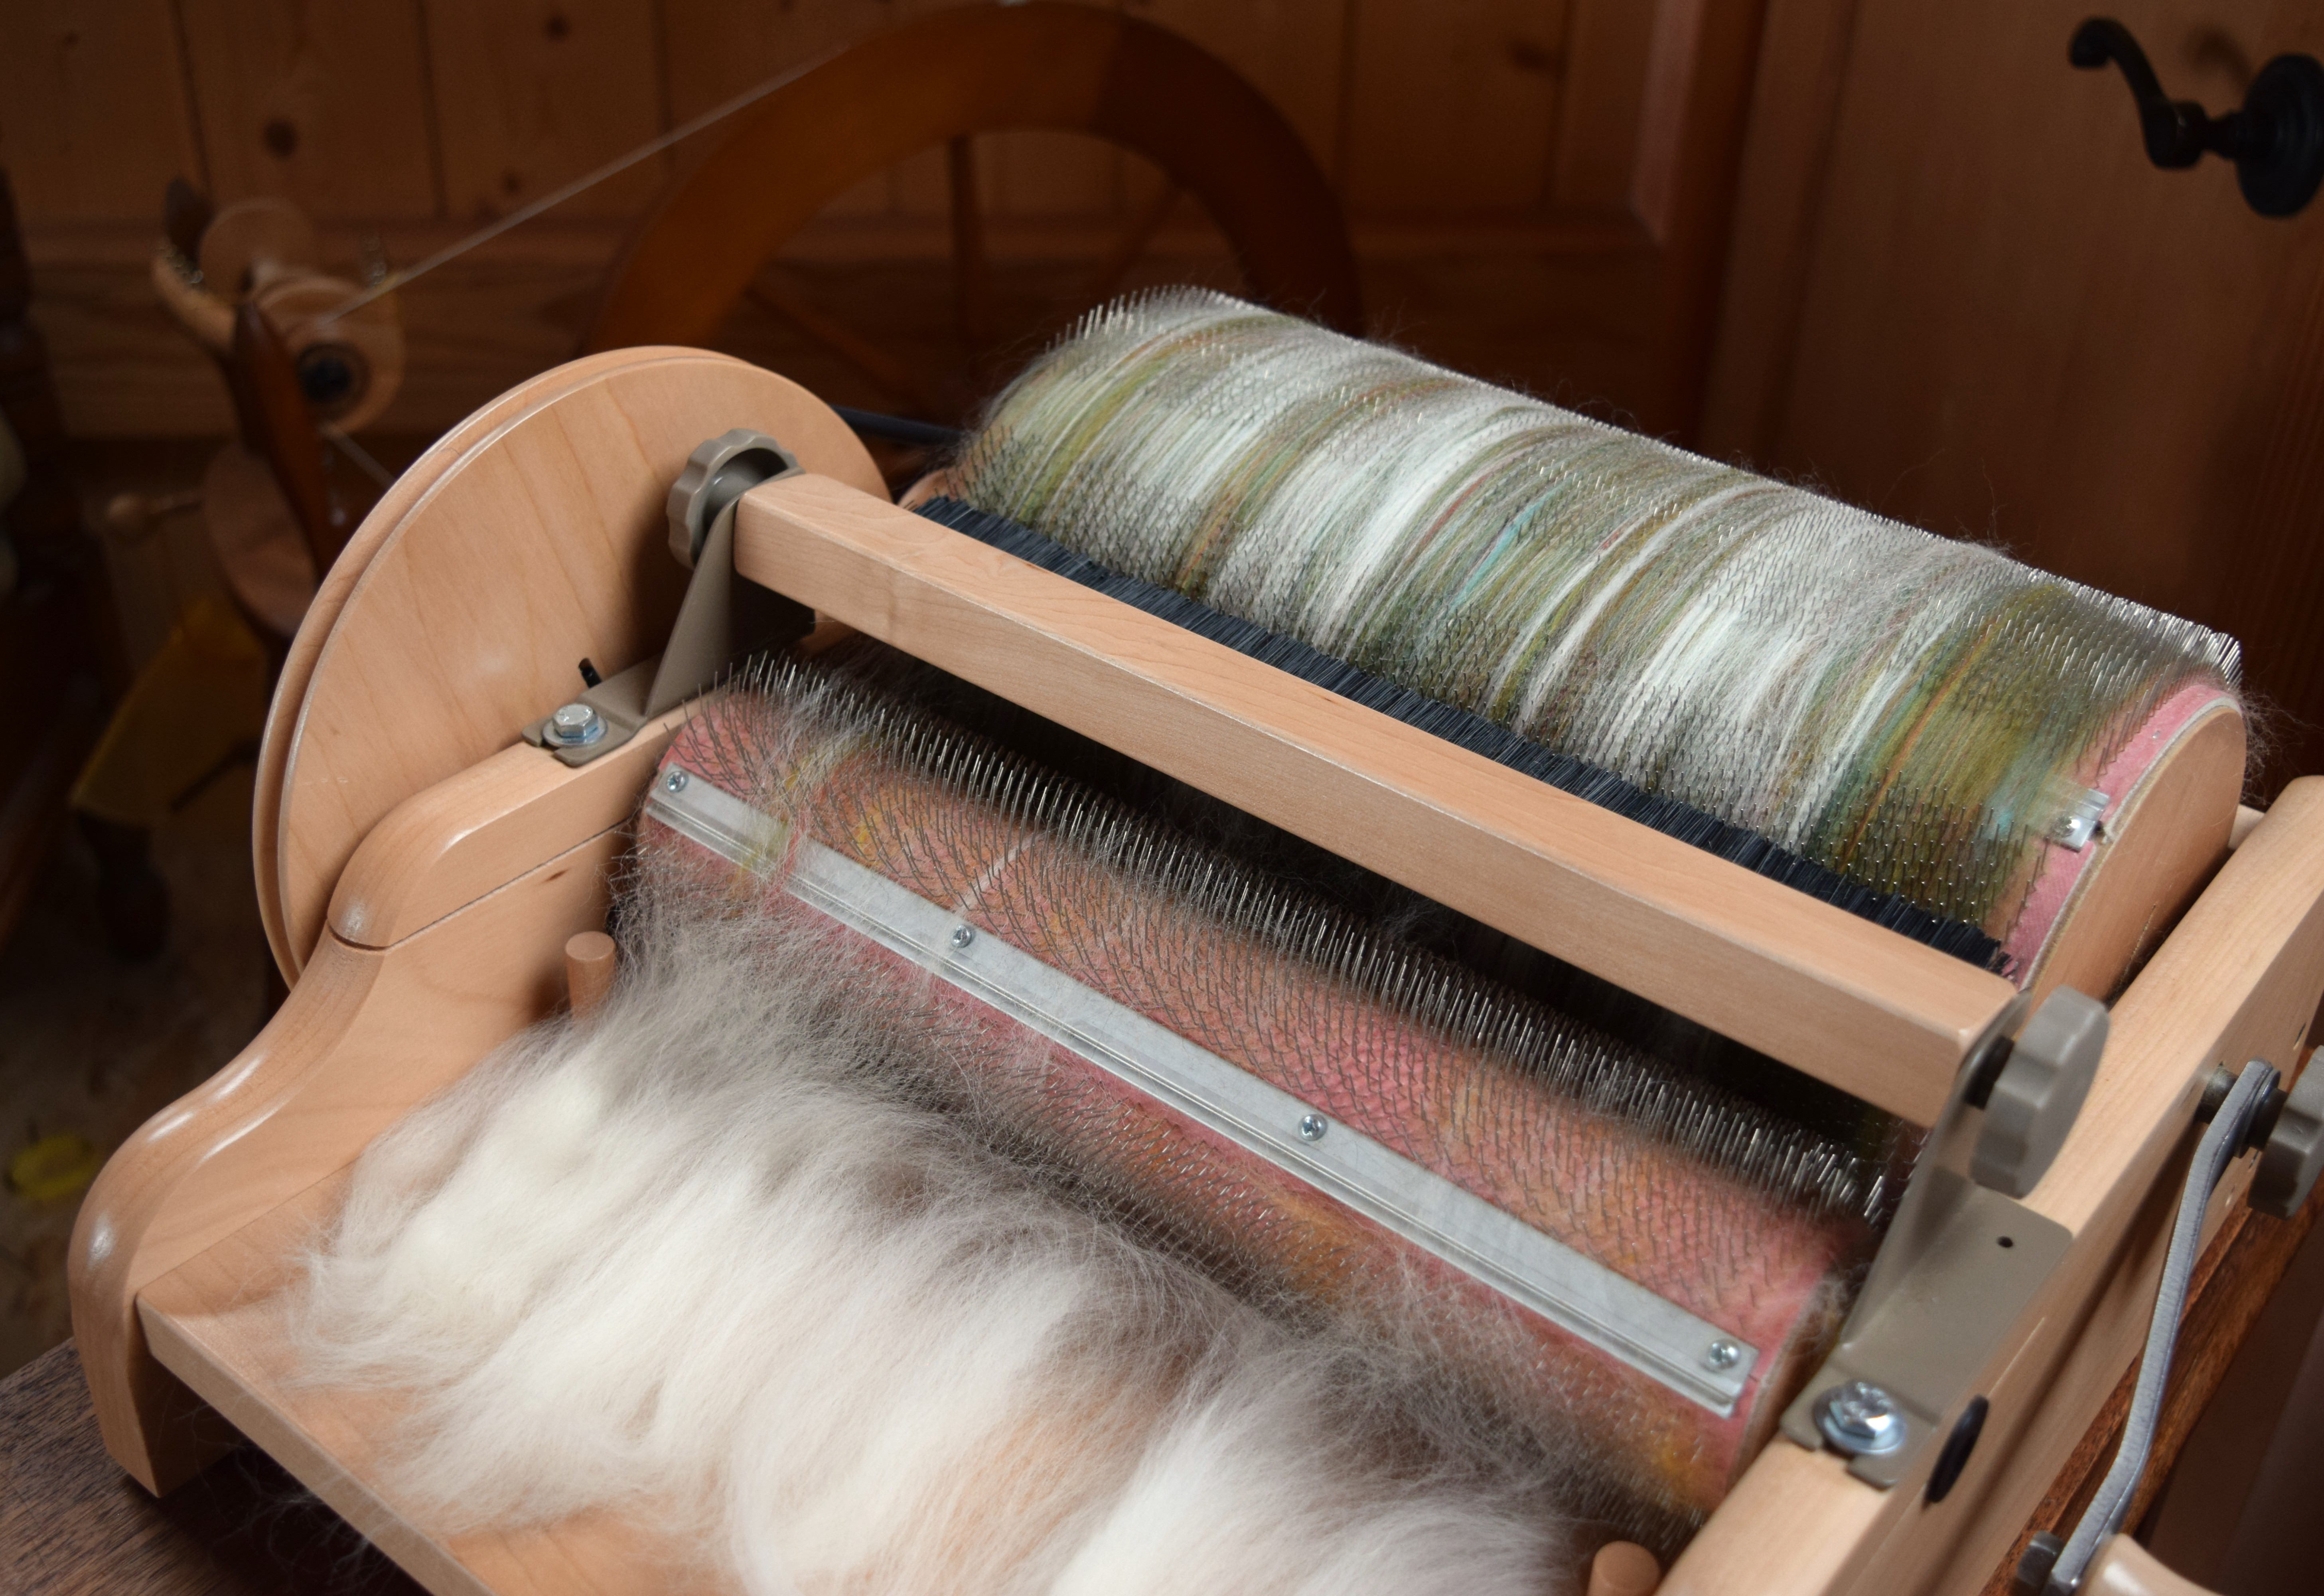
This experiment starts with a very simple layered batt of a colored hand-dyed braid and one or two solids, then spun quickly to an aran weight single ply. I am working on my drum carder this time, however blending boards or even hand carders are going to be the same process, just on a smaller scale. The drum carder of course, now that I have one, offers the most fiber volume with fewer steps, a blending board a few more, and hand carders will take many.

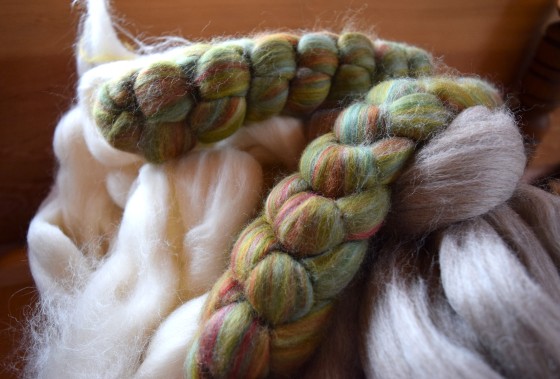
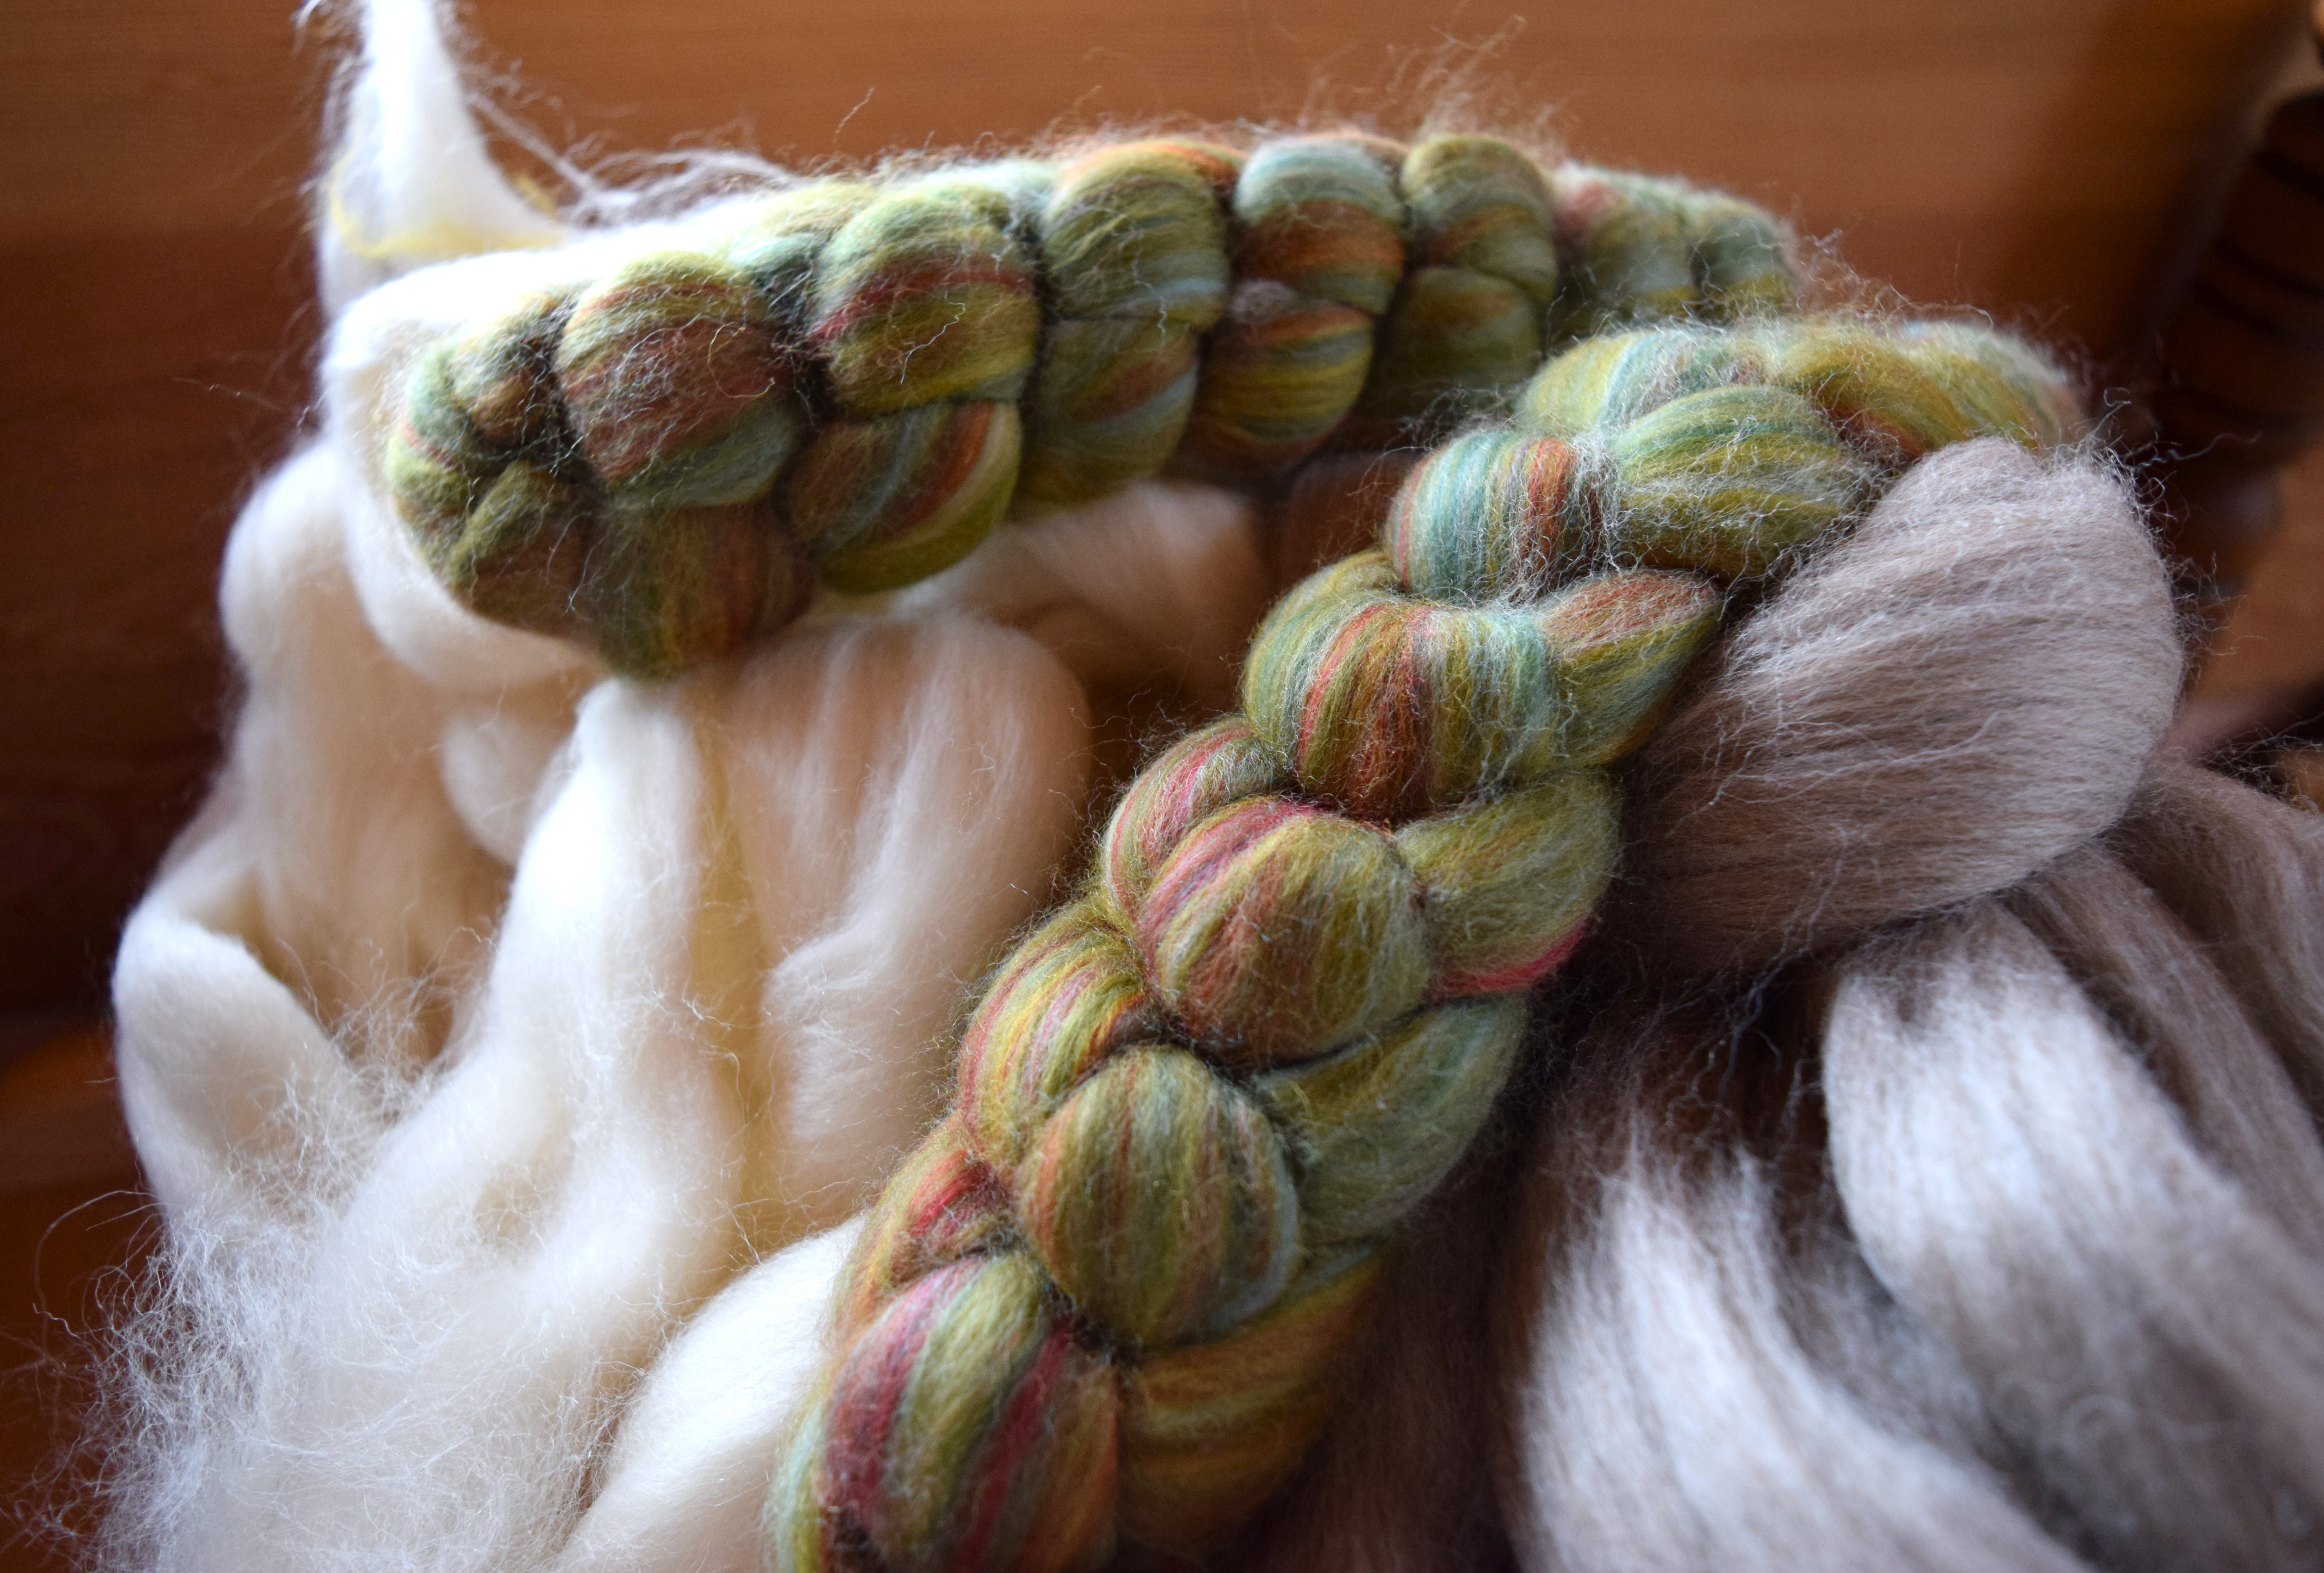
I chose a multi-colored combed top braid from my small collection of indie dyer braids, and I admit, this is the most significant shortcut, for to take advantage of so many beautifully hand-dyed and multi-colored rovings available these days — so many — having the colors already blended is the biggest time-saver, and so very easy to find them too! I usually prefer subdued color, so for this experiment I have sandwiched the colored roving in-between two neutral solids.

Here is one batt split and coiled into little nests.

Additionally, I plan to spin in a very simple time-saving way, in a short draw worsted technique. That is, working with the combed top, trying to keep the fibers aligned, then keeping the alignment of the wool as much as possible by splitting strips off of the batt — no rolags, no dizzing, no further prep, just loosely put into little nests to photograph them — okay, so now its time to lose myself in some spinning.

♣     ♣     ♣

Techy stuff for Speed Tweed #1:

  • Fibers . . .
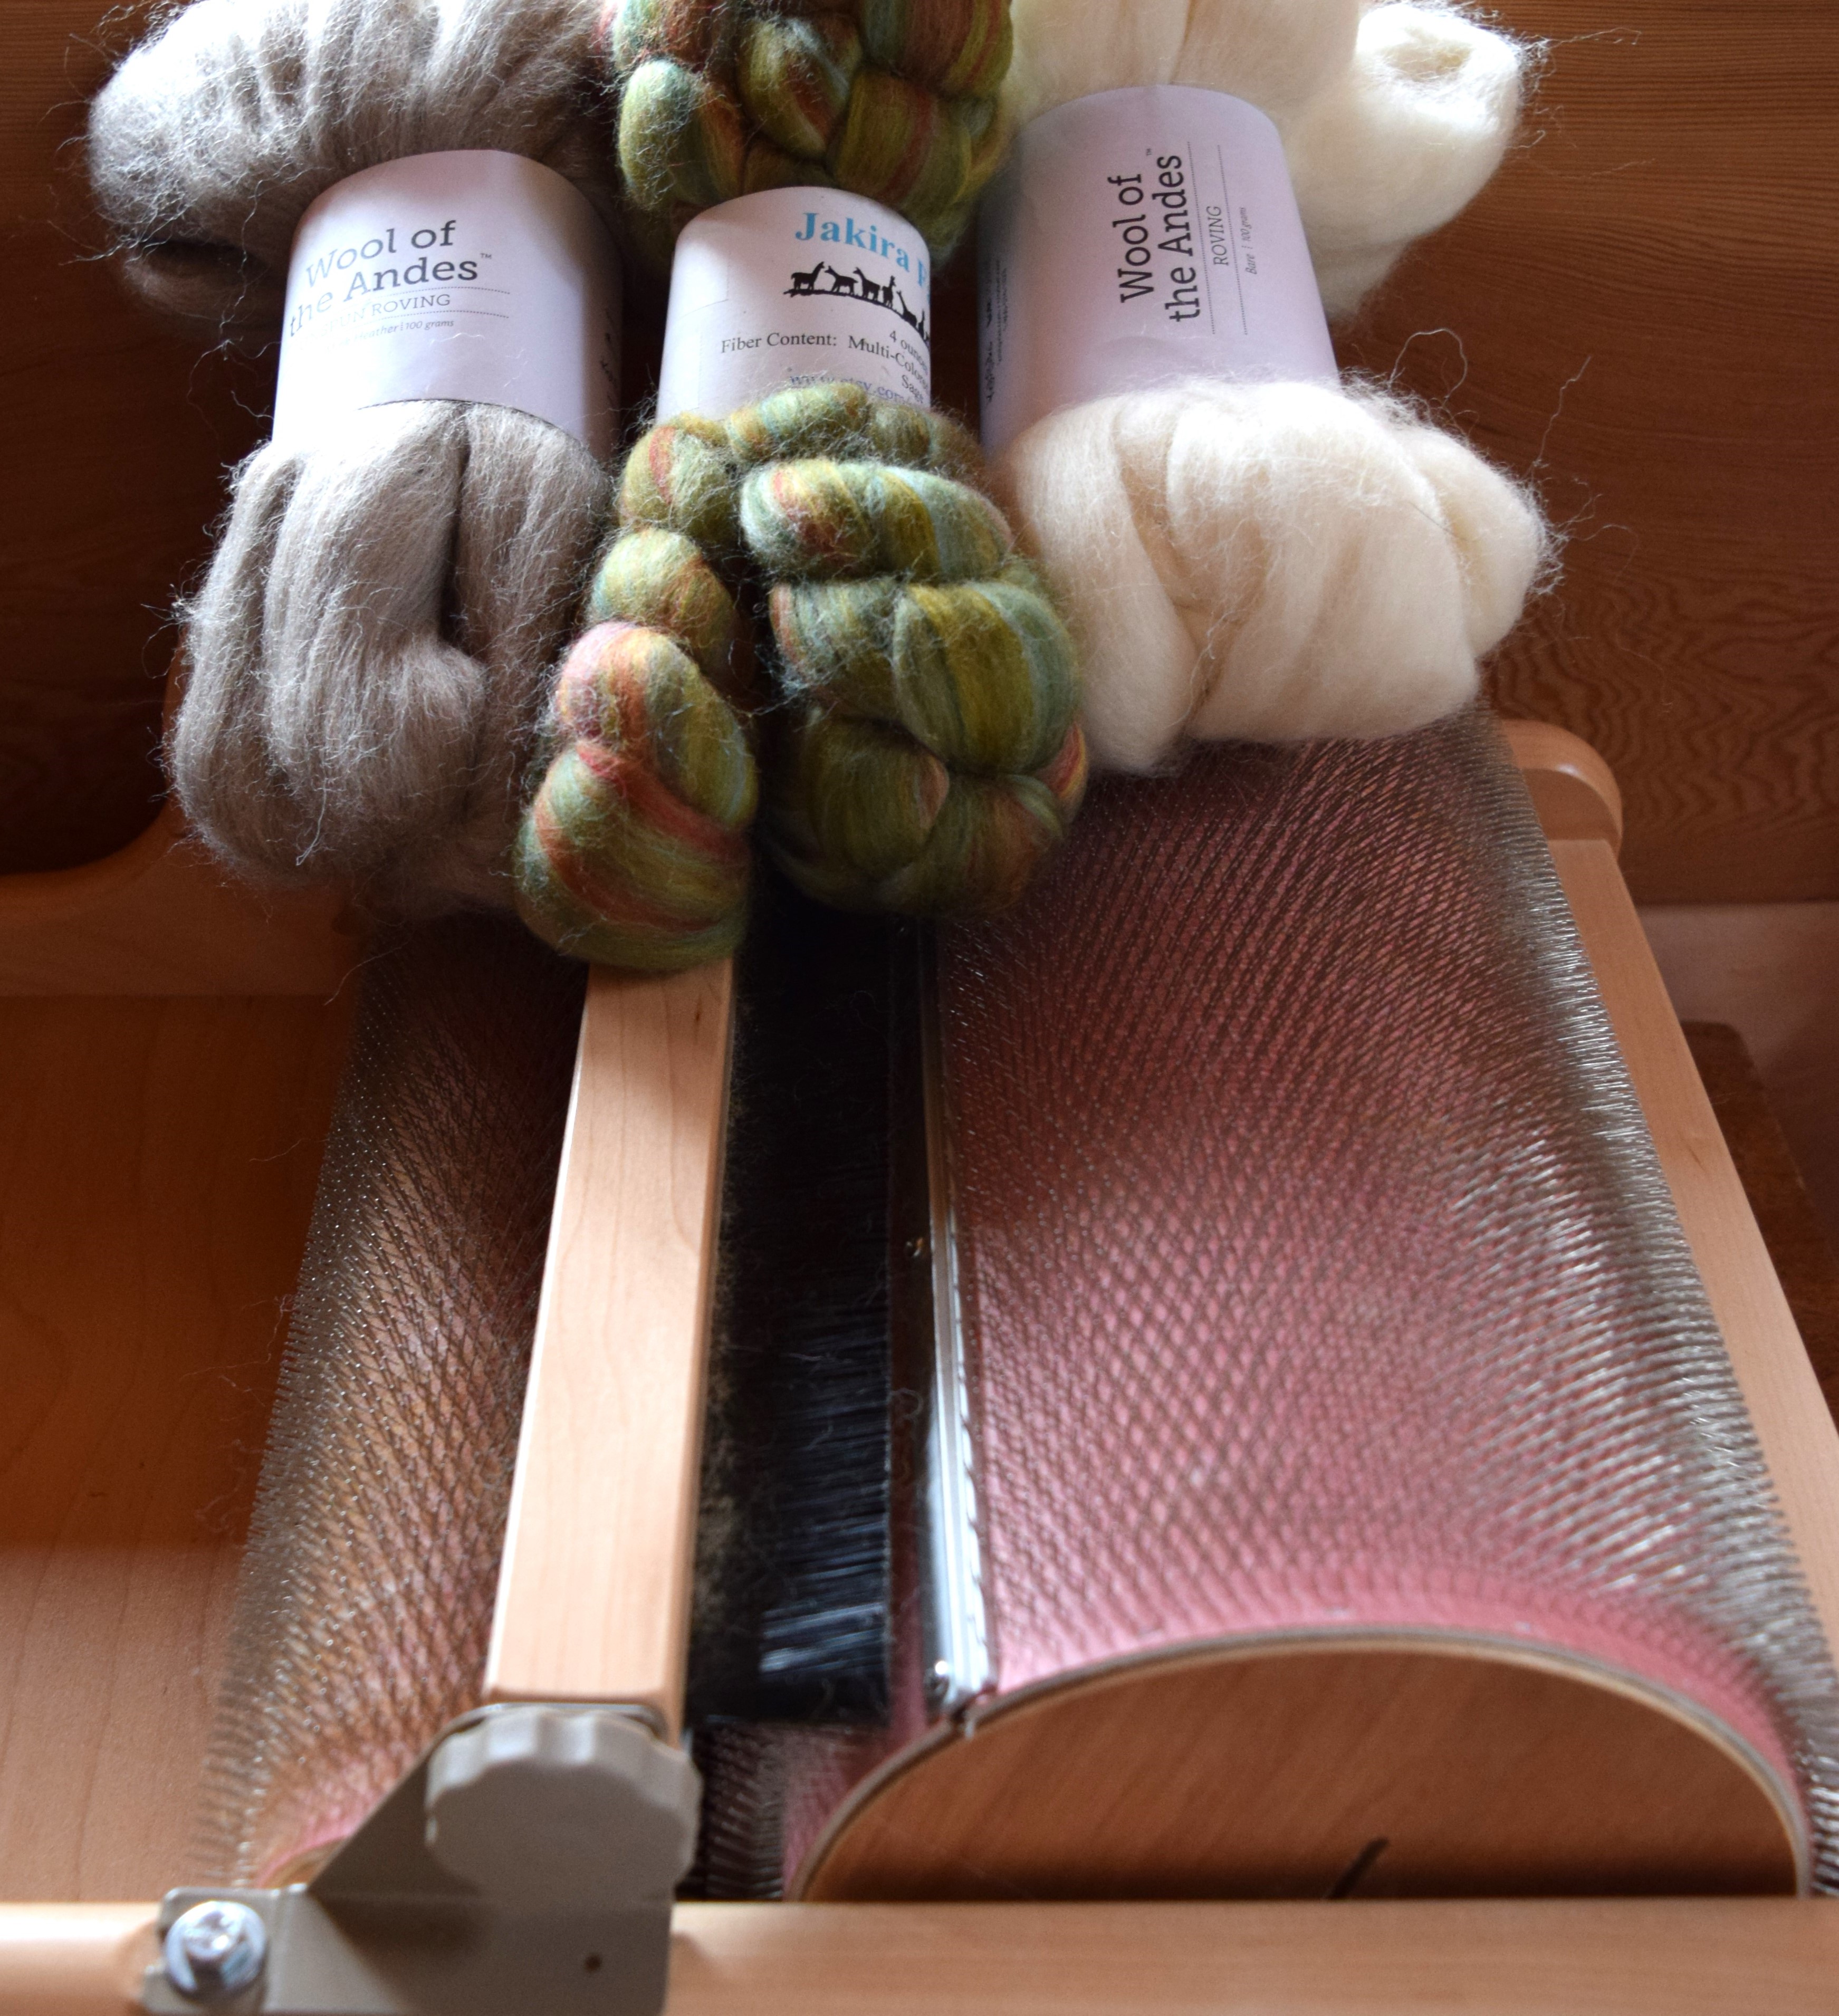
    • 1 part hand-dyed colored roving (100g multi-colored combed top braid from Jakira Farms)
    • 1 part solid roving (100g Wool Of The Andes Roving in Bare )
    • 1 part solid roving (100g Wool Of The Andes Roving in Mink Heather )
  • I divided each color into thirds (approx 33g each) and layered on the carder as follows:
    • First layer = 33g layer in mink
    • Second layer = 33g layer in featured colored braid
    • Third layer = 33g layer in natural white.
    • Pull batt off, divide into 6 to 8 strips, and coil strips into little nests to spin. Repeat remaining two thirds.
  • Approx 300g of wool to spin. 
  • Notes for improvement: As I layered the whole 100g rovings in one layer, I had to run it through the carder again to homogenize enough to my liking. Next time I will apply the wool into the carder differently, refining my speed tweed technique!
  • See ALL color blending experiments & recipes archived in Tweed Chronicles

My summer fields: carding.

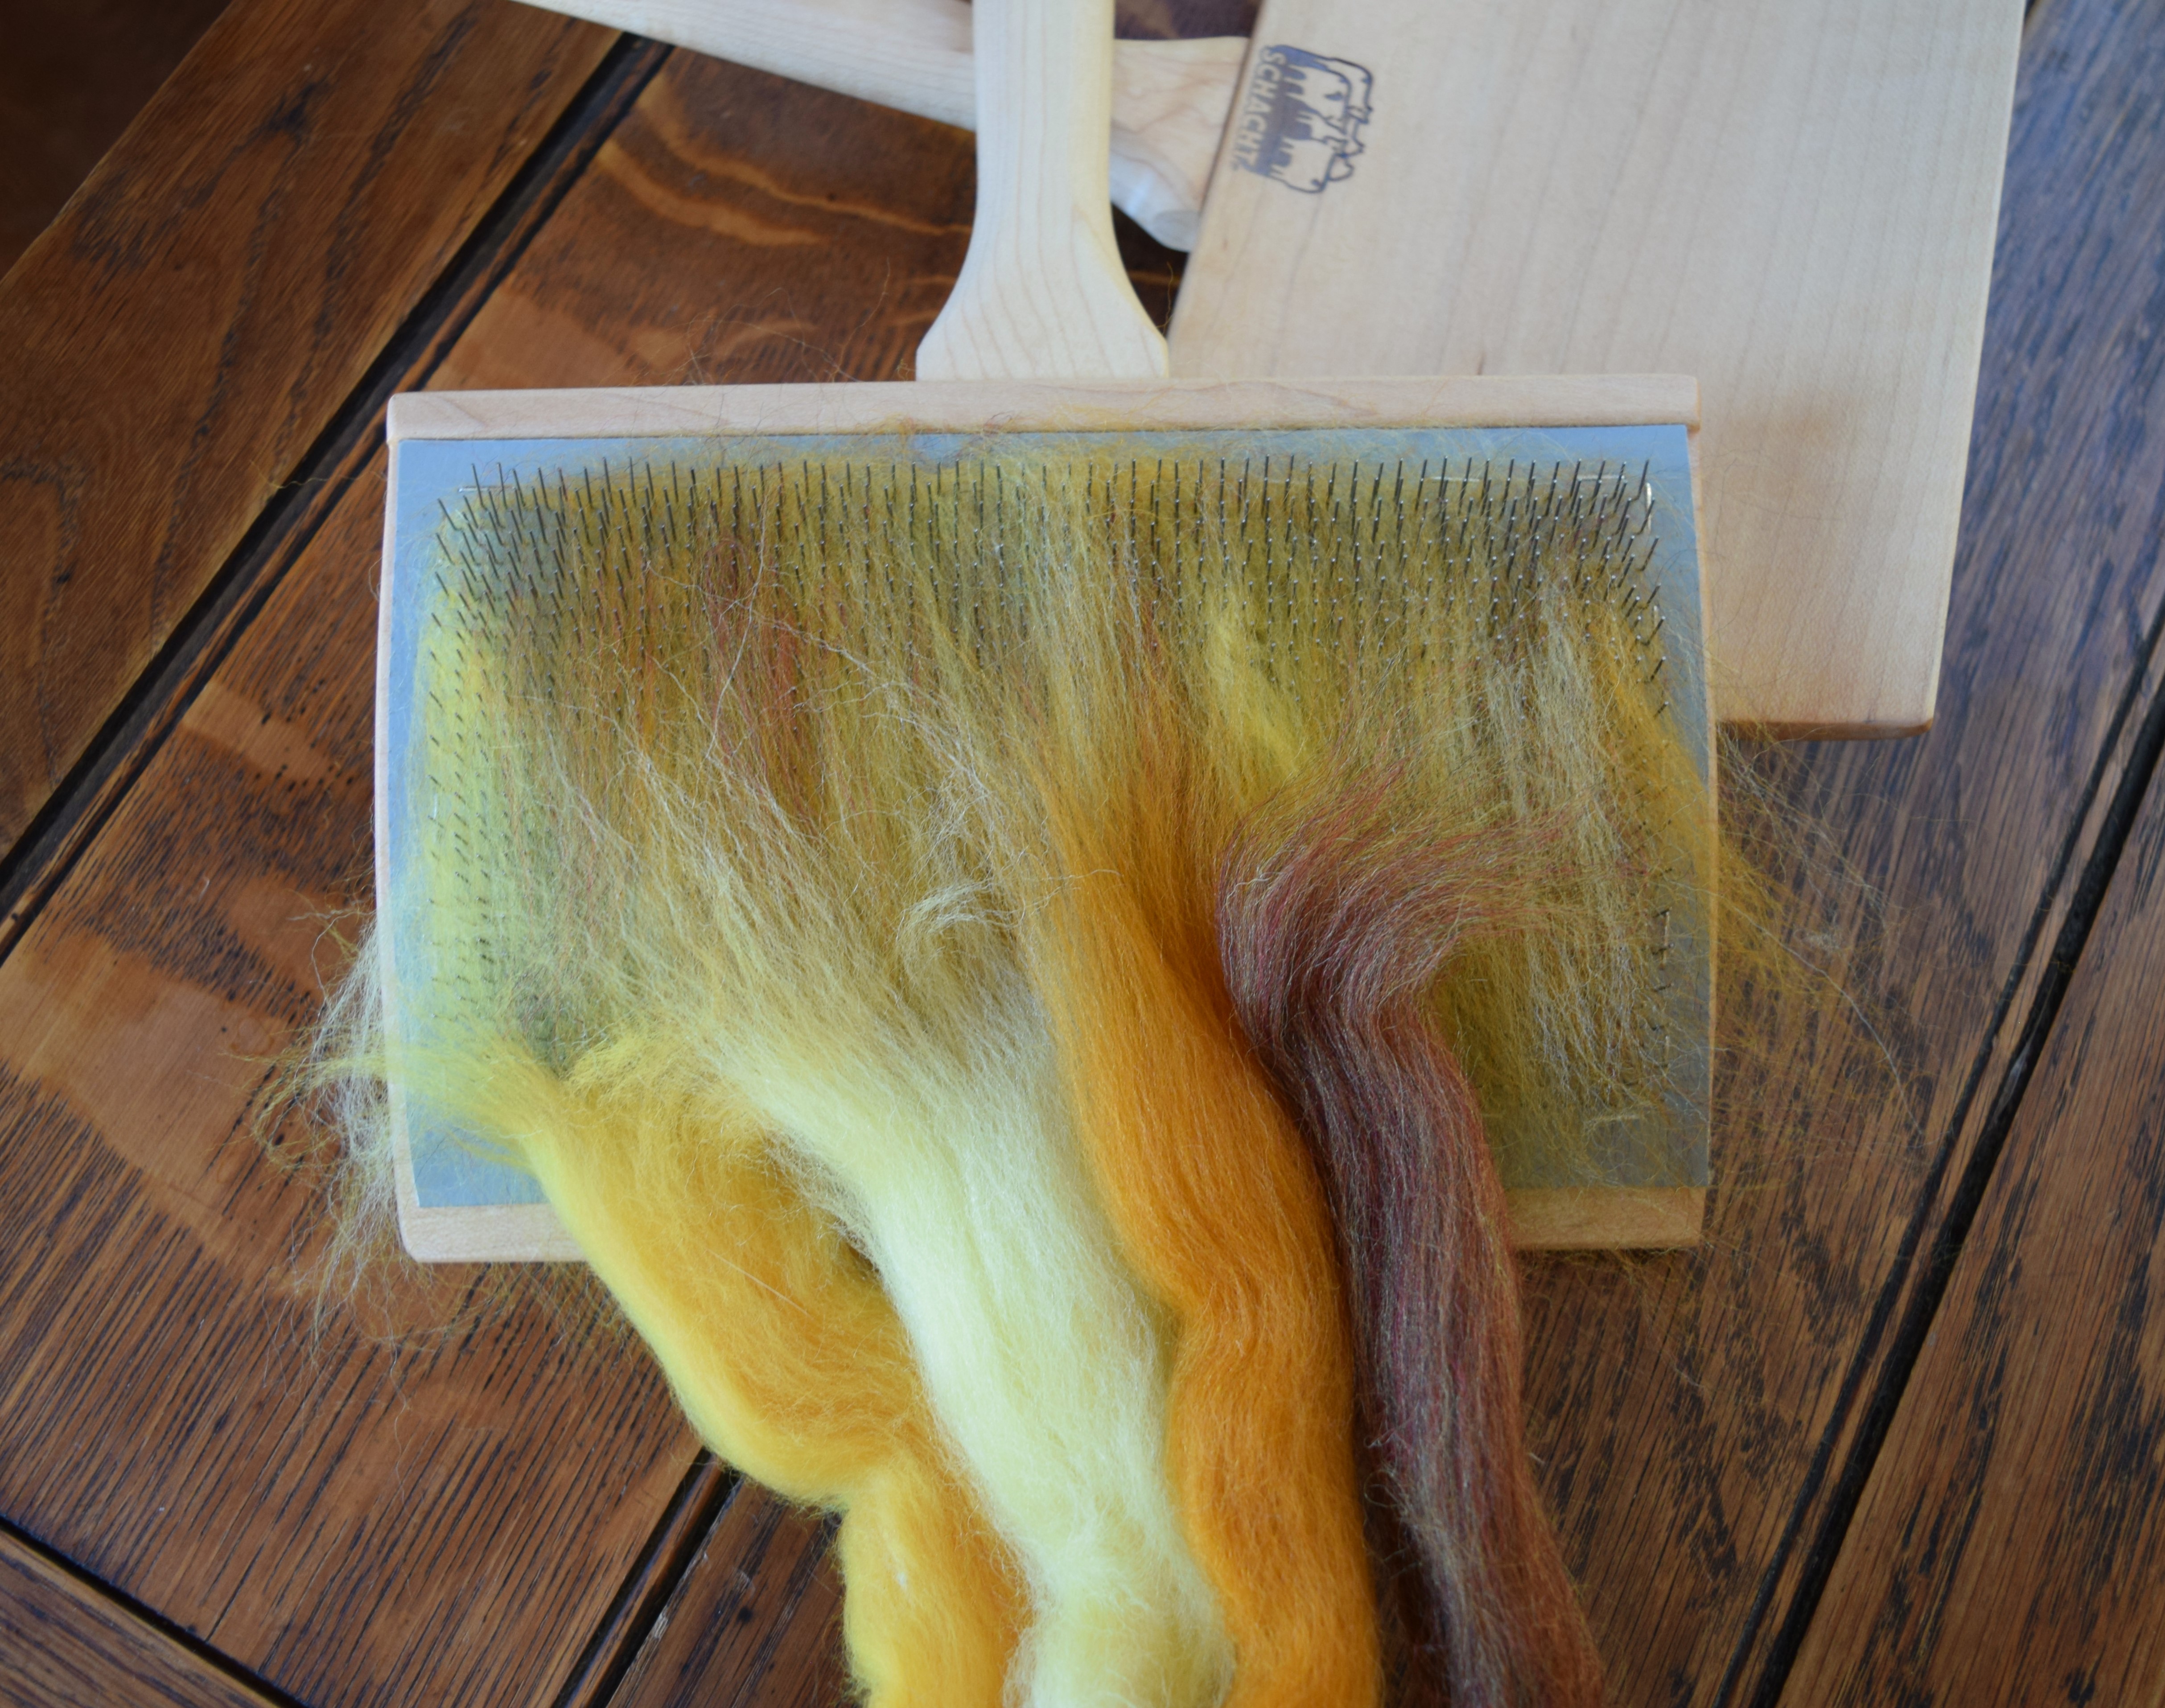
I’ve been busy since the resident carder came earlier this week, down in the tiny (wool) house, raking through the fleece that, after washing it twice, and putting through the box picker twice, I gave up on it as it still had way too many weedy bits, still smelled bad, and was still greasy. The last thing I need is a moth attracting sweater in my wardrobe, so, after cleaning the greasy grime that was fast accumulating on my brand new Ashford carder, I started over blending color with commercial white corriedale/merino top roving I had on hand, and added still more marigold, honey, and dark caramel hues.

However, I made the mistake of pulling off the rolags from the last carding without test-spinning ~~ I am so out of practice ~~ no recipe, just improvising, honing my instincts, and from this point forward it is going to be what it wants to be. I am planning on this first sweater in my wardrobe, to wrap me in the warm memories of golden summer fields all winter long. As I changed course in the middle of carding, I have no idea how much all these rolags weigh, but I’m guessing well over 600g . . . and now for the spinning!

See all posts in this series My Summer Fields Project

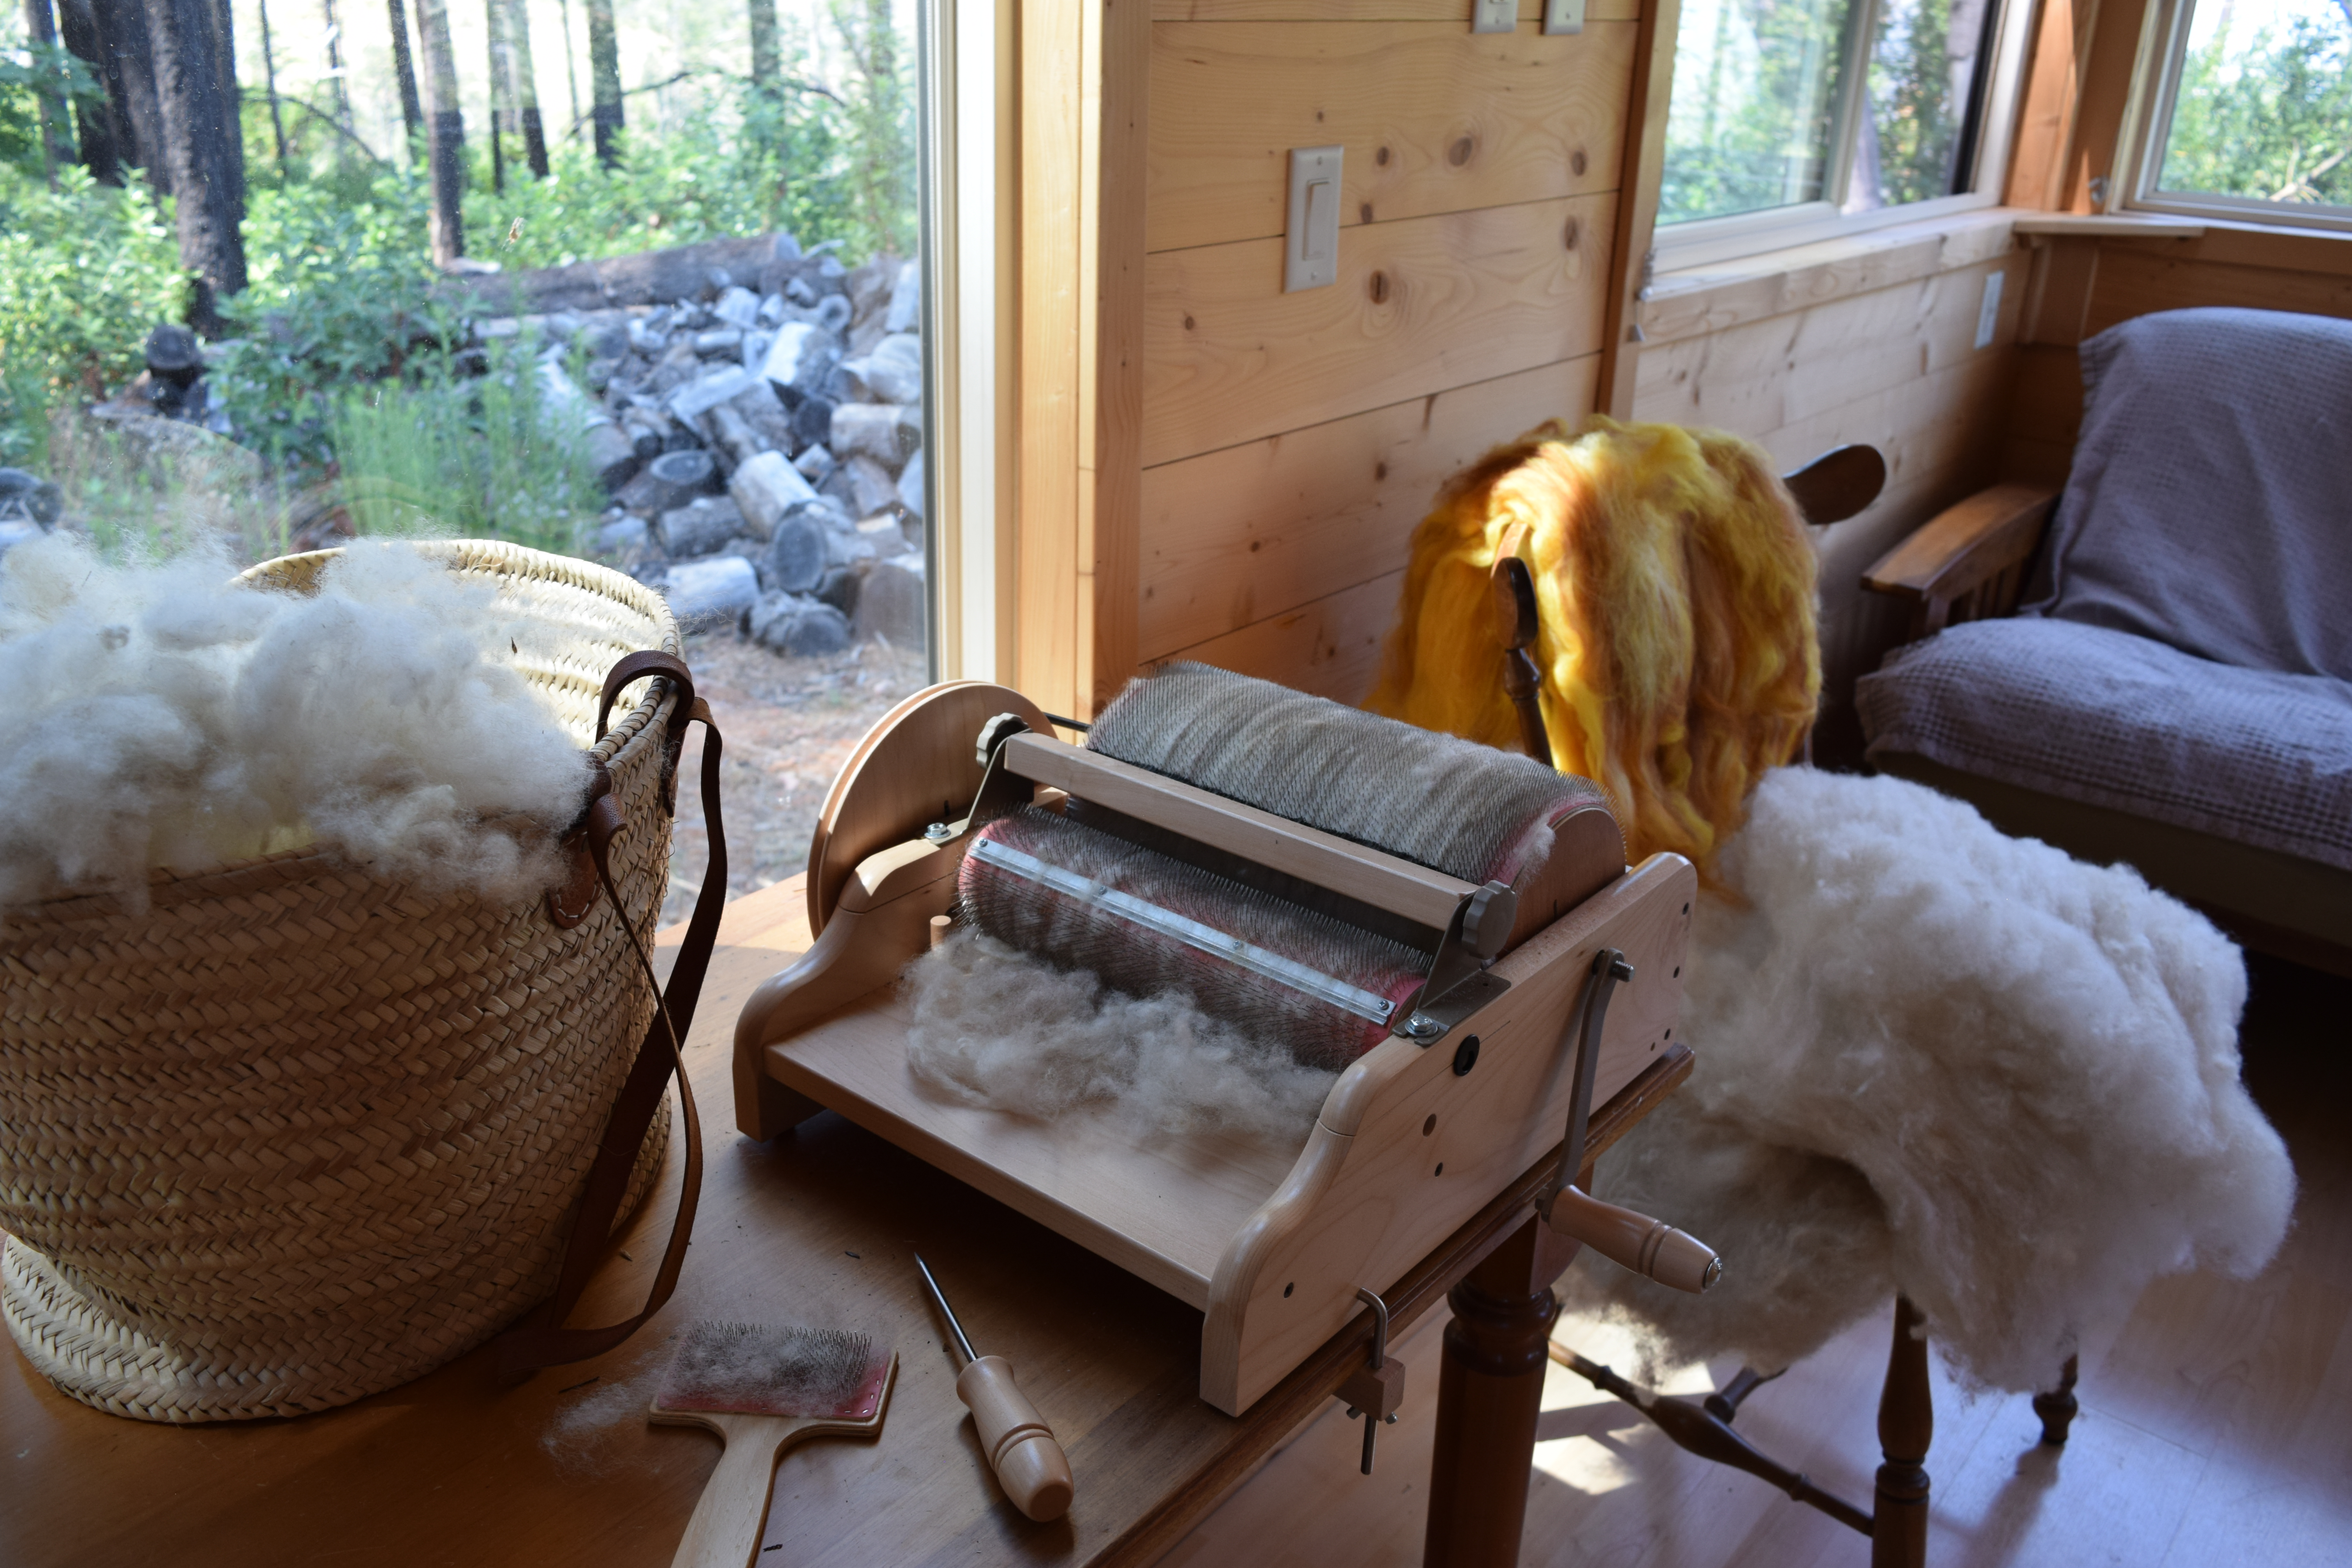
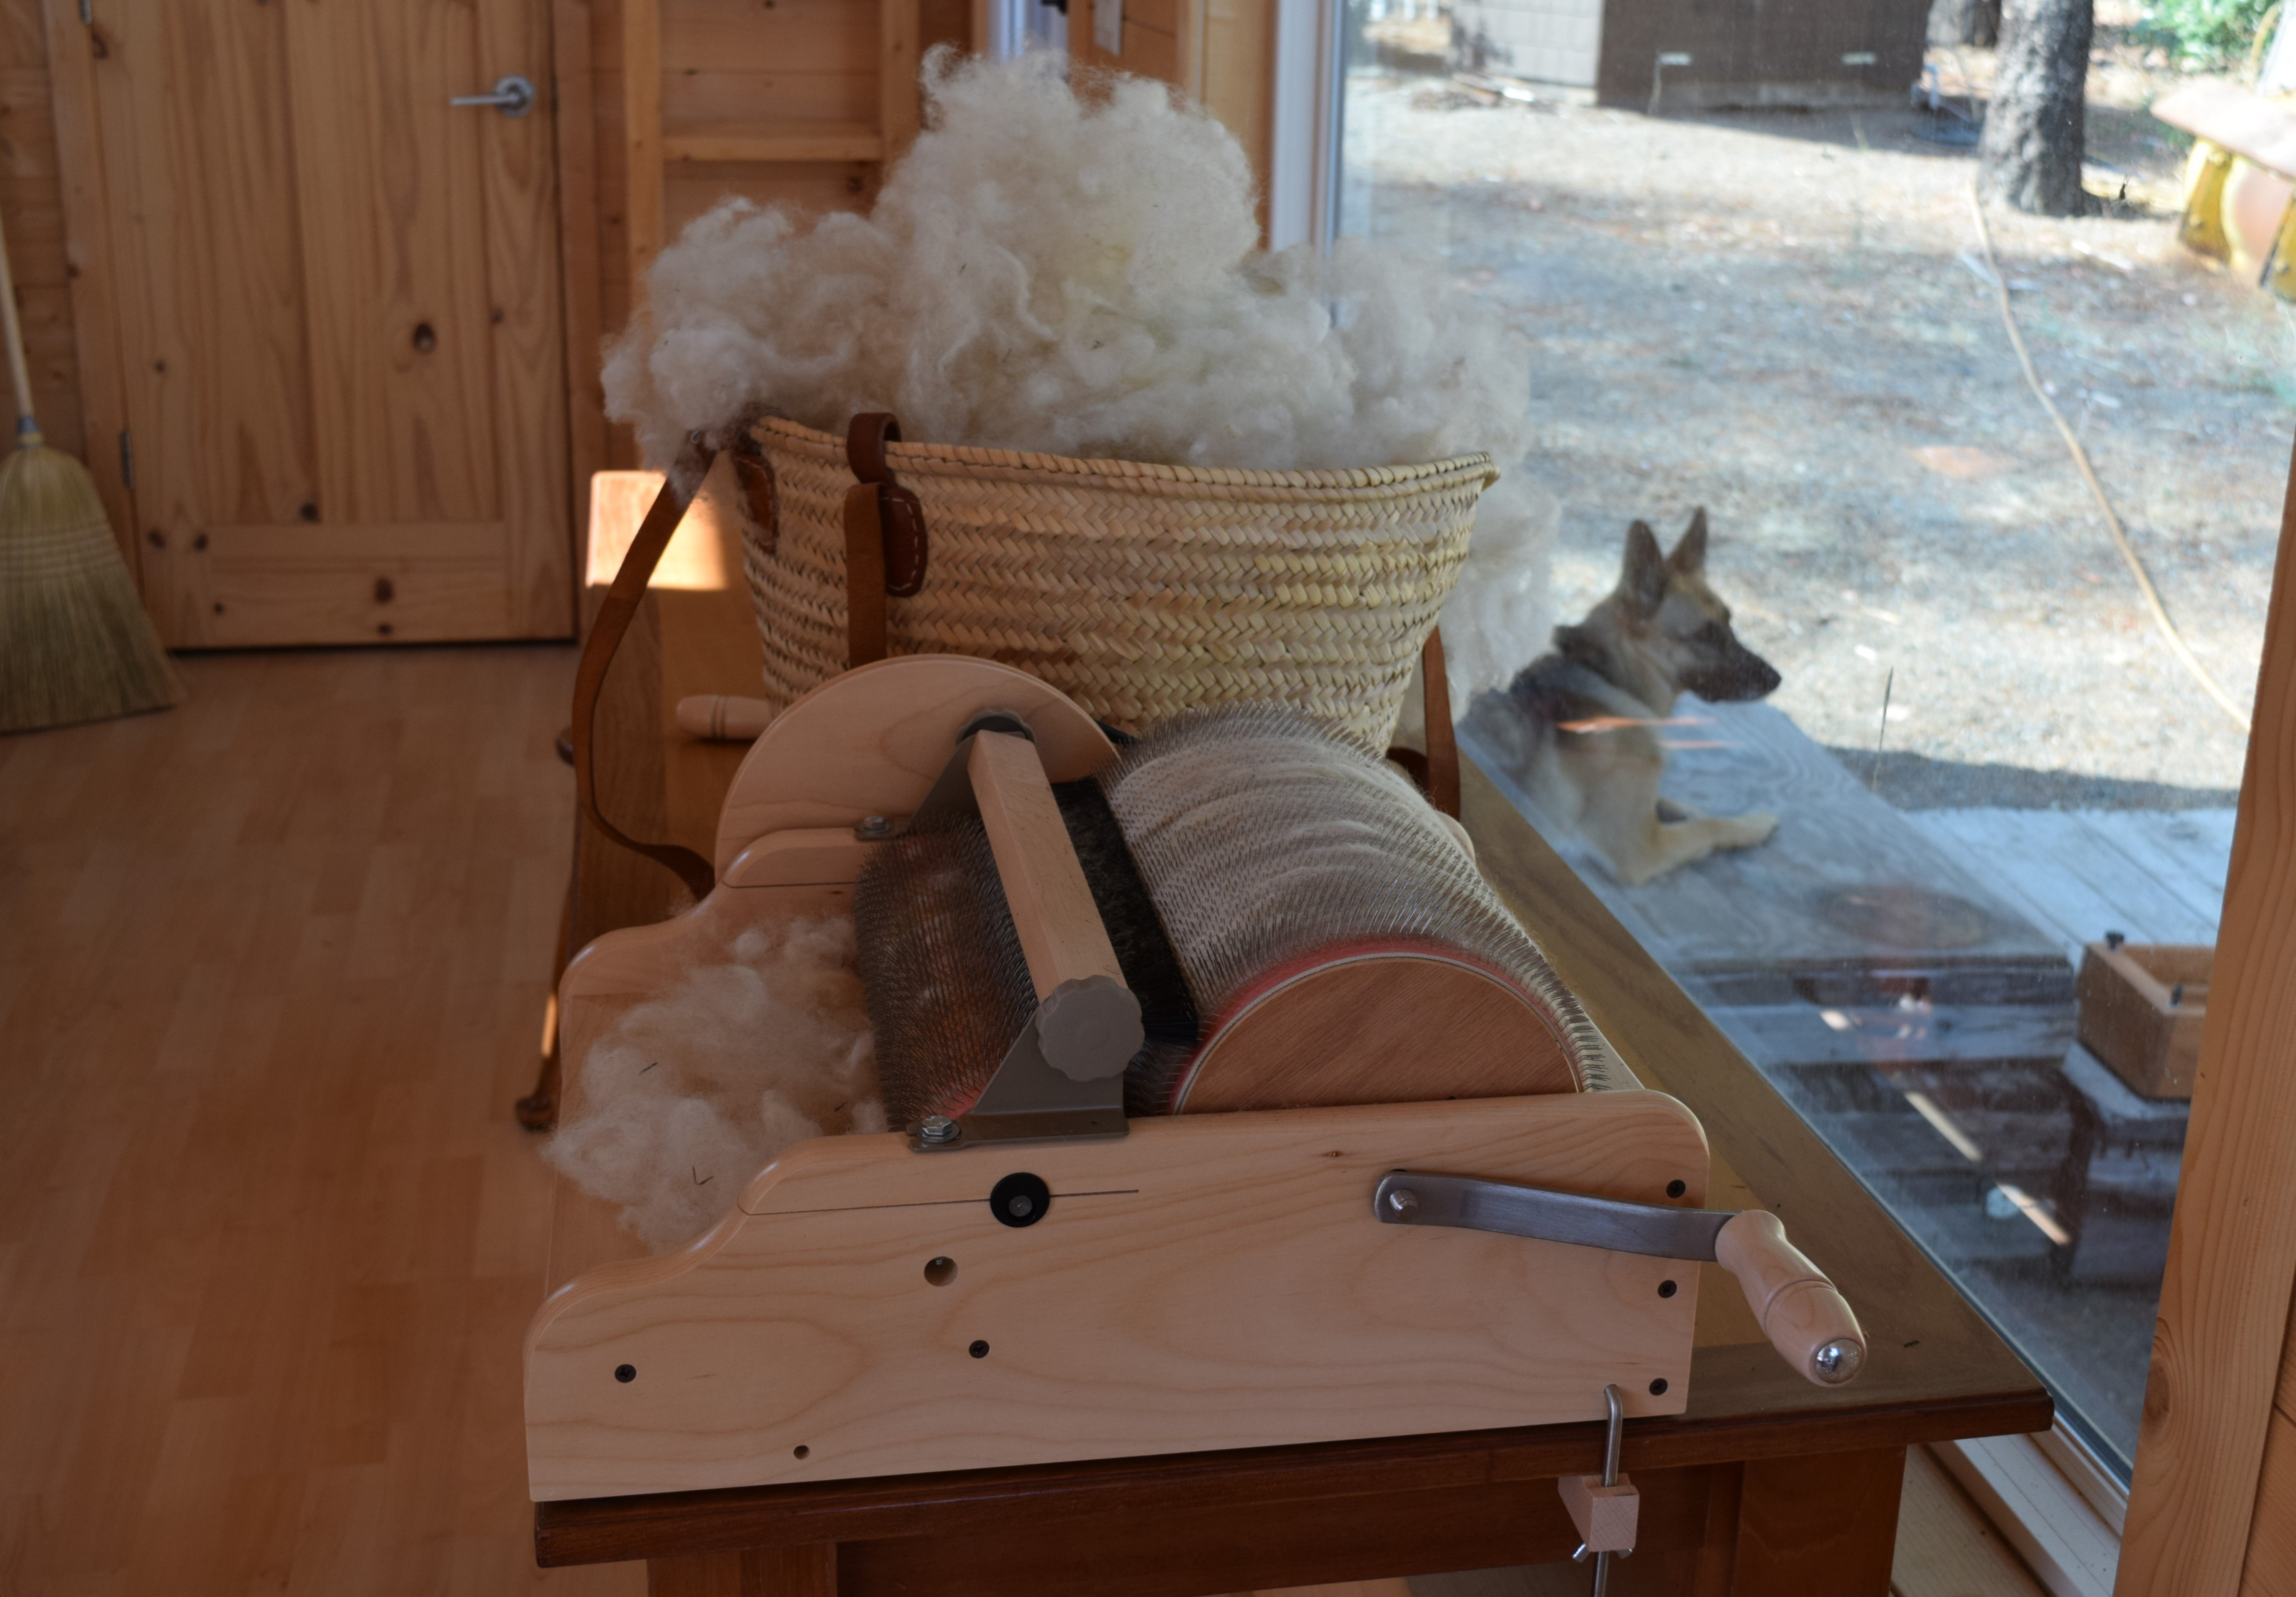
The resident drum carder . . .

. . . has arrived!

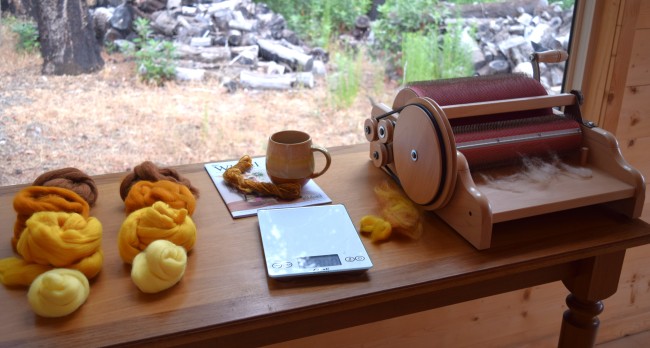
I am busy down at the tiny (wool) house, figuring out methods, weighing carefully, taking notes and taking a leap of faith in color, learning how to use the hand-cranked carder (feeding with left hand, cranking with right) and calculating percentages of mixes.

Back down in the charcoal forest, away from the internet, I am hunkering down . . . with a return to Tweed Chronicles, engaging my creativity with a bit of hard work, and making the effort for the yarn.

(( See all posts in this series My Summer Fields ))

High summer.

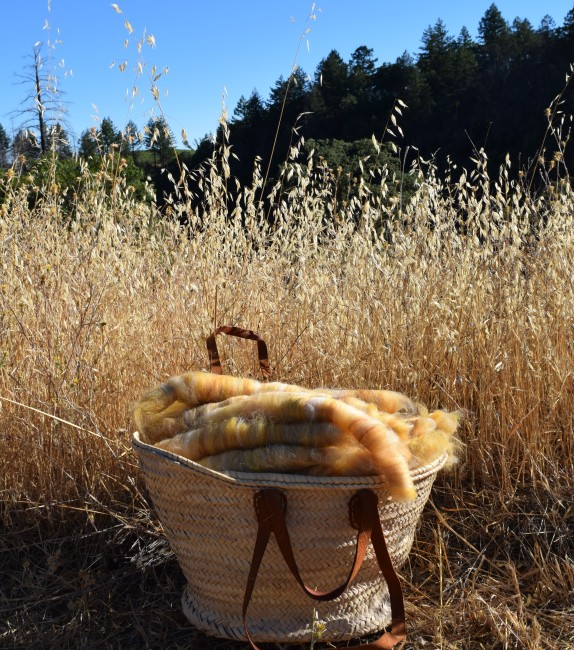
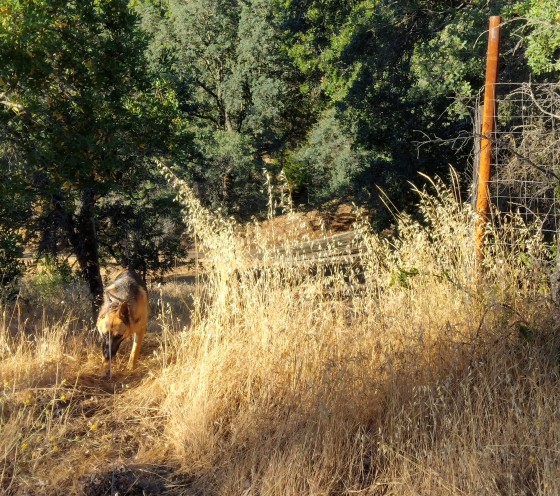
This morning I went for a walk with Juno, in the hot . . . dry . . . toasted-in-the-sun wild grass of high summer. I so very much want to capture it and knit it into a sweater! These are moments of this afternoon, as my ideas begin stirring, testing all gold tones together, trying to grasp the emotion I feel about the summer landscape that is elemental to my life on the mountain, and translate it into yarn.

See all posts in this series My Summer Fields Project

Tweed Chronicles: Odds & Ends Blends

I have been in a binge of preparing fiber,  attempting to clear out and make yarn from all the little bits of  fiber odds and ends I have in my closet. With this batch I am refining my “one + one” blending method, where I blend a batt on my blending board, then blended that batt to another batt, and so on (original one + one tutorial)   Also, using hand mix method (original Handmix tutorial) to divide up the batts with new fiber helped me get everything fairly equally portioned, and I just kept adding while the batts were building and then the final brush strokes of accent.  Here’s how it all stacked up and blended together, pretty much exactly . . .

♣    ♣    ♣

Techy Stuff for Odds & Ends #2, entirely on blending board.

  1. Beginning with 21g of a BFL hand-dyed braid, I mixed together on the blending board, and the blue, yellow, green, orange, red all turned into a mix of dull dark brown = batt #1 — see color saturated neutral tutorial here.
  2. To the batt#1 color mix I blended with about 30g of some (what I think was) Rambouillet white wool that was in the mystery bag of fiber = 1+1 batt #2 = 51g.
  3. To batt #2 I blended with 97g white alpaca = [1 + 1] + 1 batt #3 = 148g.
  4. To batt #3 I blended with 80g part braid of blue-faced-Leicester/Shetland/Manx blend which was tan and white wools = [[1 + 1] + 1] + 1 batt #4 = 228g — shown in the big fluffy beige batt below. 
  5.  I brushed on to blending board 72g part braid of Malabrigo Nube (Merino) in colorway “Solis” (blues & greens) for a batt to mix in. 
  6. To batt #4 I mixed in the teal batt = [[[1 + 1] + 1] + 1] + 1 batt # 5 = 300g. 
  7. Last brush streaks of ‘turquois veins’ = topaz bamboo. 
  8. Pulled off rolags!

Notes:

  • Making batts of all the fibers first, which is kind of like combing them and making them easier to blend on the blending board with the next fiber, sequencing the process with another fiber, then another, instead of all fibers at once. This homogenizes the first fibers more and more throughout.
  • After batt #3 I decided to not blend in the 30g of white Cheviot or extra (much coarser) 72f BFL blue-green hand-dyed braid, and left it at the 300+ grams batt #5.  Batt #5 got two blendings on my blending board, in attempt to finer homogenize the colors, but it became and overwhelming project at 300g total, and I still had the last brushings of color to do, before drawing off rolags. I am considering getting a wool picker for future big projects! 
  • Final blend I added about 10g of bamboo in color “topaz” for the gold streaking affect, thinking I might end up with a look of veined turquoise. However, I can never tell until the final handspun is finished and plied before I can be certain.  

Watch this space for the spin-up of these lovely rolags. 

♣    ♣    ♣

Oh yeah…

the Odds & Ends #1 batch that is all spun up and I almost forgot about!

I actually did forget to post this, from weeks ago the finishing of the project, and it was the first of my Odds & Ends series of stash-busting projects. It is Early Morning Blend from inauguration day. has finally been spun & plied.   This also is the first on-purpose bulky weight yarn I have made that I can remember, in all the years that I’ve been spinning; that is, not accidental or “it is what it wants to be” kind of handspun. I have pretty much a default thickness of yarn I spin now, so, needing some bulky weight yarn to knit up a little something, it occurred to me to ply 3 together of the singles bobbins that were storing in my wool closet. I absolutely am raving about on-purpose 3-ply, as it makes a very balanced round yarn. Which incidentally, is ideal for textured knitting. Hmm, maybe next I shall cast on for the smallest size of my latest Fisher Vest, hoping I don’t run out of yarn!

Tweed Chronicles: The Hand Mix (2)

Revisiting one of my original Tweed Chronicles recipes,  posted four years ago nearly to the day, before I even thought of doing a fiber blending series and calling it Tweed Chronicles.  But this time I wanted to expand the project up to at least 300g of fiber so that I could make something from the spun yarn (oh, like a small vest).   Admittedly this time of year brings heartful memories from that time of intense creative discovery I ascended to with fiber & color on my newly made blending board. The time was just before the wildfire, so I suppose that it feels good to return and pick up where I left off , celebrating Tweed Chronicles and the coming of Autumn. I am especially keen on refining ” the hand-mix ” recipe,  a preparation of multiple  fiber & colors and textures, which uses mostly hand manipulation and minimal work on the teeth of the blending board or carders. Its actually quite satisfying to split a color into halves, then half again, and again, quite relaxing, and works so well to homogenize everything. So from the original tutorial, which has the slide show and I recommend checking out, in this post I am merely refining the method.  Here is what I did…

Continue reading

Nep Clouds 4

spun nep clouds

The final plied woolen spun skein, washed & dried, and my nep cloud experiment is finished !

The neps were so subtle and very difficult to get to show on the camera, so I had to intensify the color saturation of the photo just so that you could see them, the blue and green neps. The whole skein looks rather seafoam color when hanging out on the line.

This time of year the Black Oak leaves are budding out a soft fuzzy beautiful crimson velvet!

The landscape by the way, is healing slowly from the wildfire. We’ve had to cut down so many dead & dying old Black Oaks around the house, and since I was outside photographing yarn drying on the clothes line, I want to show you how the young shoots are vigorously growing from their parent trees, from root systems perhaps a hundred years old. I have been shaping the new growth, and now the tallest of these young oak trees is almost 10 feet tall. I’m so proud of these young darlings!

I was thinking of trying another variation of the technique I posted in my first Nep Clouds Recipe on my new hand-carders, but I don’t think I can really improve it, for it seems to do best I think , to achieve the affect of the traditional woollen spun rustic tweed, so drawing off the rolags from the blending board work very nicely ( I have made some more notes in the original Nep Clouds Recipe for those who don’t own hand-carders ). Alternatively one could spin from the batt, worsted technique. Anyway, this method suits me just fine, and I will look forward to blending up some more neppy colorways just as I did this skein, and that about wraps up this nep clouds experiment!

See all posts Nep Clouds.

See all posts Tweed Chronicles.

Nep Clouds 3

I am having a lot of fun documenting every step of my Nep Clouds “recipe” .  However, I think the improvement I will make on my next nep cloud experiment, I will avoid using bulky weight yarns for the snippet neps ( see first post Nep Clouds ) as I struggled with some of the neps being too stiff and unmalleable, so instead I’ll try fingering, sport, or dk weight. These are the single ply bobbins, and I wanted to show how present the blue and green neps are even at this stage. Next will be plied, skeined, and washed finale!

See all posts Nep Clouds.

See all posts Tweed Chronicles.

Nep Clouds 2

jenjoycedesign© nep-rolags

Nep clouds from last post have been layered on the blending board with more wool, then rolled off into lovely speckled neppy rolags! You can barely see the imbedded blue and green neps in the white cormo wool, but I know when I begin to spin they are going to pop! 

jenjoycedesign© nep-rolags3

Next is the spinning, but first, what I did . . .

♣    ♣    ♣

Techy Stuff . . .

I layered twice, actually with a different wool (undyed white Cormo) layered in-between nep clouds (see last post for how I made nep clouds ), wanting to be sure the neps were well homogenized. It would have been a good idea to use a light grey , to show the blending steps separate from the nep clouds. Next time! 

  • Layered first wool, then blue nep cloud, then wool, then green nep cloud, then wool — taking opportunity to evenly disperse with my hands, clumps of neps, and then l lifted batt off of board.
  • Layered handfuls of the batt again, to get all nice and well blended.
  • Drew rolags off with large knitting needles in a slightly tensioned  ” combing ” motion. 
  • Rolags ready to spin!  (click the 1st image below to go to slideshow) 
  • See Blending For Tweed Simplified for my basic blending board slideshow how-to.

See all posts Nep Clouds.

See all posts Tweed Chronicles.

Nep Clouds

jenjoycedesign© nep cloud premix

Hey look, nep clouds !  These are premixes from my new hand carders, and will be blended in with a main fiber on blending board next.  They can also be spun ” in cloud ” , made into rolags from the hand carders, or can get layered on the blending board to build up a more complex visual texture. I will try a few methods to see what gives the most pleasing results (for me).  For ages I have been thinking about how to go about spinning tweed yarn with colorful neps,  and how to achieve the affect I want using the yarns I have in my stash.  I am rather fixated on designing a yarn which has the characteristic flecks of color that pop in the final spinning, as in the traditional rustic spun from Ireland and British Isles. Anyway, this is a part 1 of a several neppy posts, and as is customary in my Tweed Chronicles.  Here’s the techy stuff .  .  . 

Continue reading

Tweed Chronicles: Early Morning Blend

Yesterday I was blending on my blending board in the early morning light, listening to the inauguration on NPR. I had just finished the gloves design and figured I’d dedicate the meditative hours of dawn to prepare for a new spinning project. I am using up some of the mystery roving I received as gifts from spinners a few years ago, and not sure what, just odds & ends, but I figure blending together they would make a lovely 300grams of something beautifully natural looking with a teensy bit of color. I did five 60g batches layered on the blending board, of carefully divided and weighed segments, and got quite a massive pile of rolags! I am very pleased with the results, here now, the next day spinning it.

A select few rolags from the 300g pile.

I have used no particular recipe or technique as I have been documenting in Tweed Chronicles, rather, I just picked out three bags of mystery roving and layered on my blending board. I am attempting to only spin for a project in mind these days, so I scaled the total weight for possibly a vest I would like to have, so in the near future I will post again with finished yarn , and shortly thereafter begin knitting!

Quick Mix Spun

Taking a break from sweater knitting and have enjoyed this short Tweed Chronicles experiment, the Quick Mix. Just as I expected, a slightly more homogenized affect than straight off the roving, resulting in a pinkish brick fired terra cotta shade. Yet still slightly barber-pole , so I do think I could have blended it twice and had a more softer variegation. I am not the greatest spinner on the planet, because I just cant seem to produce consistent super fine singles, and if I do, the yarn often is under spun, so when I ply, I get thick and thin plied. That is okay, thick & thin handspun is a fine normal for me, because I like rustic handspun, however, I don’t like plying underspun yarn, for it breaks so much in the plying. This fiber is superwash Blue-faced Leicester, which is an excellent fiber to make into socks, even if the yarn varies from fine fingering to sport weight. If I knit a toe up format, I can figure gauge while increasing in the toe section I can adjust for the number of sts in the sock as I go. That is my thinking at least. I guess the toe-up sock with gauge substitution chart pattern is inevitable for me and my handspun yarn, so that is what I’m up to, hoping to knit this up from the toes sometime in the next few weeks, into just a plain & simple sock form. I’ll keep posting on this as I go along.

♥  ♥  ♥

Today is a beautiful day out and tomorrow is going to be dumping a lot of rain, so I believe I’ll go out for a walk to the peak, and then settle in to make some progress on eldest nieces’ sweater that I really want to finish. My primary goal presently is to get into good walking shape and so off I go !

Tweed Chronicles: Quick Mix

I wanted to try spinning my first ever sock yarn, so I looked in my basket of gifted fiber, and chose some lovely hand-dyed superwash Blue-faced Leicester fiber in beautiful Autumn tones. I wanted to spin this fiber without the barber-pole affect that one often gets when spinning straight from the dyed roving, but a softer and slightly more homogenized result. So you know what that means, I have an excuse to pull out my blending board and do some carding!

It is much easier to do a quick mix from a dyed braid, than to haul out all my separately dyed colors, and although it is a little less controlled, offers a bit of an element of surprise, and is really just fun, as the colors are all there in the braid. But one must choose the braid wisely, for each time I card the fiber from the braid out on to the teeth of the blending board, the colors fuse more, sometimes dramatically. Sometimes very quickly can depart from vibrant splashes of color into a muddied neutral appearance of one shade, especially if there are any complimentary colors in the braid. Also the colors will blend even more after plying the singles. So this time I am only going to fill up the teeth on the board just once, and draw off the rolags to spin. And here is what I did …

(click 1st image to go to slideshow)

♣     ♣     ♣

Techy stuff …

  • My extra long blending board holds a lot of fiber, but to play it safe, I made 4 batts approx. the same. I have 100 grams of fiber, and I want to get four 25 gram batts, drawing off 3 fluffy rolags each to spin.
  • First I divided the braid length-wize into half, then each half into half, so I can get 4 lengths in the same dyed sequence.
  • When layering on the board, I started all four batts with the same end, and layer up in the same way, basically repeating every motion four times.
  • Then I drew off the rolags.
  • See Blending For Tweed Simplified for my basic blending board slideshow how-to.

Watch this space for my plied finished yarn and sock project, which I am guessing will end up a rather muted colorway, close to a shade of terra cotta. See all posts in Tweed Chronicles

What I would do differently next time:

Given that one 100g braid could be done in two batts on my extra long blending board (24″ x 12″) which can hold comfortably 50 grams of fiber I would have not bothered to split the the braid into four lengths, but only two, and fill the teeth closer to capacity twice, drawing off more rolags each time. This would have had the same affect but much faster, and when I think of the whole theme of this post ” the Quick Mix” it makes more sense. However, with a conventional smaller blending board 12″ x 12″ to 18″ , four times would probably be better, as I’ve demonstrated above.

Edit in: See spun and plied yarn in Quick Mix Spun

Spinning For A Project – Part Four: Fiber Preparation

jenjoycedesign© Rose Blend 7I am more than half way through my fiber preparation, and I am really happy to say that I have made a breakthrough with the blending board!   In the last two years I have been doing a lot of fiber blending experiments but it seems recently I’ve noticed my results are overly compact rolags, so much that spinning has been difficult. I couldn’t even see why I ever decided trying to spin from the rolag method or why I thought it was better.

Backstory: If you see my post from August 2017  “Woolen or Worsted?”  ,  I muse a little bit about the preparation of the wool & that I noticed how it  affects the end result of the yarn.  Whether taken off the blending board in one big batt, and pulling apart into smaller sections, or using a ” diz ” to gather a continuous roving from your carded fiber, or like I am doing here, making rolags around two dowels from off the blending board, in a perfect world, a spinner should try all ways I would think.  I am aiming for a bouncy airy “woolen” spun yarn, and why I’m practicing spinning from rolags. 

After the first 50g color test of my 500 gram project of English Rose Tweed blend, I realized I may have a technique error.   I remember back in my first blending projects , especially this one, blended with super fine & fluffy ingredients, and how light & airy the rolags were, and so very easy to spin. So I tried a change with this batch; I lifted more and pulled over the teeth less.  That’s it! Just more lifting when rolling the fiber around the dowels ( I use slick aluminum needles) to make the rolags, and less pulling, and that took a lot of friction out of the process.  I guess my technique had morphed without my thinking about it, and over time I was working the rolags with a massive amount more friction. Well I had a big ” duh ” moment, and now I am conscious of this I am getting fluffy frothy whipped woolly confections again, to spin later.
Later that is, when I’m through blending all of the rest of the carefully measured ingredients to English Rose Tweed. Committing to the long-haul of a big project is something I haven’t done in a long long time. This is work I tell you! But just look at these beauties….  
jenjoycedesign© Rose Blend 1

See all posts in this series Spinning For A Project.

(( click 1st image to go to slideshow… ))

Spinning for a Project – Part Two: “English Rose Tweed”

Part two of my series “Spinning for a Project” (see Part One) and second post of the day, this one being about designing the wool blend for the hand spun yarn, so eventually knit into a future project. A blend which I’m calling “English Rose Tweed” for the Malabrigo colorway’s namesake.  These are the wools I am blending all together to make 500g of yarn, the amount I forecast needing to knit a sweater.  (Note: So much of this fiber was a gift to me from “rescue spinners” after the wildfire, when I was given my Ashford Traditional wheel from L. ) When recently I thought to try the Malabrigo Nube roving, I chose “English Rose” and thought that I really wanted to try doing a blend with it with natural undyed roving.

jenjoycedesign© English Rose Tweed 7

I have weighed off each wool color into ten segments each, to put each together into ten 50g batches to do incrementally, but I wanted to share the recipe after the 1st blend, so I could refer to it for the rest of the batches, and so I could do a test spin-up on the first blending before proceeding.

From these…

DSC_0223

to these….

jenjoycedesign© English Rose Tweed 8

to these…

jenjoycedesign© English Rose Tweed 3rd blend

In the next post you will see these rolags all spun up!  I may not like the results after the first 50g test and add a color to continue, but stay tuned to find out if these are a keeper.  Also you can see all posts in my Spinning for A Project  series.

Okay, here’s what I did…

♣     ♣     ♣

Techy stuff for English Rose Tweed…

  •  I need 500g for a sweater project; using 113g Malabrigo Nube (roving) in English Rose colorway, along with 122 g of grey merino, 200g mixed brown & natural wool (unknown breed) and 65g white cormo.
  • 500g of wool blend divides into ten 50g batches, so using a gram scale,  I divided all into equal 10 segments.

Note: With hand-dyed braid of Malabrigo Nube “English Rose”, I decided to keep a consistent color ‘bookmatch’ by splitting the dyed braid along the length into 5 segments, then each of those long skinny segments more easily in half, folded end to end and pulled apart at center. Otherwise, pulling apart the dyed roving when full thickness it was seriously hard (being 100% Merino), and should never ever be considered to cut it.

  • Layered very thinly one color at a time, alternately.  using this technique: Blending for tweed simplified
  • Lifted batt, and sectioned into strips of four, to photograph the transition wool rolls.
  • I took the wool and layered again, then photographed rolls again.
  • Layered wool rolls once more and drew off rolags.
  • I’m naming this colorway blend ” English Rose Tweed “
  • See ALL color blending experiments & recipes archived in Tweed Chronicles

(( Click 1st image in mosaic to go to slideshow with commentary. ))


Opalescent Spun

jenjoycedesign© opalescent 1

Opalescent is all spun.

I am amazed how six distinct pastel colors can just disappear into each other . . .

jenjoycedesign© opalescent 2

It is magic how when blended, spun and plied,  the colors homogenize into a silvery light grey.

But in this photo I enhanced color saturation with digital effects . . .

jenjoycedesignc2a9-opalescent-3-1.jpg

so you can see the subtle splashes of lavender, orange, yellow, mint green, pale blue, and pink, just as the original dyed fiber was before blending together . . .

It nearly defies logic how mixing opposites on the color wheel simply neutralize each other. I honestly can say, of all my experiments in Tweed Chronicles, this one surprises me the most!

See the blending recipe for Opalescent  HERE

See all Tweed Chronicles HERE.

Tweed Chronicles: Opalescent

jenjoycedesign© opalescent mix 1

From these pastel primary & secondary colors,

each one like mouthwatering fruity candy floss . . .

jenjoycedesign© pastel primary and secondary

into these fluffy rolls . . .

jenjoycedesign© opalescent mix 10

Magically transforming,  while colors fuse

and melt into these opalescent silvery grey rolags  to spin !

jenjoycedesign© opalescent mix 13

I have been thinking about this mix for a year now, and finally was able to do it !   It is a pastel variation of my original recipe mix  Color Saturated Neutral”  , an experiment I did over a year ago.   I am amazed at how the colors just melt into each other , and these pale pastels washing out into a silvery opalescence ready for spinning.   This is how I did it . . .

♣     ♣     ♣

Techy stuff for Opalescent…

  •  Equal parts of pastel primary colors: pink, pale yellow, light blue — plus — pastel secondary colors: pale green, lavendar, pale orange.  These were 6g each, for a total of 36g.
  • Layered very thinly one color at a time, alternately.  using this technique: Blending for tweed simplified
  • Lifted batt, layered again, total of three times.

NOTE: Each time you blend the mix, the colors become less distinctive and magically the all-over color becomes nearly a neutral. These were blended 3 times, then a 4th before drawing out rolags.  Blend only once or twice for most colorful results, 3 or 4 times for very subtle and subdued ” neutral ” results.

  • Lifted bat, and sectioned into strips of about 3, layered again, loosely.
  • Drew off rolags.
  • I’m naming this colorway blend ” Opalescent ” .
  • See ALL color blending experiments & recipes archived in Tweed Chronicles

(( Click 1st image in mosaic to go to slideshow with commentary. ))

One + One = Spun

jenjoycedesign© skein in new loft

I have spun my latest blending experiment .

jenjoycedesign© spun.JPG

She’s a real pastel beauty,

spun on my Ashford Traditional Wheel,

which I am having a wonderful reunion with after being separated from for over a year.
jenjoycedesign© spinning

That about wraps up the first One + One blending recipe,  although I think I could have gone for even more white neutral — that would have been (1 + 1) + 1, which is blending again with more white after blending one + one,  or  1 + 2  which is blending one part dyed roving, and two parts white at the first weighing of portions.  I think I will refine this recipe a little more, but for now, its on to the Tweed Chronicles recipe I’ve been dreaming about doing,  as I’ve got in my pale primary & secondary colors finally … and well, you know where I’m going with this !

Tweed Chronicles: One + One

jenjoycedesign© dyed braid + white 1

How good it is to be back to my Tweed Chronicles!  I seriously have been yearning for this moment for what seems forever, thinking about wool blending in my sleep.  So having moved tools of the trade into the new loft room, it is with great celebration that I resume my blending experiments, just as I was doing two years ago.    I have been contemplating a pale palette over the last year, ” pastels ” just appeal to me these days, wanting to tame the intensity in life with soothing color I suppose.  I received so many gifts from the spinning community after the wildfire, not only a beautiful Ashford Traditional spinning wheel from “L” (thank you so much L , I am forever grateful, and the Ashford is working beautifully after being stored four seasons in a shed!)  but there were many gifts of spinning wool too (thank you & hugs to everyone who sent wool!).  So now having everything nicely within reach, I looked over it all and got an idea with a hand-dyed color braid I found, by Nest Fiber Club, called “Muse”. 

Wanting to lighten up the color a great deal, I added one part white. I went from these . . . 

jenjoycedesign© dyed braid + white

To these . . .

jenjoycedesign© dyed braid + white 2

to these . . .

jenjoycedesign© dyed braid + white 3

and finally to these . . .

jenjoycedesign© dyed braid + white 7

I reckon I will be spinning up these tasty wool sausages next and seeing how my hand at the wheel does after an unplanned hiatus.  This was the perfect re-entry into my blending experiments too, although I was a bit forgetful about the steps, it came out lovely. Now as I need some practice again with my recipe documentation, here’s how I did it . . .

♣     ♣     ♣

Techy stuff for One + One…

  • Recipe I am calling “One + One” is 1 part hand-dyed colored roving plus 1 part undyed roving in natural white, grey, brown, or black, etc. (in this case white).
  • I split a sliver off the “side” of the length of dyed roving, along the entire length so that it has the same colors in sequence as the hand-dyed roving. I then weighed, and it was 28g. I then matched the same weight in ultra fine white merino, totaling 56g.
  • Then divided the two rovings equally into  4 thinner slivers ( made into little rolls to photograph) to hold together while drawing onto the teeth of the blending board, until the teeth were moderately full ( which actually only took three times, and why you see my wool rolls count go from 4 to 3)
  • Using paintbrush tool to lift batts from board, (rolling up again to photograph 1st mix) I drew out each roll onto the board again as before, resulting in slightly finer mixing of color, for a second batt.
  • Repeated last step again, ending after a third time.
  • Drew off rolags.
  • See ALL color blending experiments & recipes archived in Tweed Chronicles

Click 1st image in mosaic and go to slideshow in sequence with commentary… 

Tweed Chronicles: The color of moss…

photo from archives: Knitting In Nature

Moss is the most complicated color in nature that I can think of.  Here in the mountains of Northern California, it is dormant through the dry season (most of the year if not half) during which it shrivels and turns an olive green to brown color. When the rains come, it is fat full of water, it glistens with nearly neon golden tips and has every shade of green present, plus a few other colors in there too …

jenjoycedesign©moss-dripping

photo from archives: Fog & Moss

I could never really quite figure out if real moss in nature is a warm or cool green, so I figure I’d just layer and layer and layer the colors until it seemed right,  improvising as I went along …

jenjoycedesign© moss rolags!

which spun up to be as complex of a green in yarn form as I thought it should be …

jenjoycedesign© moss 3

but I do think in hindsight I should have added more dark green, which I didn’t have any of,  so if I did, I would have added in the greens.

Anyway, this is how I did my ” moss “…

♣     ♣     ♣

Techy stuff for Moss…

  • Lift color saturated neutral batt, layer alternately with 5g each of grass green, leaf green, and olive green. 

  • Lift batt, layer alternately again with 5g each of grass green and mustard yellow.

  • Lift batt, layer alternately again with 5g each of grass green and mallard teal. (I think next time I will blend in more Mallard teal, perhaps along with the yellow in previous step).

  • Layer again on blending board and draw off rolags.
  • Improvement for next time: Add more mallard (teal) with yellow,  as well as a dark green.
  • Colorway blend:  ” Moss” .
  • See ALL color blending experiments & recipes archived in Tweed Chronicles


Tweed Chronicles: Geological 3

jenjoycedesignc2a9eroded-waterway

photos in archives: Long Shadows Of January

Last and lightest color in my geological series is the ash layer from volcanic eruptions, and which show up a couple of feet down, seen mostly where there is water erosion in the ditches along side of some of the vineyard roads next door …
jenjoycedesignc2a9eroded-layers-of-ash
It is a stripey design of very light grey  to medium grey, depending whether it is wet or dry,  so “Ash” perfectly names the light grey color in my Geological colorways.

jenjoycedesign© ash rolags

The bulk of the color is silver — natural grey and natural white fleece —  so the range from a warm silver to a cool medium grey is up to the mood, and a thing which invites a lot of personal touch.

jenjoycedesign© rolags 2

In my three geological colors of  dark Shale,  medium Sandstone, and now light Ash, either natural grey or natural brown can be blended with natural white for the rock tones, because the distinguishing difference is dark-to-light variation more than it is color hue.

jenjoycedesign© 004

The other distinguishing feature of geological colors is that I’m using undyed natural colors for the all-over color, with a splash of the color-saturated neutral showing …

jenjoycedesign© 006

…   which by the way,   the  “color saturated neutral” (primary and/or secondary triad mix)  is the unifying element of ALL of my tweedy colorways !

Next time I will use less ratio of the color-saturated neutral, because when one is blending a light wool , like paint, the proportion of pigment actually is very little.  Also next time I will use more white in the mix to make the all-over color a lighter silver (noted below).   But for the sake of documenting my experiment, here’s what I did…

♣     ♣     ♣

Techy stuff for Ash…

  • Began with Primary & Secondary Neutral recipe using approx 2.5g each of green, purple, and orange  AND  blue, red, and yellow, (or alternately 5g each of primary or secondary triad colors) blended thoroughly on blending board (see Blending For Tweed Simplified) , lift batt, set aside.
  • Layer 15g natural white with 15g natural grey,  lift batt. (Note: For lighter grey, blend more white, less grey)
  • Layer color-saturated neutral batt with white/grey batt alternately.
  • Lift batt, and for lighter grey layer again with 15g more white.
  • draw off rolags.
  • Colorway blend:  ” Ash” .
  • See ALL color blending experiments & recipes archived in Tweed Chronicles


Tweed Chronicles: Geological 2

jenjoycedesign© paws at the peak
photo from archives: Paws

In previous geological post I created a woolly colorway of Sandstone.   Second in my geological series of the mountain, and underfoot quite a lot, is shale.   A refresher of a quote from a reliable local vintners’ source, they who take the geology of this appellation very seriously…

Mount Veeder is primarily an island of ancient seabed, pushed up in the mountain’s formation five million years ago.  This is the only Napa Valley appellation that can claim this unique geologic phenomenon. While the rest of Napa Valley was covered in volcanic ash 1 million years ago during the eruption of Mount Saint Helena to the north, Mount Veeder received just a sprinkling. Within the marine soils lies a complex tapestry of fractured shale, sandstone, volcanic (ash) dust, and other various constituents.  — From Mt Veeder Appellation


shale

This rock I have seen in some places mounded up into nearly hill-sized formations which I suspect to be left behind by an ancient volcanic upheaval.  Hard and a bit brittle, this broken shale is generally dark charcoal grey,  although sometimes a medium grey.

jenjoycedesign© 031

To achieve this color I use colors from the color-saturated neutral, blended with undyed wool shades of  natural black and natural grey.

jenjoycedesign© 013

And as natural black and brown fleeces are amazingly varied in breed and color, so can be this shale colorway, ranging from medium grey to almost black, just as the rock is.

jenjoycedesign© 026

Stay tuned for geologcial 3,  which will be a woolly colorway of yet another geological composite.   Very pleased with the charcoal/black in my  tweedy palette, I give you the recipe I have written for “Shale” …

♣     ♣     ♣

Techy stuff for Shale…

  • Began with Primary & Secondary Neutral recipe using approx 2.5g each of green, purple, and orange  AND  blue, red, and yellow, (or alternately 5g each of primary or secondary triad colors) blended thoroughly on blending board (see Blending For Tweed Simplified) ,lift batt, set aside.
  • Layer 15g natural black with 15g natural grey,  lift batt.

Note: This blend is 50/50 black and grey. For darker color blend more black and less grey, and for lighter blend more grey, and less black.

  • Layer color-saturated neutral batt with black/grey batt alternately.

  • Lift batt, layer again.   Layer once more for a more homogenized result, or go on to next step.
  • draw off rolags.
  • Colorway blend:  ” Shale” .
  • See ALL color blending experiments & recipes archived in Tweed Chronicles

Tweed Chronicles: Geological

jenjoycedesign© paws at the peak

photo from archives: Paws

Inspired by the rock forms of the mountain, I have created three more colors in my palette, introduced in three parts.  But first, let me borrow a quote from a reliable local vintners’ source, they who take the geology of this appellation very seriously…

Mount Veeder is primarily an island of ancient seabed, pushed up in the mountain’s formation five million years ago. This is the only Napa Valley appellation that can claim this unique geologic phenomenon. While the rest of Napa Valley was covered in volcanic ash 1 million years ago during the eruption of Mount Saint Helena to the north, Mount Veeder received just a sprinkling. Within the marine soils lies a complex tapestry of fractured shale, sandstone, volcanic (ash) dust, and other various constituents.  — From Mt Veeder Appellation

In my observation the most prevalent of these three mentioned geological rock forms must be sandstone, ranging from a dull tan, to a rusty brown and sometimes sparkles with colors, sandstone is the color of everywhere …SandstoneEspecially at the summit of the mountain these rocks are of rather large proportion, and an outstanding geological feature.   Sandstone, with color-saturated neutral base, so like the true rock form created from a composite of many grains of colorful sand, blended with natural white and natural brown wool …

005

The nice thing is, using natural brown fleece, there is quite a variation of color, and as I blended with natural white, even more of variation of natural values & hues can be accomplished.   Just as the rock itself is so varied in color, the Sandstone colorway is too…

jenjoycedesign© 020

jenjoycedesign© sandstone spun

Next , in Geological 2, I will produce a woolly colorway of another popular rockform, but as yet, I am waiting for my wool to come in the mail!     Until then, here’s how I made “Sandstone”  …

♣     ♣     ♣

Techy stuff for Sandstone…

  • Began with Primary & Secondary Neutral recipe using approx 2.5g each of green, purple, and orange, blue, red, and yellow, (or alternately 5g each of primary or secondary triad colors) blended thoroughly on blending board (see Blending For Tweed Simplified)  Note: for a more dramatic tweed, with gobs of color splashing through, blend only once , then continue.

001

  • Lift color-saturated neutral batt, set aside, and blend 7.5g each of natural brown, and natural white.

002

  • Combine layer of color neutral with brown…

  • Lift batt, layer alternately with 7.5g each more of natural brown, and natural white.  Note: In second blending, for a browner tone, continue with only brown, omitting the white, and for a creamier beige tone,  omit the brown.
  • Draw off rolags.
  • Colorway blend:  ” Sandstone” .
  • See ALL color blending experiments & recipes archived in Tweed Chronicles

Tweed Chronicles: Manzanita Blossom

photo from archives:  A Storm On The Way

The blossoms of the Arctostaphylos (manzanita) on the ridge trail of the mountain ~~ one with pink flowers, and one with white ~~ are the first blossoms arriving in winter!

pink blooming manzanita

pink blooming manzanita

Nestled side by side on the ridge, the two varieties are perfectly complimenting of each other, and as fragrant as they are breathtaking in beauty.

white blooming manzanita

white blooming manzanita

((You can read more about the manzanita in this post ))

Now looking at my latest tweed yarn colorway:  “manzanita blossom” …  it will be a pink, with a just a dusting of white.

jenjoycedesign© rolags

A blush of pink against rocky volcanic landscape is one of the most beautiful things in the mountain landscape, and I do think I found just the right shade ( although I wished I put a tiny bit more white in the last blending layer) …

jenjoycedesign© spun manzanita

A shy pink.

A pink which is the color of mid winter … pale and fresh.

jenjoycedesign© spun1

There in the pink is the saturated neutral too.

jenjoycedesign© spun

Now, let me show you how I do it…

♣     ♣     ♣

Techy stuff for Manzanita (pink)…

  •  Color Saturated Neutral recipe for approx 5g each of primary triad of blue, red, and yellow:  Blended thoroughly on blending board with 15g of white as many times as necessary to fully homogenize…

jenjoycedesign© primary neautral + white

  • With neutral-white mix, layer alternately with 5g each of Fuscia, Rose, and Flamingo Pinks, and 5-10g more white  (see Blending For Tweed Simplified)

jenjoycedesign© add pinks and white

  •  Lift batt, and layer again twice more.  (Note to improve: try last layering with another 5g white. to get more white ‘streaking’)

  • Draw off rolags.
  • Colorway blend:  “Manzanita blossom” .
  • See ALL color blending experiments & recipes archived in Tweed Chronicles


Tweed Chronicles: Clover

jenjoycedesign© wild-red-clover

photo in archives: A Walk Among Wildflowers

There is absolutely nothing that I can think of as red in the wild landscape as the crimson clover which grows abundant in the meadows nearby on the mountain, the meadows where Emma and I have walked countless times, and forefront of my mind when I think of a name for the colorway of red. Wild, herbaceous gobs of crimson, are the trifolium incarnatum  flowers.

jenjoycedesign© red clover rolags

Crimson is the color I am trying to grasp.

jenjoycedesign© red clover spinning

It needs a little improvement for next time (perhaps more red)

jenjoycedesign© red clover spun 2

But this is it ~~~  my crimson clover .

jenjoycedesign© red clover spun

I am looking forward to six months from now when the wildflowers will hopefully have returned from the burned topsoil, as the grass has already … shy little green sprouts everywhere !  Tomorrow morning is the winter solstice, and I am glad to see it finally come, and to see pass my huge disappointment of  once favored ( oh how fickle of a season) Autumn.    Winter come, o’ please be gentle, cast your sleepy spell on the landscape, and clean up the blackened death from the wildfire, soften it with rain and bring back the wildflowers and the moss, so that the landscape may wake anew with spring growth, restored and resilient and colorful.    Autumn,  to you I bid good bye.

♣     ♣     ♣

Techy stuff for Red Clover…

  • Lift neutral batt, layer alternately with 5g each of ruby red and rose pink.
  • Lift batt, layer alternately with 5g (or more) of red.
  • Draw off rolags.
  • Colorway blend:  “Red Clover” .
  • See ALL color blending experiments & recipes archived in Tweed Chronicles


Tweed Chronicles: The color of fog …

March's entrance

photo from archives: Shades Of Fog

Fog is a huge part of life on the mountain, for me, and I just love the fog show …

jenjoycedesign© fog Jan 2015

fog in January, 2015

I love to watch it pour over the ridge from the Pacific, fluid and volatile, and into the valley,  or splashing up from it.  I also love it just thickly hovering about …

jenjoycedesign©blue oaks in fog

photo from archives:  Foggy

So naturally, my next tweed endeavor must capture the color of fog !

jenjoycedesign© fog white

It is my basic white,  well,  a near white, where like fog, you see faint color of images behind …


Just a tiny bit of the color-saturated neutral to start, then blended several times with increasing amount of white wool, so you’ll see flecks of blue, red and yellow upon close inspection.

jenjoycedesign© 018

I really am enjoying developing a personal hand-spun color palette, and see no end to my combing wool in different combinations, racing obsessively from blending board to the spinning wheel, grabbing my camera to photograph, wash, dry, wind on swift, photogragh again …

jenjoycedesign© fog 5

… then on to the next !

♣     ♣     ♣

Techy stuff for Fog (white)…

  •  Color Saturated Neutral recipe for approx 10-15% base, primary triad of blue, red, and yellow:  Blended thoroughly on blending board.   Note: for a more dramatic tweed, with gobs of color splashing through, blend only once , then continue.
  • Starting with white, layer alternately with neutral (see Blending For Tweed Simplified)
  •  Lift batt, divide as needed and layer again and again with more white, repeatedly fully hemogenized, more or fewer times until white/neutral values balance as desired.
  • Draw off rolags.
  • Colorway blend:  “Fog” .
  • See ALL color blending experiments & recipes archived in Tweed Chronicles

Tweed Chronicles: Madrone

(photo from archives Whisper In The Woods)

What I miss most right now,  are the madrones , Arbutus Menziesii, a unique kind of tree native to the California Coast and mountain ranges, with an interesting rusty orange bark that sheds in papery sheets…

Madrones have an indescribable color if ever you were to witness, it turning at first shed a bright green, which changes in a matter of days to a greyish orange, then to browner rust.

by the window

( photo from archives…  Gone Wild)

Among the madrones is a wonderful place to be;  hidden,  enchanting,  and ever-so-quiet, and kept company right outside of the window where I loved to write, knit, or spin.    I have tried to capture my madrones, blending color after color,  overdoing the layers, but eventually I think I found close to the indescribable.  A bit too much orange I think, but I have made notes of how to improve my next blending experiment.

♣     ♣     ♣

Meanwhile Emma seems to be perfectly happy in her new napping places…

Emma

I take her up nearly everyday to the woods, the place where the house was ~~ will be again~~ (which is as of last weekend a nice freshly excavated dirt area) , and she loves to sniff the air while riding in the back of the car with the windows down, and bark at the cows or horses she see’s along the way. I spoil her a lot these days, and we love our trip up the mountain to the ‘house’ …  we meander as before, and I am knit-walking again!

♣     ♣     ♣

Techy stuff  for Madrone …

  • Added 10g each of cinnamon, rose, and amber, layered again.

  • Lift batt, and layered again.  Too pink,  so decided to add 5g  of amber.

  • Not brown enough, so added 5g Hazelnut, and layered to have a bit of brown streaking in the spin.

  • Drew off rolags.
  • Colorway of blend “Madrone”
  • Note of improvement:  Next time more red instead of the amber step, and more brown on last blend.
  • See ALL color blending experiments & recipes archived in Tweed Chroniclesjenjoycedesign©woods


Tweed Chronicles: Wild Flax

jenjoycedesign© spinning by a window

Spinning by a window  …
jenjoycedesign© spinning Wild Flaxlight flooding in to  unwind my shadowy worries.

jenjoycedesign© 010

I cast my mind to a warm landscape of wild flax …

 hoping to find the colors of the flowers in the wool blend …

jenjoycedesign© 019

I have been doing a lot of fiber blending,  and a little spinning too, which is for now easing me slowly back into creative mood ( and am so grateful to “L” for the gift of a beautiful Ashford Traditional spinning wheel!)

jenjoycedesign© spun

Wild Flax; Linum perenne var. lewisii , Lewis Flax, blue flax or prairie flax, seen on the roadside along Mt Veeder road in July, and sometimes early August. Not the domestic farmed species for linen, but just one of the common beautiful wild flowers of Napa Valley that we all call “ wild flax “.

In closing,  FEMA clean-up crews have been working rapidly in Napa & Sonoma counties since the wildfire of October, and by the end of December, maybe a clean slate for us? Impossible to forecast the rebuilding ahead,  for now I find the cozy window here my joy of the afternoon.

♣     ♣     ♣

Techy stuff  for my Wild Flax Blue …

  •  2 g each of primary colors (6g tot) , for a base of color-saturated neutral ,  see this post; blend thoroughly on blending board 3 times Total 6g.    Note: for a more dramatic tweed, with gobs of color splashing through, blend only once , then continue.
  • 6g cornflower blue, layer very thinly one color at a time, with neutral base. Tot 12g.
  • Lift batt, layered again with 2g each of white, light green, teal. Tot 18g.

( I was trying to get more blended base, with a ‘dusting’ of brilliant blue on the last blend…)

  • Lift batt, and layered again with 2g  of cornflower blue. Tot 20g.
  • Drew off rolags.
  • Colorway of blend “Wild Flax Blue”
  • See ALL color blending experiments & recipes archived in Tweed Chronicles

Tweed Chronicles: Color Saturated Neutral

jenjoycedesign© spun
I have successfully made a color saturated neutral.

Nested in a mountain of other neutral tones, you don’t see it right away,

   but look at where I started …

jenjoycedesign© primary & secondary mix
Primary and secondary colors all in exact equal amounts …

carded three times on the blending board  …

then drawn out into tasty wool sausages !
jenjoycedesign© rolags

If you check out my Primary triad blend here ,  I’ll say that the secondary triad blend experiment was much the same, nearly indistinguishable from the primary , and theoretically should be the same for any color triad on the color wheel .  Tertiary triads too, and lighter values of the triads; as light blue for blue, pink for red, aqua for teal, peach for orange, etc.

In this experiment,  I used two triads together ;  primary + secondary ,  for my ultimate color-saturated neutral, and I must say this blend was really fun to spin … the colors are all there. 

jenjoycedesign© spun detail

I’ve got my color-saturated-neutral base recipe, a base for my own color palette of ‘slightly earthy heathers’ , as I’ve never been drawn to vivid hues when buying yarns.  From a color-saturated neutral I can base everything, light or dark, and with color intensity varying.  I’m looking forward to developing more recipes ~~ watch this space!

♣     ♣     ♣

Techy stuff …

  • Equal amounts of each of primary: red, yellow, and blue , and/or secondary: purple, orange and green.
  • Layered very thinly one color at a time, alternately.  I mean really a lot of thin layers … using  this technique,
  • Lifted batt, layered again, total of three times.
  • Drew off rolags.
  • Colorway blend:  “Color Saturated Neutral” .
  • See ALL color blending experiments & recipes archived in Tweed Chronicles


Tweed Chronicles: The color of sea grass.

Pacific-coast-grass

I am deep into the study of color saturated neutrals.

jenjoycedesign© rolags 4

What is a color saturated neutral? Well, when I blend equal amounts of the primary colors together, the affect is at first glance, a seemingly dull clay color ,  as I posted previously about HERE.

In this experiment I added to the primary triad mix, one secondary color – green,    integrating all of the colors on the blending board with this technique ,  bringing the whole color balance leaning a little bit toward the green … a weathered sea grass green.

jenjoycedesign© primaries + green

primary colors + 1 secondary (green)

jenjoycedesign© first batt

first blended batt

jenjoycedesign© second batt

second blended batt

I then added some un-dyed natural white to give it some texture and depth.

jenjoycedesign© third batt + white

third blended batt, adding white

Colorway reminds me of the pampas grasses which grow along the Pacific coast.

jenjoycedesign© 004

While enjoying some spinning on my Ashford Traditional wheel (( a resonating gratitude to  “L” who wishes not to be mentioned ))   I have decided that perhaps Tweed Chronicles is a new love which causes only happiness …

jenjoycedesign© spun 3

And the studying of color is making me look deeper into the surface,  and imagine how the colors are found the same way in nature.

Next I am pairing primaries with secondaries, and finding super color saturation in what is an alarmingly gorgeous & complex neutral. Watch this space!

♣     ♣     ♣

Techy stuff …

  •  5g each of (near primary) red, yellow, and blue — plus green,  merino roving = 20g.
  • Layered very thinly one color at a time, alternately.  using this technique: Blending for tweed simplified
  • Lifted batt, layered again, total of three times. Lifted bat, and sectioned into strips of about 3.
  • With 15g white cormo roving, divided into 3 sections.
  • Layered very thinly white, then color blend, alternately.
  • Lifted batt, and layered again, loosely.
  • Drew off rolags.
  • I’m naming this colorway blend ” Pacific Coast Grass ” .
  • See ALL color blending experiments & recipes archived in Tweed Chronicles


Tweed Chronicles: Color

jenjoycedesign© tweed1

Back into Tweed Chronicles I have found once again rhythm in myself, perhaps a melody too. I have been thinking about the color wheel, and the basics I learned decades ago, and so I am applying it now to natural fiber ~~~ easy enough!

jenjoycedesign© tweed4

In fact, my whole color blending Tweed Chronicles has little to do with wool breeds and fibers,  almost nothing to do with spinning technique ( I am only a fair spinner)  …  but nearly all pure color theory, and blending technique.   I am a colorist perhaps, above all.
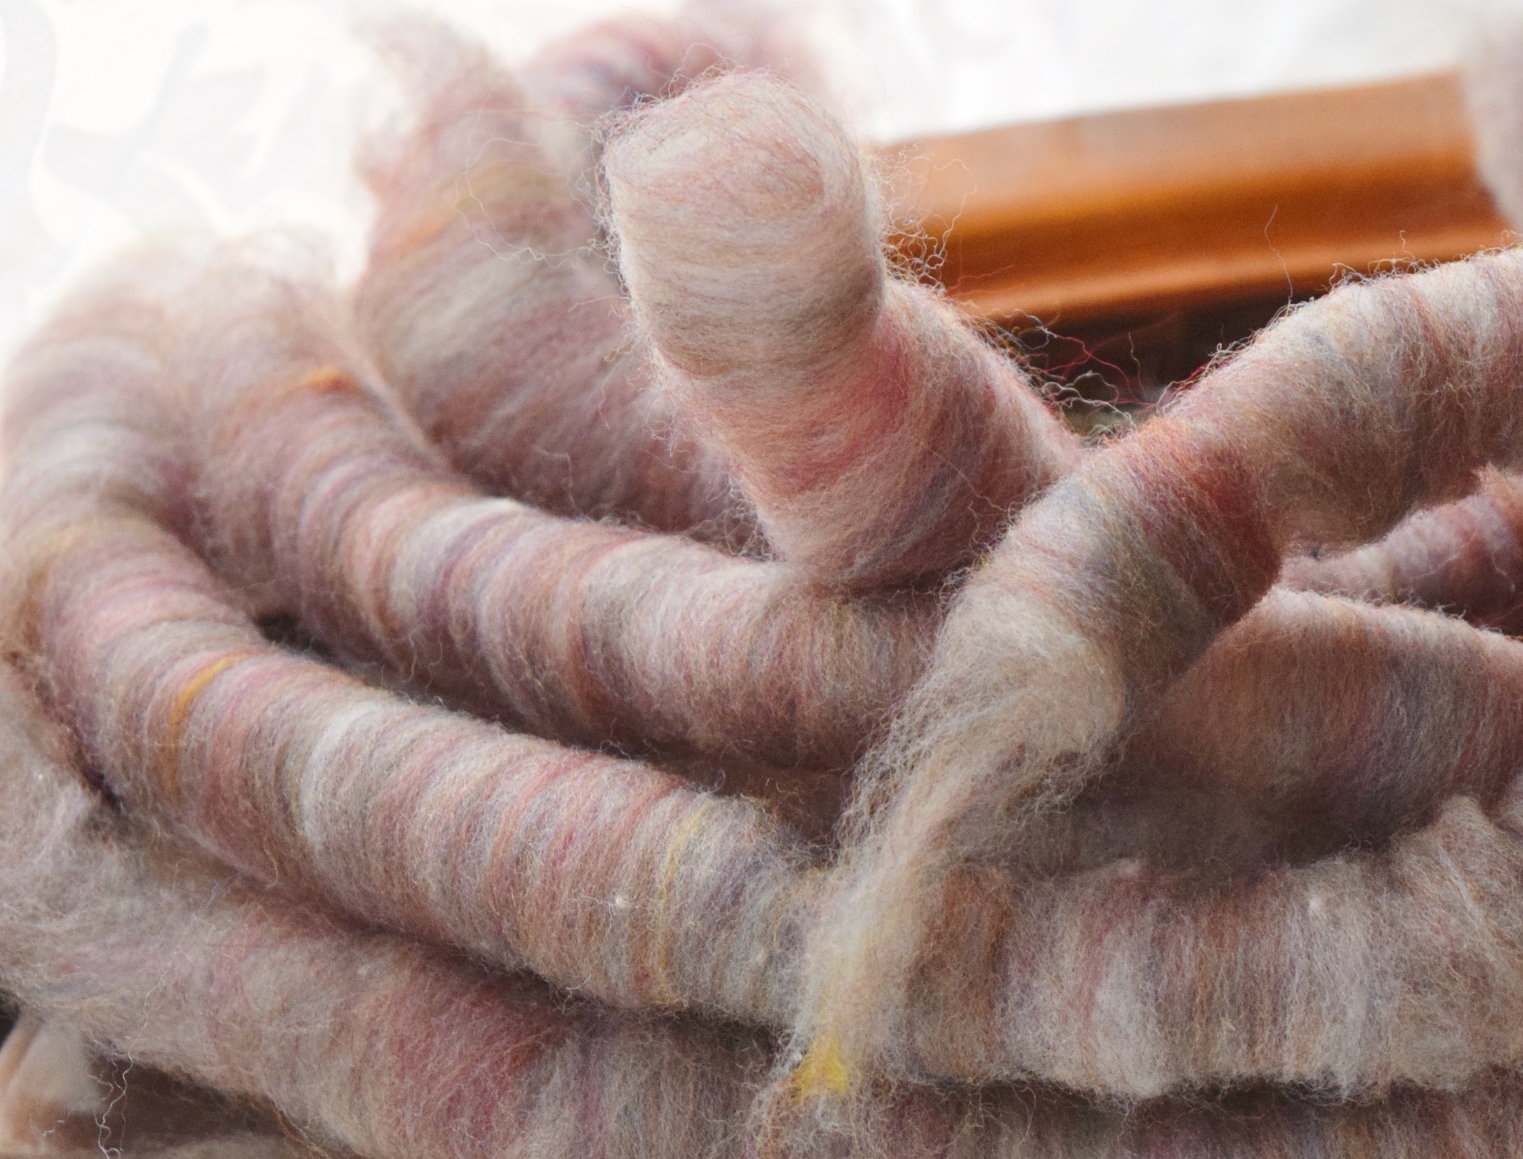
jenjoycedesign© tweed5

I am merely attempting to relive the high points of discovery that must have happened with folk centuries ago in the tweed mills, of a bygone era. I am all about the bygone era I think, feeling that deep tap root into human creativity that runs timeless and wild.

jenjoycedesign© tweed spun

Putting the primary colors together in a kind of color triad, is something that normally I would never do, for I am not in the least fond of primary colors, or even secondary.  But the complex blends of colors are made of of the basic colors, and so I am working with the  primaries & secondaries in a tweed experiment that I hope works just as I am conceiving it in my mind, as I lose myself to sleep at night, dreaming the magic of heathered tones.

jenjoycedesign© tweed spun 3 detail

The best time of day is when the sun shines through the window bright enough to bring to life the best work of my imagination. Couple that with a delicious cup of coffee, and who would want anything more of the morning?

jenjoycedesign© tweed7

Well now, its off to the charity shops to see if I can find some good chairs!   Aside from this recent color blending euphoria, I am feeling a bit too tender and not wanting to cooperate with the holidays this year.   Scotty, beam me to January.

♣     ♣     ♣

Techy stuff of what I did …

  •  5g each of (near primary) red, yellow, and blue dyed merino roving = 15g.
  • Layered on blending board very thinly one color at a time, alternately.  I mean really a lot of thin layers … using technique Blending for tweed simplified.
  • Lifted batt, layered again a second time, then a third. Lifted bat, and sectioned into strips of about 5 or 6.
  • With 15g white cormo roving, divided in as many sections as the color blend.
  • Layered very thinly white, then color blend, alternately.
  • Lifted batt, and layered again twice.
  • Drew off rolags.
  • I’m naming this colorway blend ” Primary Triad + white”.
  • See ALL color blending experiments & recipes archived in Tweed Chronicles

Lingering question of the day:  Which one of you generous people sent me all of the Cormo wool? Was it Laurie? Rose? Adele? Lynette? (I am so sorry I lost track, but I’ve been rather hollow in my head!) From the bottom of my heart~~ thank you~~ it is absolutely dreamy!!!!