Scarf No.9

Hi, its me Abelene.

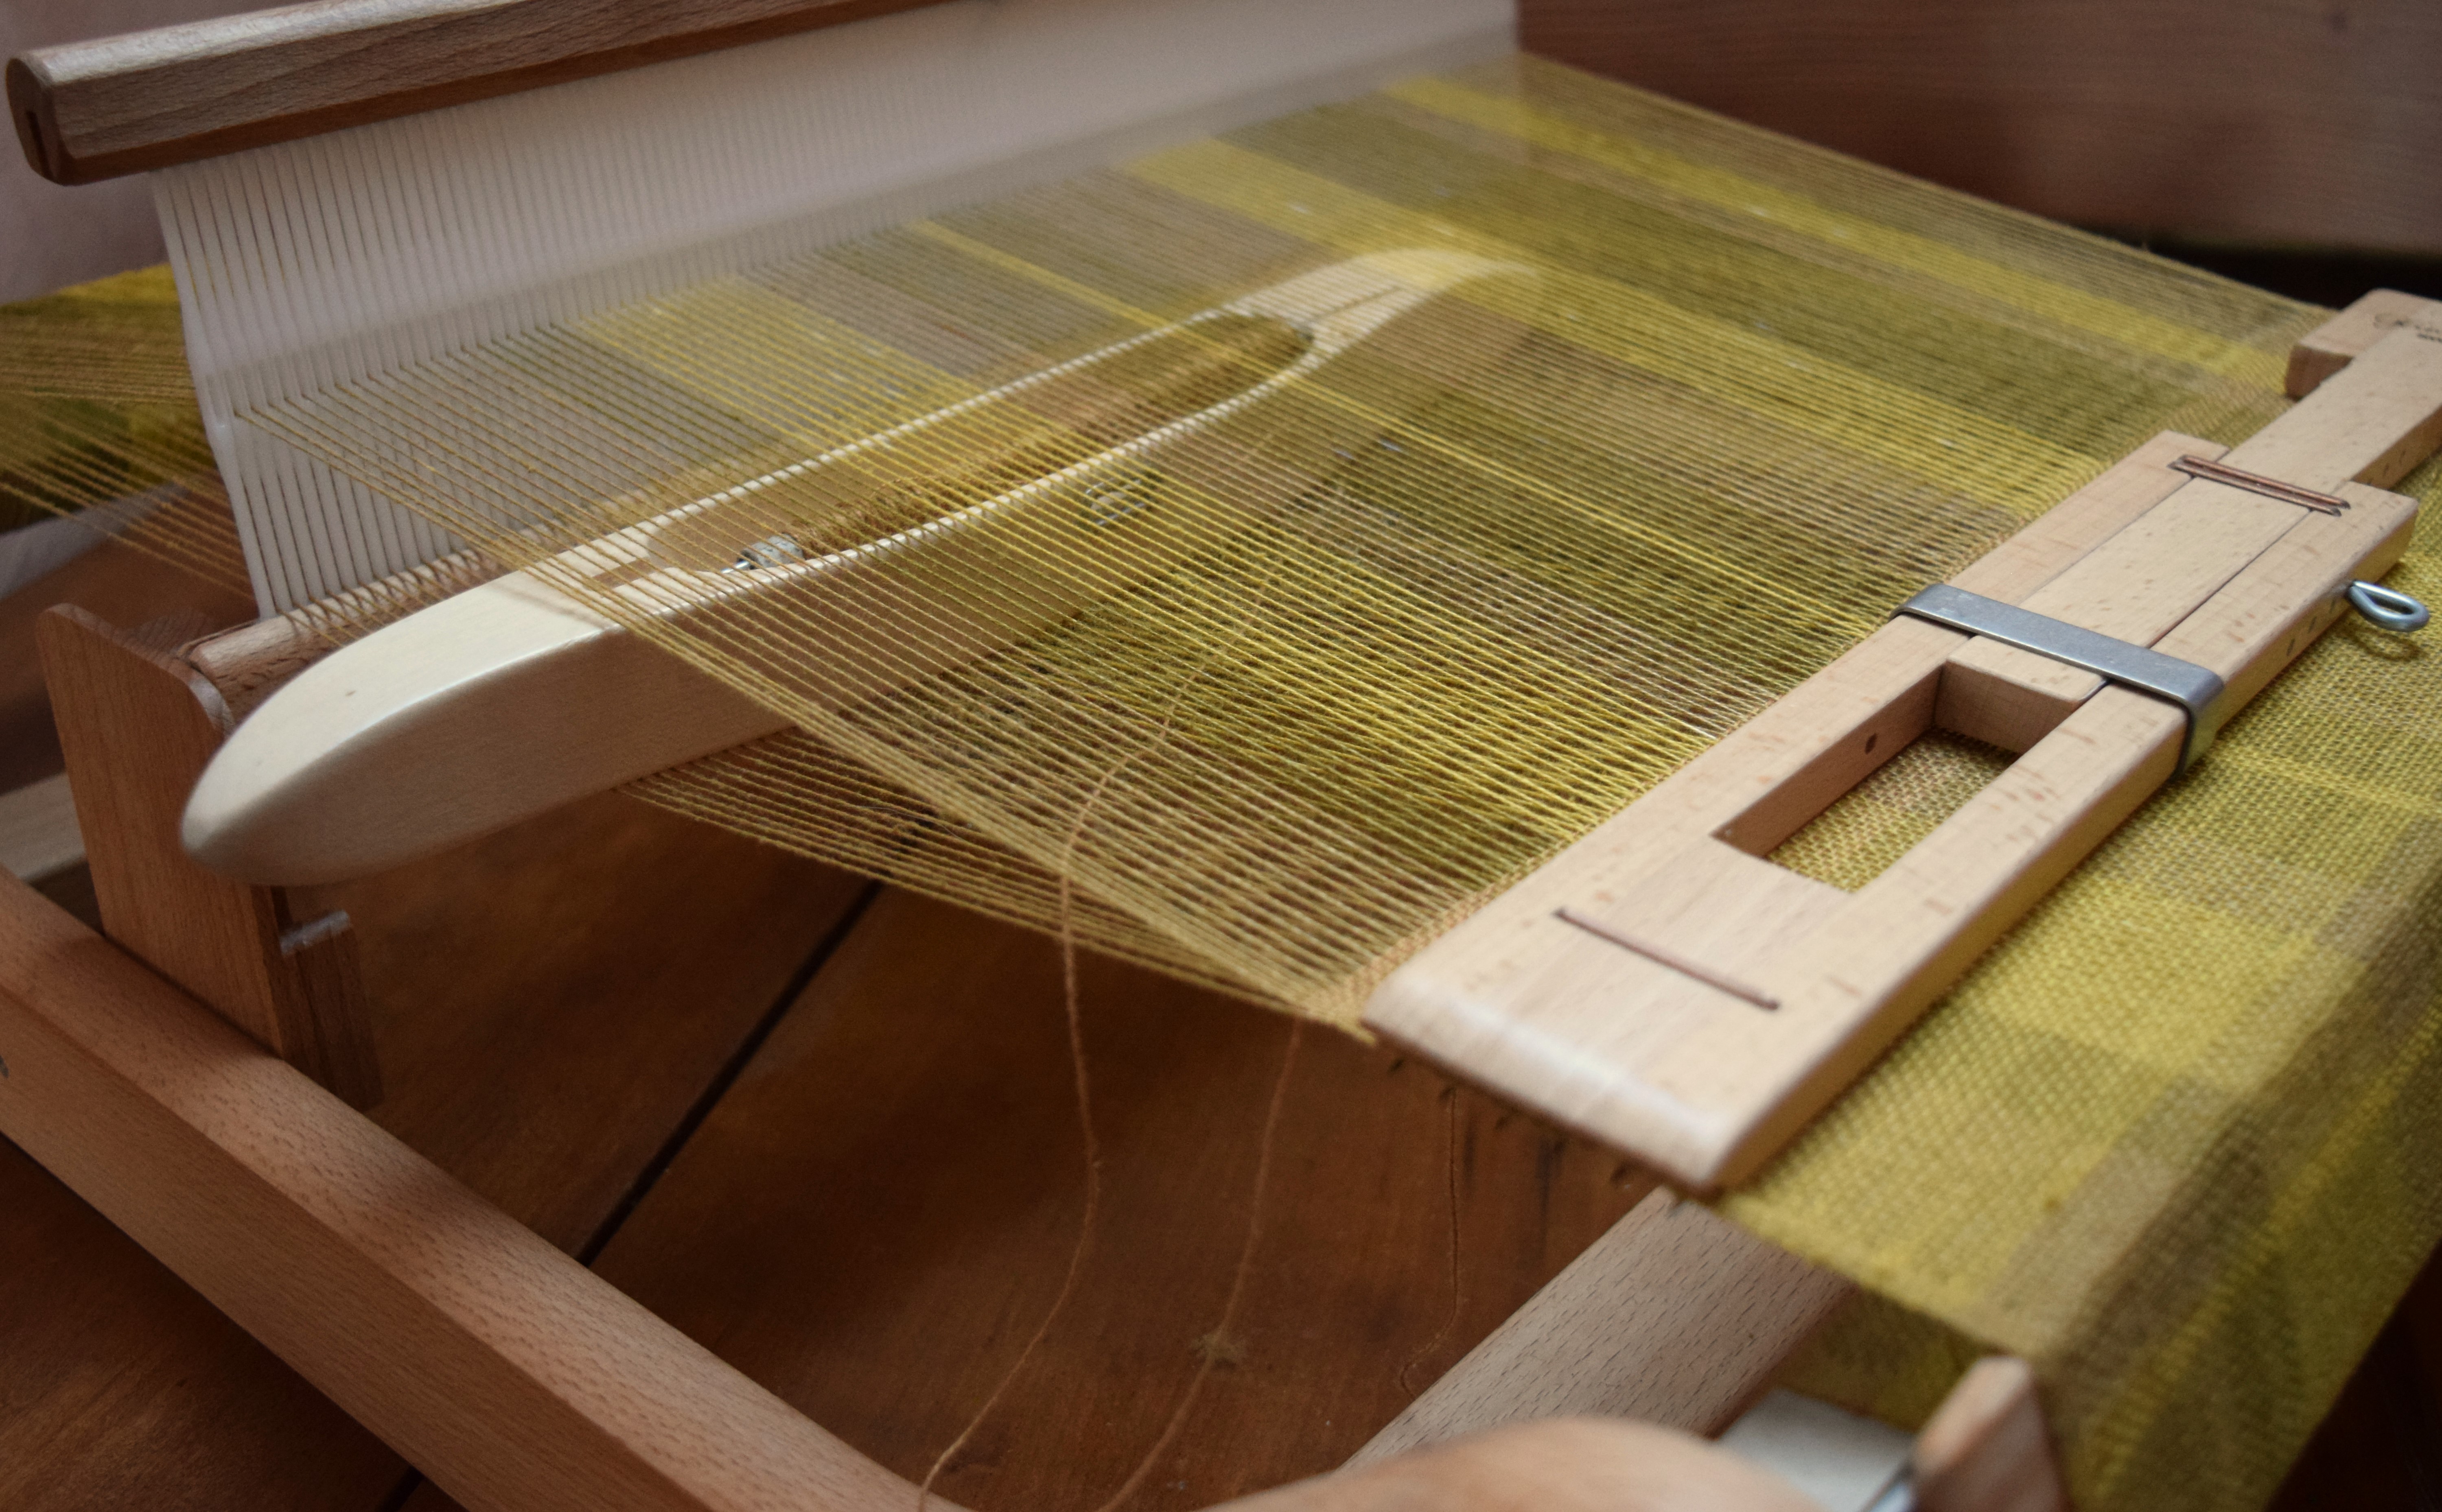
In the end, it was impossible to photograph, the colors could not be grasped by the camera. Even after trying a hundred shots, in different areas of lighting, only these few worked out. But Jen told me how amazing this one was to be weaving freely with no measured blocks of color, just changing quill bobbins randomly, and she has a lot to say about the whole project in the weaving notes below, so I’ll just smile and wave. I personally think the Marigold Scarf (no.9) is so beautiful, in its deep and rich gold tones, and I wish you could see the colors as they really are, but this photo out of all the many, captures the colors best . . .

♣   Weaving Notes  ♣

Note from Jen: Yes, this project was difficult, and I must confess I am not all that encouraged about dyeing cotton but am gaining perspective in the concept of “slow cloth”. After the many steps of scouring, mordanting, dyeing, then finally washing and rinsing, the actual yarn, and that is before the loom is even warped. I must ask myself is it worth it? I ponder this because I really love weaving, but maybe the added overwhelm from dyeing the cotton yarns first did add a new level of complexity. I have tried indigo, madder, pomegranate and marigold, and in every yarn the results were dull and almost unappealing as the sheen of the undyed mercerized cotton was lost after all the processing through the steps, the luster was gone. I will not give up, I just need a small break, in order to be fresh for learning again. You can see all posts for this project here.

  • Yarn: Yellow , dark gold , green gold overdyed 10/2 yarn (see this post. )
  • Loom: Ashford 16″ rigid heddle loom.
  • Additional tools: I used a temple and the board I rest against the cloth beam to stabilize and lengthen the weaving surface.
  • Warp:  Direct warp set-up, 1 end in every heddle/hole, and 1 in every dent/slot –drawing out from apron rod to peg is approx 110 inches from apron rod to warping peg.
  • Number of warp ends: 239.
  • Reed: 15 dent rigid heddle 15.5″ in reed. (The loom says 16″ weaving width, but there is only the capacity in the reed for 15.5″ .
  • Sett on loom: Warp = 15 epi,  weft = 15 ppi
  • Sett after finishing: Warp 16 epi, and weft 16-18 ppi.
  • Color Pattern: Warp =  random pattern.
  • Finished: 3 inch twisted fringe, then washed and dried in machine, then pressed. Measures 78″ long (not including fringe) and 14″ wide, and weighs 135 g. 
  • Yardage:  Total yardage used is approx 1250 y, figured from weight of finished piece and not including loom waste.
  • Note to self, recipient was eventually Camille, although it was intended for Nina.

weaving marigold

I am weaving with the natural marigold dyed 10/2 weight cotton from this post. I really am glad I got this little loom, for I will be able to weave up my few experimental dyed balls of cotton into something beautiful and useful, at the very least a scarf. Another very wonderful thing is that finally I can use the boat shuttle I bought nearly a year ago, but never could make it work right as it would dive down through the shed in the wider warps on the other looms. But this little loom having a maximum width of only 16 inches, I can place the shuttle into the shed with one hand and guide it under an inch, when my other hand greets the shuttle as it reaches the other side. And it is so easy it is to change out colors in a boat shuttle, especially for a random unmeasured pattern like this weaving, just switch out the quill bobbins with the three different colors when I feel like it . . . improvising and enjoying.

Additionally the breast board I rigged in this post which rests on, and in front of, the cloth beam, and held in position from the warp tension, is working wonders giving me more weaving room, especially as the temple occupies a substantial proportion of surface area, and brings the weaving edge up a couple of inches, so by using this board I can place the temple back beyond what is possible had I not been using the board, so it seems that I gain back the 2 inches that is lost. This really is maximum weaving enjoyment with minimum space, and yarn!

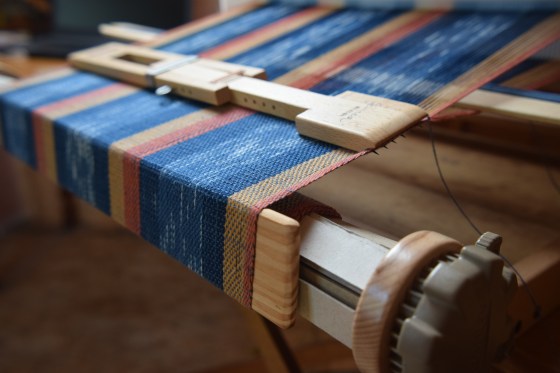
Ikat No. 1

This piece is my first attempt at ikat, even though it is only a simple random ikat. I saw a short film on Japanese Kasuri, and wanted to try working with ikat, posted in Knotty. But natural dyeing to me is tricksome, particularly dying cellulose fibers like cotton and linen, and particularly indigo which works in an alkaline solution, which cellulose fibers require. To add, alkalinity is the enemy of wool, which is the only fiber I have significant experience with and possibly the most desire to work colors into. Dying cellulose fibers, such as commercial weaving yarns, involve scouring extremely well, mordanting properly, dying, then neutralizing and rinsing till the cows come home … requiring many chemical ingredients and meticulous measured steps which are very complicated and a lot of work. And if scouring is not done properly a thing happens called “crocking”, where instead of the dye imbedding fully into the yarn, some of it hangs out on the surface ready to rub off on things and ruin them … on to your favorite weaving equipment, on to the clothes worn while weaving, and after being washed the dye gets into the other colors in the weaving itself, which happened to this piece regretfully.

I wish I knew this about the pH issues and limitations before jumping in, and think at this point I need to put the dyes away for while and release myself from self-imposed expectations of dye mastery! I have learned that both commercial dyes and natural dyes have their pros and cons, and I will likely go back to my old favorite reliable powdered Jacquard dye with wools, which are protein fibers, for it needs only a splash of vinegar in the dye bath, a quick scalding, and the dyebath exhausts beautifully if done correctly. Maybe I will again try ikat weaving with wool and Jacquard dyes next.

Going forward, and I have asked myself this: Why spend so much time, money, and resources on the things I am a rank beginner at, while falling behind and not bringing to fruition the things I have a bit of and skill (dare I say talent) with, and really should aspire to become better at? There are a lot of things I want to do, but at this point in my life, I must narrow down the possibilities, eliminating distractions is essential.

♣   Weaving Notes  ♣

There are no technical weaving notes in this post, but I want to document something remarkable I discovered for rigid heddle weaving ! When I was more than halfway through the weaving, and the front cloth beam was getting pretty packed with woven fabric and cardboard I found the cloth beam to have a certain amount of “squish”, the selvedges conforming to the curve of the cloth winding on irregularly, and not really producing a perfectly flat weave. This I assume is one of the things about rigid heddle weaving, the cloth beam builds cloth and as it does the woven cloth distorts in shape, as well as effects the stability of the tension.

I had an idea of propping a piece of wood against the wound cloth on the cloth beam, right at the edge, creating a sort of breast beam setting on top of the wound cloth. I found a piece of board which I had used it for separating the shed wider in backstrap weaving, so I positioned it on the cloth beam so that when I tightened the warp, the tension held it in place, creating a very stabilized and firm straight edge for the weaving, and I found I gained quite a bit of extra space on the weaving too, especially for the temple. The more cloth on the beam, the further back the stabilizing board it sits, creating a longer weaving area in front of the reed! I am going to explore this idea in the future, for I am very excited!

Note to self, recipient was eventually Rosanna.

Scarf No.8

Hi, its me Abelene.

The news around here is that Jen finished scarf no. 8, and not only that, but also she says she is finished the 20/2 ulltra fine cotton series, at least for a while. Time to move on. This project is unique from the others because she used direct warping method on the 8 shaft table loom — do read Jen’s note down in the Weaving Notes explaining things, and see all the photos. We, the crew of inanimate objects; a chatty mannequin, all of the looms, Señor Mirando (mirror), ladder, chairs, old wooden ironing board, little antique folding ruler, et al — we ALL respect that this double threading thing is a big deal to Jen, but she’s losing her mind a bit, attempting to avoid convention. We, the crew, are happy to be able to work together photographing beneath the rafters, with beautiful draping hand weavings, in the afternoon light, but we aren’t sure what Jen intends to do now being finished with “the series”. She has been spending time making dye concoctions with powdered extracts of indigo, madder, and pomegranate rinds, and so we think her next thing might have something to do with that, which no doubt in my mind will result in another beautiful drapey thing!

Ta ta, Abelene & The Crew

♣   Weaving Notes  ♣

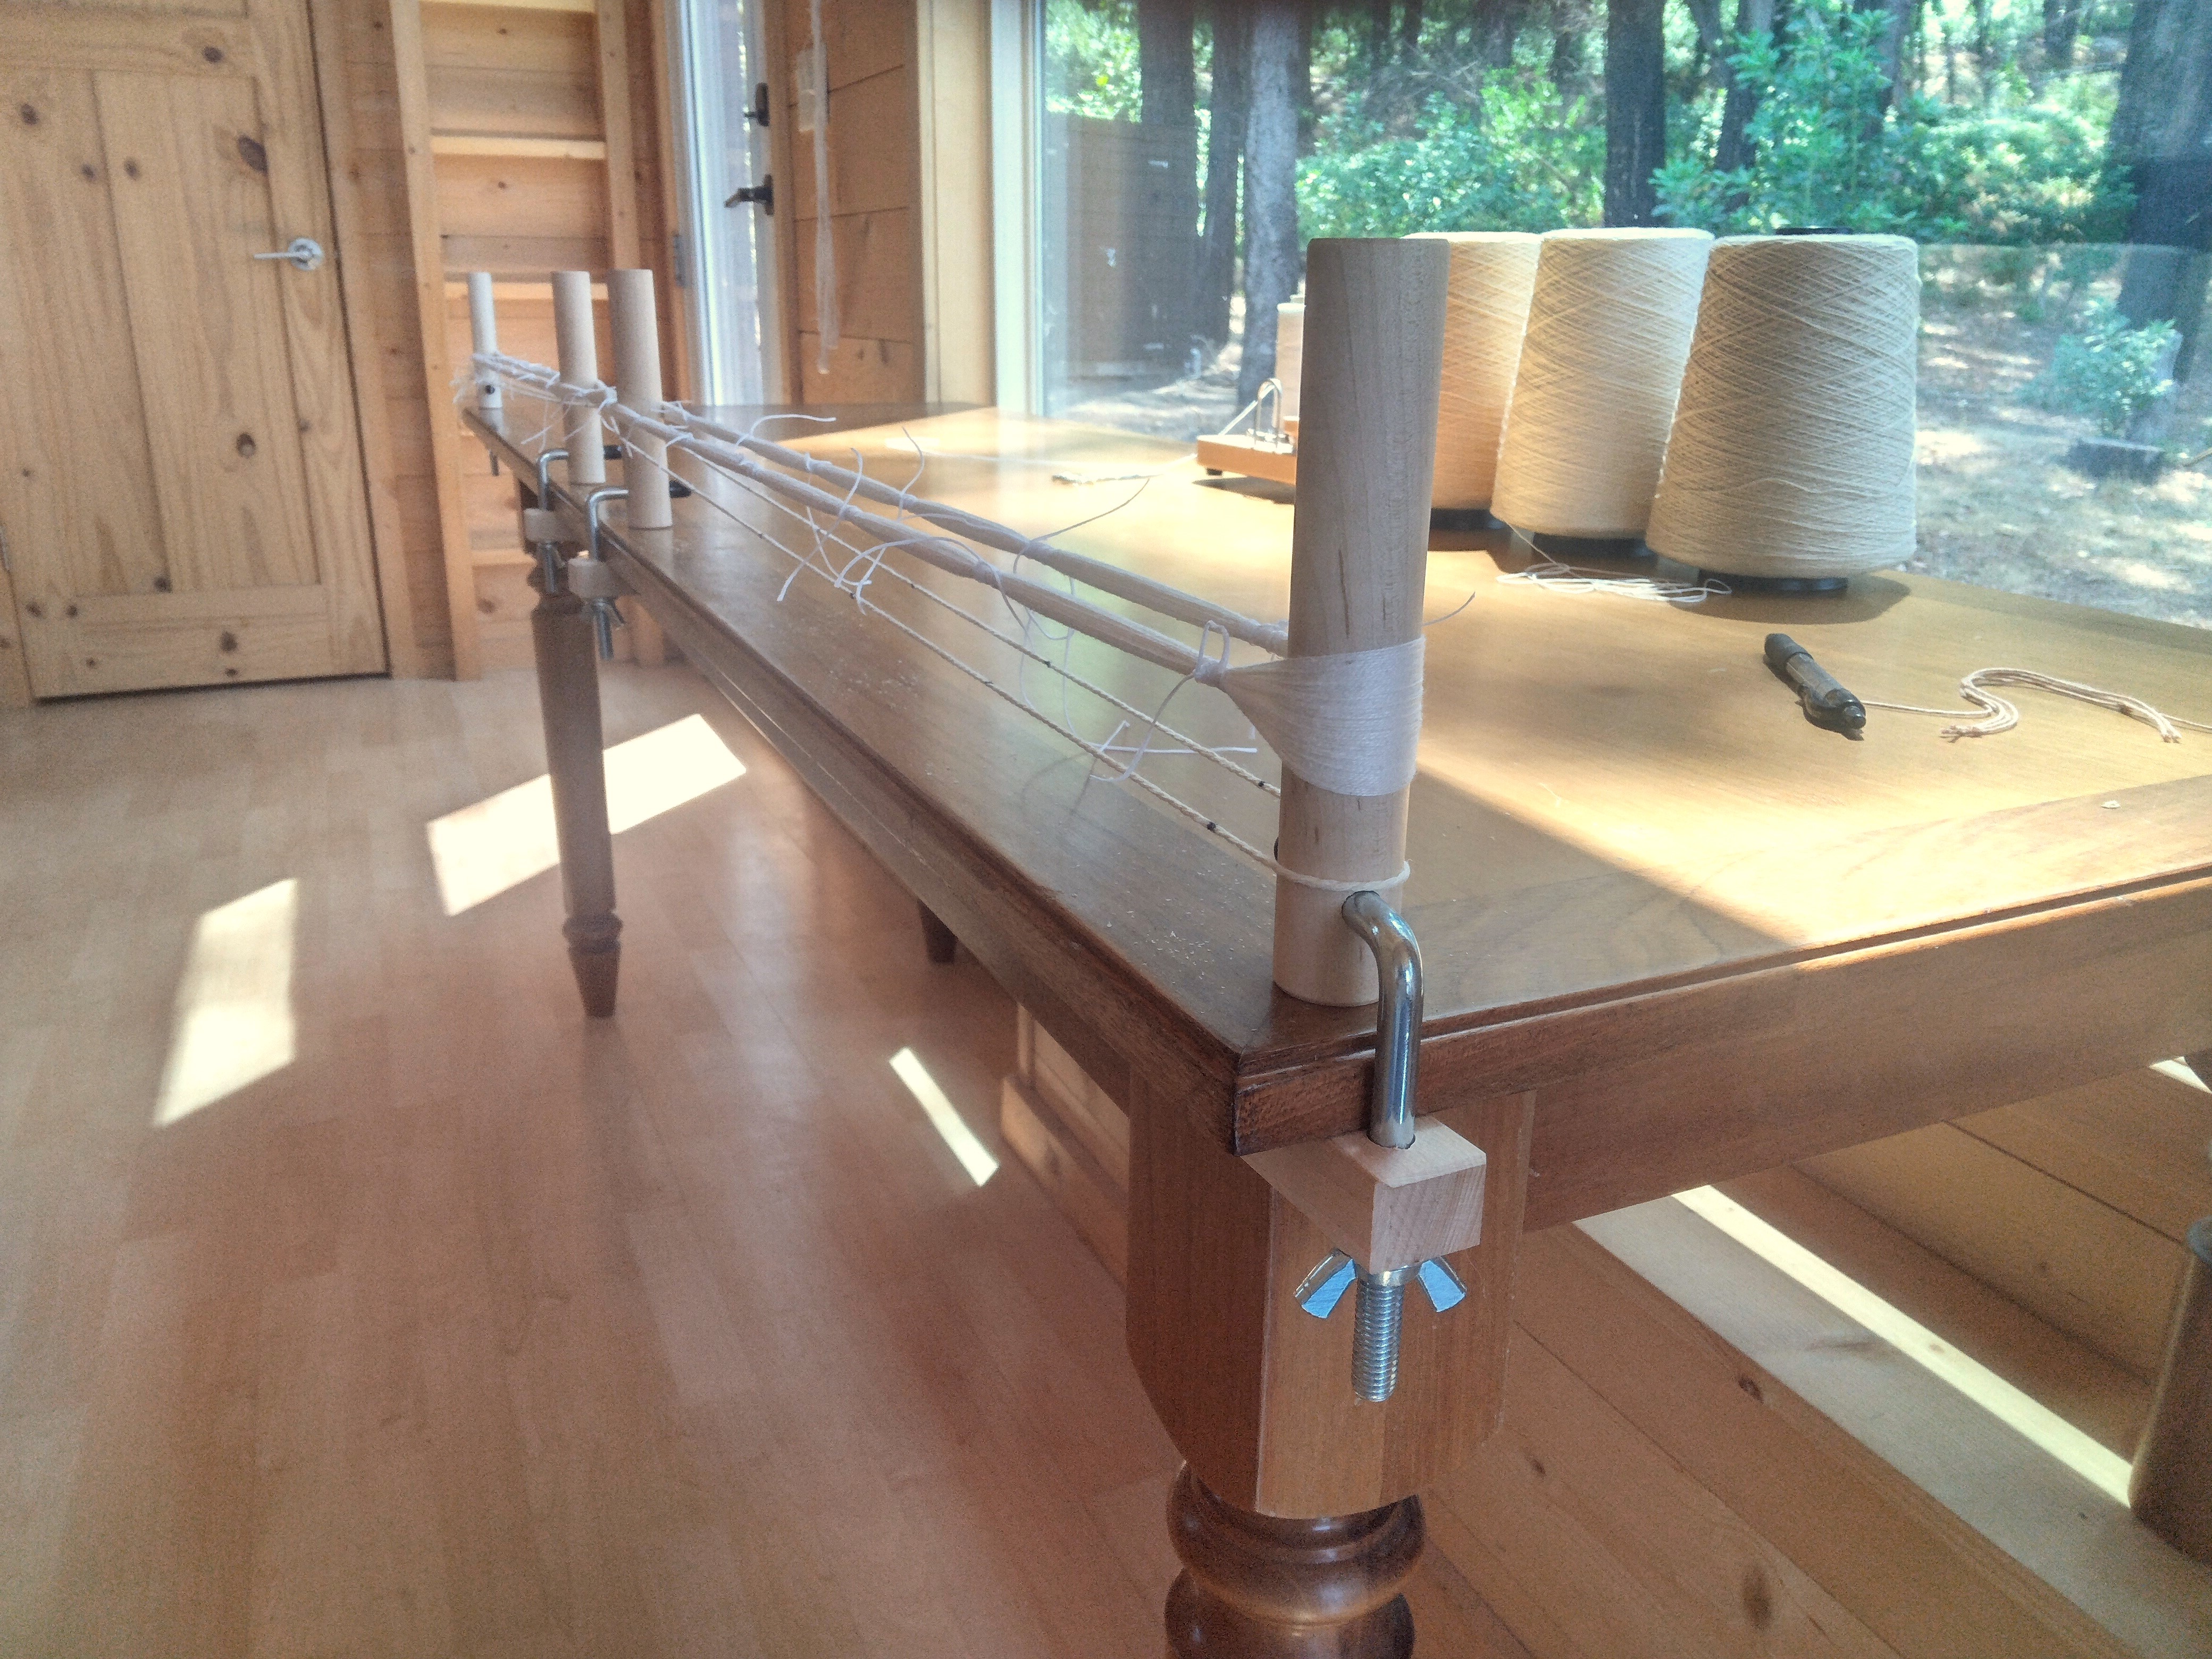
Note from Jen: For this piece I tried the easy direct warping double threaded through the heddles on the table loom, so was inventing a method for myself, as so far I have only have done this on the rigid heddle loom with Scarf no.7. Take a look at the photos in the weaving notes below and you’ll see that this is not conventional, and I’m only grateful there are no weaving police around. For the weavers who are reading, I’m sharing my weaving notes and detailed warping photos below . . .

  • Yarn: 20/2 mercerized perle cotton, 8400yds / 1 lb, Maurice Brassard, in colors Natural (P-100), and Flax (P-5104).
  • Loom: Ashford 8shaft Table Loom, straight draw threading for plain weave, lifting pairs of odds & evens (1&3, and 2&4)
  • Warping method:  Tested an easy direct warp method, back to front; double threading from back apron rod through reed and heddles, then to peg. Wound on to back beam and finally tied off on to front for weaving. Warp length is approx 130 inches from apron rod to warping peg.
  • Number of warp ends: 640 max plus 4 extra at each selvedge = 644 ends
  • Reed: 16 dent reed, 2 ends in each dent and 2 ends in each heddle (except for selvedges 4 ends each)
  • Width in reed: forgot to measure.
  • Sett on loom: forgot to measure.
  • Selvedges: I did not add extra ends to the selvedges, but did use a temple.
  • Sett after finishing: Warp 36 epi, and weft 26 ppi.
  • Color Pattern Warp: [32 dents of Natural, 32 of Flax] rep blocks across reed until measures 20″
  • Pattern Weft: Wound on to a 30″ stick shuttle for each color as follows: [30 wraps Natural, 30 wraps Flax] repeating sequence.
  • Finished: 1/4 inch turned hem, then washed and dried in machine, then pressed, measuring 81″ long and 18″ wide, and weighs 150g. 
  • Yardage:  Total yardage used for finished piece = 2780y, figured from weight of finished piece and not including loom waste.
  • What I will do differently next time: Raise up the harnesses to warp, thread and sleigh, I found I had to crouch down unnecessarily before I realized! Also I will group in 1″ bundles, having mistakenly miscalculated 8 groups of 4 harnesses, was actually 2″. EACH GROUP OF 4 harnesses is 1/4″. A group of all 8 harnesses will be 1/2″
  • Recipient: Sorcha

Knotty

Ikat is on my mind in recent days. I bought the book, watched the videos, and naturally soon thereafter I would want to go down to the tiny (dye) house where my indigo and madder are waiting patiently for me, and start tying knots!

A lovely artful video on one family’s kasuri making . . .

Another artful video from the same dye house, more extensive footage with no vocal. . .