An Auspicious Autumn (Scarf No. 13)

Hi, its me Abelene,

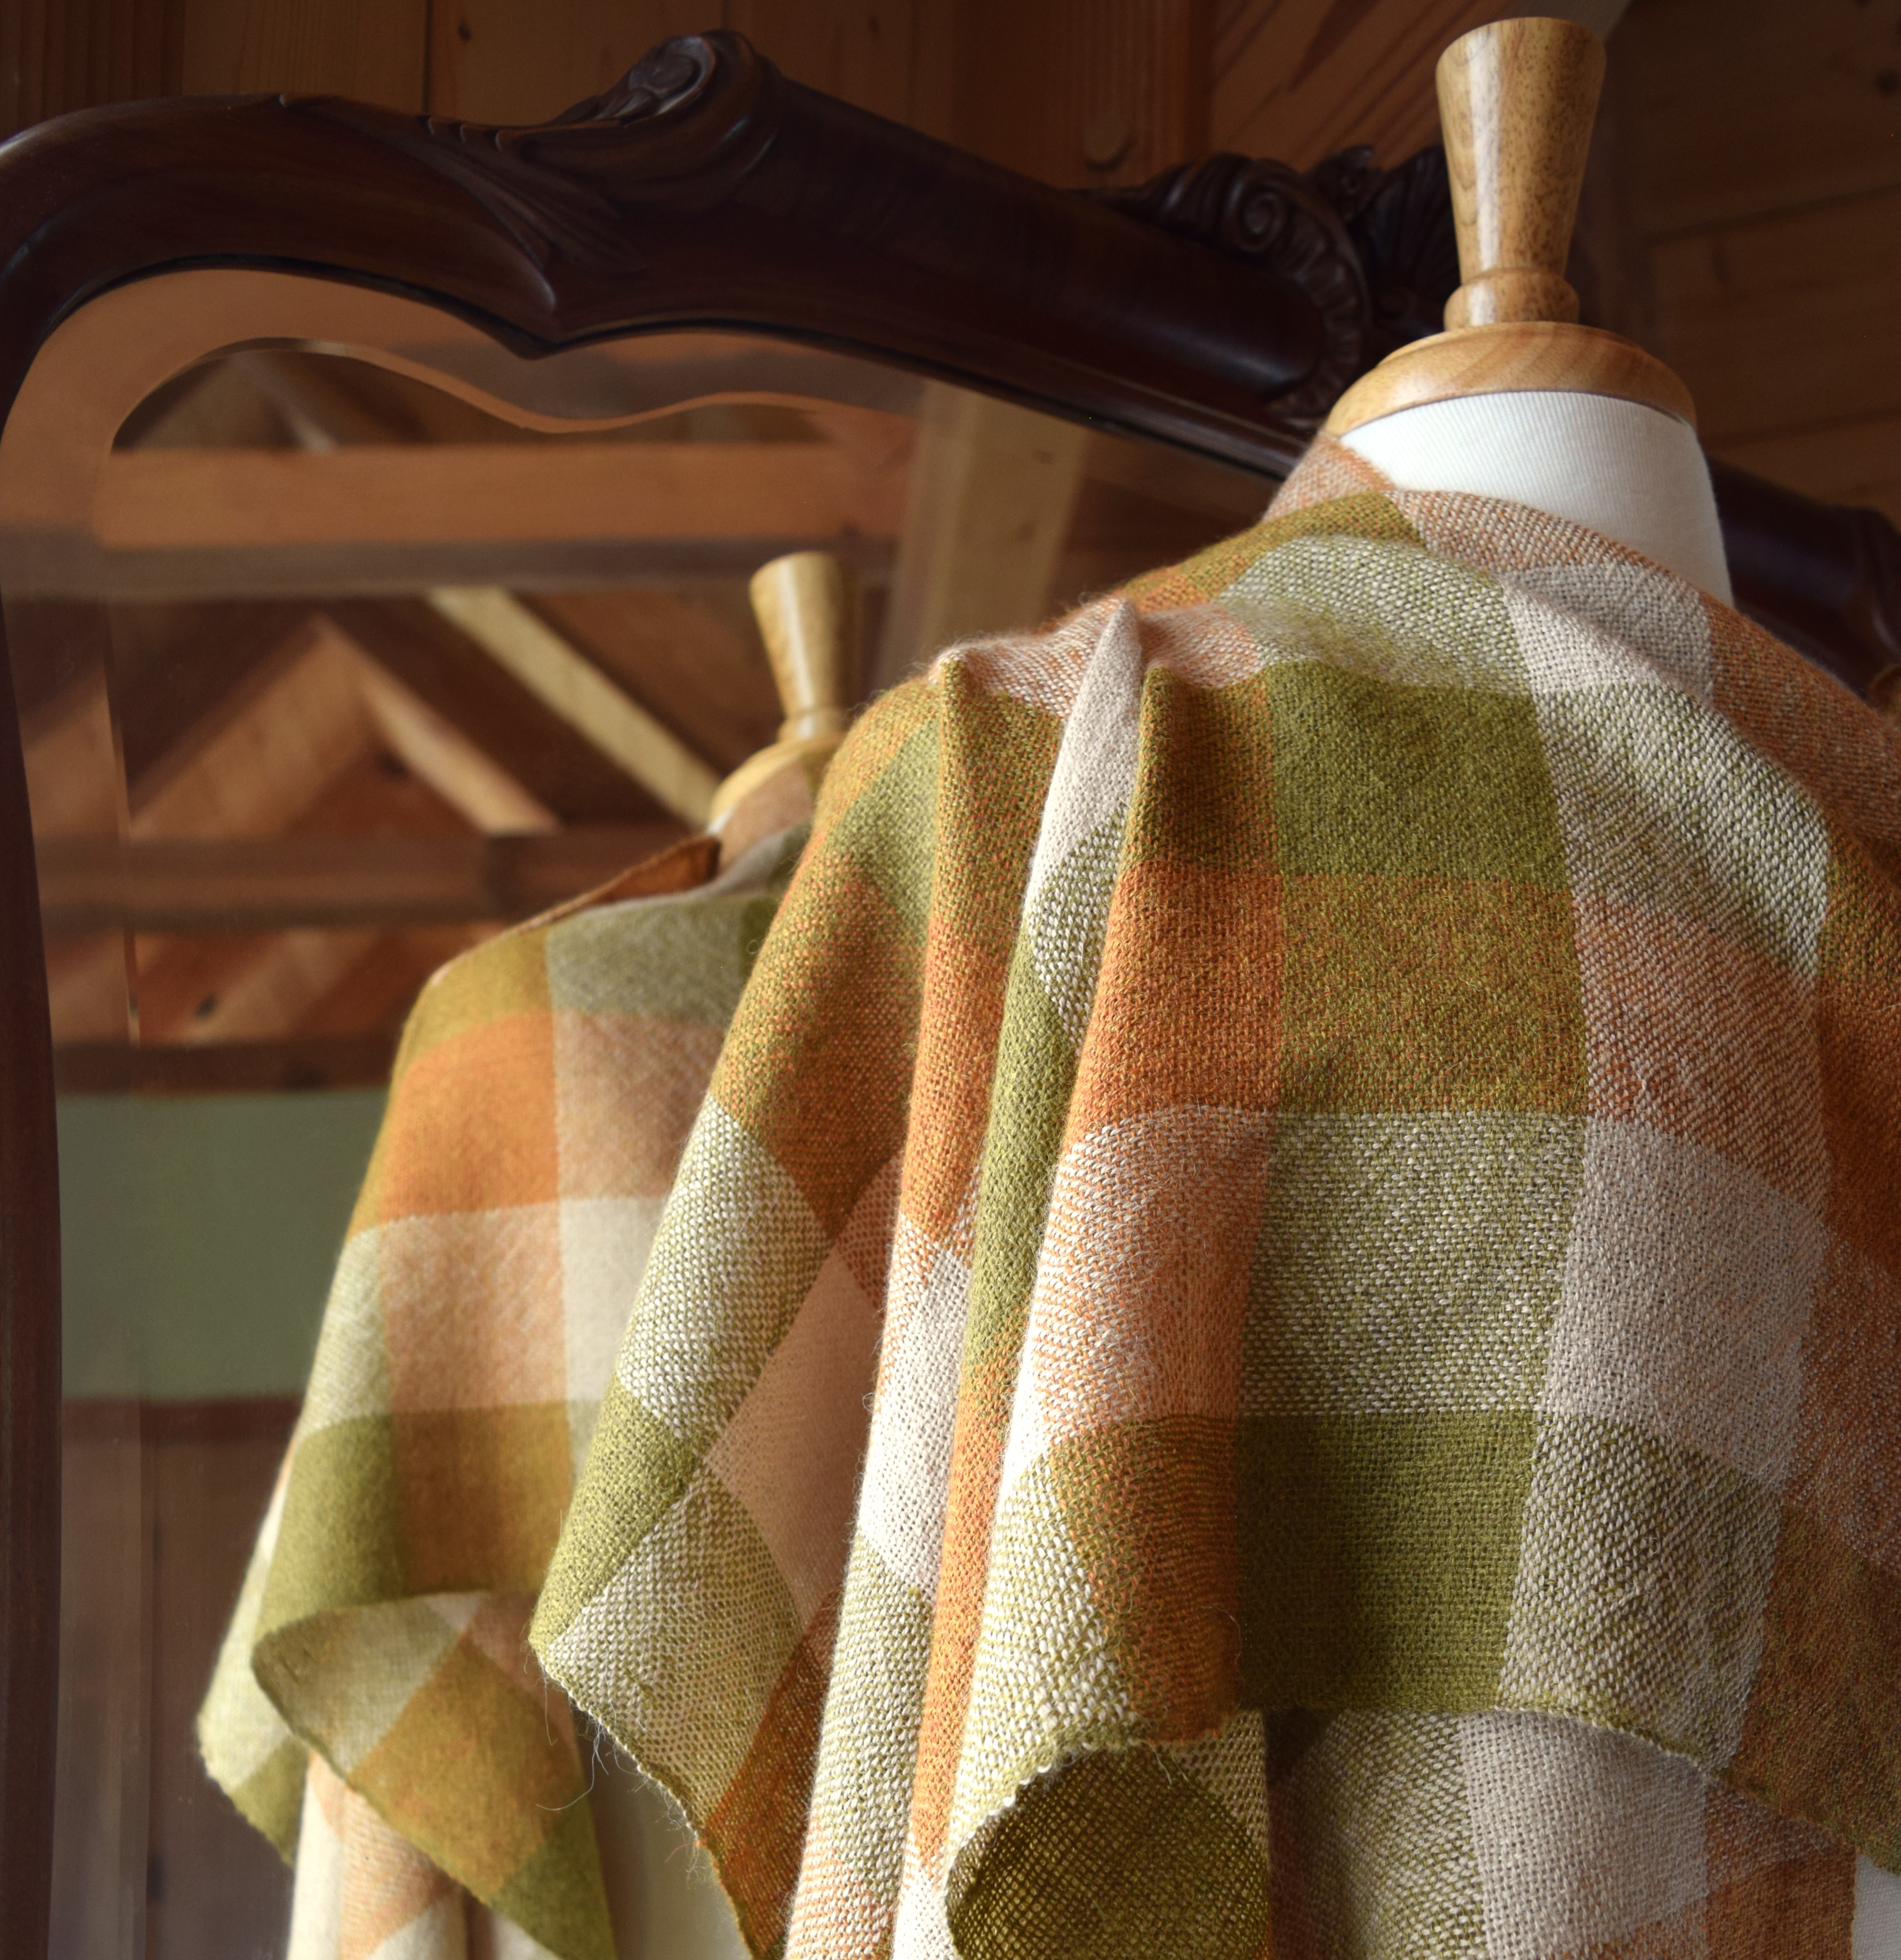
Jen did not weave on her scarves at all this summer, and now suddenly another alpaca scarf to show for a very auspicious occasion of the beginning of Autumn. Jen rattled through this scarf in the very last days of summer, having left it on the loom since Spring, while frenzied all summer long with other creative textile pursuits, as designing tweed blends, formulating dye recipes, ikat resist patterning and backstrap warp-faced weaving. We (the crew of inanimate objects) came out of the closet for this finishing event, and Señor Mirando and I have come to the conclusion that Jen has got something up her sleeve, finishing this scarf for the Equinox.

Happy Autumn, from Abelene & The Crew

♣   Weaving Notes  ♣

Note from Jen: With this scarf and every scarf I have woven on the 16″ rigid heddle loom, I have been using this simple tensioning tool, and if you would like to see the technical information about it, I give more detail in the post Scarf No.12

  • Yarn: Knit Picks Alpaca Cloud lace weight, in Amos (green), Zadie (deep gold), and Molesley (beige), 440 y = 50g
  • Loom: Ashford 16″ rigid heddle loom
  • Warping method:  Easy direct warp method for rigid heddle, 1 end in hole and 1 end in slot.
  • Number of warp ends: 240
  • Reed: 15 dent rigid heddle reed.
  • Width in reed: 15″
  • Selvedges: I did not add extra ends to the selvedges, but did use a temple.
  • Sett after finishing: Warp 16 epi, and weft 16 ppi.
  • Color Pattern Warp: [40 ends Amos, 40 ends Molesley, 40 ends Zadie] x 2
  • Finished: 3″ hand-twisted fringe, then washed and air-dried hanging, and lightly steam pressed. Measures 82″ long and 14.5″ wide, and weighs 133g. 
  • Yardage:  Total yardage used for finished piece = 1170y, figured from weight of finished piece and not including loom waste.
  • Note to self, recipient was Eleanor

Watery

Watery is now finished, the Guatemalan backstrap loom taken apart and rolled inside the weaving, with the maguey back strap and lasso resting on top. It was a real challenge in backstrap weaving as well as in ikat preparation, and a monster of a learning curve for a beginner like me, but I am a firm believer in the best teacher being experience. Even though I did make a proper sample “gauge swatch” and posted it in Watery Sample, I had no way to know how a larger variation would weave. I made mistakes, and had to figure out how to fix them as I progressed; the heddles had to be redone, tension problems were endless, at first I could not work the shed changes correctly, nor did I beat the weft evenly, and honestly, I was not sure even how to operate the loom. But I wove a 15.5″ x 46.5″ piece of canvas weight warp-faced fabric, and to me that is astonishing and amazing! Toward the end of my much-longer warp, as room was getting tight to lift the heddle rod, I thought I’d cleverly rearrange the shed rod, and wouldn’t you know it, I accidentally rendered it un-weavable from there forward, but I only lost about 12″ of weaving length left I figure, before I couldn’t weave anymore on it. Not bad for an ardent attempt to do a large piece!

Oh, and about the llama wandering about outside the tiny house? It is a member of a grazing herd which came down from the vineyard above us to sample the greenery, perhaps to participate in the Andean inspired backstrap weaving scene?

Here is how I warped for Watery . . .

  1. I wound 10/2 mercerized weaving cotton, in a figure 8, around 2 warping pegs placed each end of the table at 72″ apart; 40 times, which is 80 ends per warp section when the loop around the loom bars is woven into a flat piece. The weave is completely warp-faced, with the weft hidden, and has 56 epi.  — If this were a balanced weave, there would be aprox. 28 epi, and the weaving would be twice as wide, at least 30″ — I did not understand this about backstrap weaving until after I learned balanced weaving!
  2. Five warp sections were tied with ikat resist tape (I did not photograph this part) without measuring, but fully improvised. Six were left untied (except for the skein ties to keep the warp sections from getting tangled in the dye bath) so all 11 warp sections could be dyed together, and be the same color.
  3. Five warp sections were tied with ikat resist tape (I did not photograph this part) without measuring, but fully improvised. Six were left untied (except for the skein ties to keep the warp sections from getting tangled in the dye bath) so all 11 warp sections could be dyed together, and be the same color.
  4. After dyeing them, I transferred the warp sections to the loom bars which I had lashed on to the pegs, alternating five resist tied sections with six solid sections.
  5. I spread out the warp to get ready to make the string heddles, and the sections all came together as one complete warp, tying ends together at the far-end loom bar, and lining up the cross in the middle of the length, ready to make heddles next.
  6. But first, on each of the five tied ikat sections I pulled some of the threads either forward or backward by pinching some threads in the section and giving a little tug; this is called “shifting”,  and the threads moved around the loom bars so that the straight undyed (white) bands skewed a little to create a design. ( I did not influence the apparent stripe of the non-ikat tied warp sections, so they just ended up as soft squiggly lines across.)
  7. I created string heddles with the same 10/2 cotton as the warp, but the warp and heddles were too close and got bound up, so later I reworked the heddles with fine nylon thread. 
  8. In the photos I show how the shifting works; on top warp threads you see the V shape , but on the bottom threads you see the opposite direction as I parted a V shape on the top shed of the warp to reveal below, because the threads change direction when they go around the loom bar. This is most obvious at the two rods which hold the cross, where the bottom half of the warp comes to the top, and the top disappears below.
  9. When at last the bottom and top of the shed is woven together, the interplay makes a lovely random design which looks like reflection of light on the surface of moving water…. thus “watery”.

Credit: I have enjoyed reading Lavern Waddington’s weaving blog Backstrap Weaving for years. Her experience is extensive, and her legacy is truly admirable as she lived for years in the Andes practicing the indigenous methods of backstrap weaving, as well as travelling the world to learn from other backstrap weaving cultures.  It is mostly from her helpful instructional videos which have brought me to this point, all which are easily navigated from her website.

Naming a Color: Damask

Naming a color, from inspiration, from memory, from an object, a painting, a piece of cloth — the most the poetic aspect of design.  The name damask itself refers to a type of weave in cloth, and is made in a range of colors, the color I am searching for is a traditional silk damask color — a warm vintage rose with a hint of mauve, nearly like the botanical painting from Pierre-Joseph Redouté, the Rosa Damascena Celsiana. I fell in love with the color when I was gathering and over-dyeing colors for the  Redouté Roses design,  which was inspired originally from his botanical illustrations. But honestly, the color in my mind now, is the memory of a little silk scarf, which I put on my niece to wear for the design’s photo session, which I inadvertently gave to her as I forgot to ask for it back, and it is lost to a wonderful memory now. Yes, the sentiment of that exact color is what I have long been looking for.  I’ve arrived at the dye recipe which I’ve left in the Blending Notes below.  

Can either be spun up in a solid, or made into a tweed blend, which involves more than one color, so I am refining my recipe techniques.  I think in my personal color palette, I will name this color recipe “Damask”.  These three are my final experiments  to arrive at the color, testing a blending format that I will apply to the rest of my tweed palette, of colors I love most. The spun tweed results are in the same order in photos above as described in the notes below: #1 Double Tweed, #2 Analogous Tweed, and #3 Simple Tweed.

♣ Blending Notes ♣ 

  1. Damask solid color recipe: Blended from 1% dye solutions of: 33.3% Jacquard Hot Fuchsia, 33.3% Jacquard Golden Ochre, and 33.3% Dharma Antique Mauve (see below notes). 
  2. Double Tweed Blend (above 1st of 3): 50% color “damask” solid color wool, and 16.6% each of solid dyed wool in Golden Ochre, Hot Fuchsia, and Antique Mauve. I think I like this the best because the overall effect is truer to my solid dye recipe for the color Damask.
  3. Analogous Tweed Blend (2nd of 3): 33.3% each of three damask shades very similar (I used tests #1, #3, and #4 )  The result does not have enough definition to make it worth the fuss of dyeing three similar colors just to blend them all together.  As it is so close to a completely homogenized color, if I want a solid dyed color, I would just dye a solid Damask from my color recipe. 
  4. Simple Tweed Blend (3rd of 3): 33.3% each of solid dyed Golden Ochre, Hot Fuchsia, and Antique Mauve. This is the easiest by far, and very festive with the most contrasts, and I use this method for an informal and quick tweed blend if I’m not attempting a reliable color match. 
    • All dyes are dyed with depth-of-shade 1ml of 1% dye solution to 1g of wool. 
    • The actual dye brands are Jacquard Acid Dye in Golden Ochre and Hot Fuchsia, and Dharma Acid Dye in Antique Mauve. 

♣ Final Results ♣ 

I have decided upon the final solid color of Damask, just did not spin it up solid, instead I used the amount I dyed in the tweed experiments. From this color I arrived at final tweed preparation, what I am calling Double Tweed. The Double Tweed is compound — comprised of the two parts; a minimum of 50% of the blend is the main color which is its namesake, in this case Damask.  The other “half” is equal amounts of solid dyed wools that are the same three dye colors used to get Damask. The end result I am naming is Damask Double Tweed. Of the three in the Blending Notes above, I like the Double Tweed results best because the spun yarn stays closest to the main color while still having the contrasts of the different colors of wool, which I describe in the notes.
Alpaca, silk, cotton.

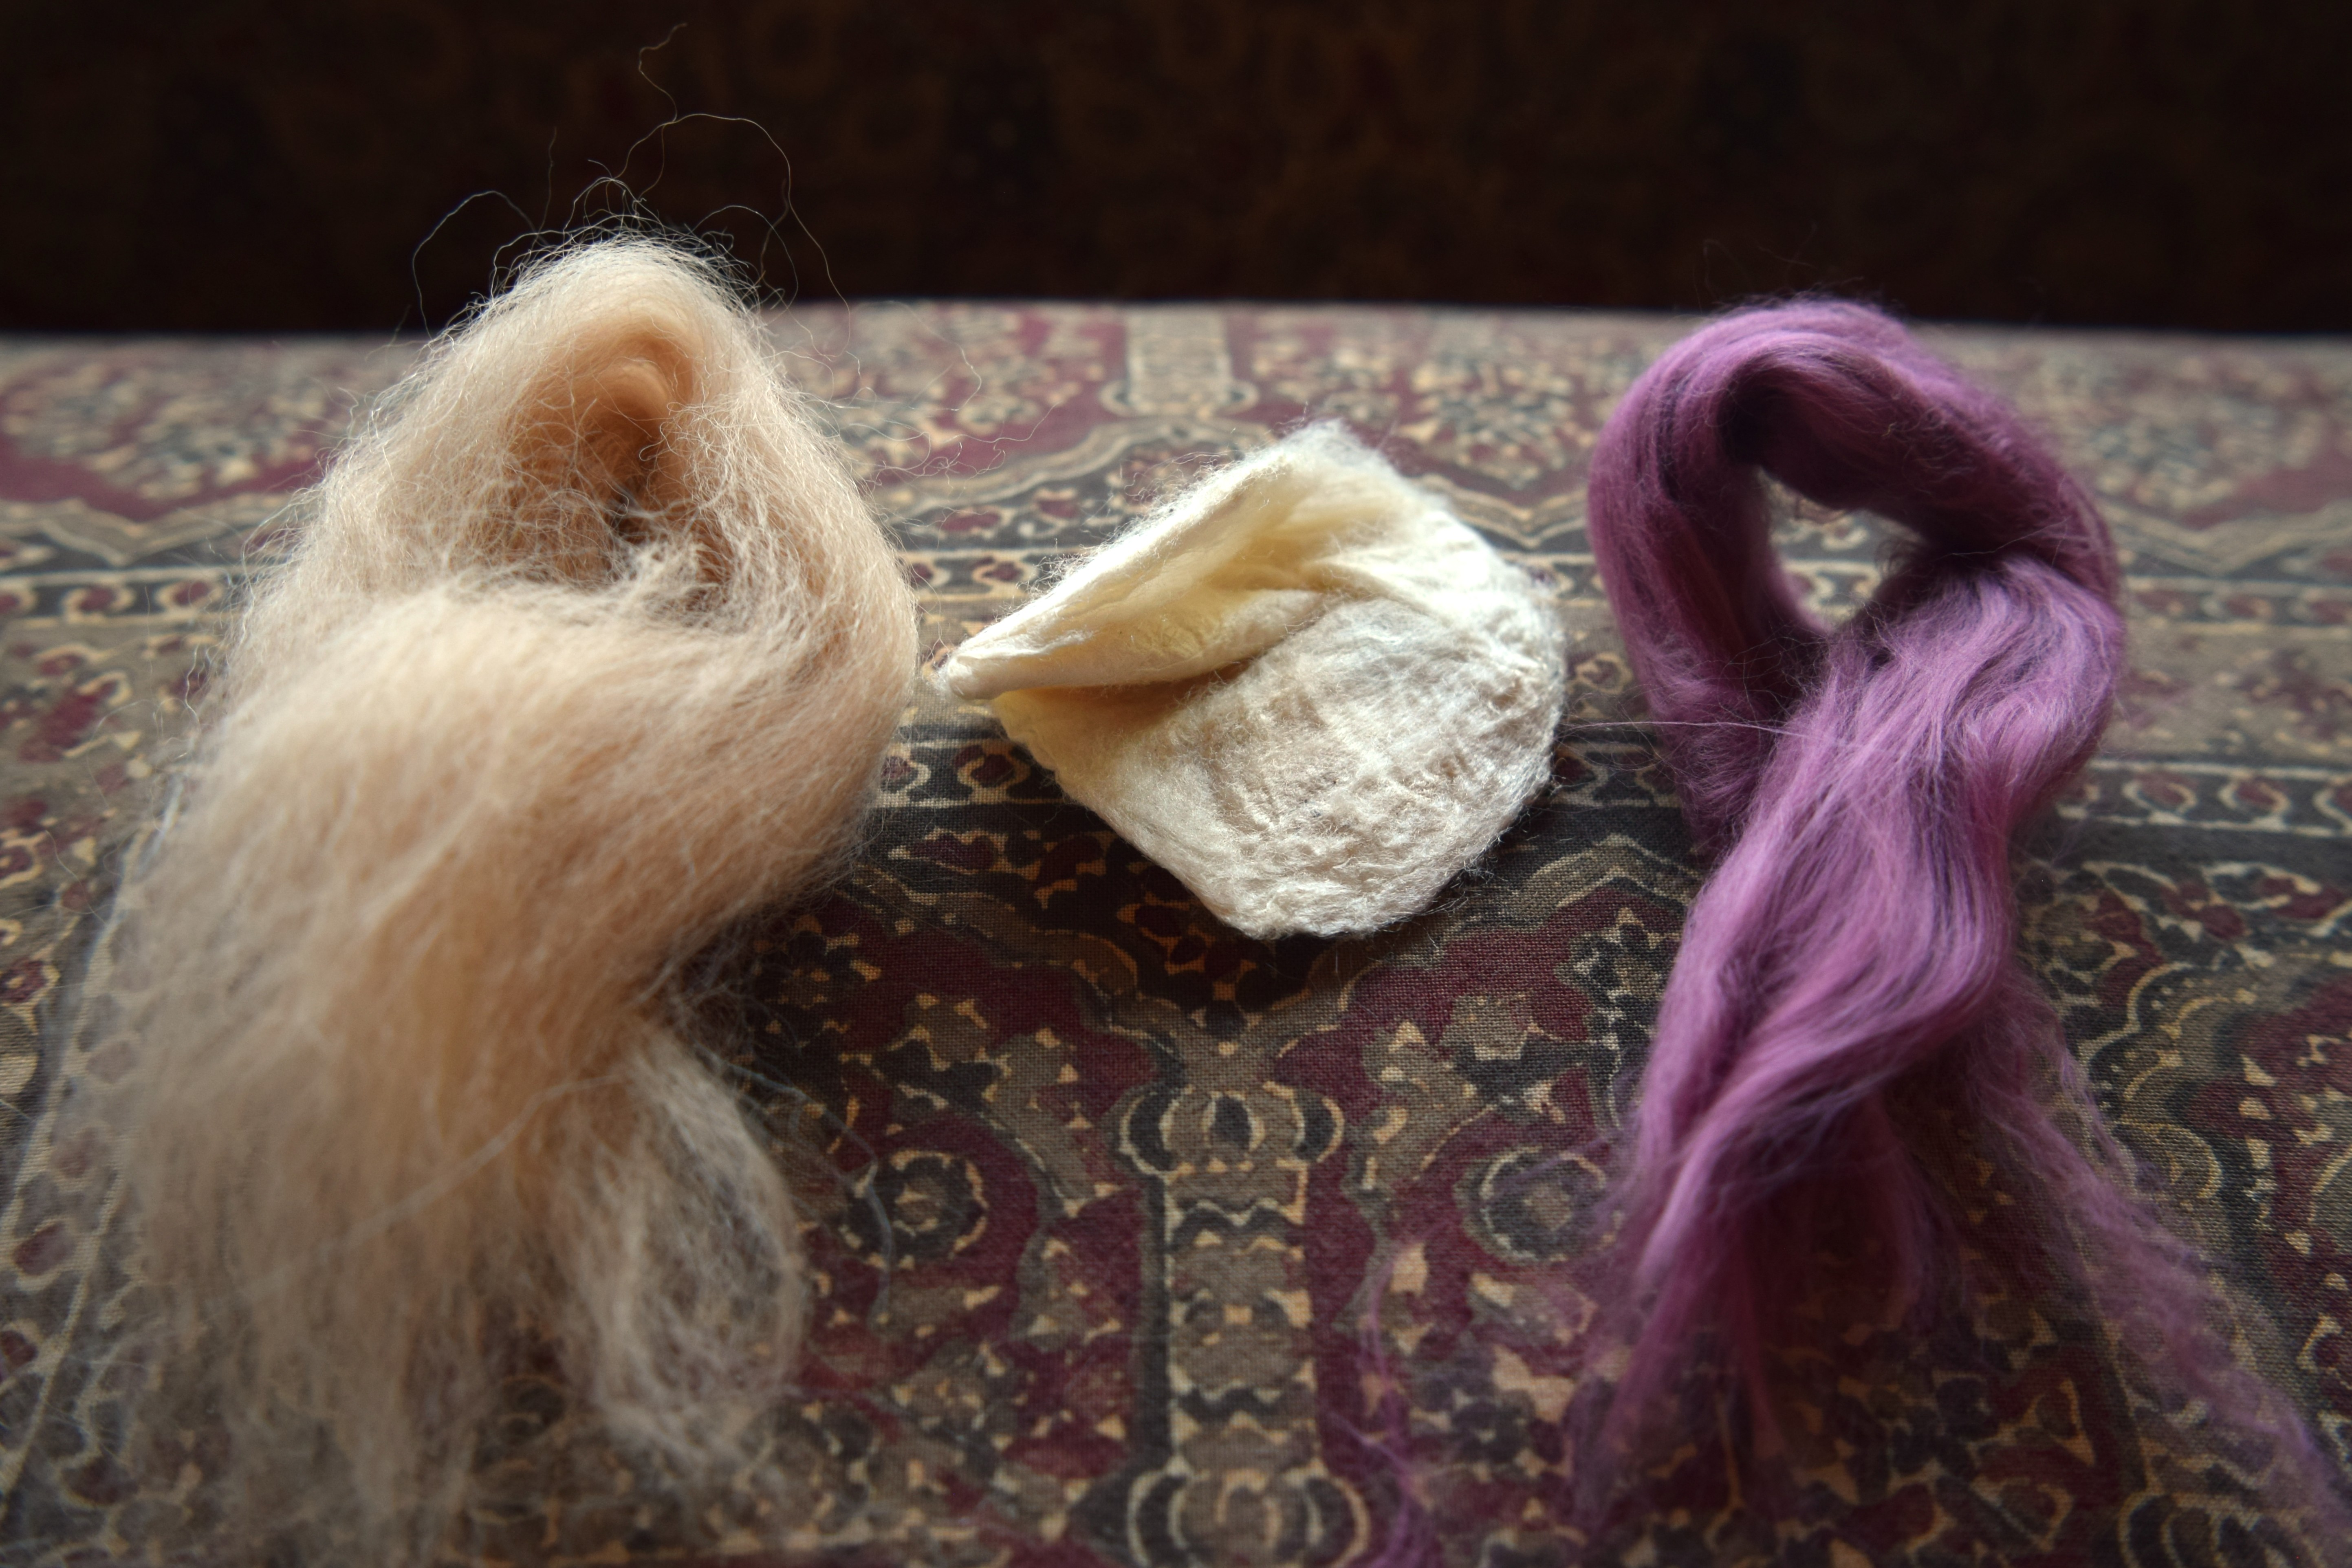
Utterly fascinated with Eri silk cocoon cakes, they are so easy to fluff up into a generous handful of spinnable fiber, or can be pulled into a circle shape, broke through the center and stretched into a hoop of continual strands to be spun from or cut into lengths (I learned this from some instructional Longthread Media spinning videos using silk hankies). Even more I love how the cocoons are harvested after the moth emerges, therefore known as Ahimsa Silk, also as Peace Silk. One thing I want to note; the processed silk roving is radically different than spinning the silk strands from cocoons. The silk cocoons have the strands all wound around and hold together, even “stick” together in spinning far more than the silk that is processed into roving, as well as shorter fibers. It is raw silk which is not as smooth and has little slubs, the finished spinning has a more matte finish, and therefore in blending adds much more texture than the processed silk roving would.

As combed cotton roving is something I just do not feel committed to learn to spin by itself, because it takes specialized skill, if not equipment, but mostly because pure cotton handspun yarn is not something I knit with, and I can’t imagine weaving with it, yet like silk, I am learning the benefits of adding it to blends.

Of course, downy soft alpaca, one of my favorites, giving a fuzzy soft halo to the finished yarn, and exquisite warmth, and added to the others for a more complex blend in this sample checks all the boxes for me.

♣ Blending Notes ♣ 

Flax, cotton, and bamboo.

Bamboo top fiber is extremely silky, and in my opinion even more than actual silk, which is to say that it is even slicker, even more delicate, softer, glossier, and truth be told, I could not even attempt to spin it by itself. Flax short fiber (tow) roving is really rough, really tough, stiff, woody, and the fibers do not stick to each other, so again, I have not had much success in trying to spin flax either. Combed cotton top is… well, cottony, but insanely short fibers which do not stick together when dry, and just like the other two, I really couldn’t even try to spin it. However, with the three together I am striving to find a balance, a spinnable fluff that can be made into a beautiful practical yarn, that brings texture and color depth into the yarn. I do believe that blending fibers such like these three plant fibers make a very beautiful blend which brings together the best in all three, even though I personally could not even attempt to spin the individual fibers. Believe me, this particular combination proves to me that blending really has its virtues!

♣ Blending Notes ♣