marigold

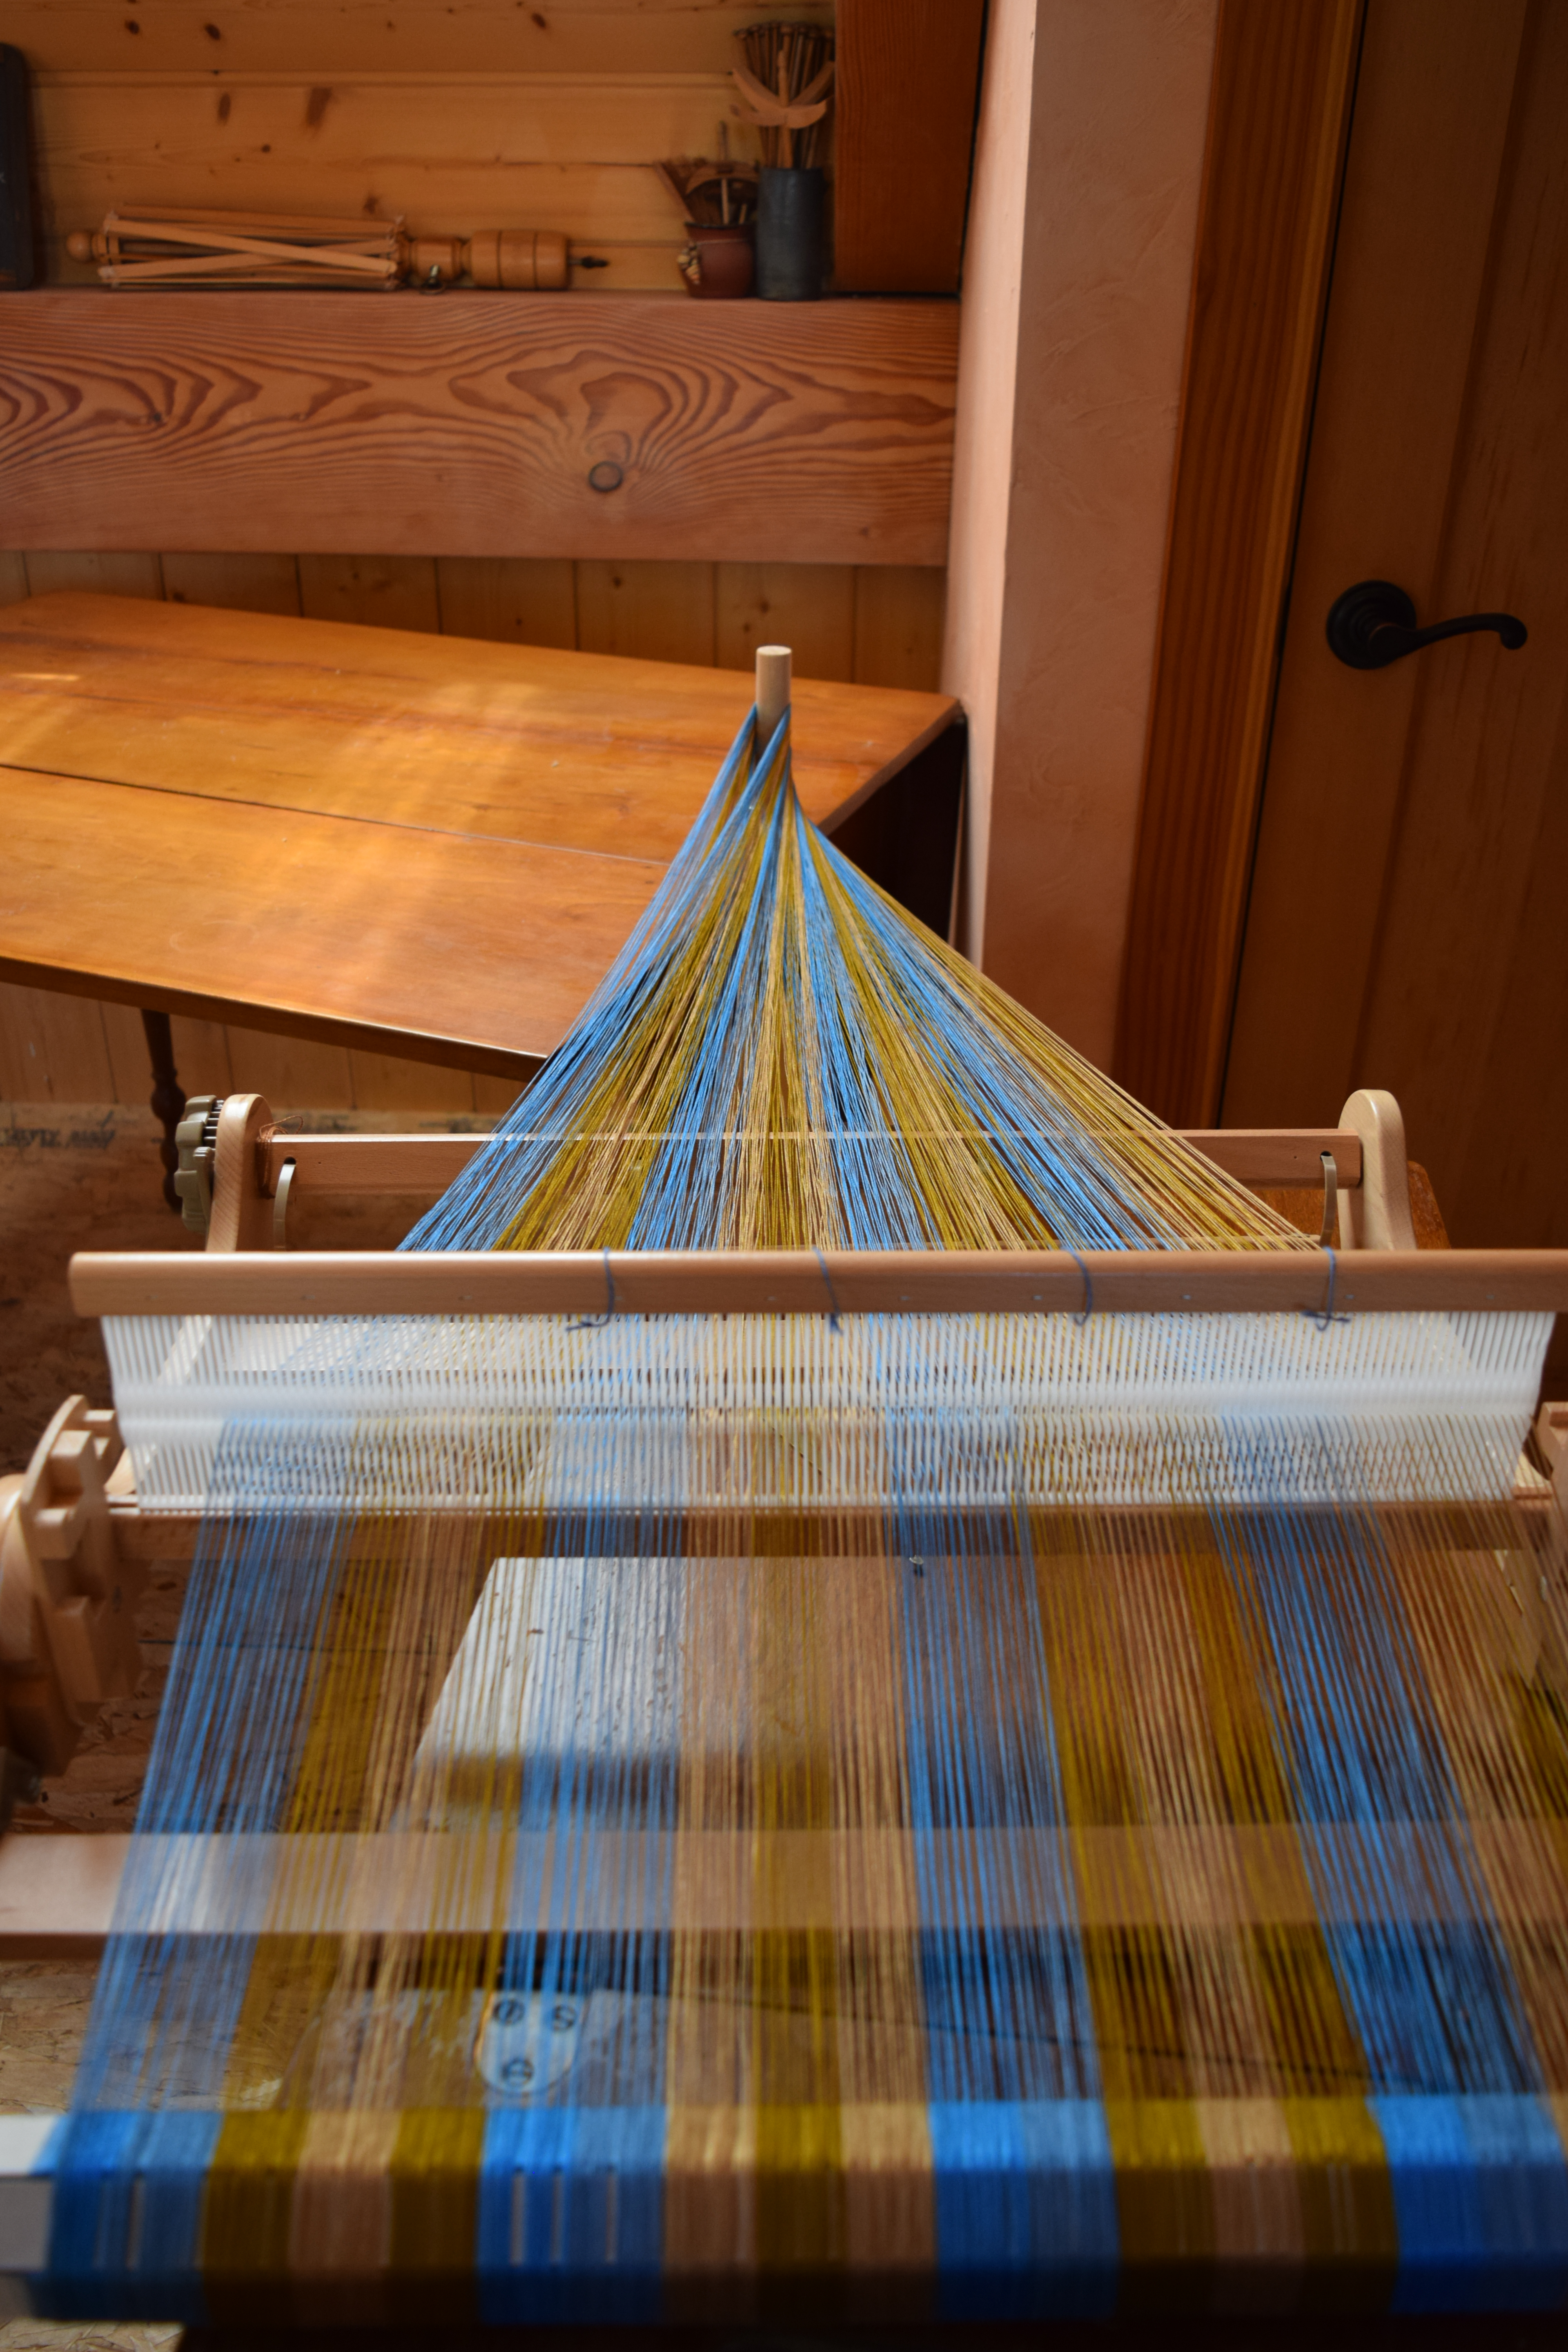
I have just put together my little Ashford 16-inch rigid heddle loom. It arrived yesterday, and immediately after I rubbed all the wood pieces with butcher block wax, then this morning I assembled it with excitement, as my mind filled with visions as to what beautiful and interesting textiles will be woven on it. There is no denying these rigid heddle looms are addictive and tend to fill as much available space in one’s life as there is ambition to weave on them.
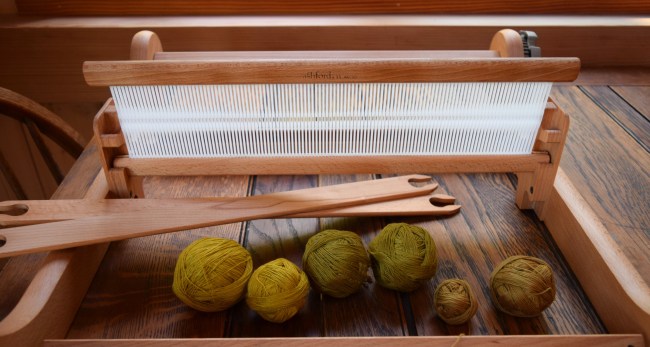
I know, I know, I already have several other looms, but I decided to get this little one anyway, and it really wasn’t at all that expensive. I just wanted a simple small loom to weave simple plain weave scarves only, a modest little destination loom for my modest little dye experiments, natural or commercial dyes, I’m no snob about it.

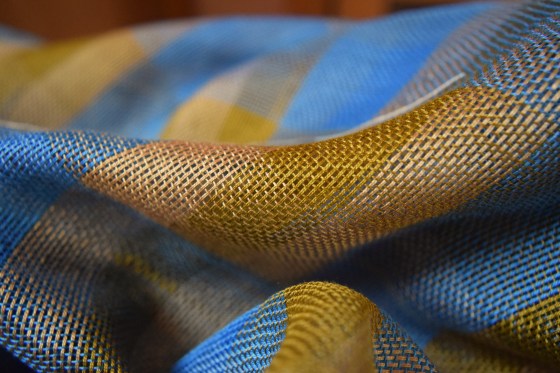
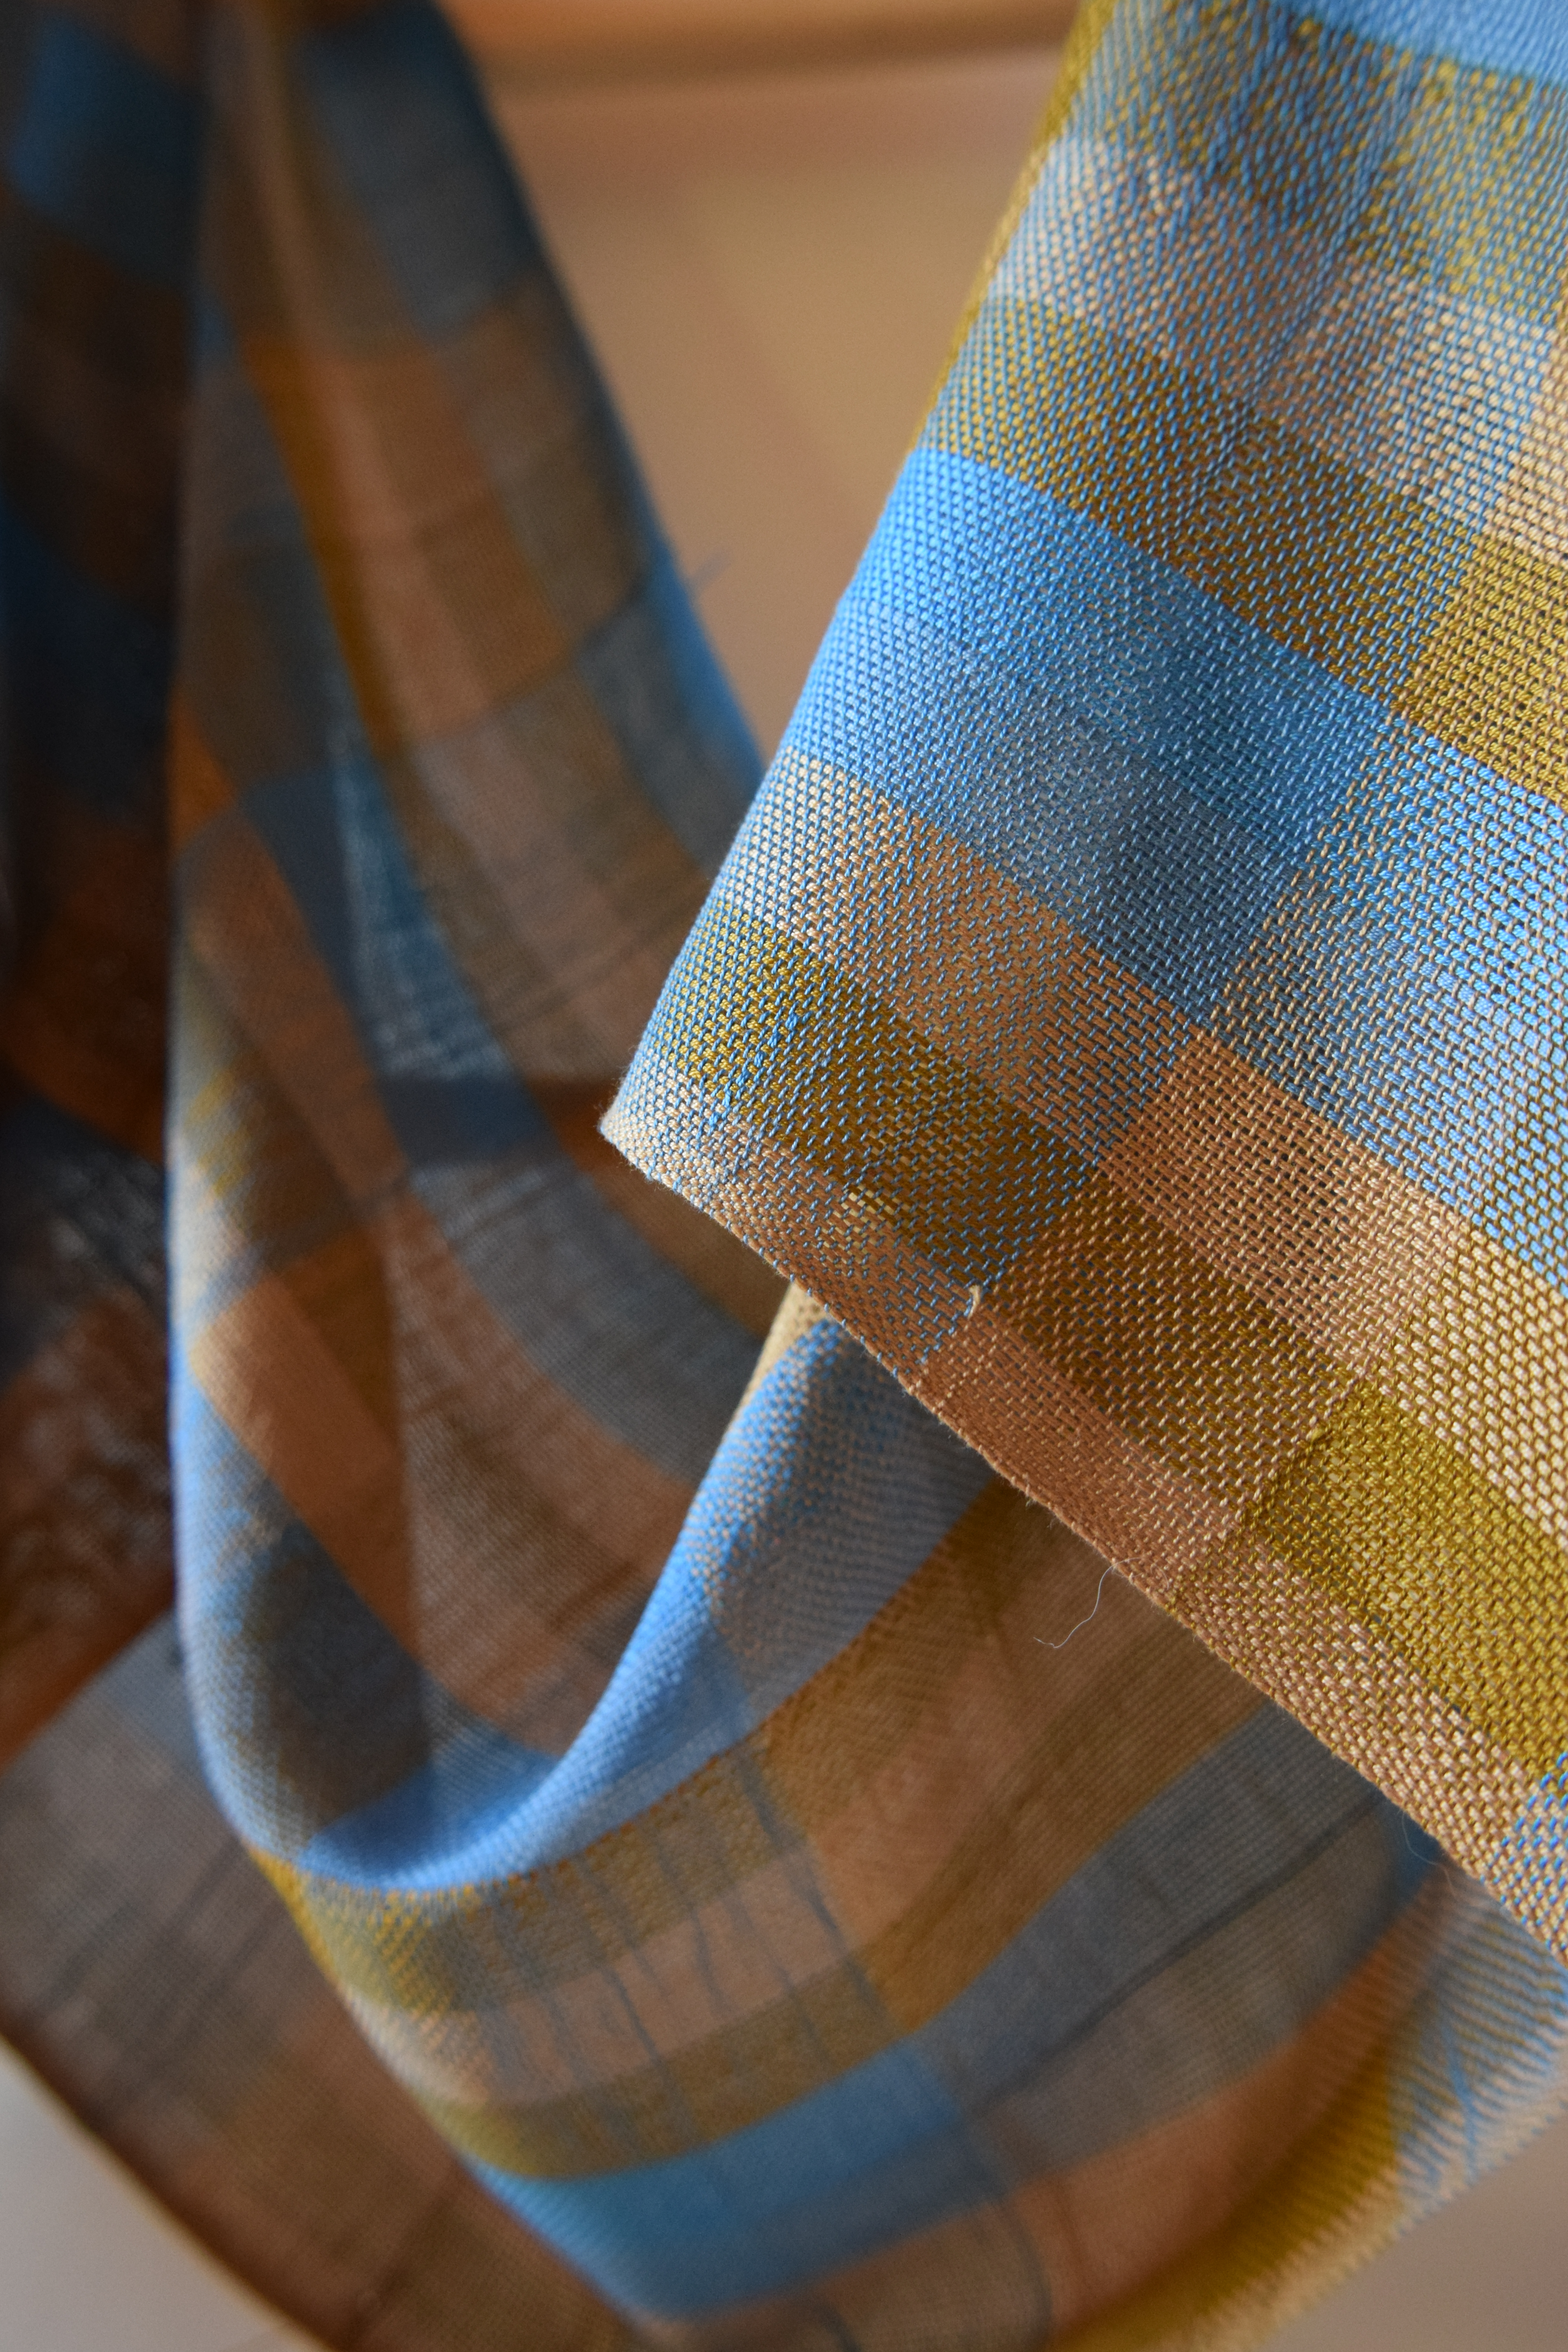
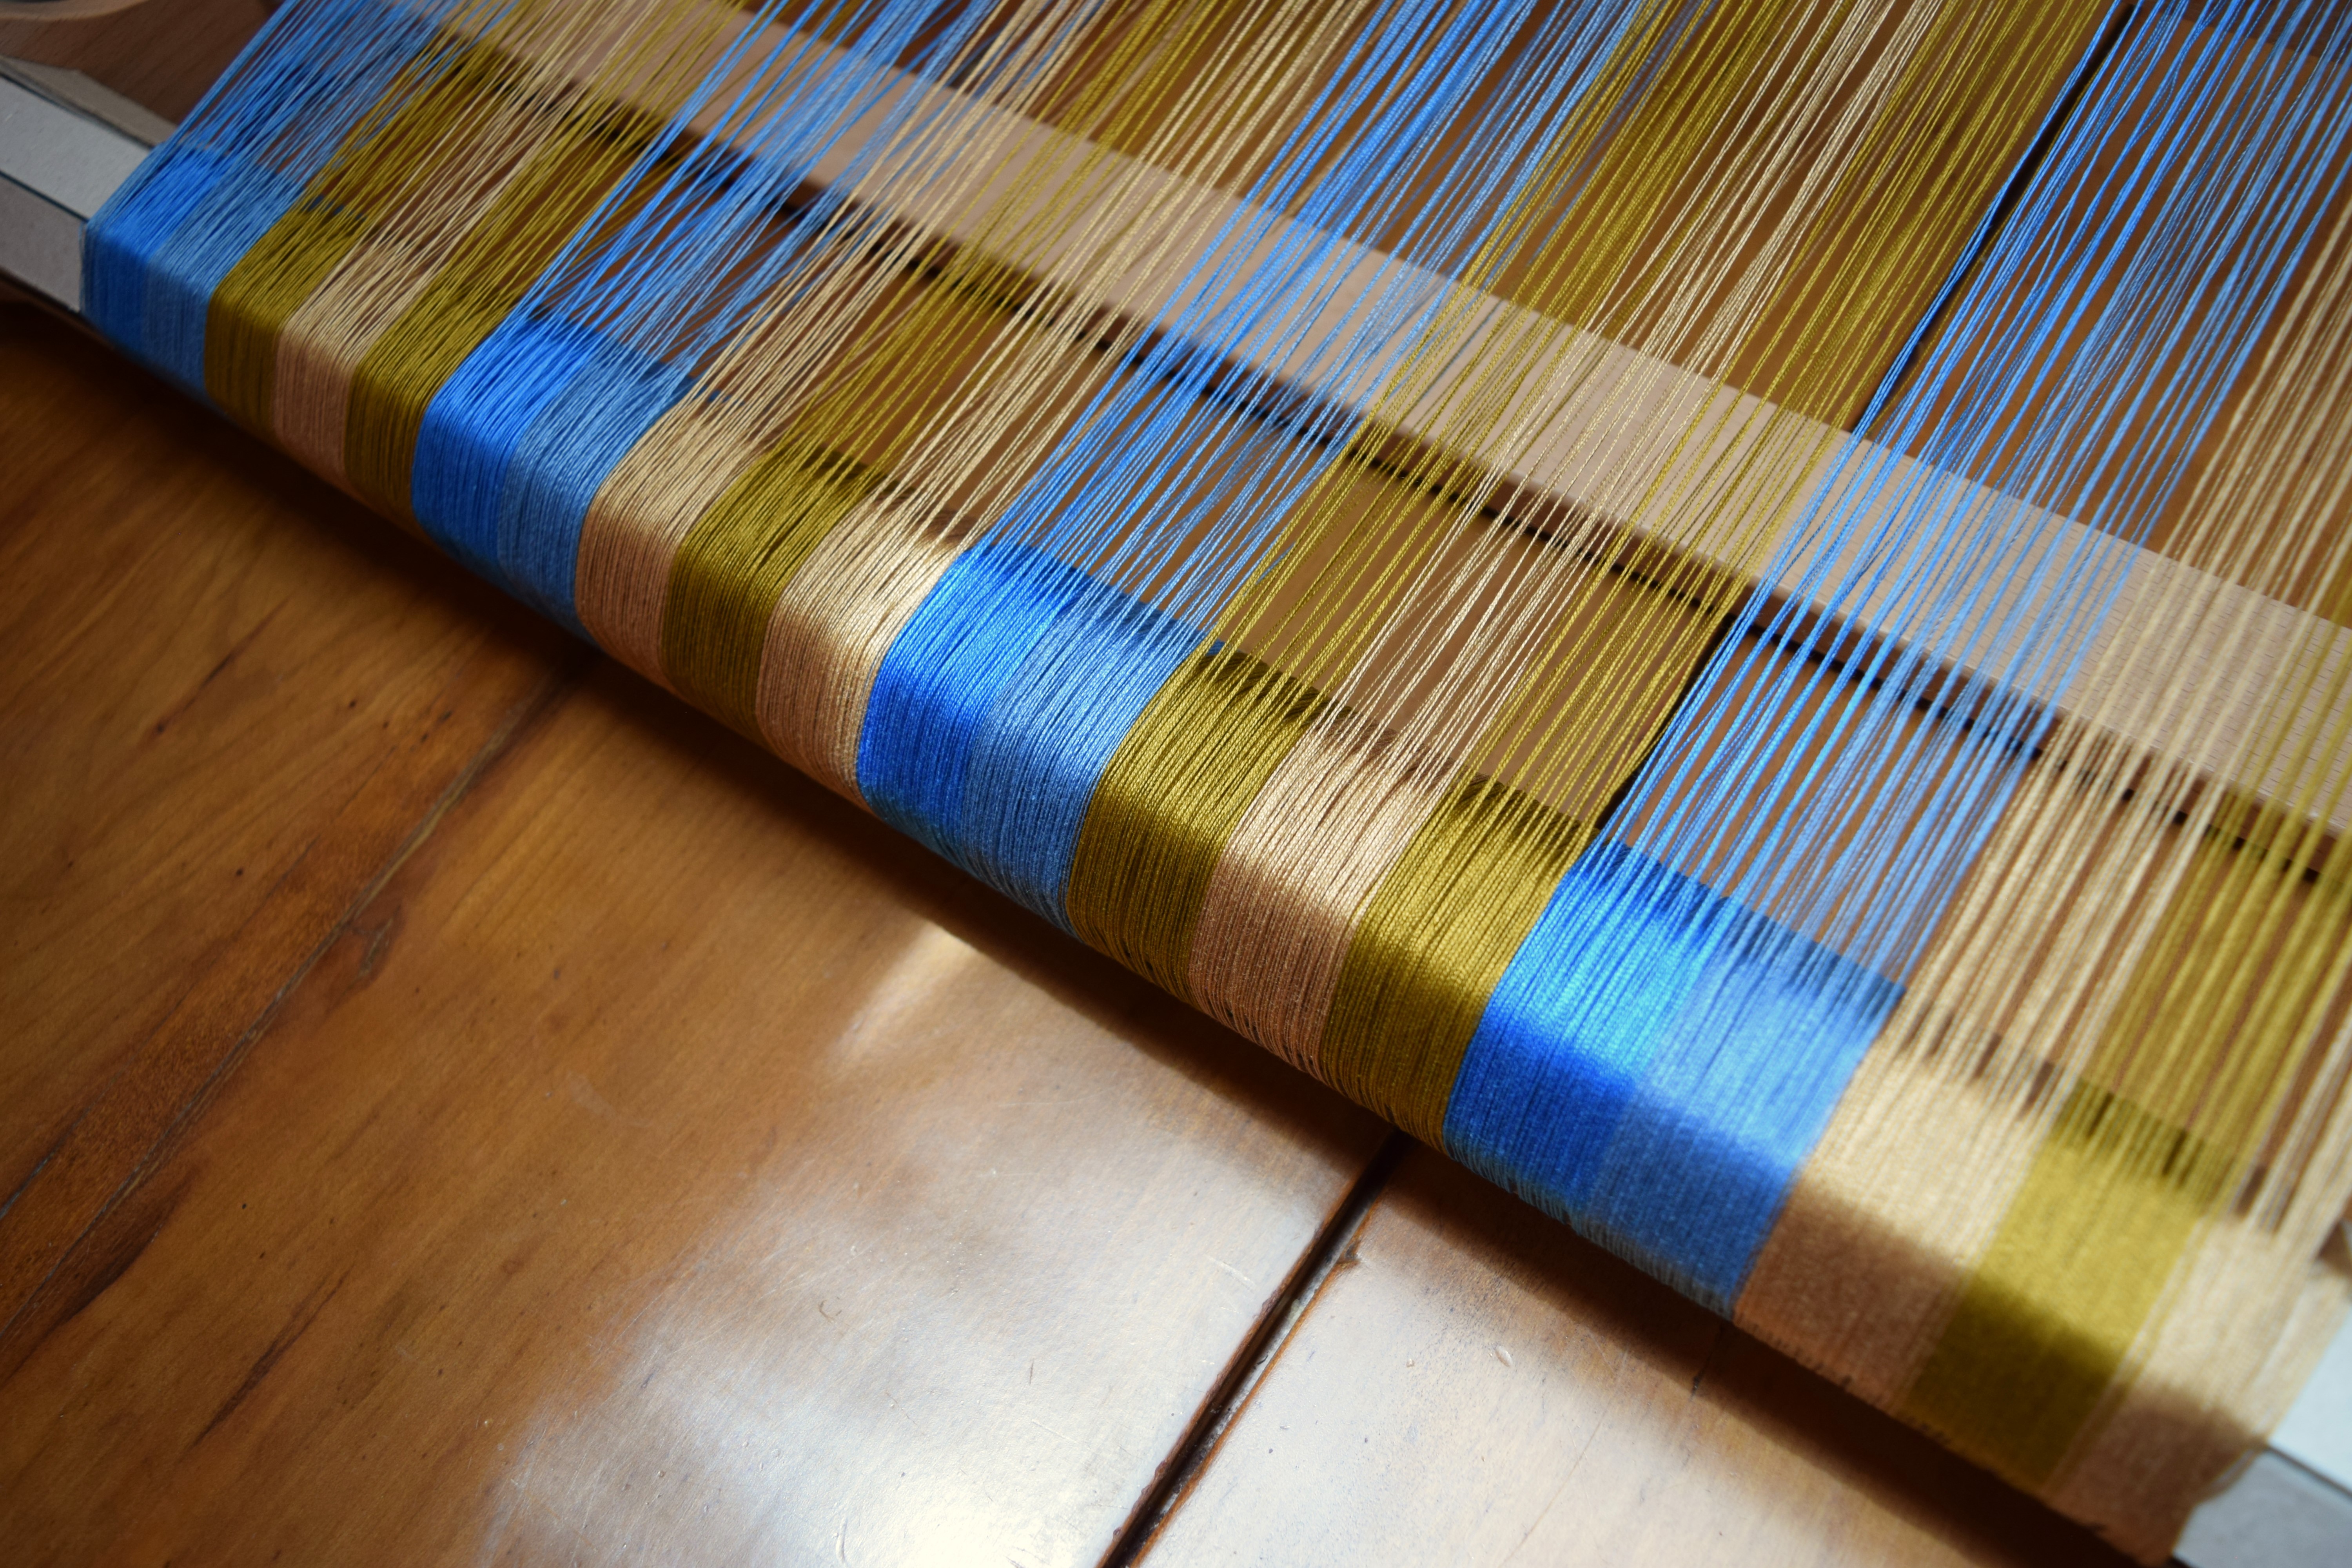
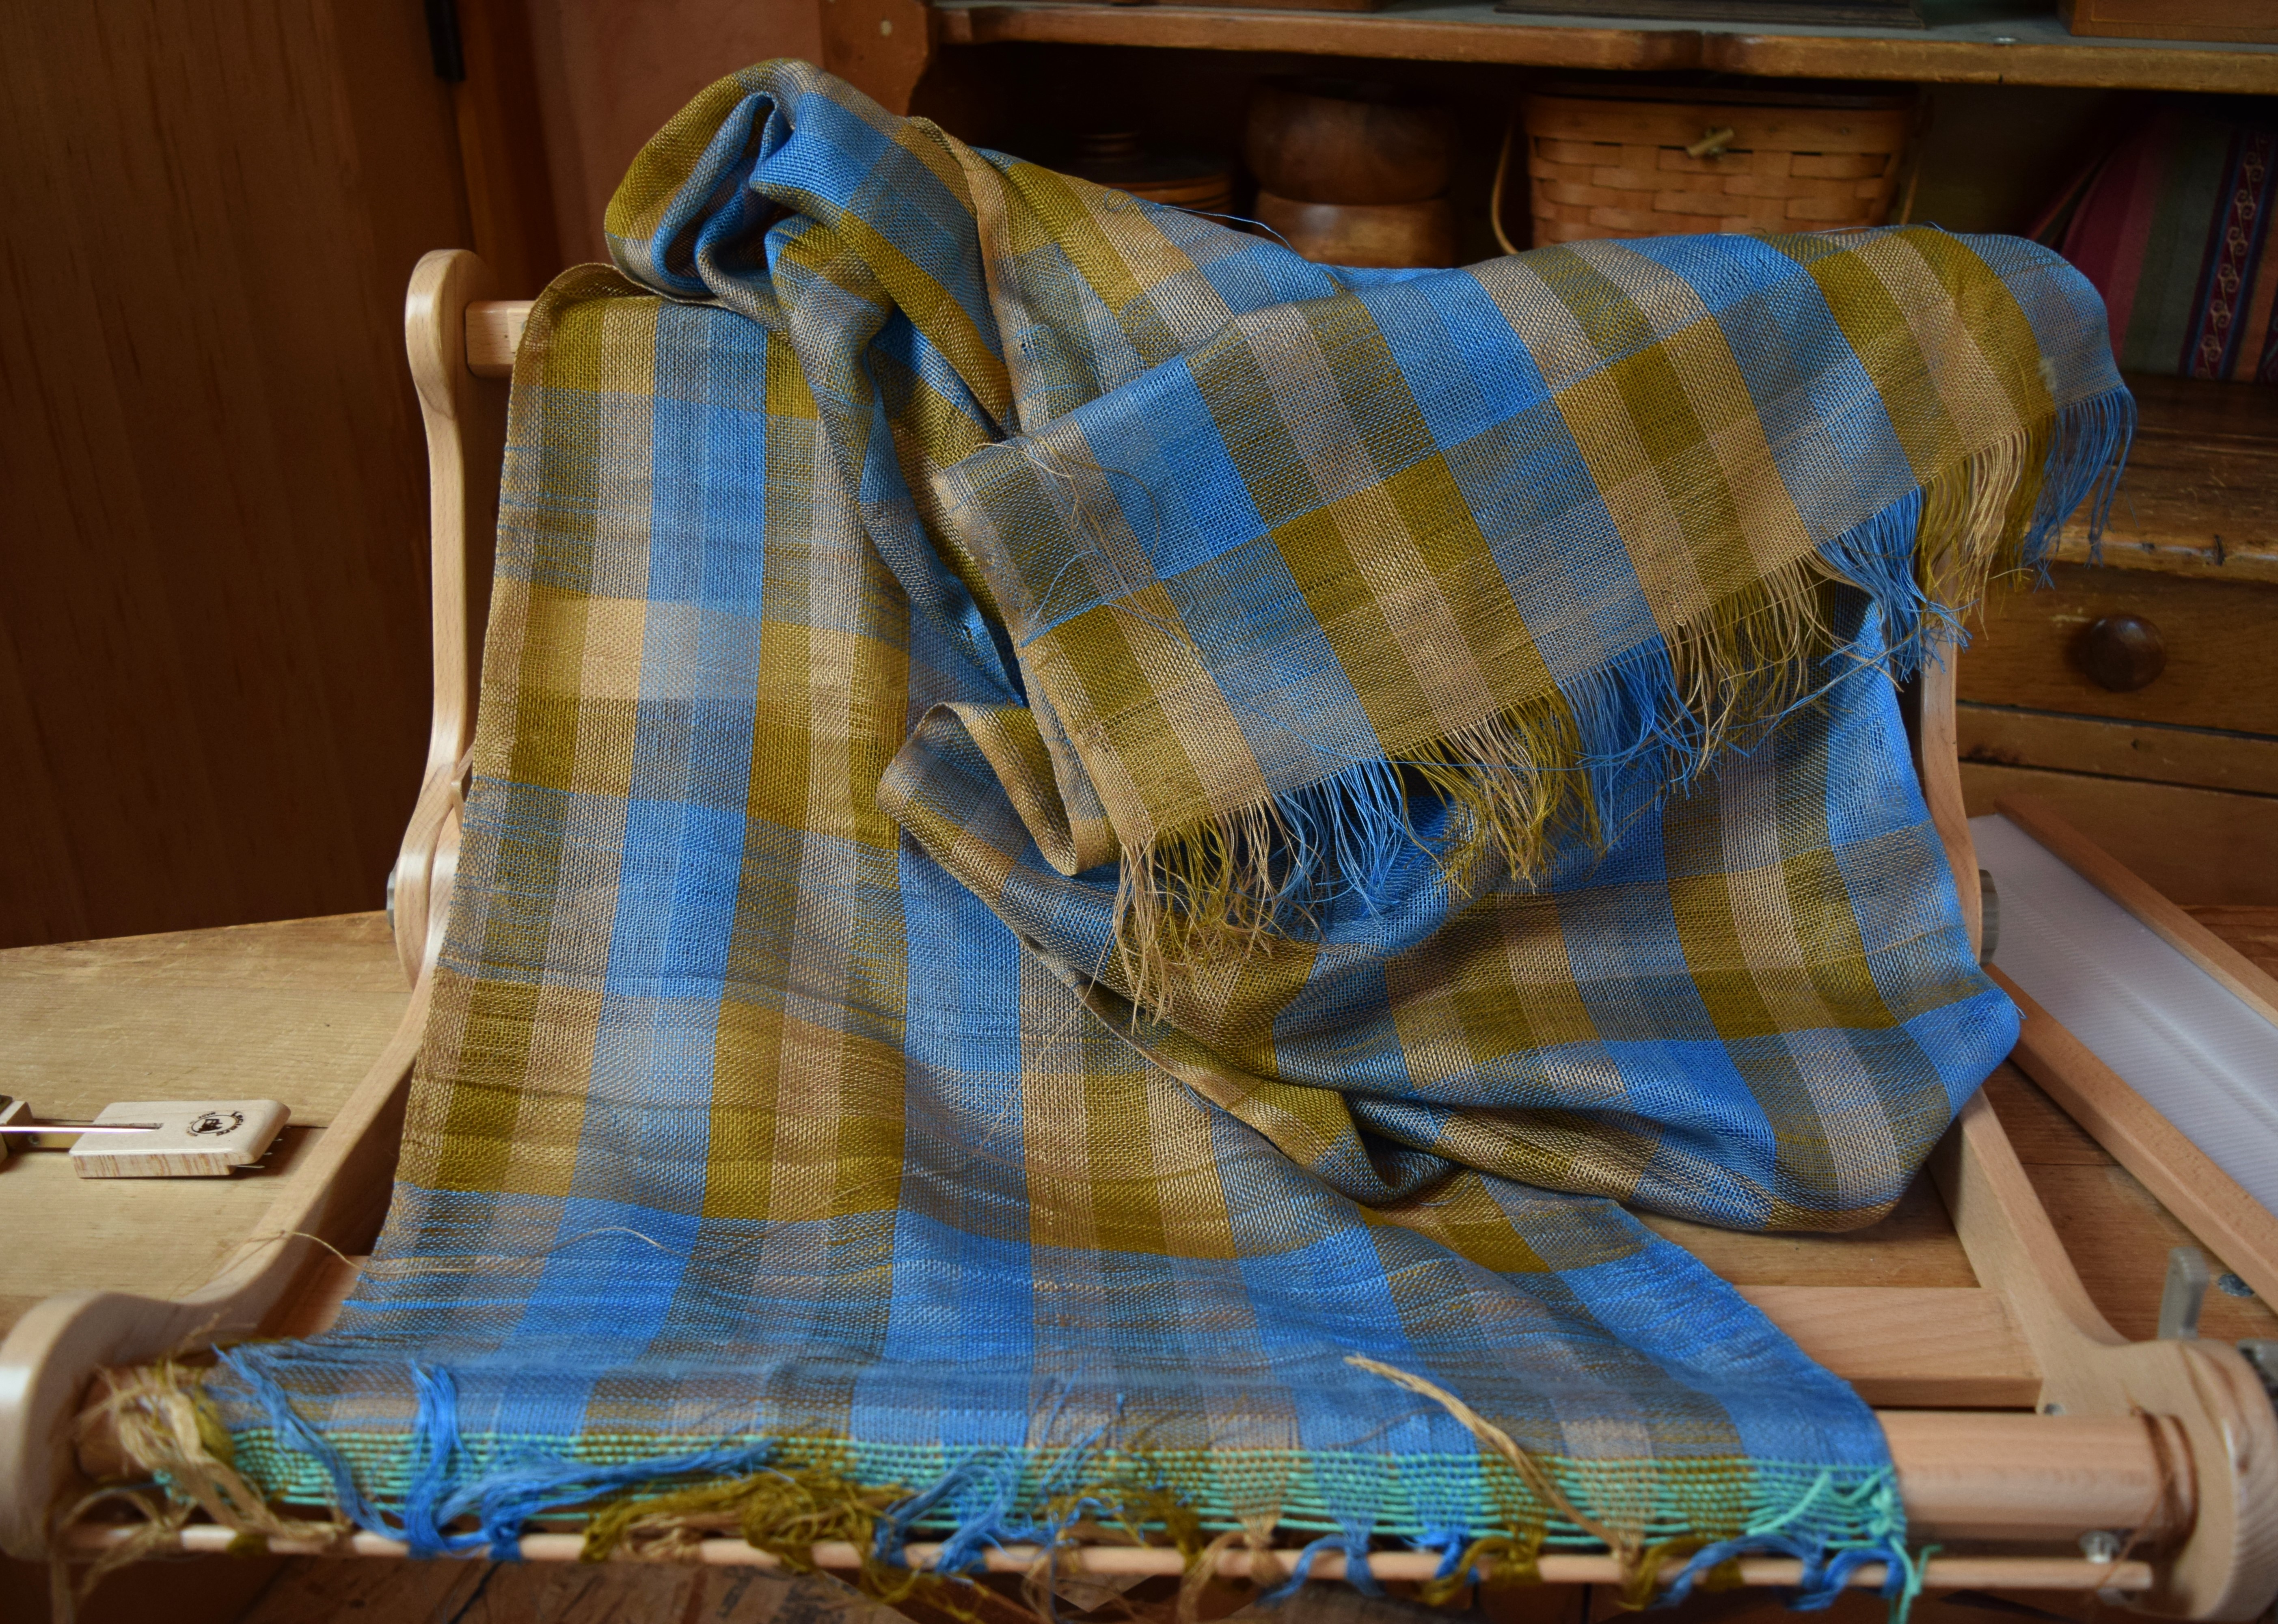
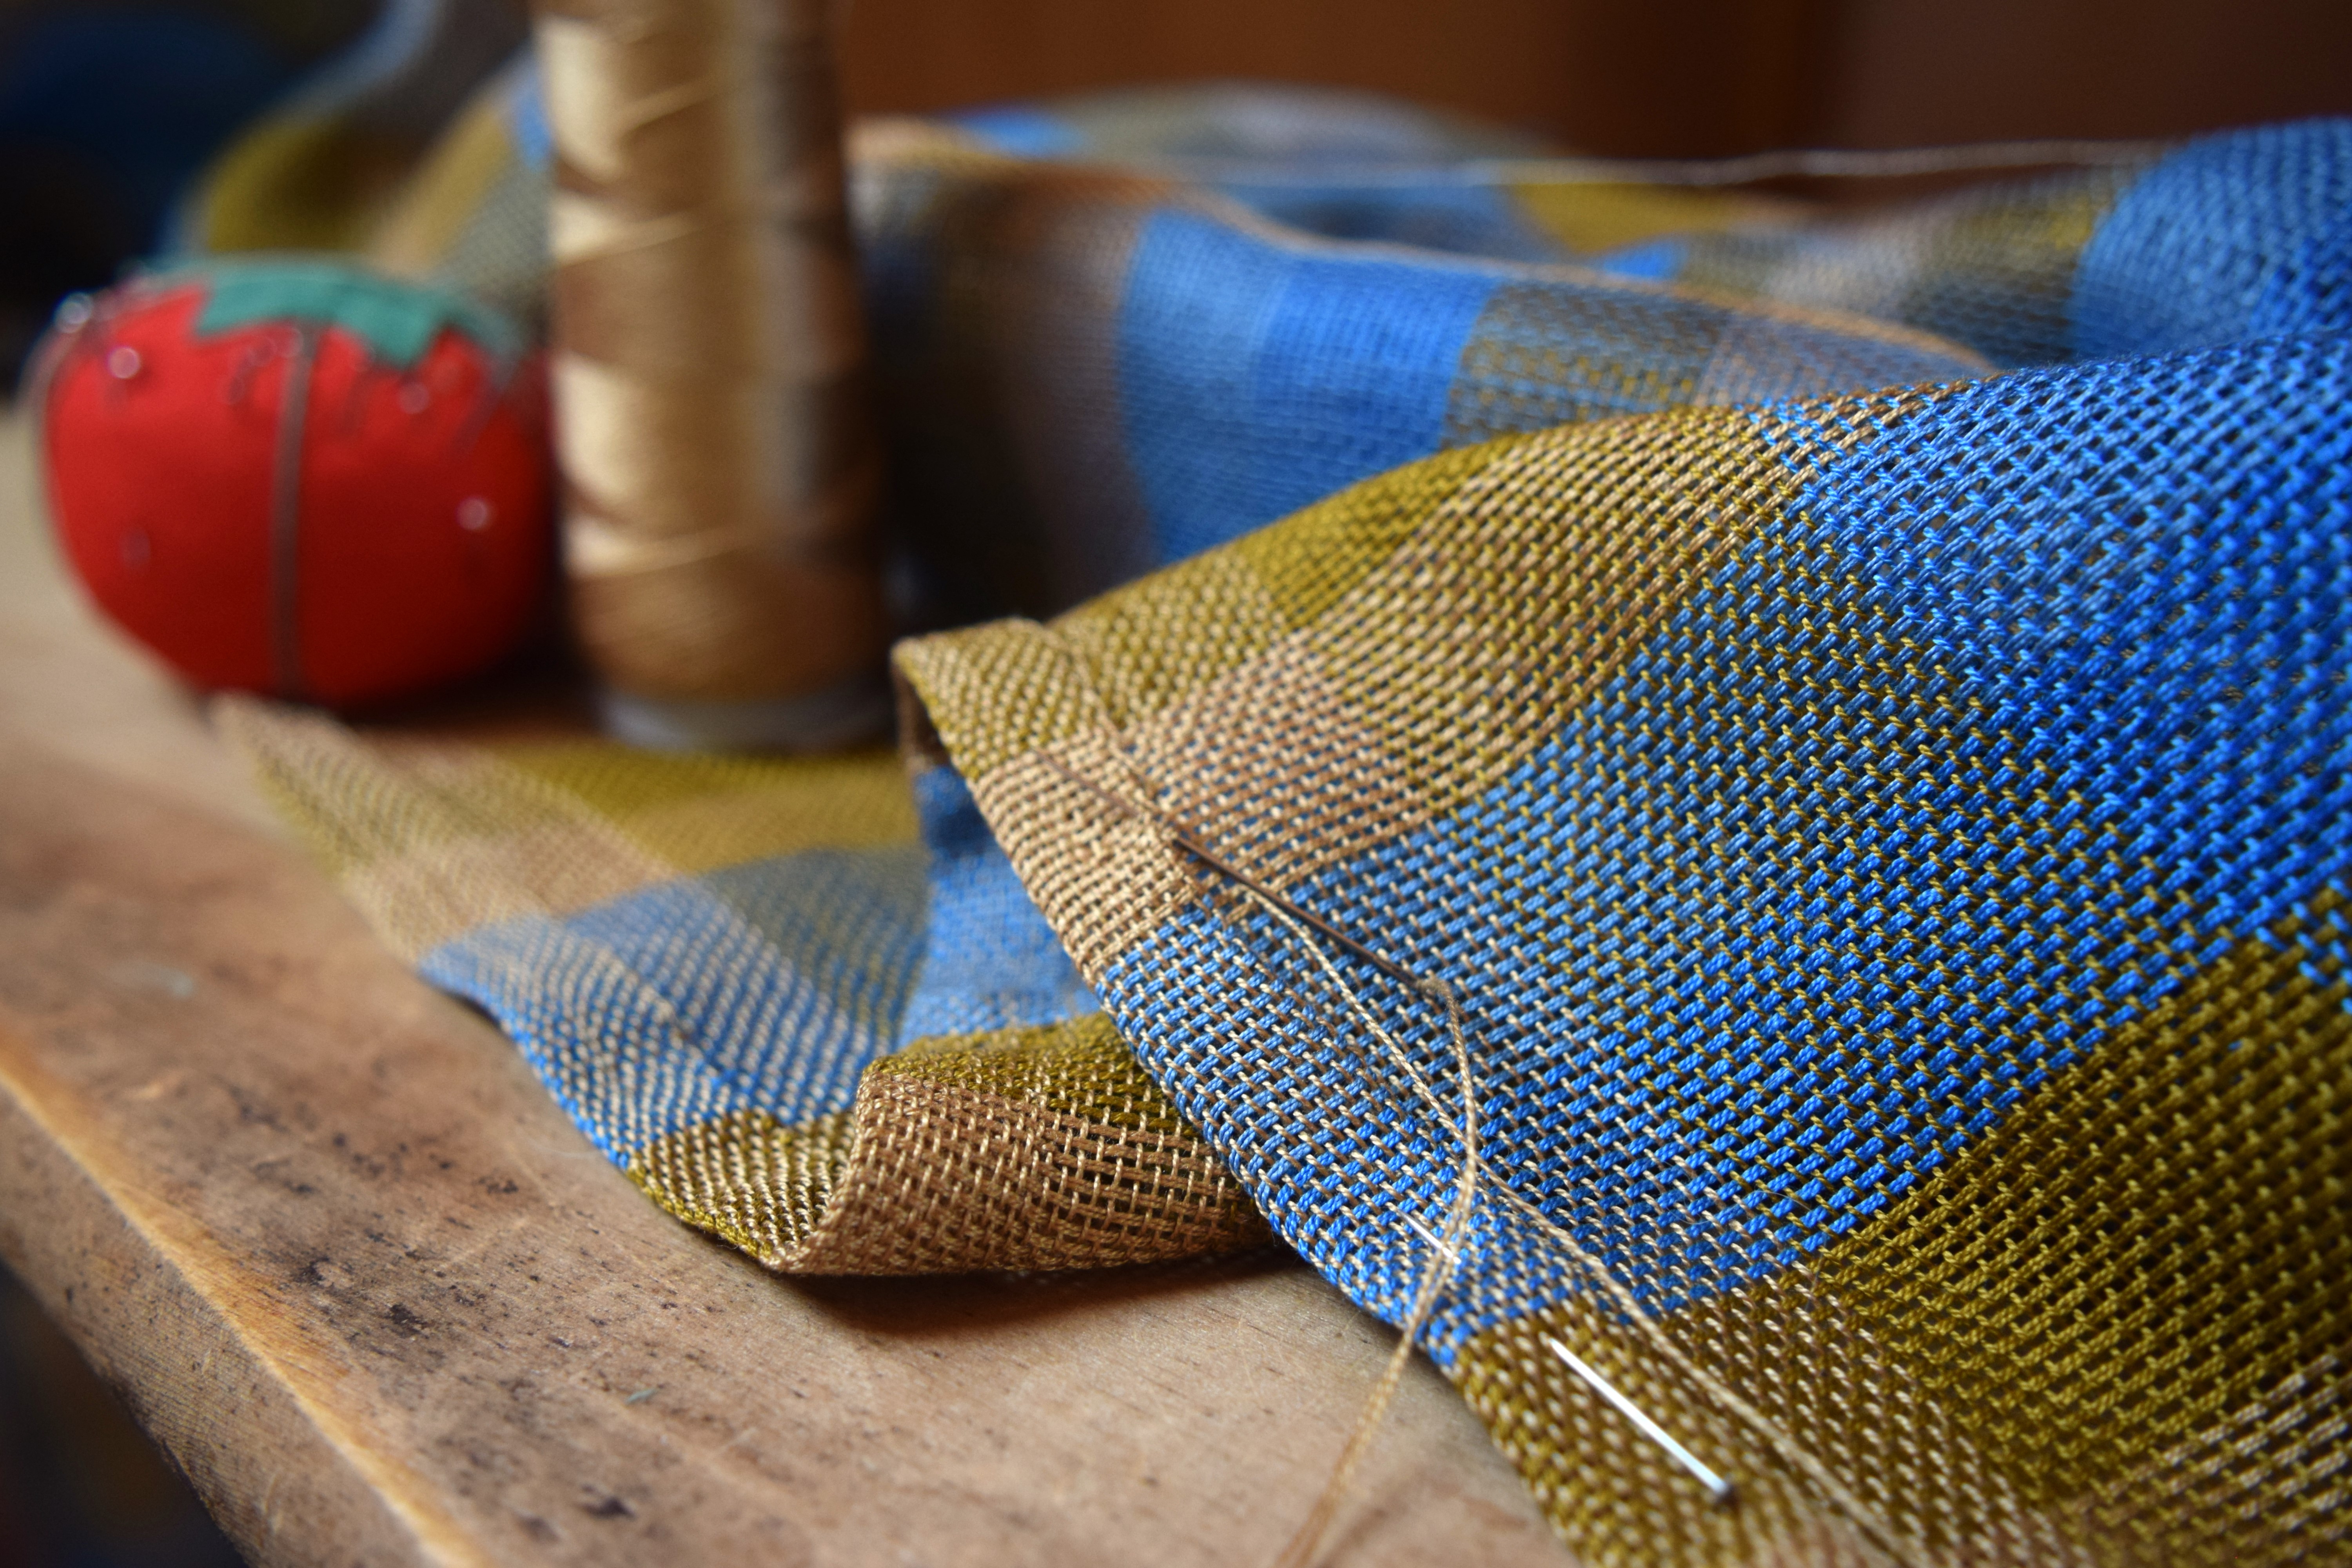
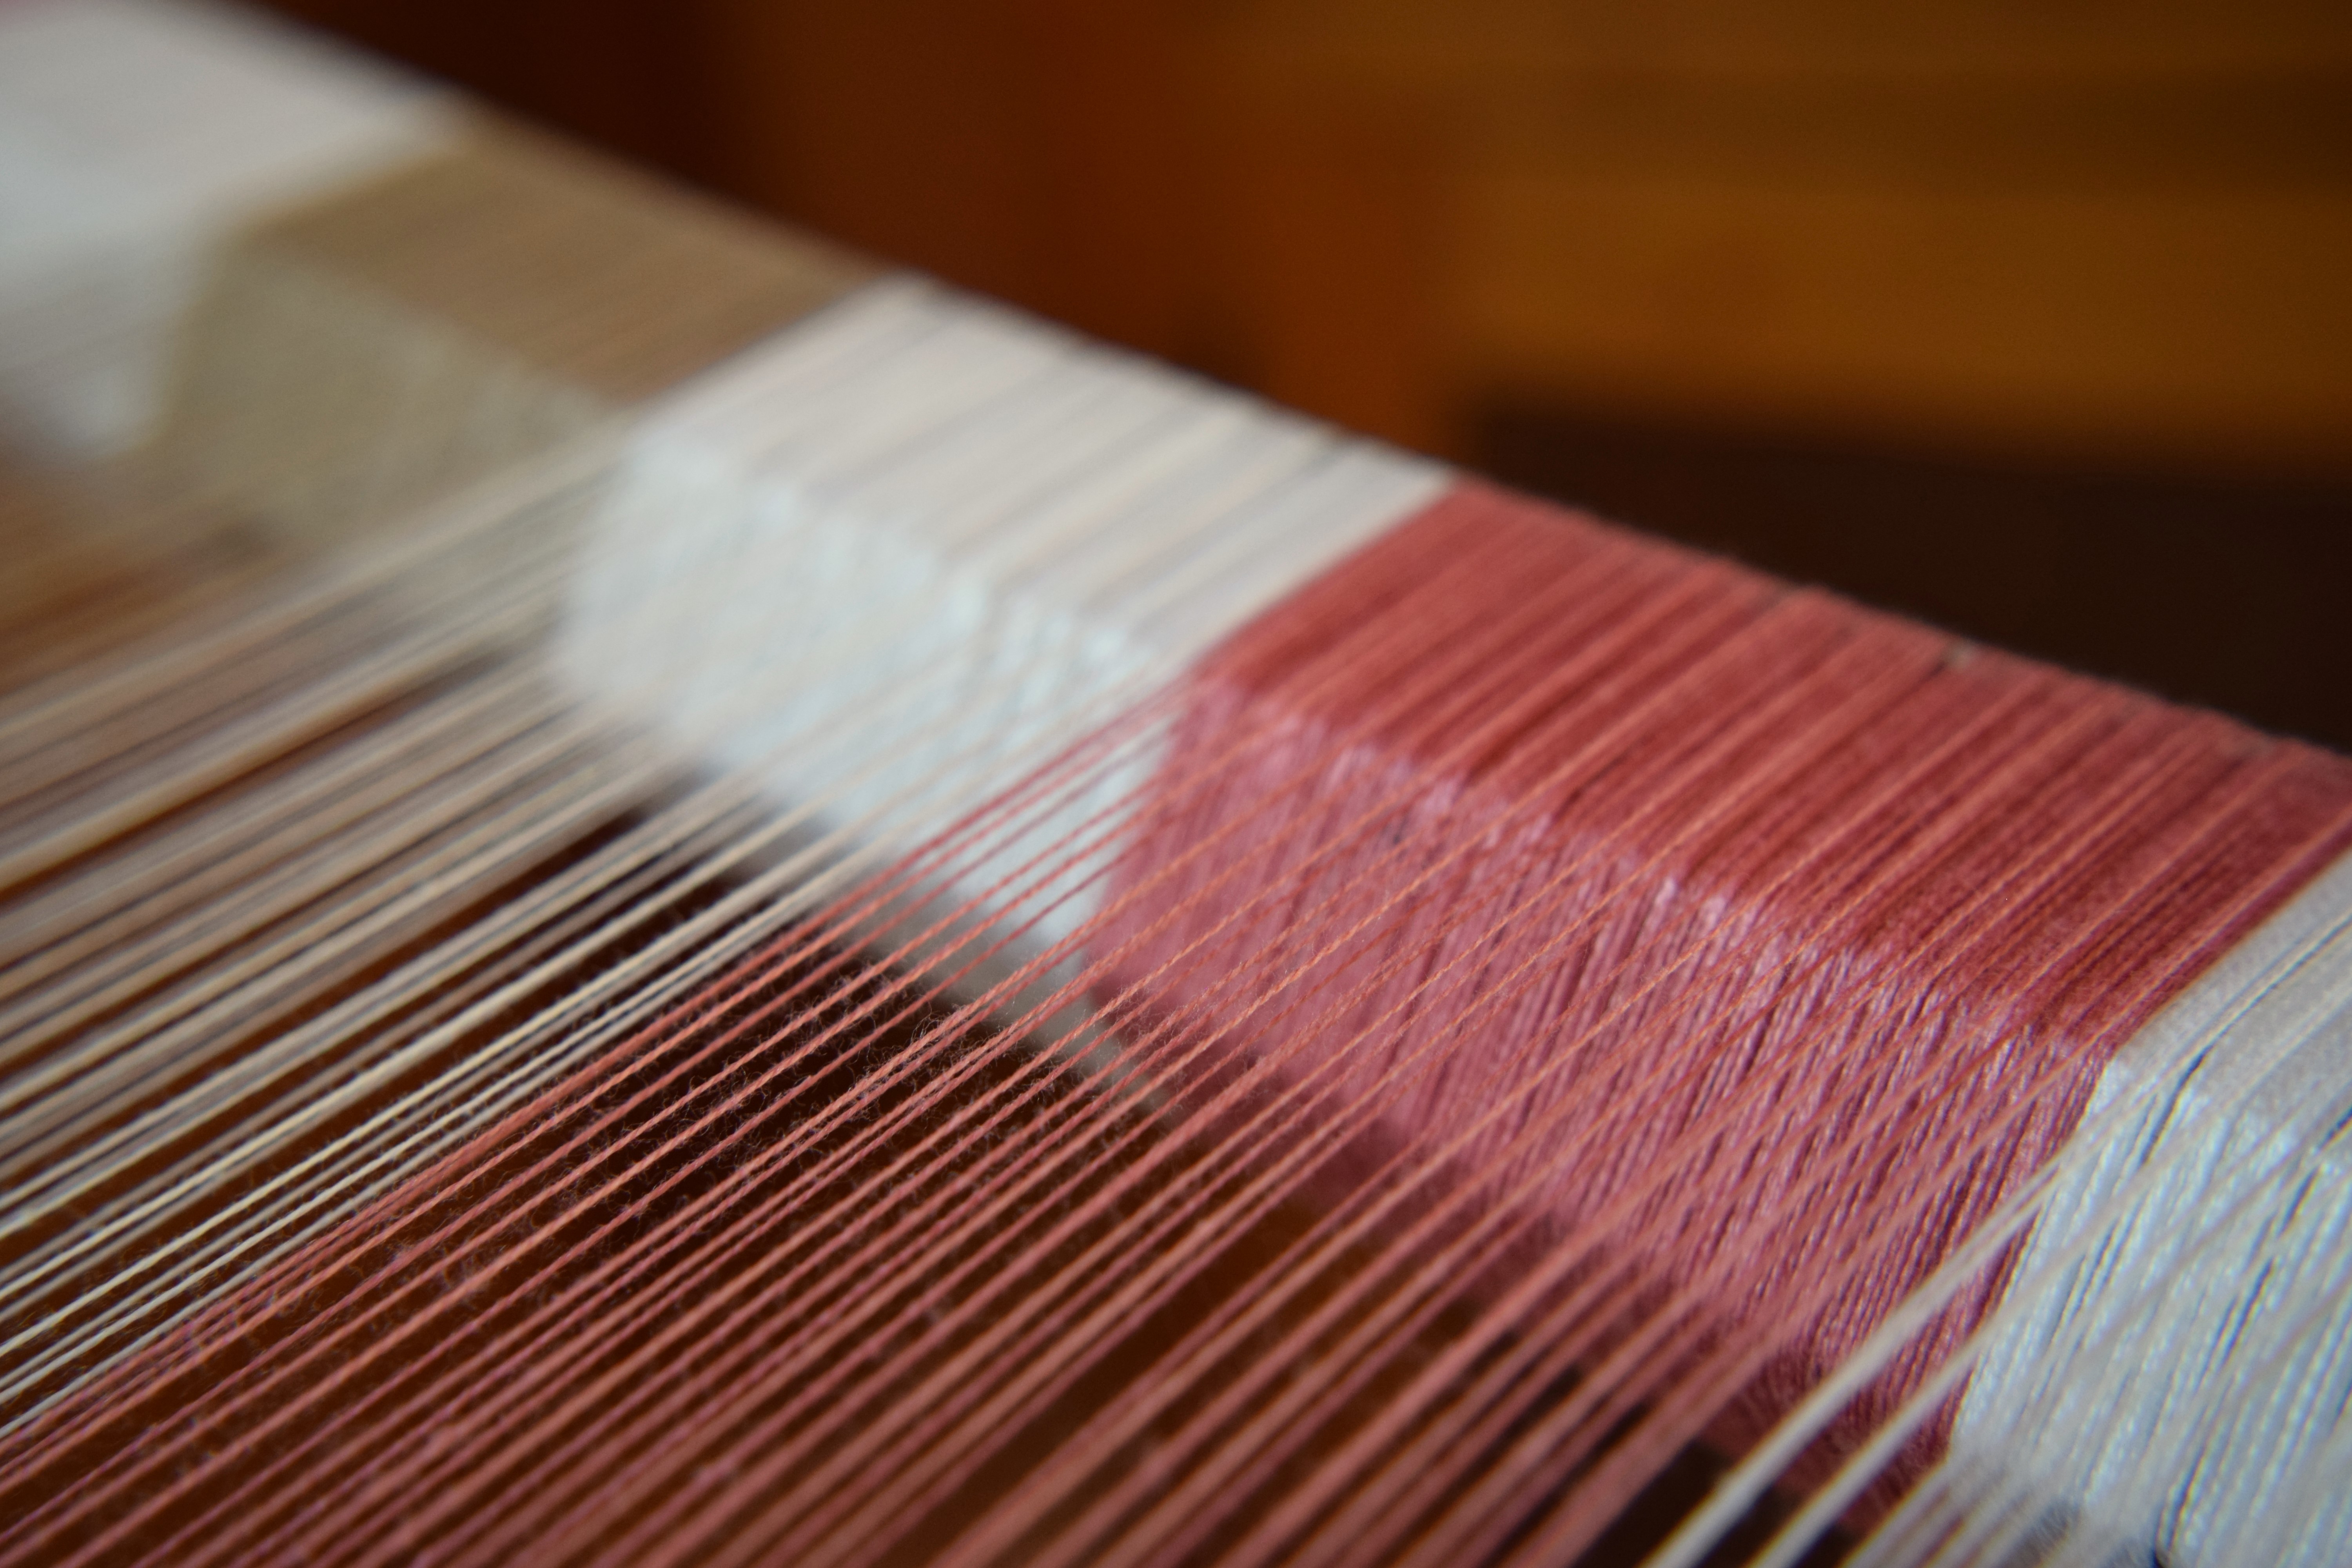
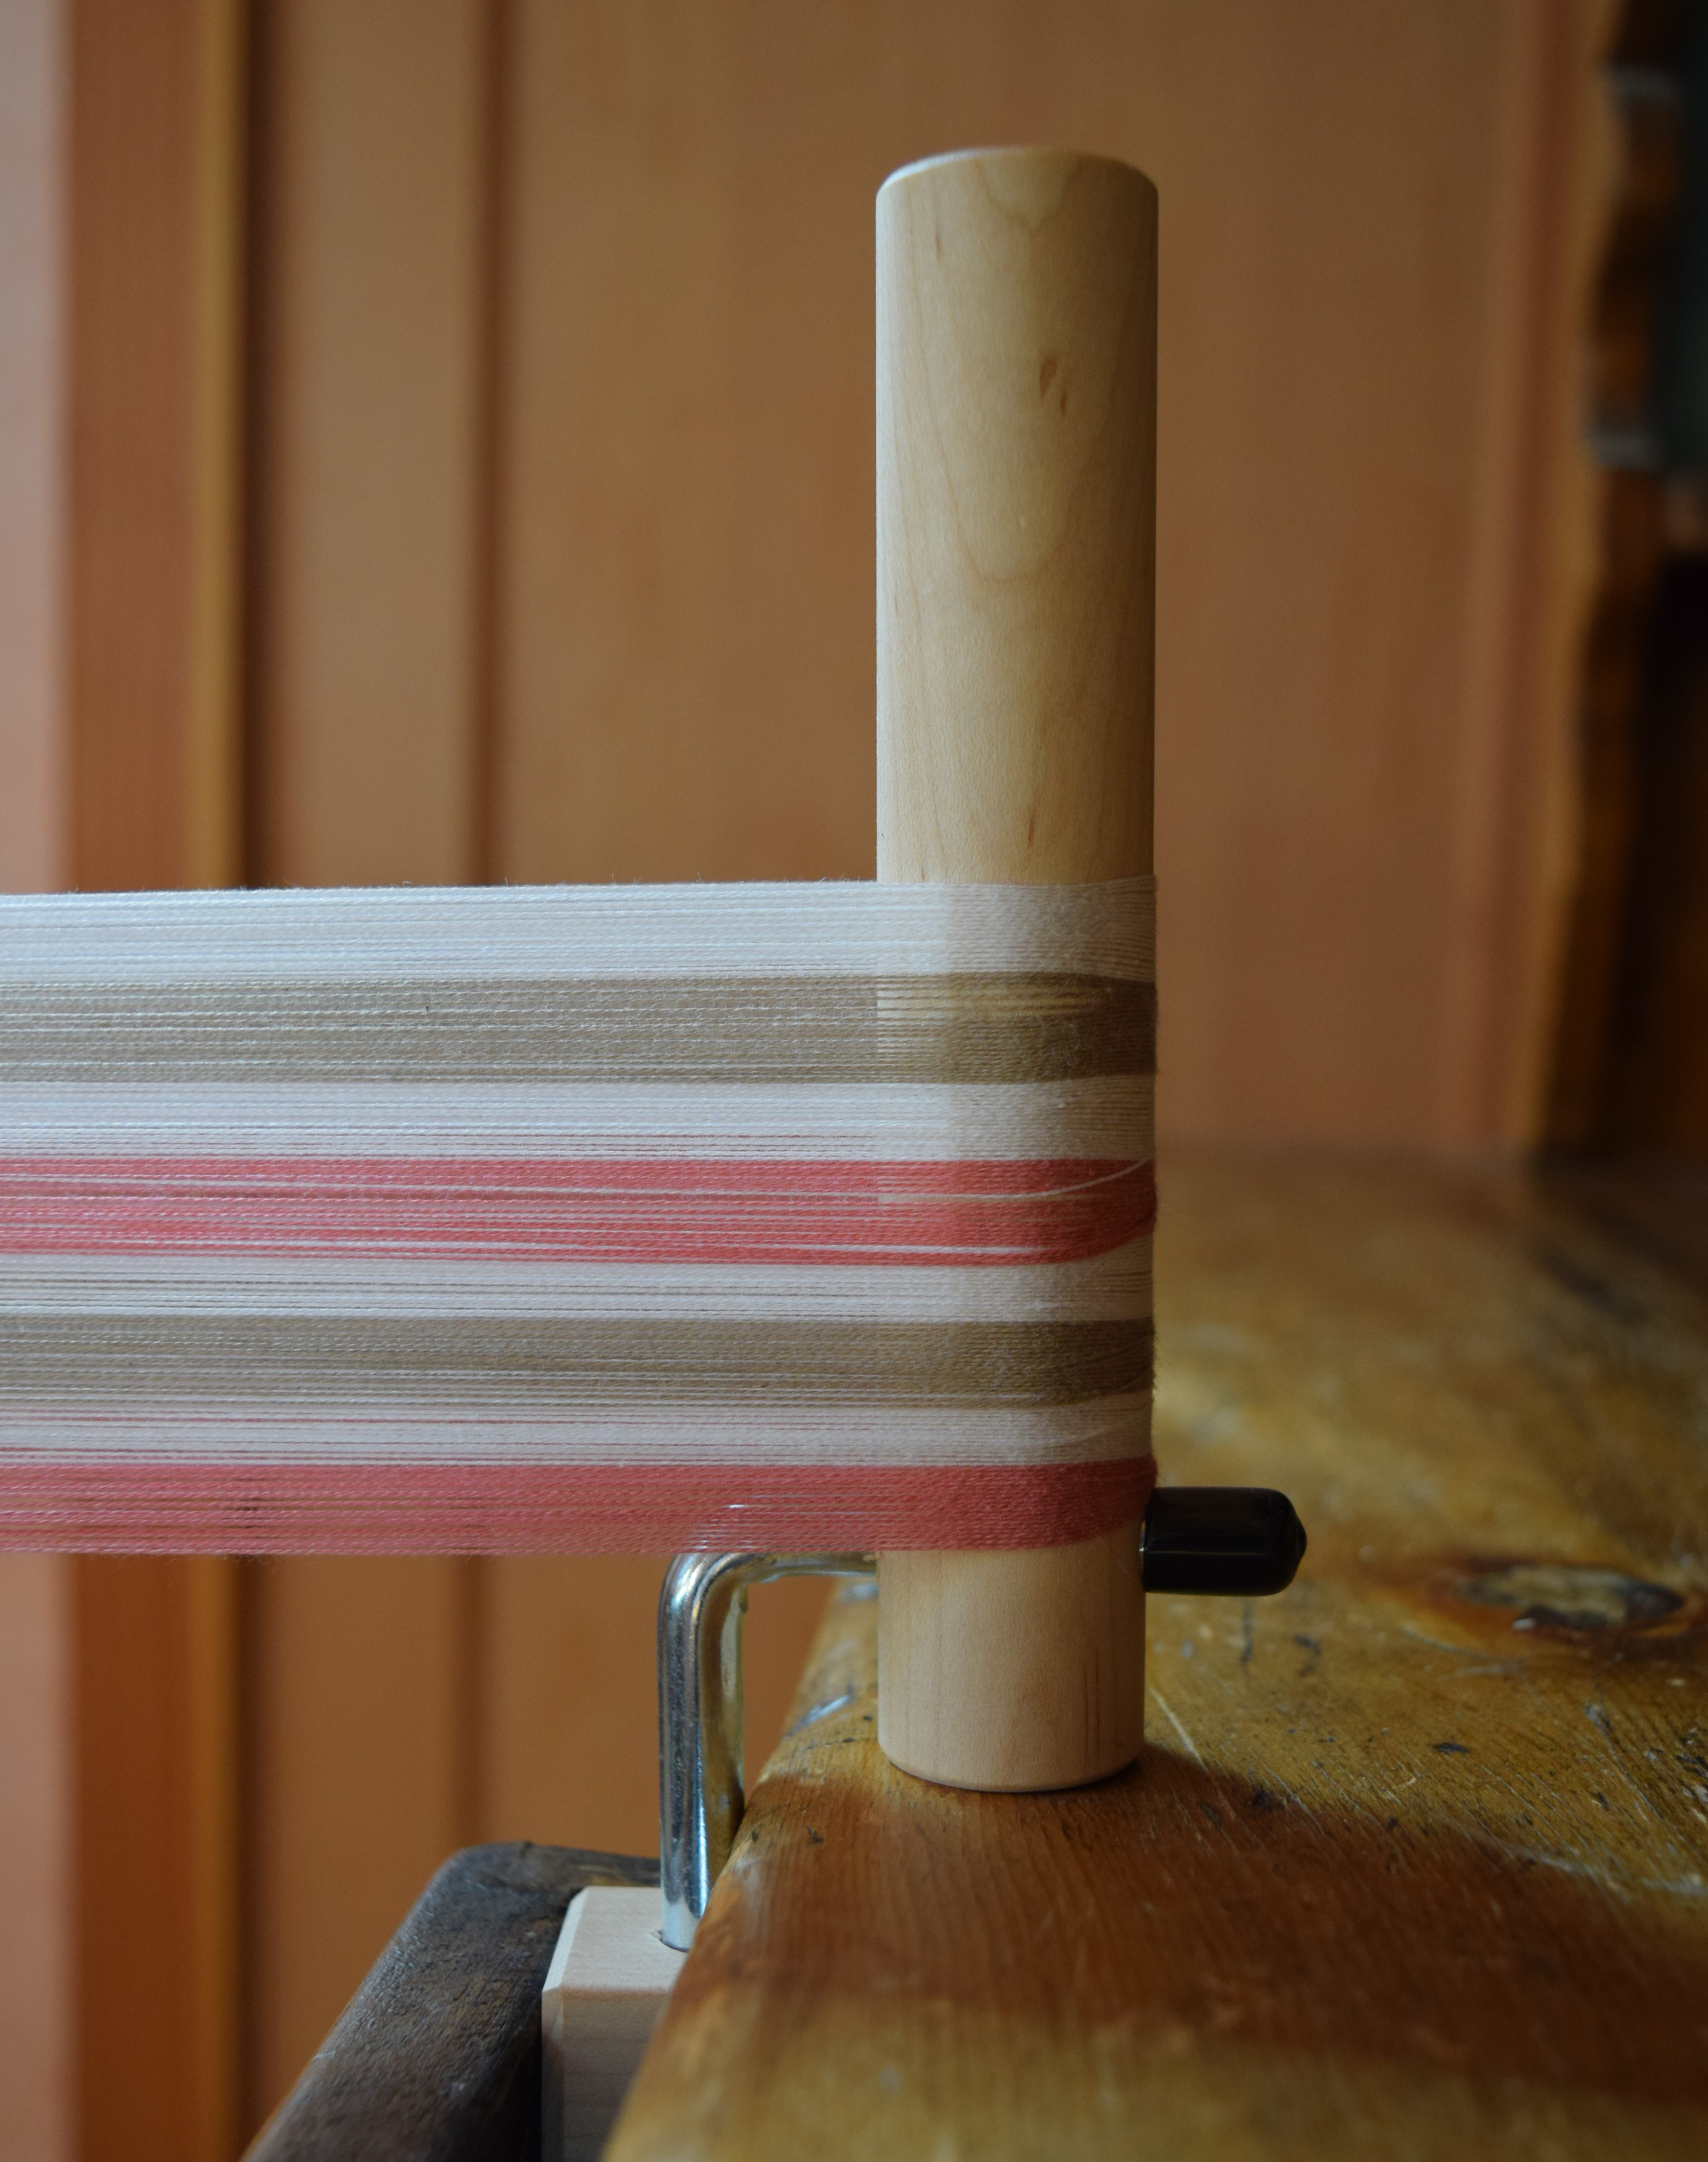
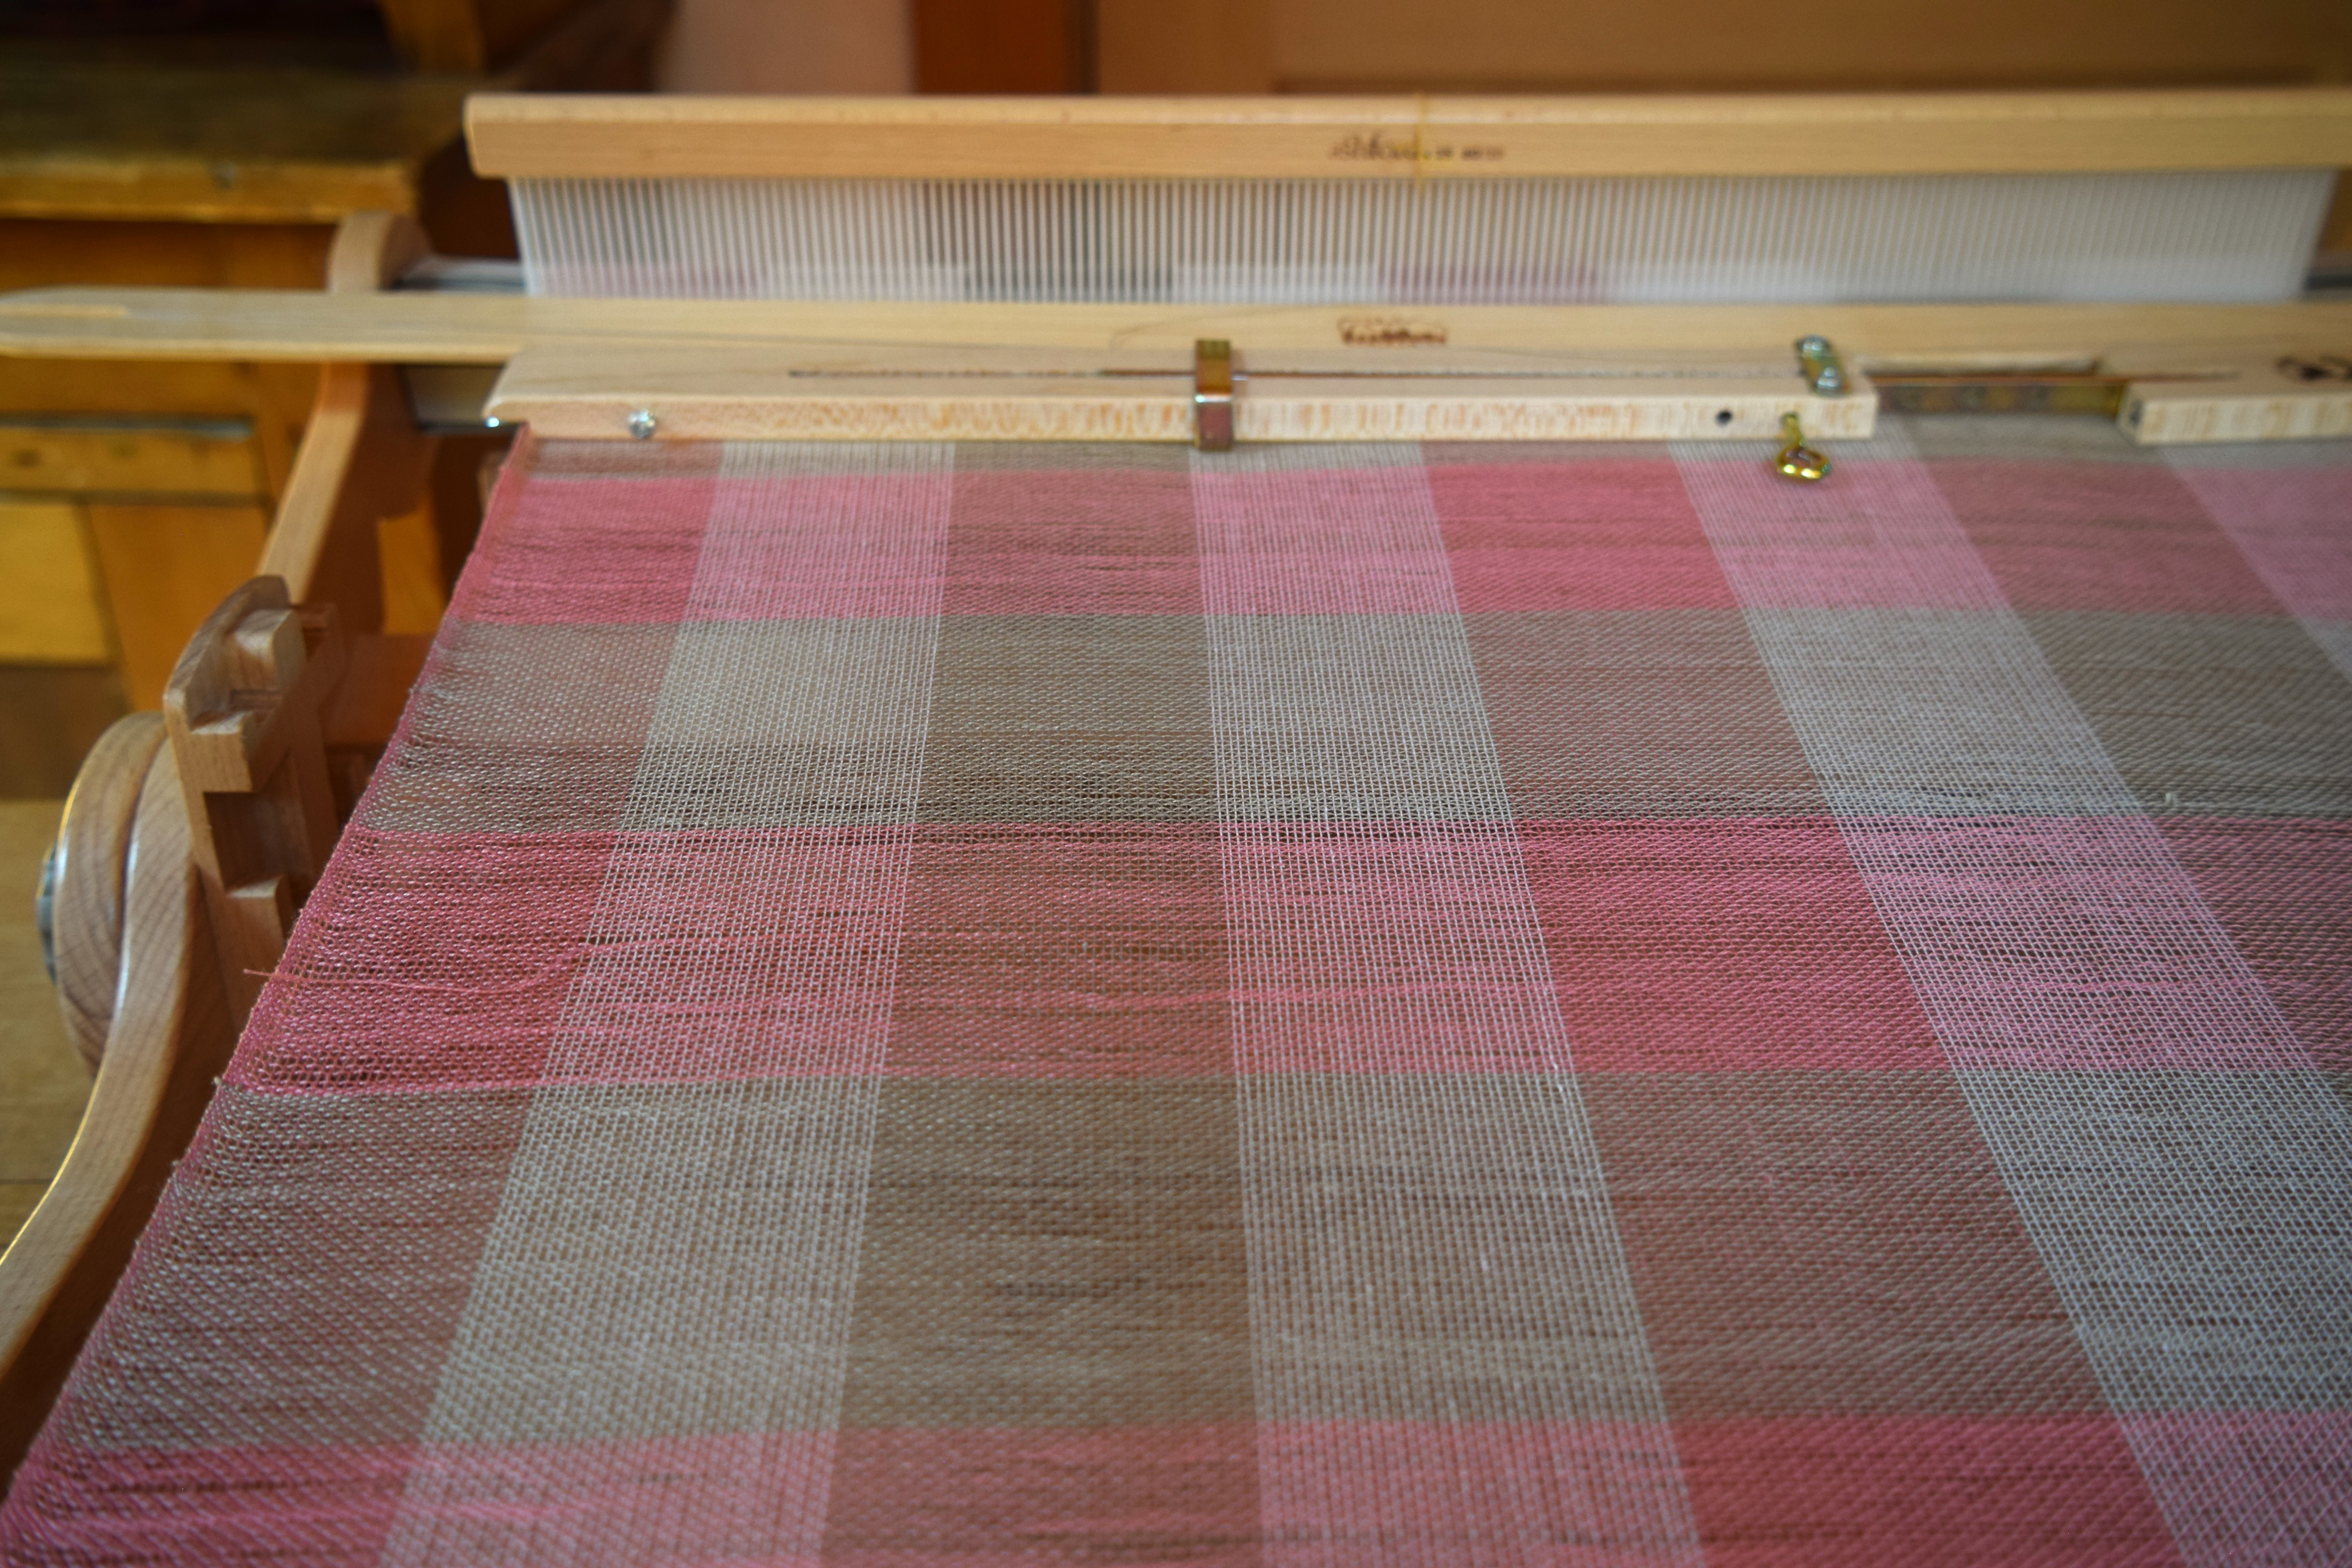
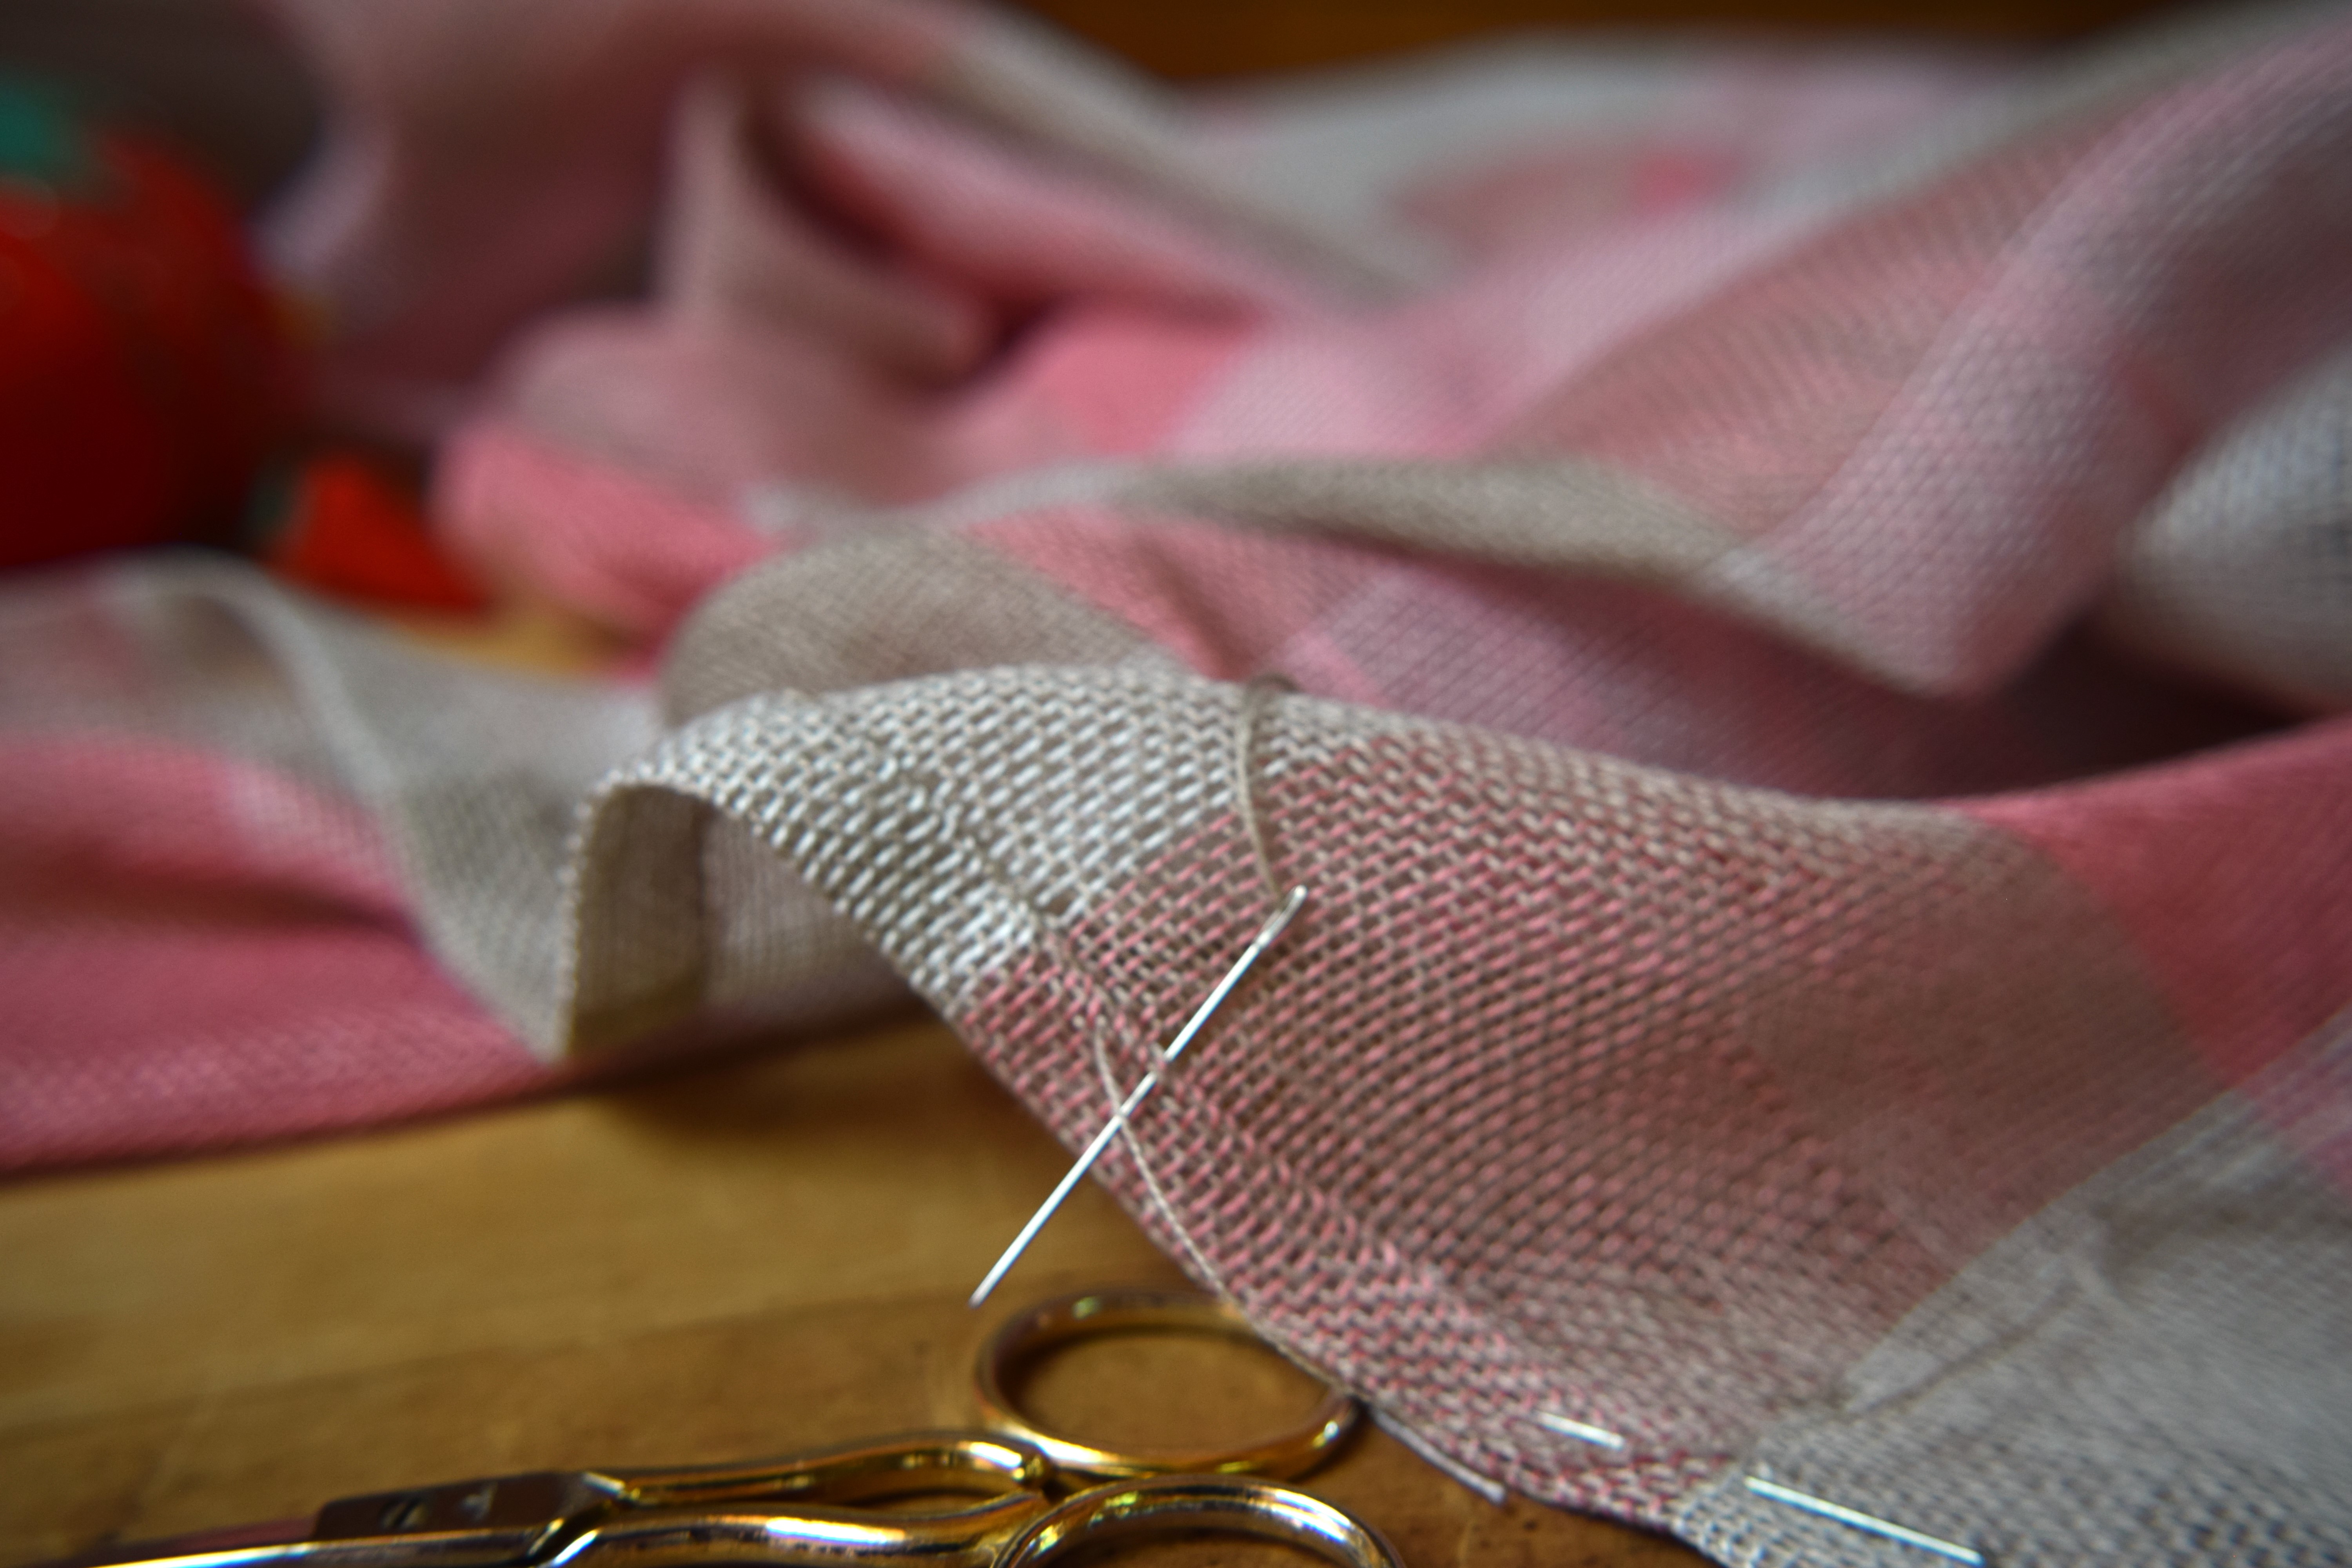
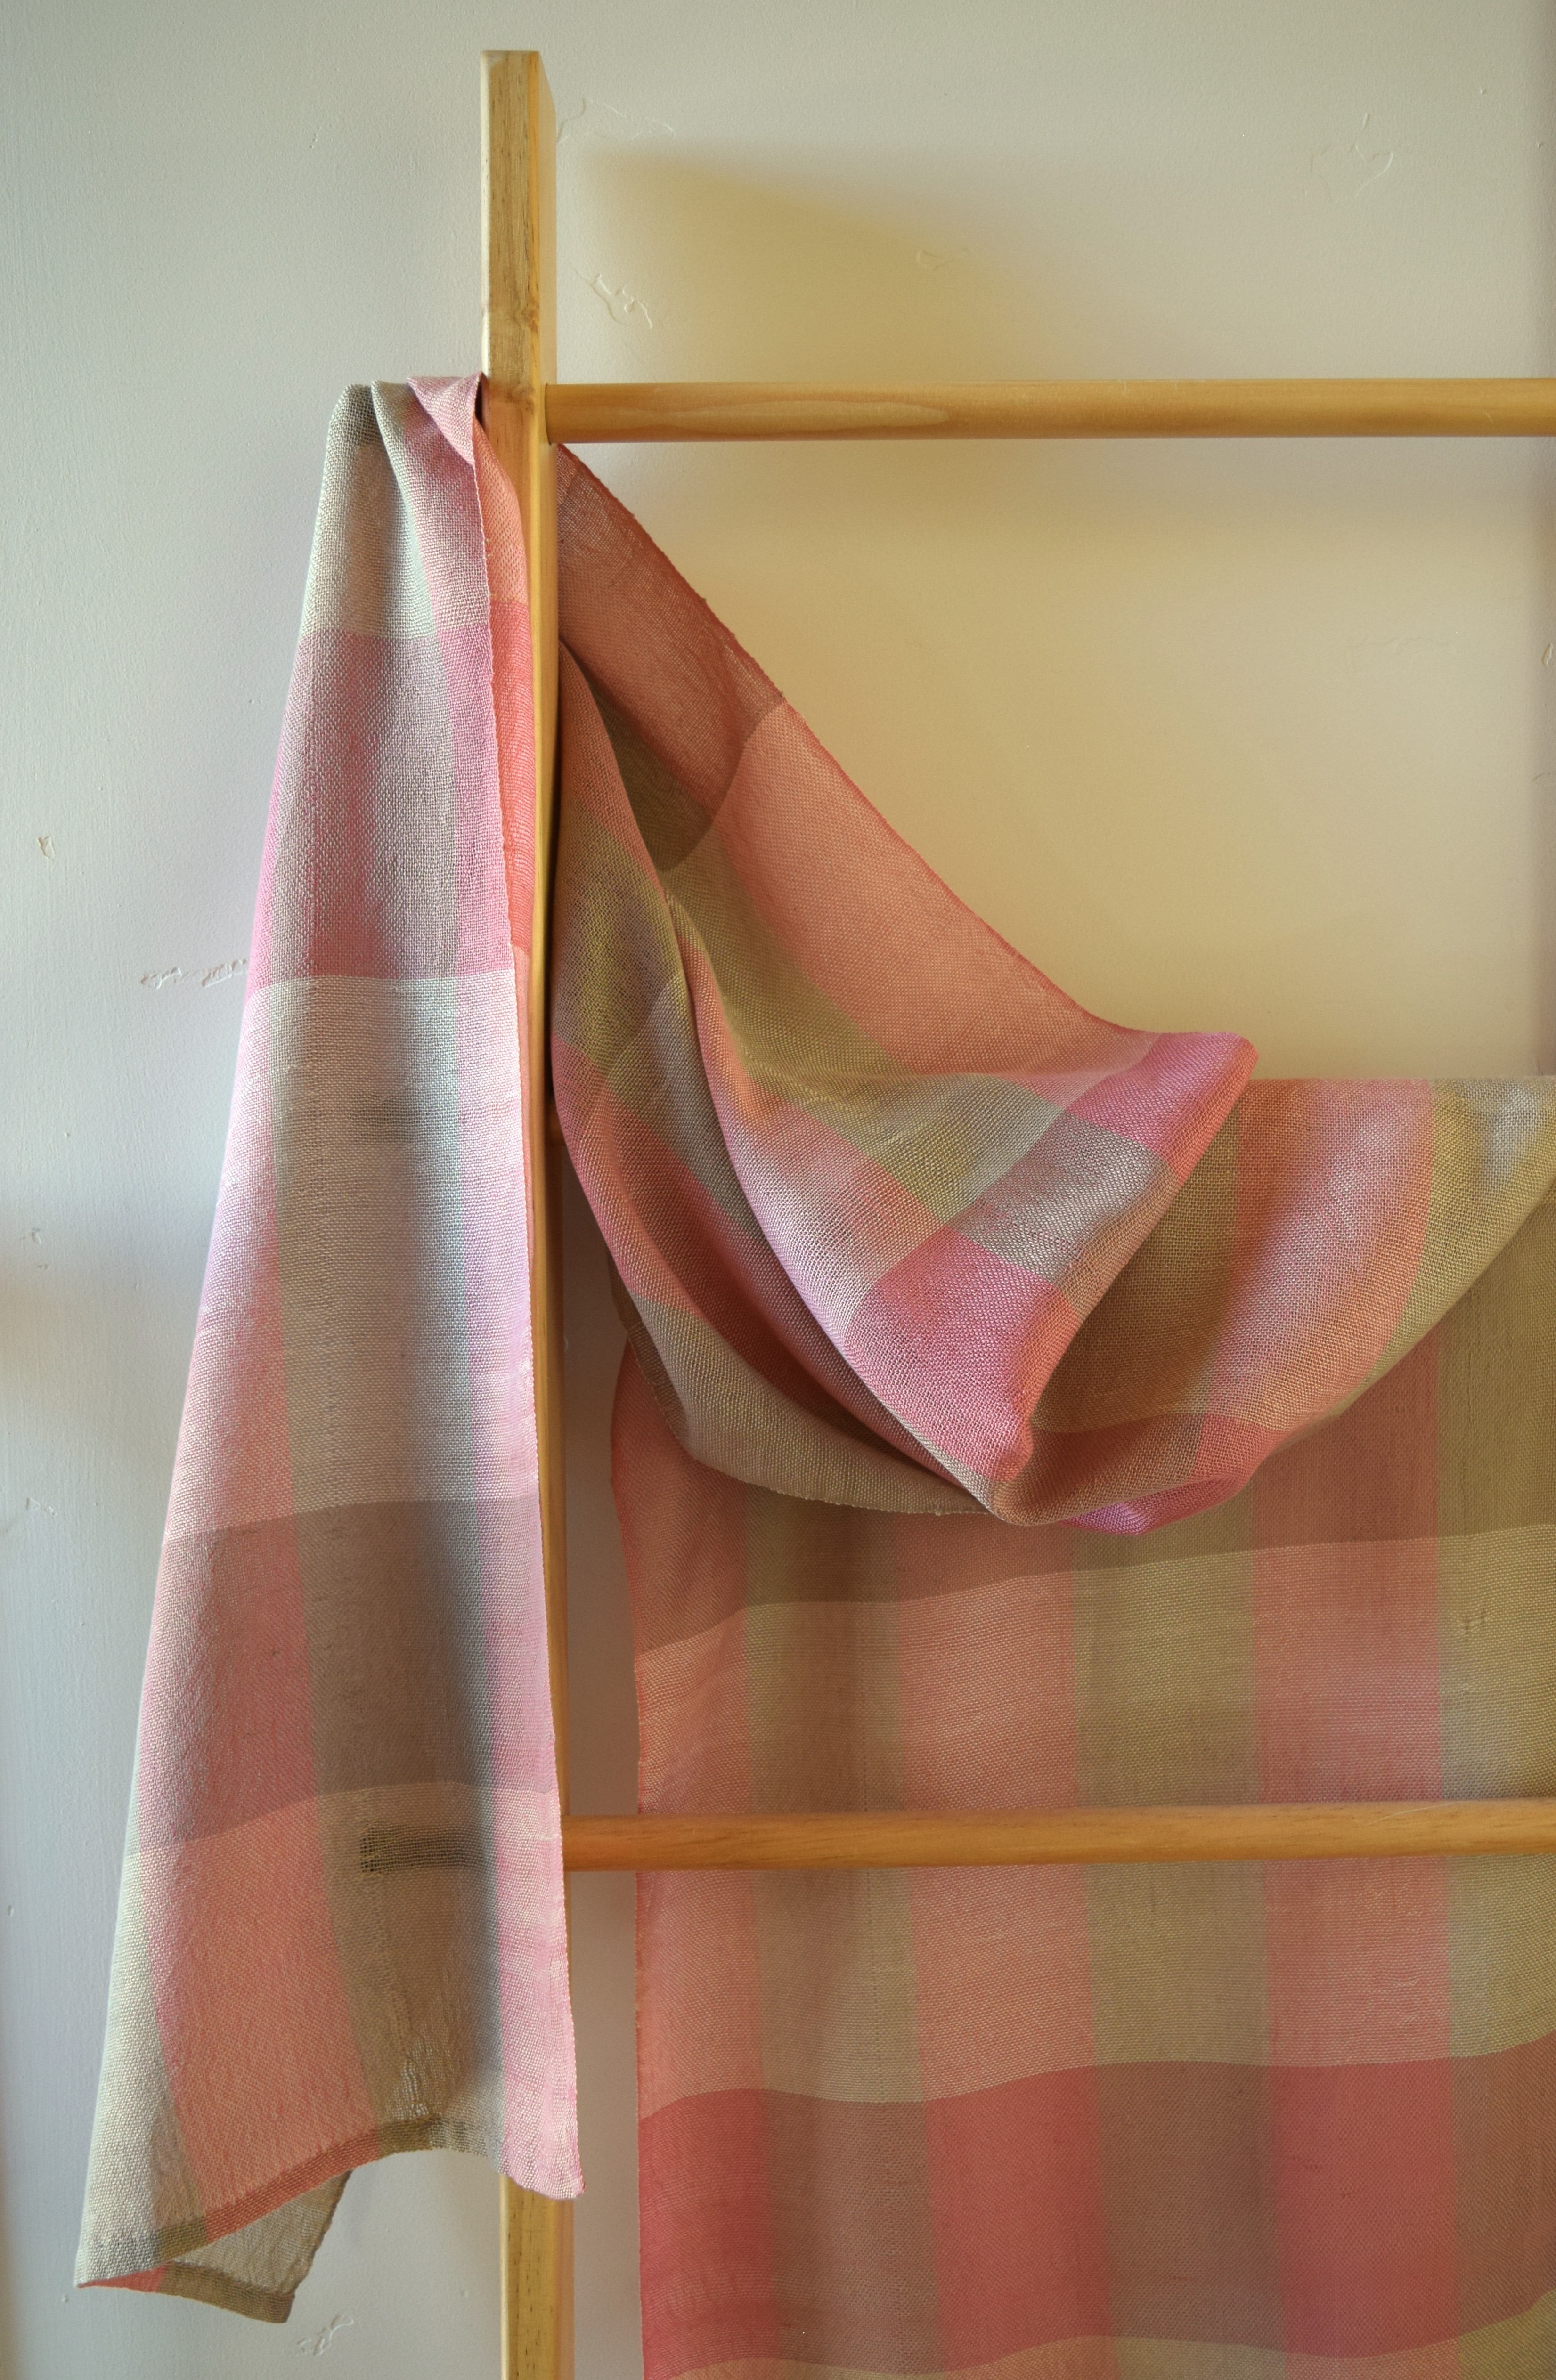
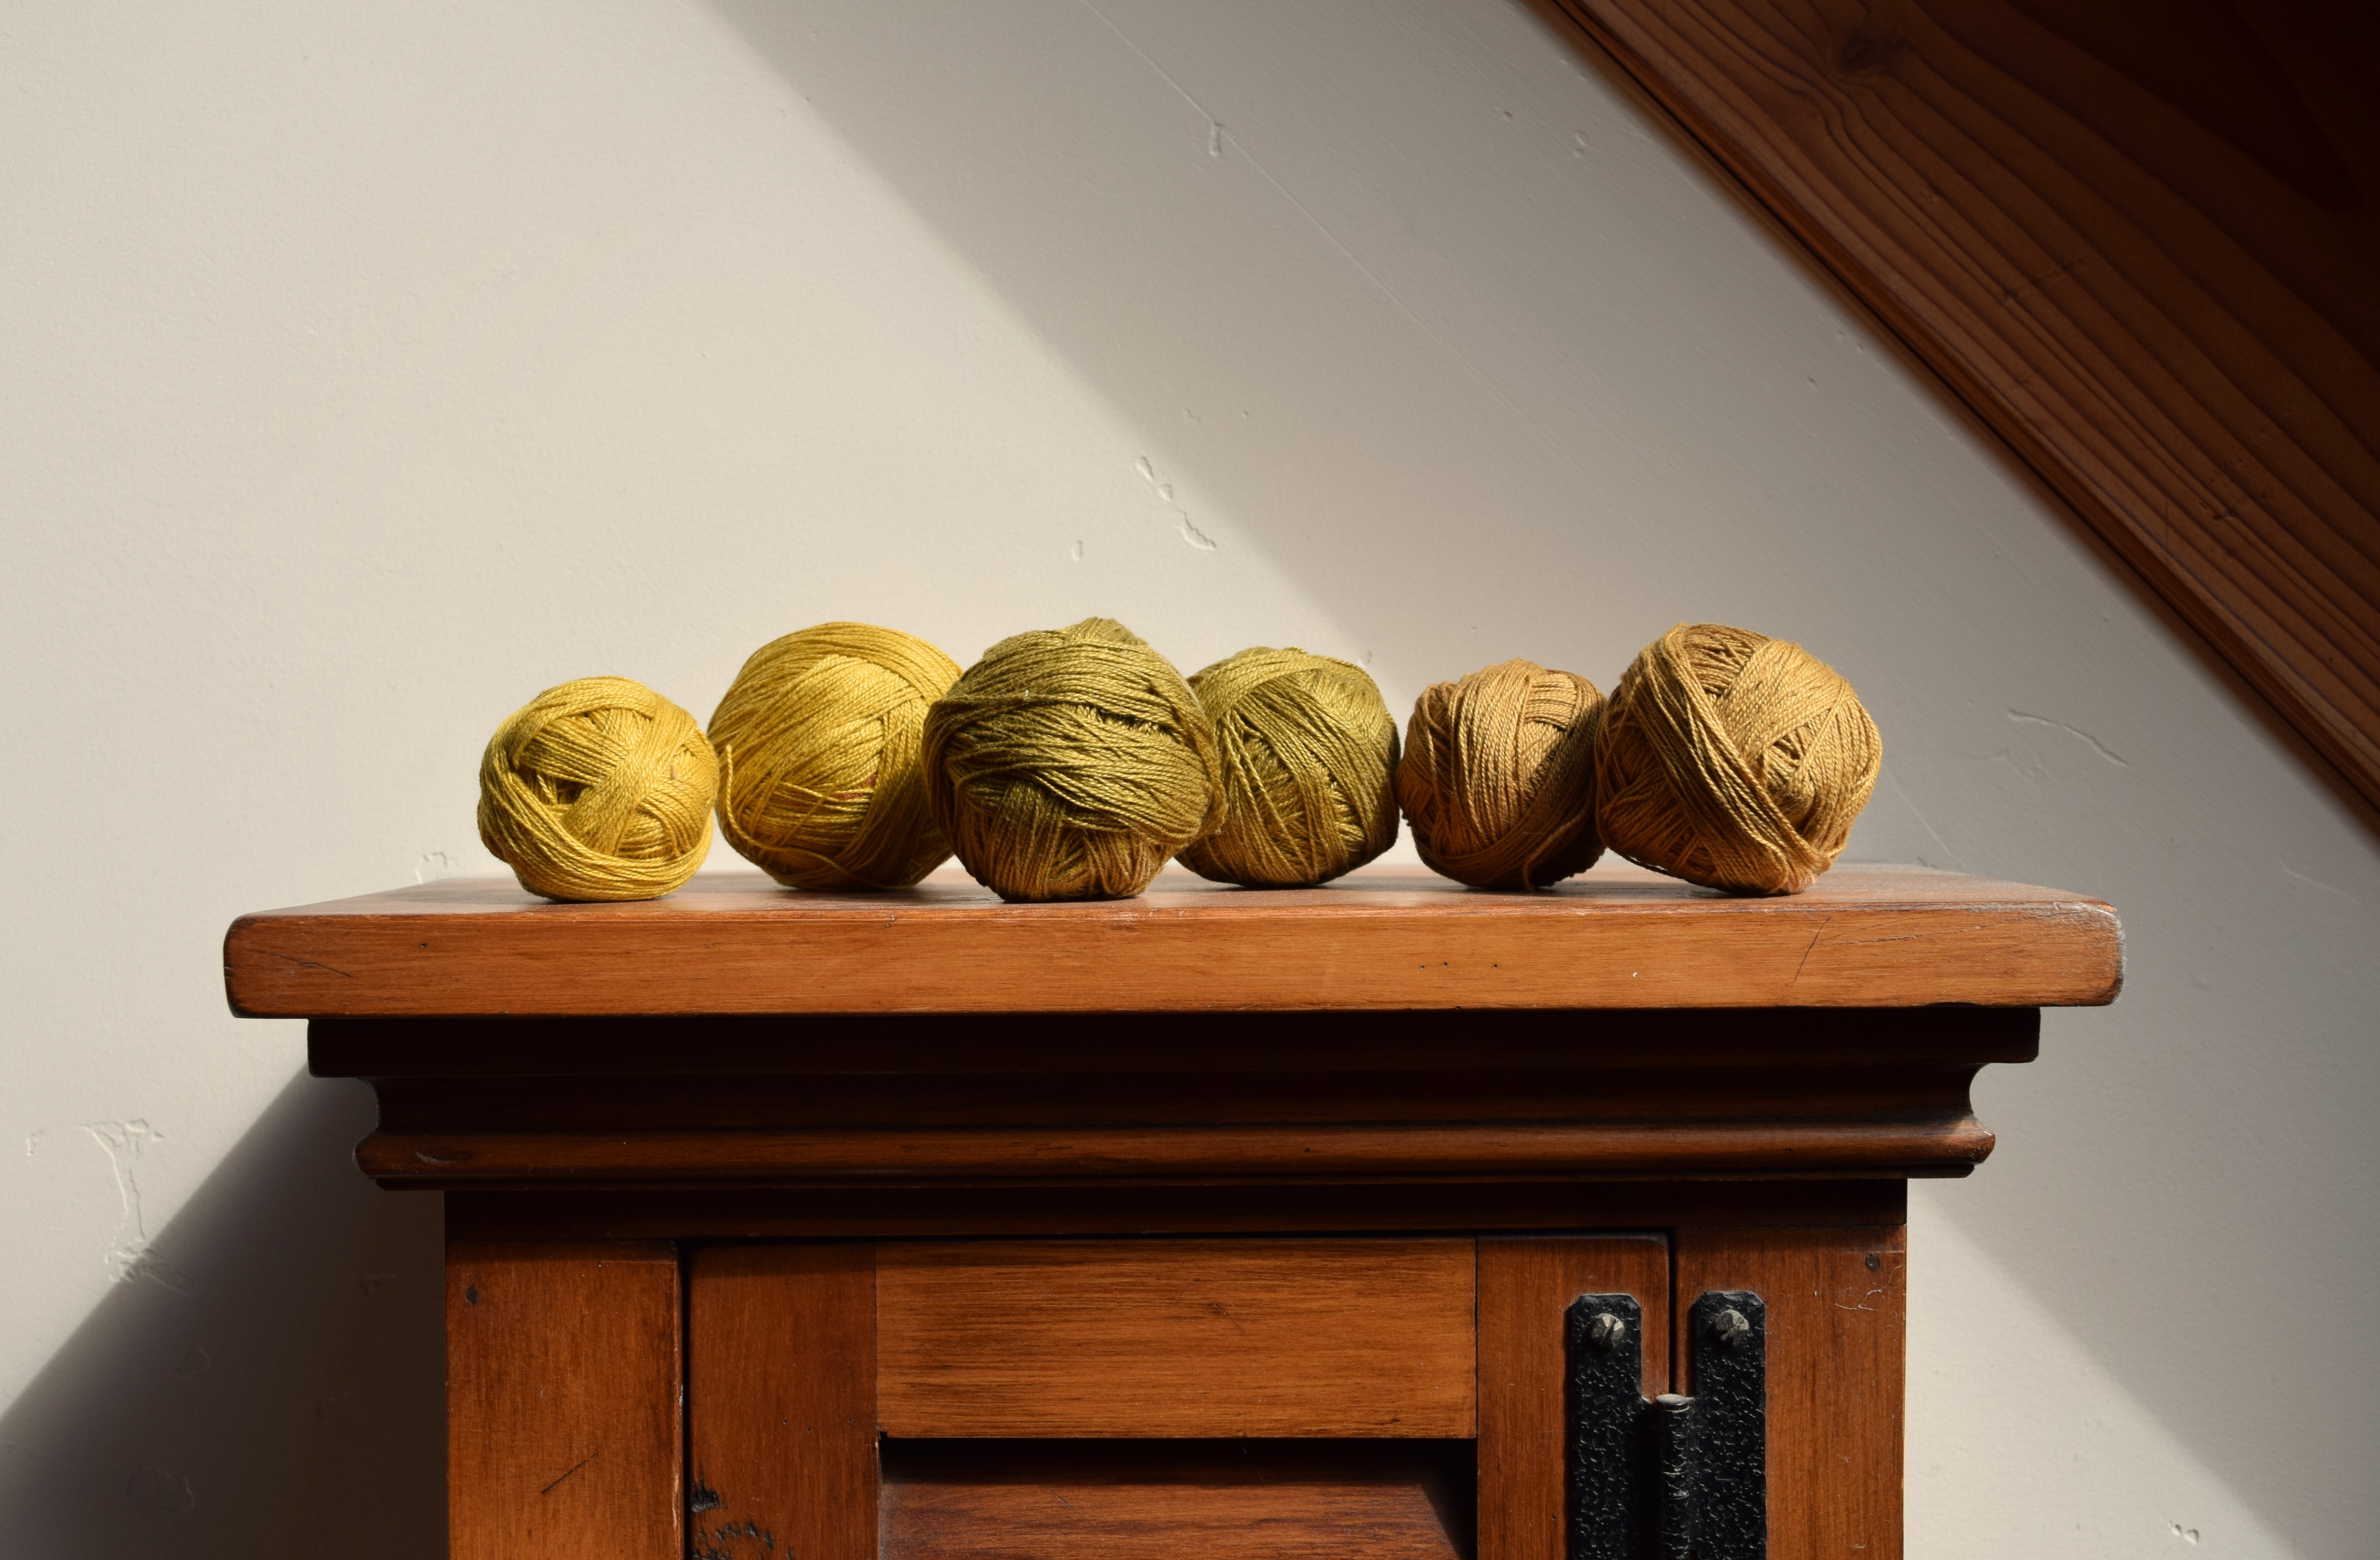
This first project is cotton dyed with natural marigold flower petals! The remarkable thing about this project is that I used a shortcut to a varied colorway by simply over-dying different shades of neutral tones, all in one dye bath of marigold flower petals. Plain and simple, the way I like to do things. I’ve written detailed dye notes below and stay tuned for a finished weaving coming up in the territory ahead.
♣   Dye Notes ♣

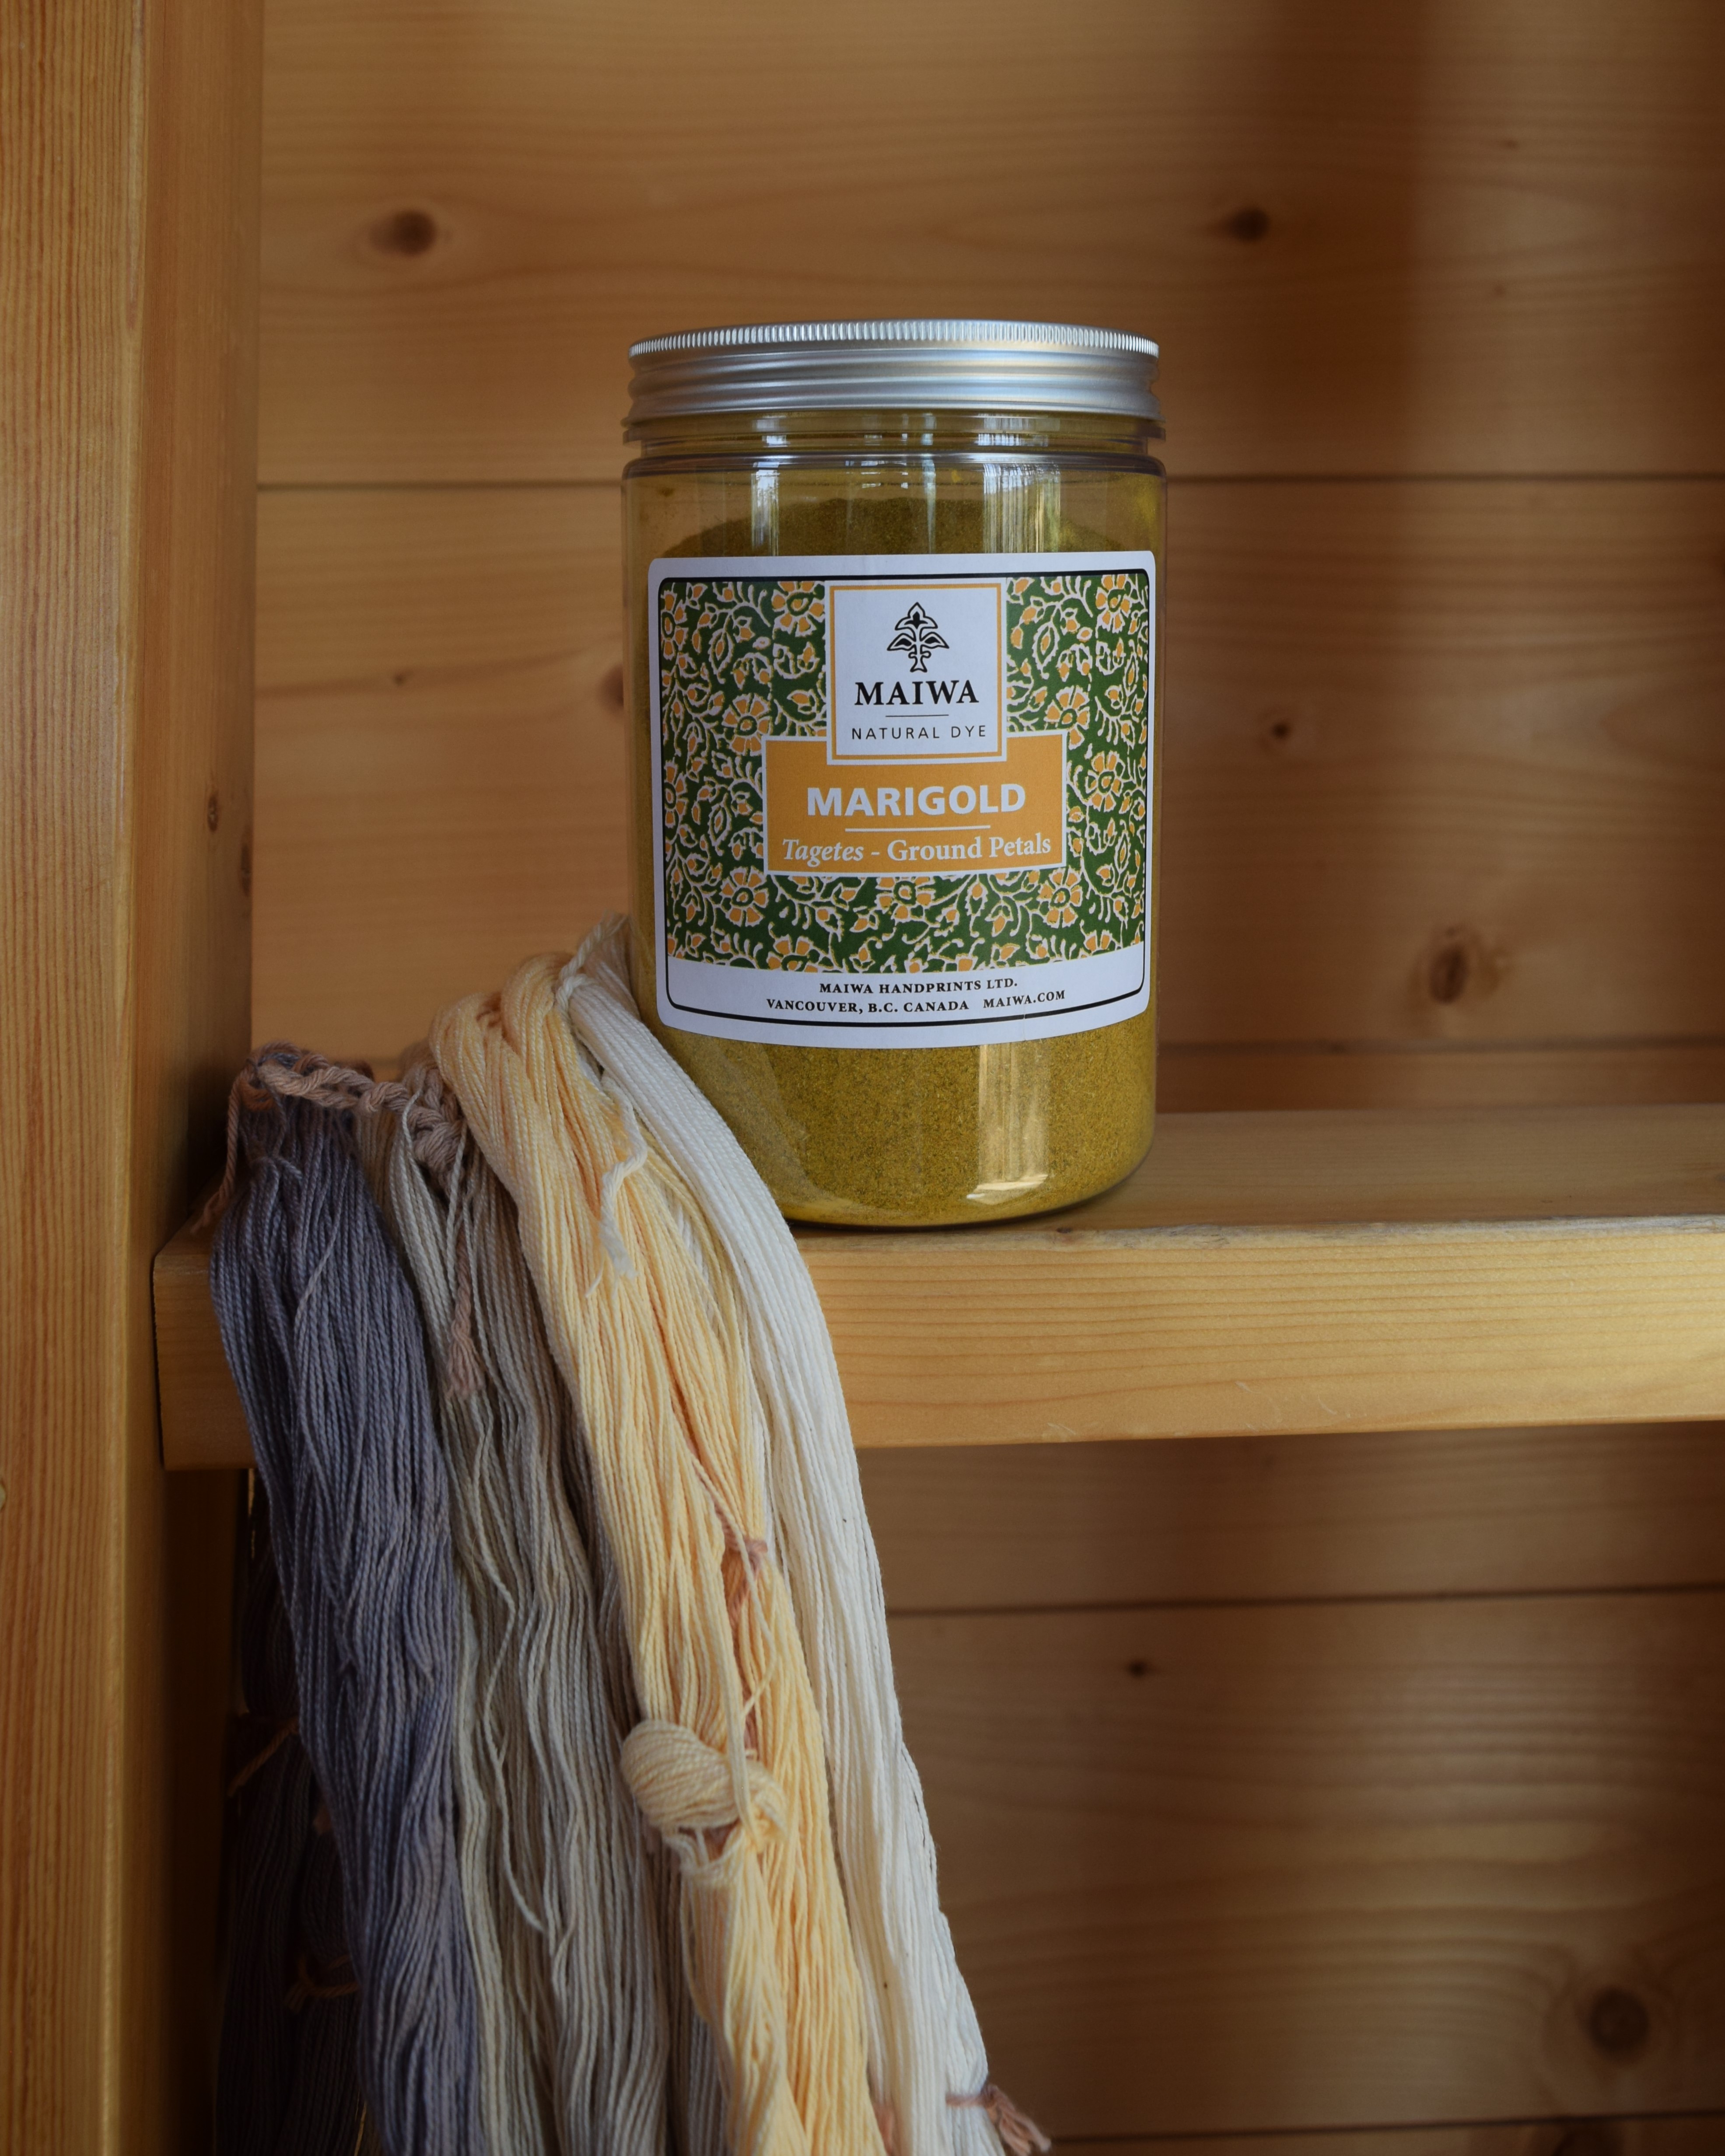
I got back to the dye pot, determined to have an easier time of it, working over all my beginner’s doubt with a fine-tooth comb. I hovered over the instructions nervously, double and triple checked every step before commencing, and yet still I was having to improvise and make adjustments. Scoured, check! Mordanted, check! Dyed, check! One hour devoted to each step, not including the tea over-dye. I was quite exhausted by the end of it all.

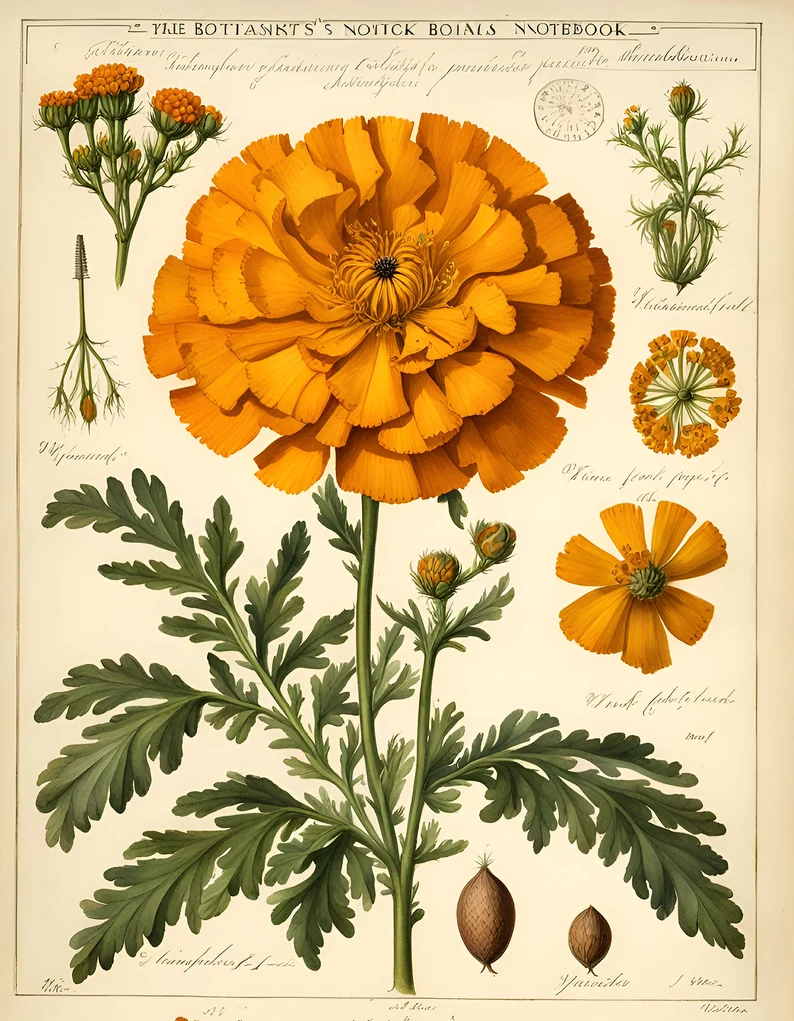
I started out with four colors of varying tones and hues of neutral, wrongly assumed I would have four colors over overdyed yarns, and ended up with only two; the grey was a darker shade, but all the others looked almost the same. After all was rinsed and hanging dry on the clothesline, I quick made literal quart sized pot of strong tea of Yorkshire Red, basically a tannin bath, and in went the lightest of the yellow shades which shifted immediately to a rusty brownish orange, absolutely beautiful! Love the way nothing can be predictable, and I am ready to make a panic decision at any moment. Now that all is dried the result is three slightly different shades of marigold, and what I figure is the spectrum of the marigold flower, from yellow to deep gold to greyish yellow green.

  • Yarn: Valley Yarns 10/2 mercerized cotton in colors: Natural (8176), Autumn Blonde (1405), Shell (7503), and Frost Gray (8798).
    • All were scoured together for 1 hour with soda ash.
    • All were mordanted together for 1 hour with Alum Acetate.
    • All were overdyed in same bath with marigold petals, but colors Natural and possibly some of the others were again overdyed in Yorkshire Red tea, for about 6 minutes in the pressure cooker on low pressure, for just a kiss of color to deepen the yellow, which turned to a deeper gold.
    • The marigold overdyed Grey yarn appears a deeper greenish yellow, a wonderful surprise! There must have been a little blue in the grey.
  • What I will do differently next time: I will use distinct different values of neutrals, such as natural or white, light grey, and medium-dark grey. The Natural, Autumn Blonde, and Shell colors may have been different hues very slightly but all the same very light value, so after overdyed and dry, all looked the same, I could not tell the difference — I should have labeled the yarns!

Scarf No.7

Hi, its me Abelene

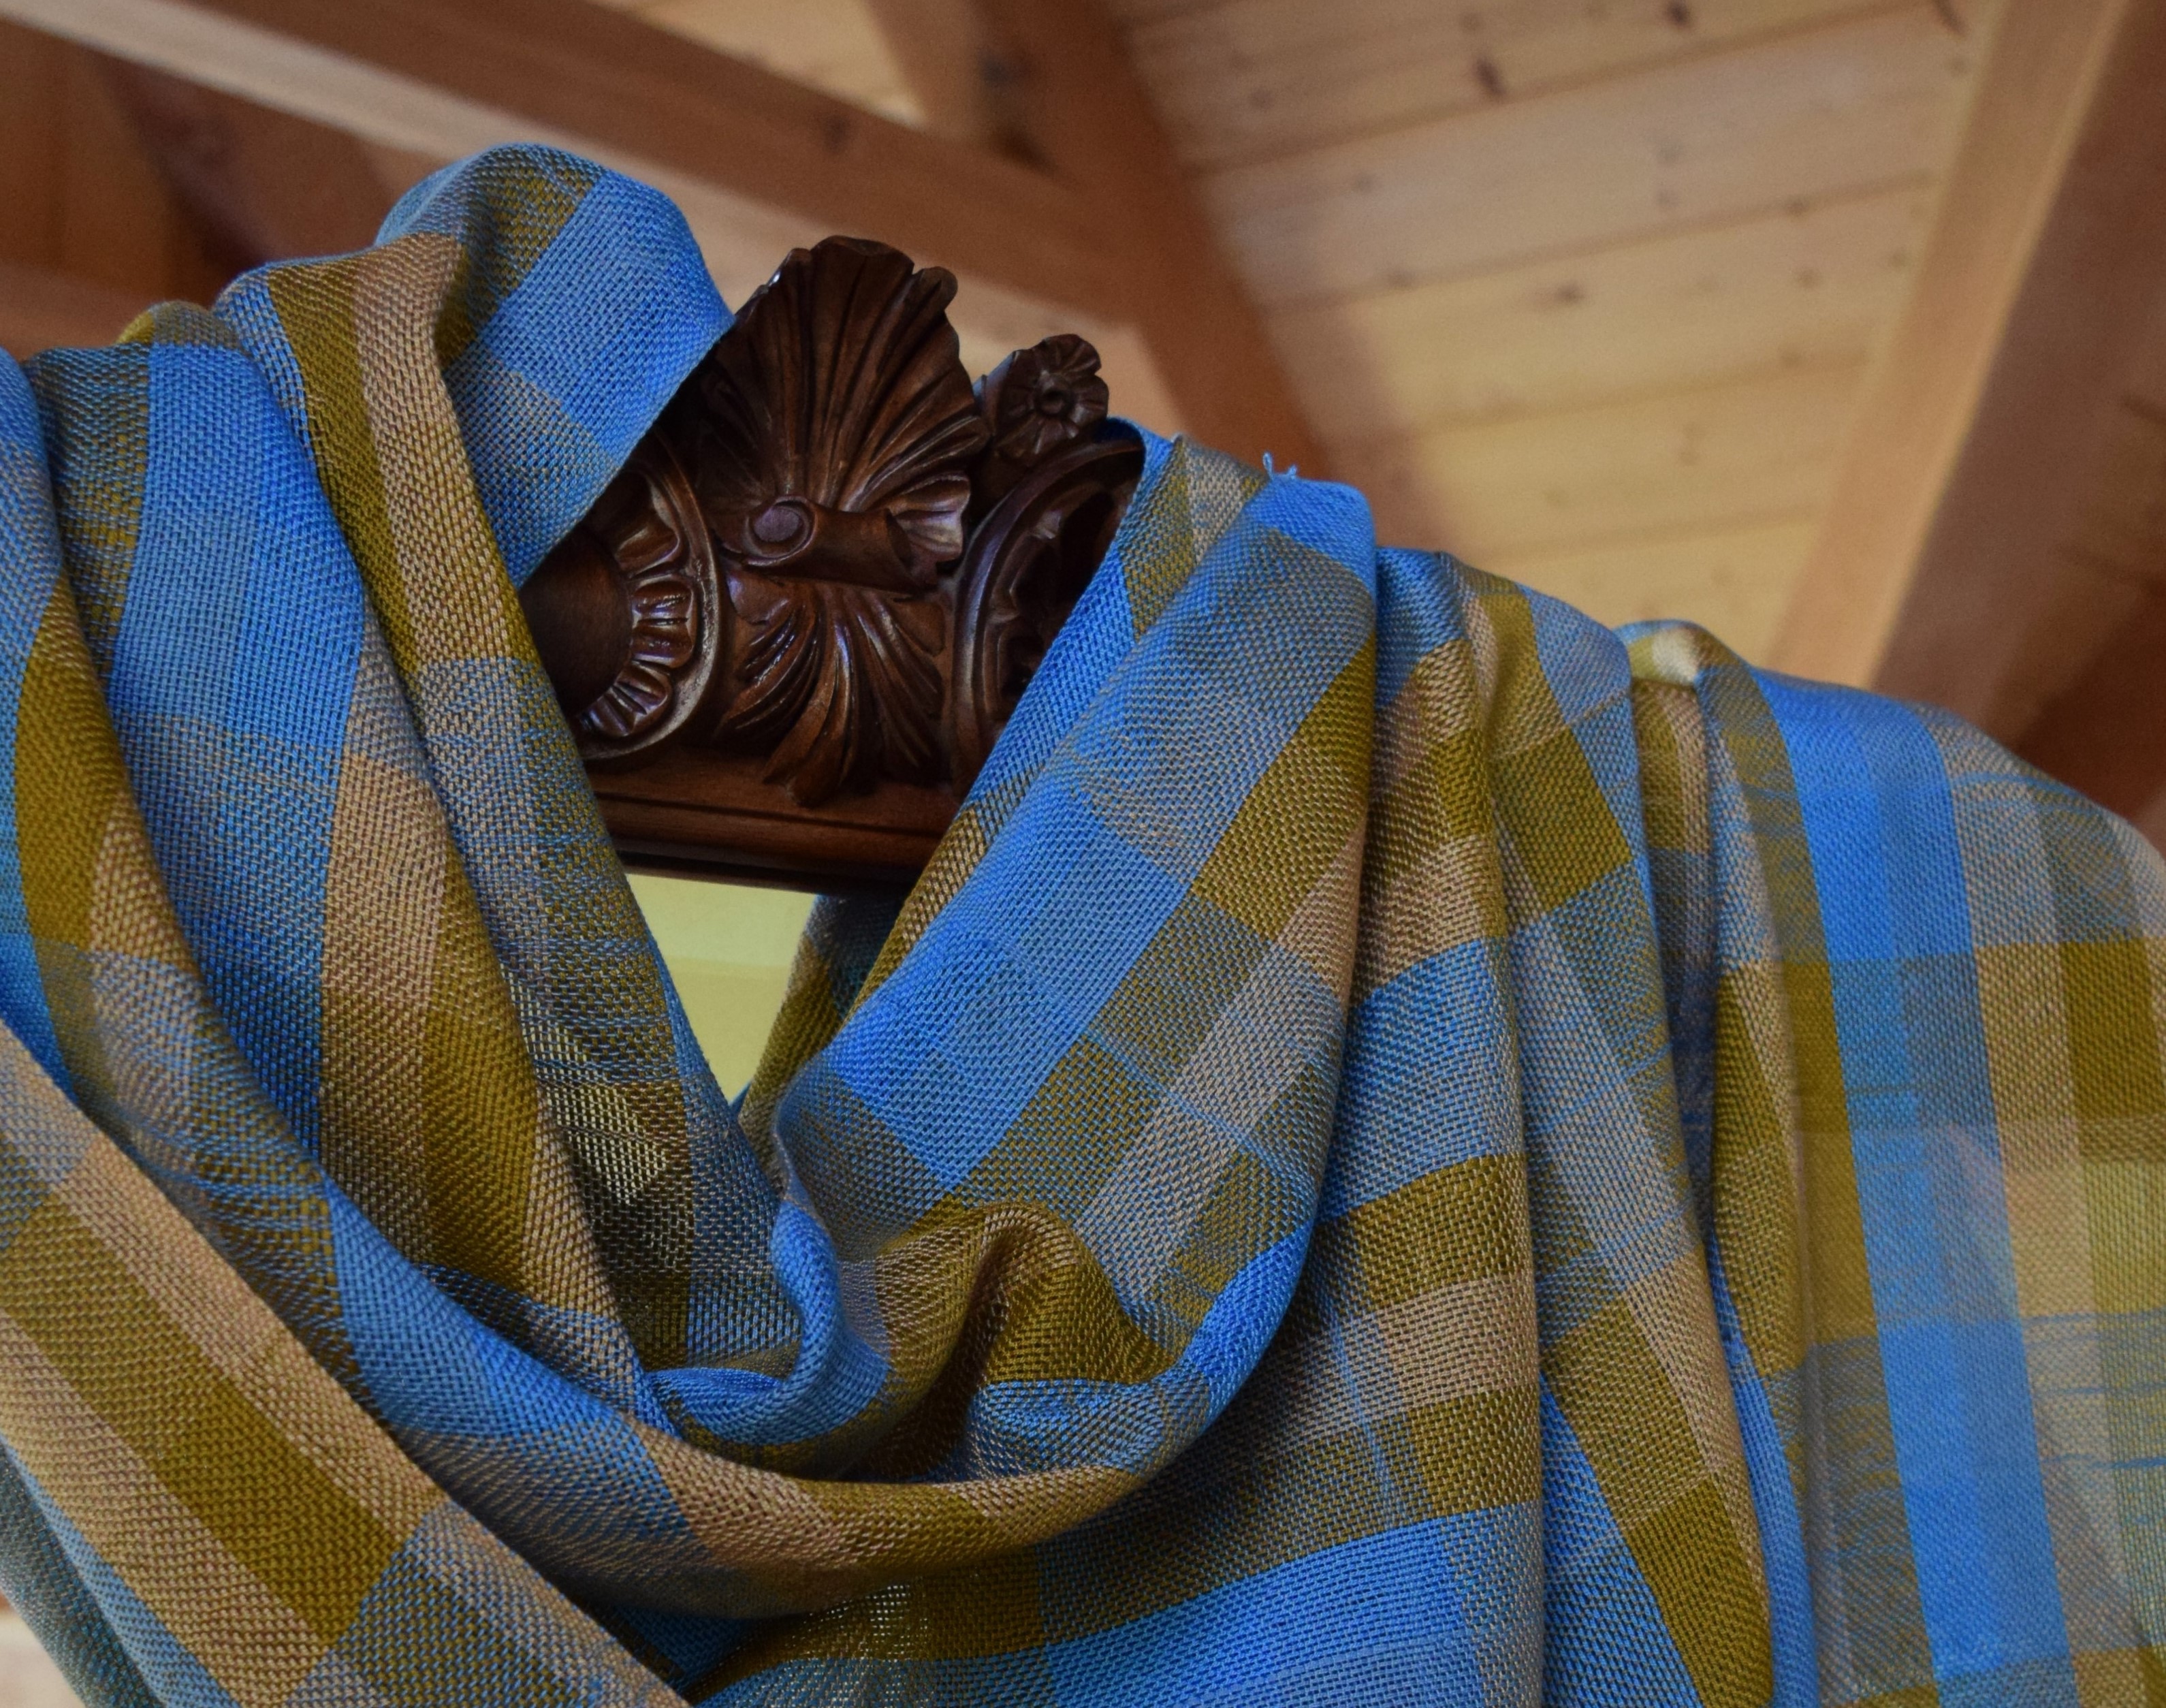
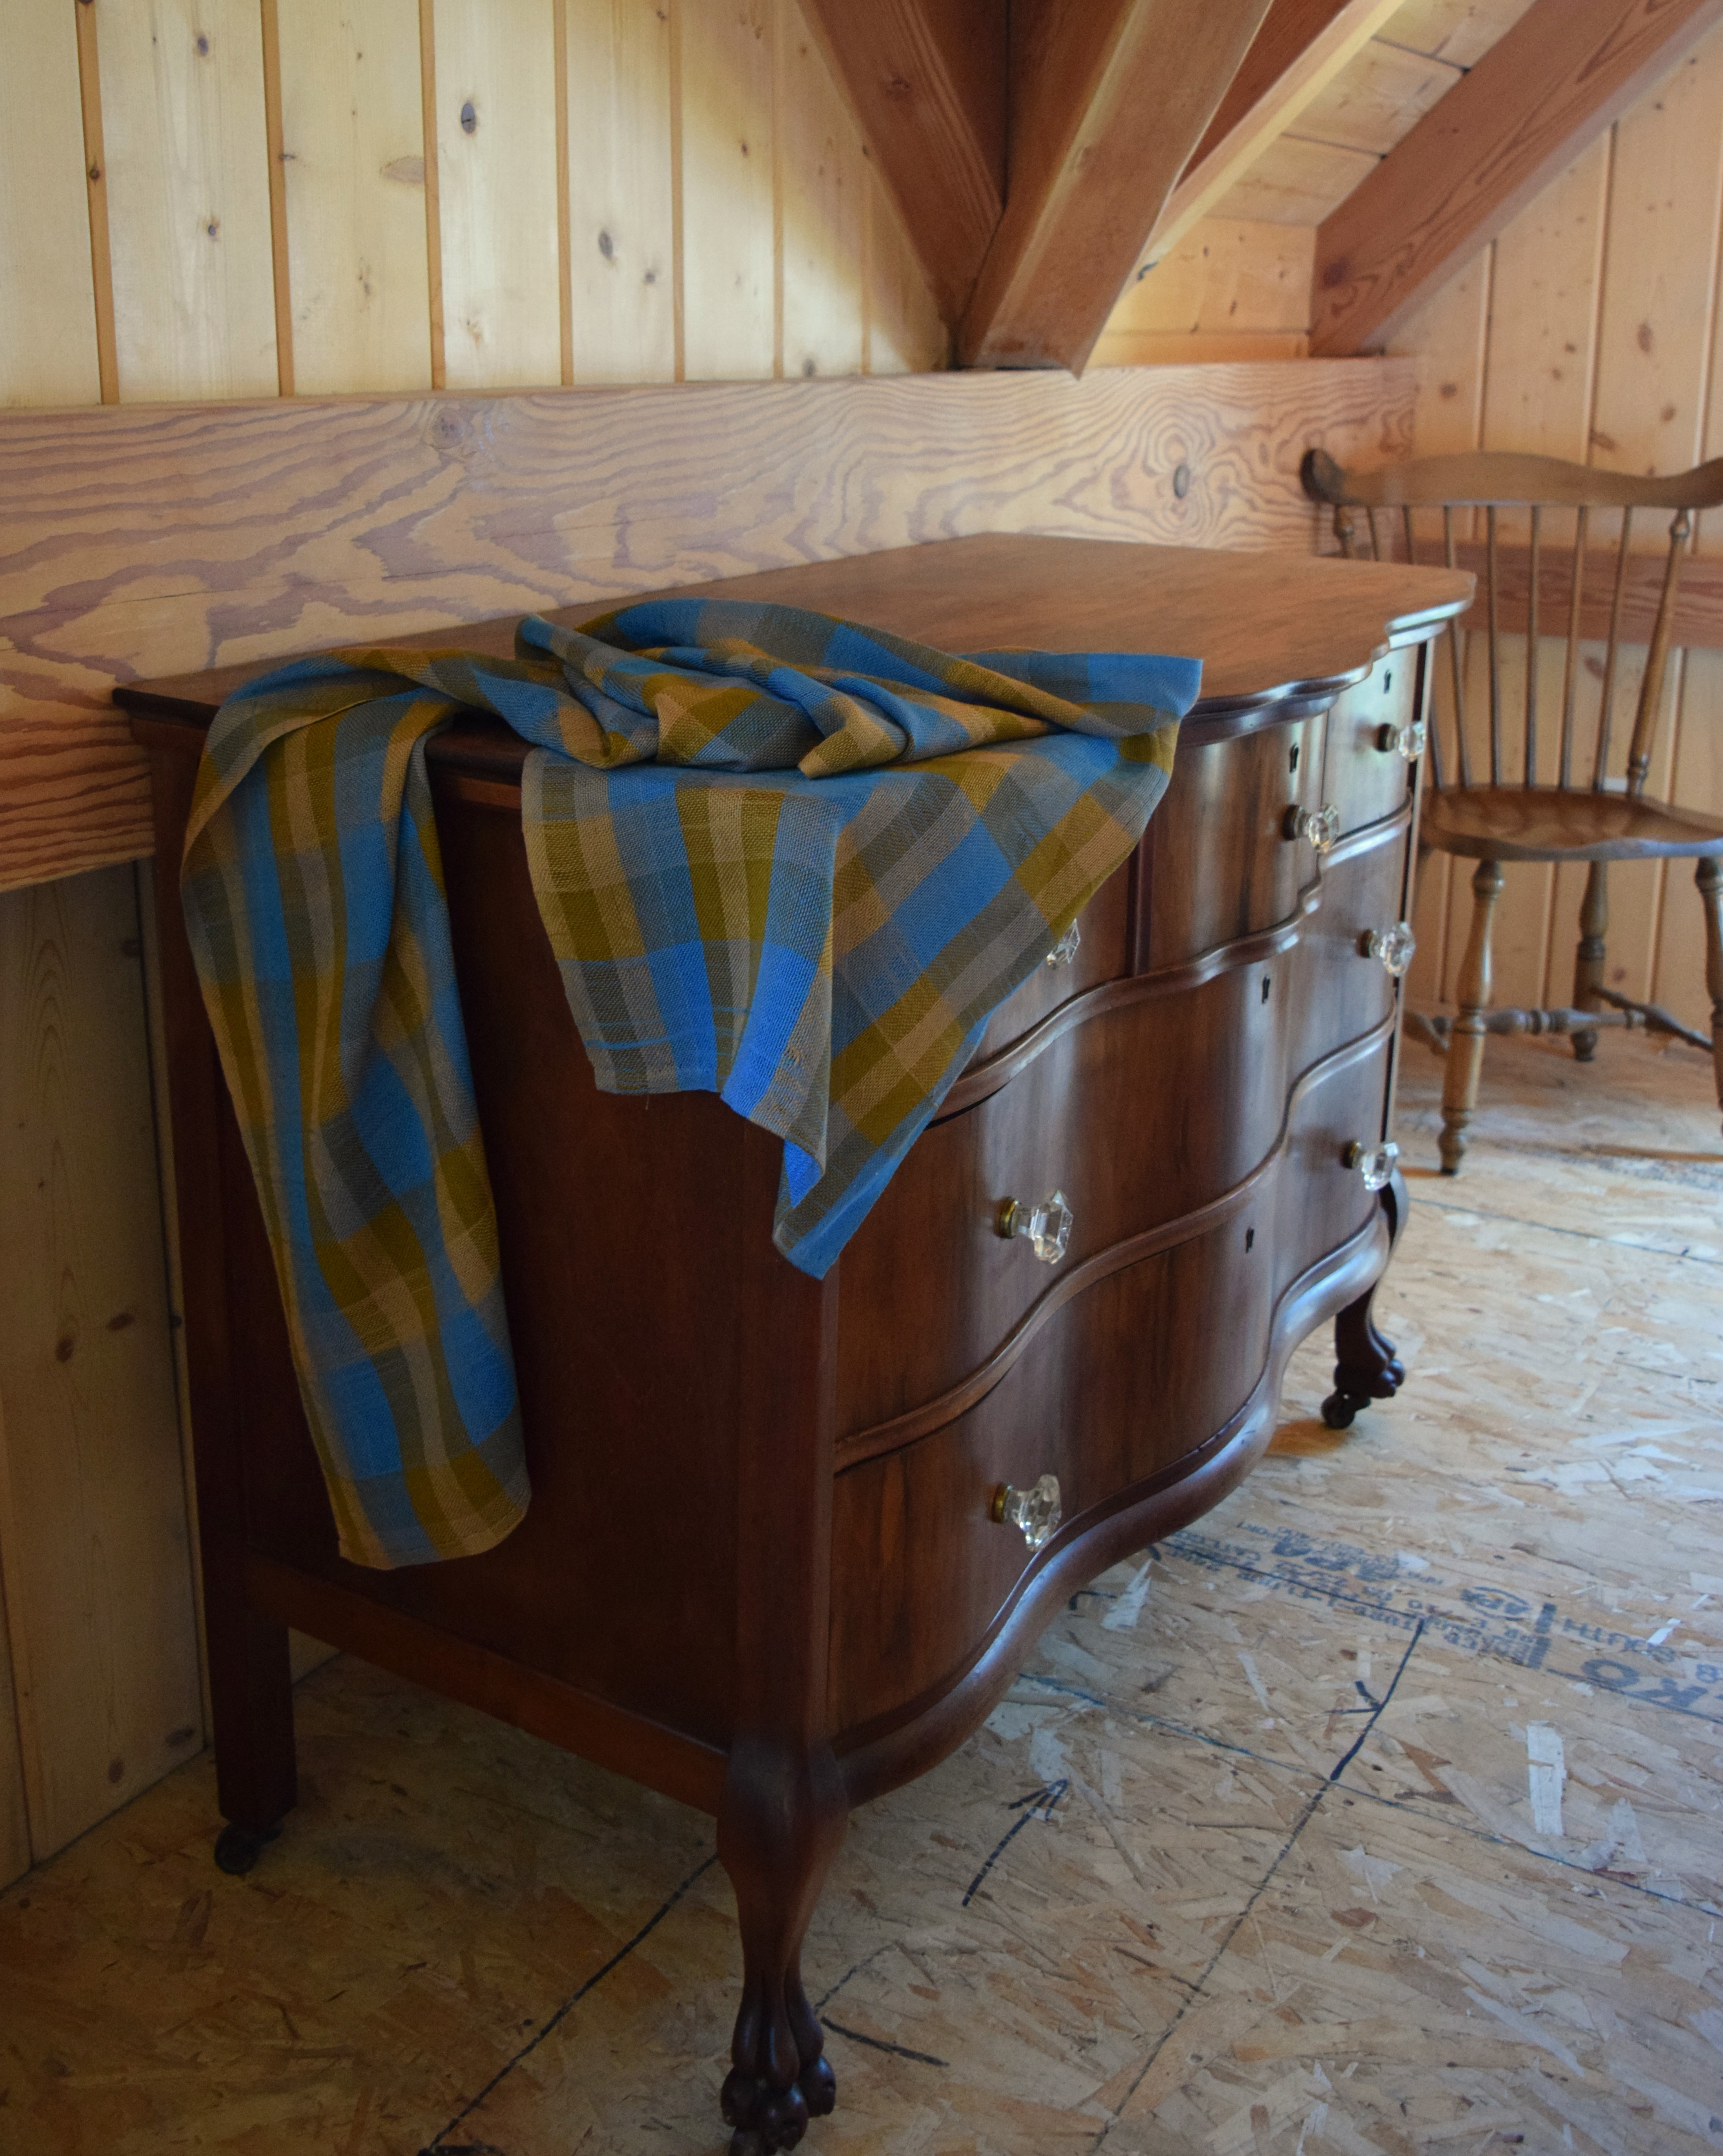
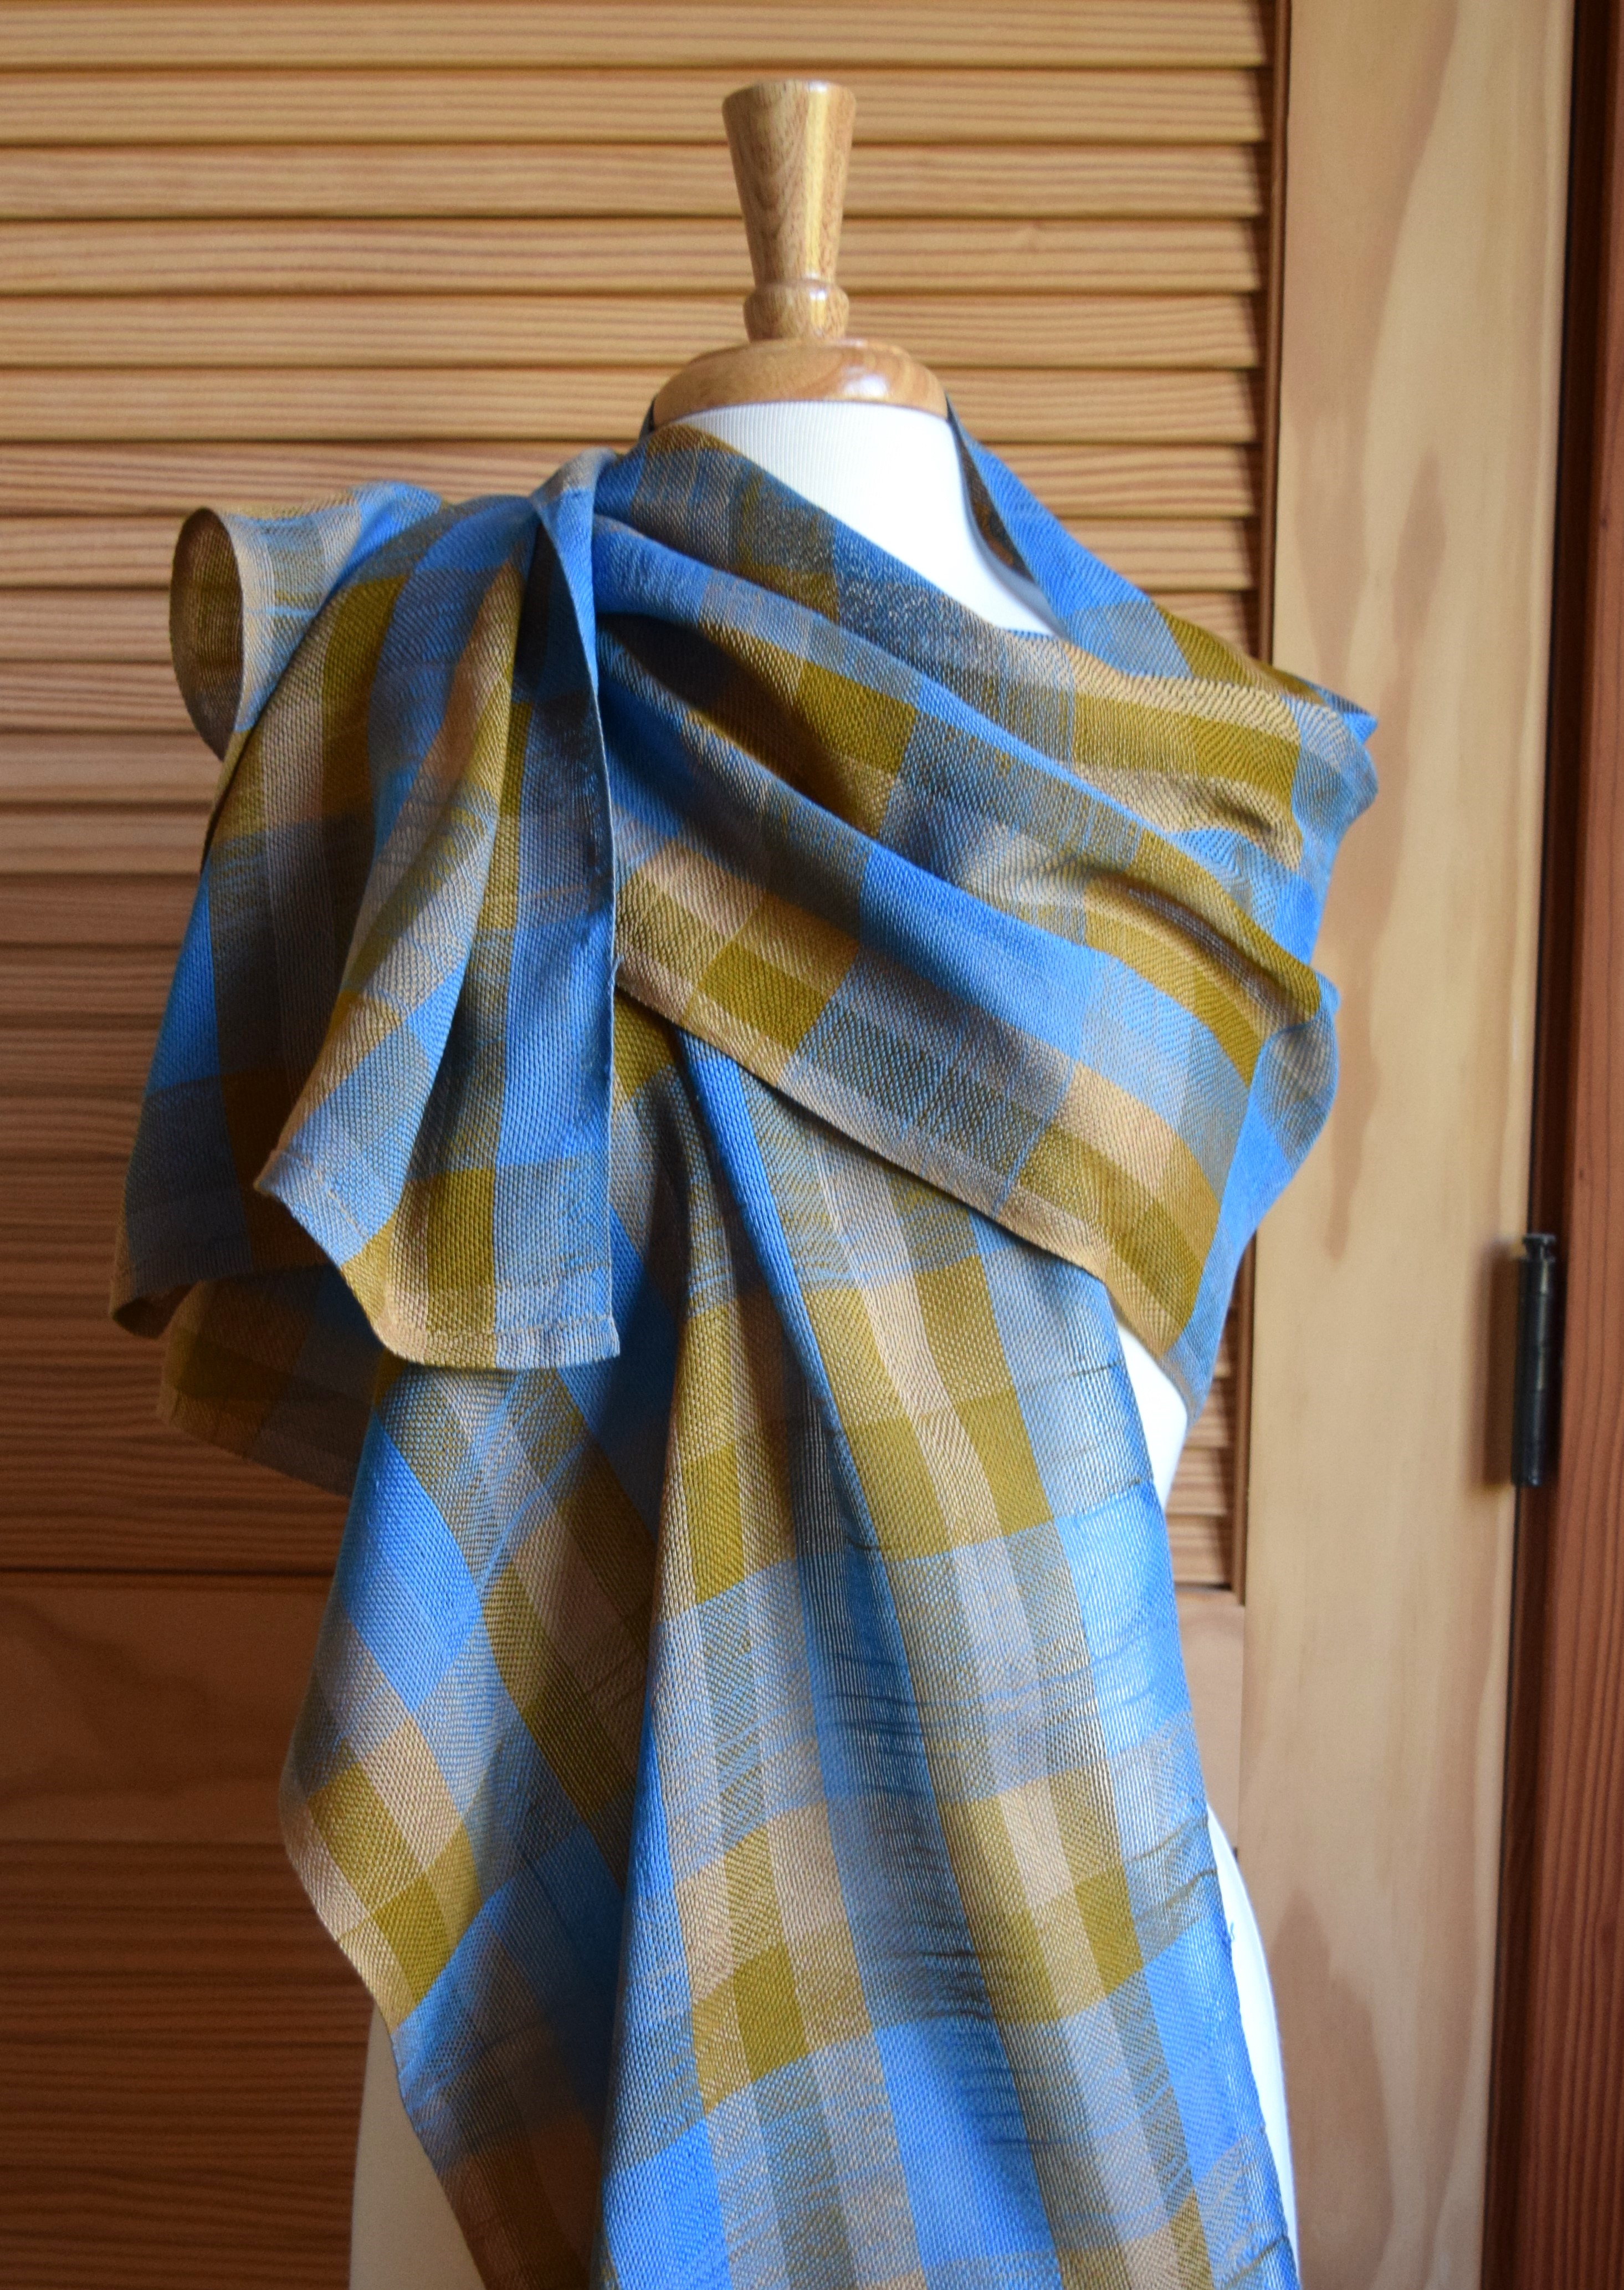
I am happy to introduce to you the very latest in Jen’s ultra fine weaving series, and also my new photo shoot companion, Señor Mirando the mirror, who arrived here weeks ago along with a lovely old dresser, the set being a gift from another weaver (thank you Bea!) Handsome and talented at revealing to you the intricate and complex angles of a drape which I simply can not, Mirando promises to show up for the photo shoots along with our hard working crew the ladder and chairs.

The weaving is remarkable, for it is two threads in warp against one thread in weft. Yesterday Jen washed it and hung it out to dry on the line, flapping in the 100F summer heat, and only took less than ten minutes, and barely more than five, because it is so hot outside.

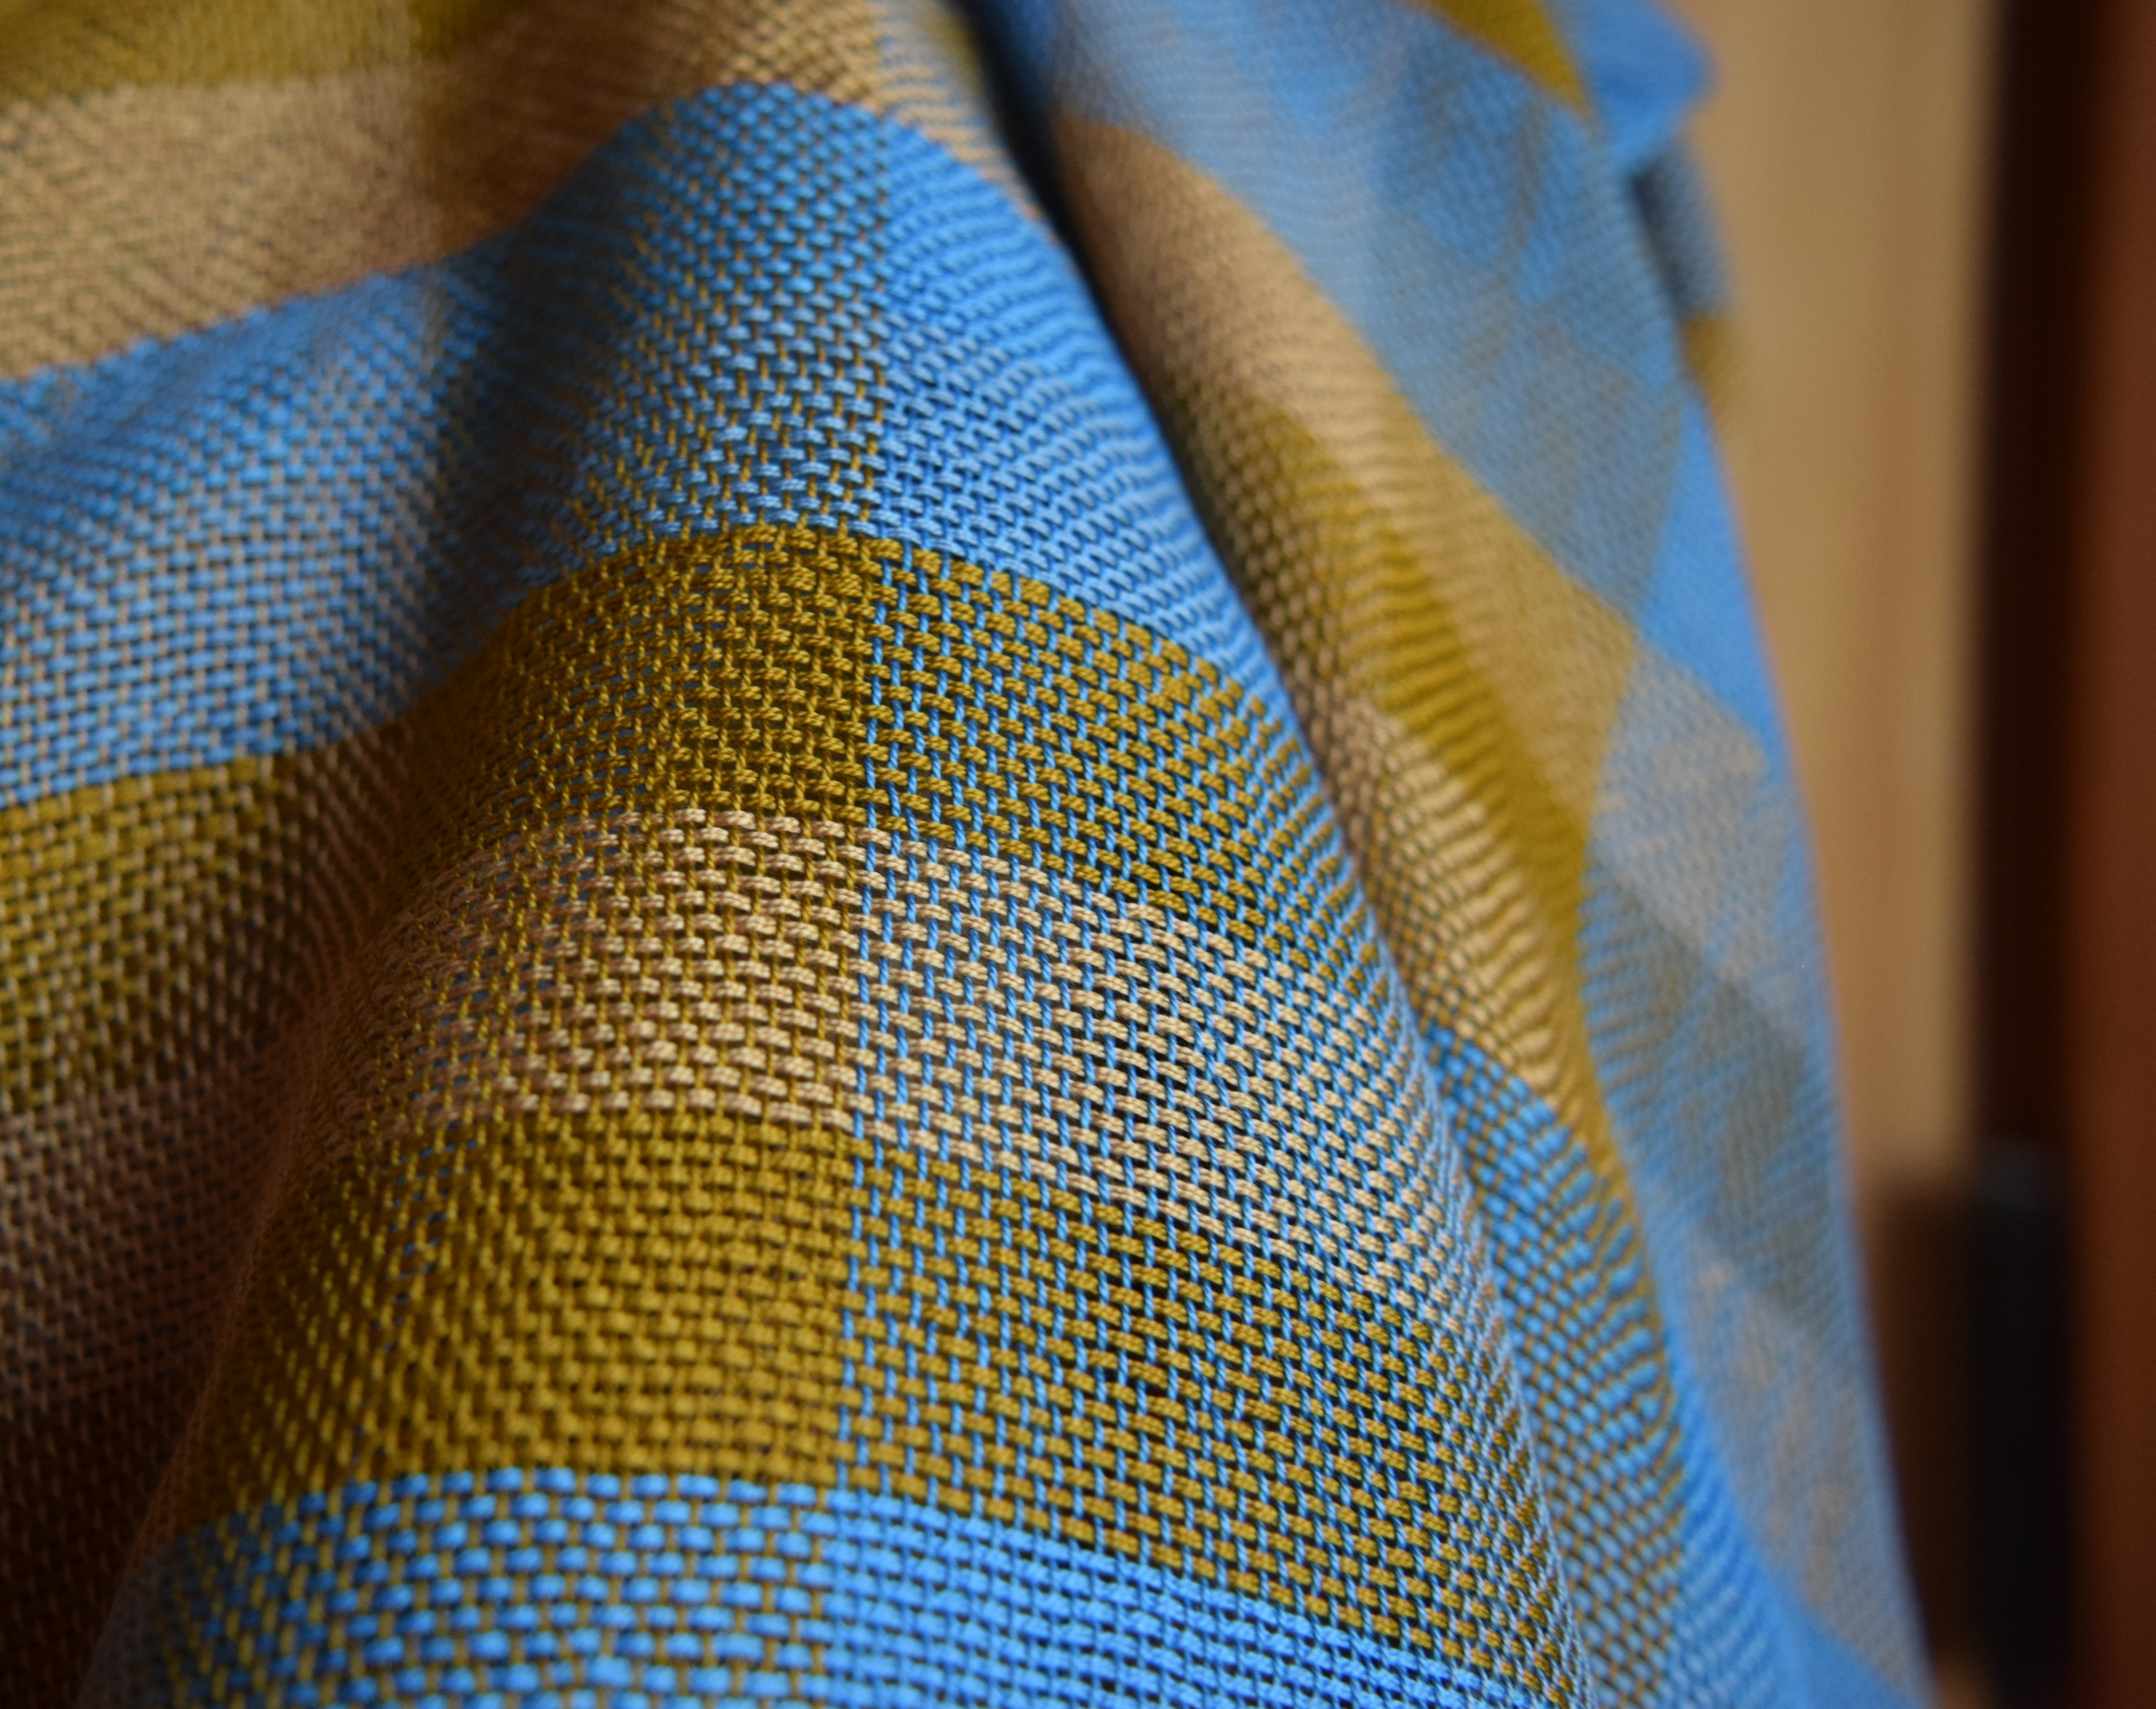
I think it is very beautiful and interesting how the unique weave structure looks, I wonder if there is a name for this, does anybody know? Anyway, Jen is on to something here, and wants to develop this style of quick and easy warping she says, so she’s going to warp another of this kind of weave on my buddy in the closet, the table loom, but with a finer weave, just because it’s worth exploring. I for one am looking forward to having another photo shoot with Señor Mirando & His Dresser, as we’ve all hit it off fabulously.

Ta ta, Abelene

The note from Jen: I’ve been exploring weaving in a series of ultra light 20/2 cotton, this being the fifth in the series, woven on my 20″ Knitters Loom, and even though the weave structure doubles the warp against the weft, it appears to be balanced. I have been wanting to try the easiest method I can think of, which is double threading one reed, with 2 in the heddle/hole, and 2 in the dent/slot, then single weft. This way no rethreading has to be done. I did this kind of warping before (tablecloth) and I really thought it worked out great, less fuss warping meant more time to enjoy the weaving. And just as Abelene reports, I have another one of these I want to weave next, and it will be warped direct on the table loom, a multiple harness loom with heddles, with the same weave structure, but 32 ends per inch warp, 2 through each heddle and 2 through the dent, completely going against tradition. Thankfully there are no weaving police around here, for surely I would be arrested for attempting this. Be sure to click through the photo slideshow below, and now for the weaving notes…

♣   Weaving Notes  ♣

  • Yarn: 20/2 mercerized perle cotton, 8400yds / 1 lb, Maurice Brassard, in color Galaxy Blue,  and Venne in colors Gobelin Blue, Brass, and Golden Brown.
  • Loom: Ashford Knitters Loom 20″.
  • Warping method:  Direct warp method for rigid heddle loom.  Warp length is approx 115 inches from apron rod to warping peg.
  • Reed: 15 dent reed, 2 ends in each dent and 2 ends in each hole. 
  • Width in reed: 18″
  • Sett on loom: Warp = 30 epi and weft = ?? (forgot to measure)
  • Selvedges: Doubled for 4 ends each selvedge and used a temple.
  • Sett after finishing: Warp 34 epi, and weft 17 ppi.
  • Number of warp ends: 560, plus 4 extra at each selvedge = 568 ends
  • Color Pattern Warp:
    1. 15 holes and 15 dents with 2 ends each (30ends) Galaxy Blue, same with Gobelin Blue.
    2. Same with Brass, same with Golden Brown, then again with Brass. 
    3. Repeat step 1 and 2, switching Golden Brown and Brass; twice,  then repeat step 1 only. 280 dents/ 560 ends, plus 4 ends each selvedge, total 568 ends.
  • Color Pattern Weft = wound on to a 30″ stick shuttle for each color as follows: [10 wraps Galaxy blue, 10 wraps Gobelin blue, 10 wraps Brass, 10 wraps Golden Brown] repeating sequence.
  • Finished: 1/4 inch turned hem, machine washed and hang dried, then pressed. Measures 84″ long and 16″ wide and weighs 129g. 
  • Yardage:  Total yardage used for finished piece = 2374y, figured from weight of finished piece and not including loom waste.

Scarf No.5

Hi, its me Abelene

Jen has brought me out of the closet where I was suffocating in debate with my new pals, the Ashford 48″ rigid heddle loom and Ashford 32″ table loom, very existential ideas, like about whether or not as inanimate objects, we really exist, and I have been by far the most optimistic among us! Anyway, Jen seems to have forgotten about me, but finally she brought me out to see the spring . . . I am wearing a very light weave that seems to be sticking to my skin all by itself, perhaps from static electricity, as it has been three days of drying wind here.

Jen wants me to say that she had some difficulty weaving this fluffy light sheer cloth, but eventually she found her way and the weaving became better balanced, eventually only a light tap of the reed to keep the structure even and open. This is the 15epi experiment in her series of weaving ultra fine cotton where she is experimenting with different threads per inch. She is super pleased that very light cloth can be woven on a simple little rigid heddle loom with one 15 dent reed, and is hoping to do more just like it. But first to finish her series she wants to weave 20 epi with this same thread, whether threading two rigid heddle reeds together on my pal the big rigid heddle loom, or to warp it up on my other pal, the table loom.  But on the other hand (um, what other hand???) she thinks she might just weave more single reed 15epi samples on the little rigid heddle loom, like this piece was.

So much fun going on here I tell you!

Ta ta, Abelene

ps. Don’t miss out on the technical weaving notes and slideshow below!

♣   Weaving Notes  ♣

  • Yarn: 20/2 mercerized perle cotton, 8400yds / 1 lb, Maurice Brassard, in colors;  Flax (P-5109), Rose Paudreux (P145), Natural (P100), and Blanchi (white) (P-101). 
  • Loom: Ashford Knitters Loom 20″.
  • Warp:   Warp length is approx 110 inches from apron rod to warping peg.  
  • Number of warp ends: 298
  • Reed: 15 dent, warp is 19.5″, full width in reed.
  • Sett on loom: Oops, I forgot to measure.
  • Sett after finishing: Warp 17 epi, and weft 19 ppi.
  • Selvedges: I did not do floating selvedges, but I did warp 3 extra ends per selvedge, which is almost necessary I am finding when using a temple.
  • Color Pattern:   
    • Warp =  [18 ends of rose, 18 of blanchi, 18 of flax, 18 of blanchi ] x 2 . 288 ends plus 3 extra selvedge ends at each side = 294.
    • Weft = wound on to a 30″ stick shuttle ; [20 wraps of rose, 20 wraps flax] repeat the sequence to end of warp.
  • Finished: 1/4 inch turned hem, then washed and dried in machine, then pressed, and weighs 83g. Measuring after finishing 76″ long and 17″ wide (before washing/drying it measured 76″ x 18″).
  • Yardage:  Total yardage used for finished piece = 1536y, figured from weight of finished piece and not including loom waste.
  • General Notes: This weave is open and fairly sheer. I am striving for balanced weave with only a light tap of the reed needed.  If I beat too hard with the reed, even just a slight bit of pressure on the reed, or too many taps, the weft easily becomes compressed and creates horizontal stripes of weft dominant color. For this reason, I had to be very careful, hoping that after a wash and dry in the machine everything would become even, with threads locked together in a firm gauze fabric. The ppi is slightly more than the epi, so not perfectly balanced. I am guessing then that 20 epi will be the magic warp spacing for ease of weaving balanced.

Scarf No.4

This weaving taught me two new things. One is that I further explored color, using a different variation than I have yet; with two colors in the warp, and four in the weft. The color affect of the check is still lively and interesting, but without warping with the two lightest shades (beige and natural) the result gave a more muted and softened color variation, less dramatic with no light blocks. I would like to explore this idea even more!  

I think the most challenging thing about this piece, and anything I’ve woven to date, is that I did a double heddle threading with two different size reeds. It was definitely another long and arduous threading process, and after discovering I miscalculated the spacing the first time, I resolved there really was no way of going around it, that it had to be done right, and be done over.  Of course, in doing it over I discovered a formula for myself, where I was only guessing at first, and so I have written my formula in my weaving notes.

This is going to be the last of the double reed threading for a while, for not only is it a very intensive warping process, but also if a mistake is made in the warp (as there was one, if you’ll notice the long run throughout the whole weaving) it is just not something I know how to fix and it tests my patience.  Such was the case again, some threads misaligned and right off the start, the flaw was blaringly obvious, but this was merely a sample to test the process. The reed sizes I wanted to thread together in this project were 15 dent and 12.5 dent (per inch), but easier calculated in the metric sizes 60/10(cm) and 50/10(cm) , to get a sett of 25 epi. Its all there in the weaving notes, with technical threading photo gallery.

♣   Weaving Notes  ♣

  • Yarn: 20/2 mercerized perle cotton, 8400yds / 1 lb, Maurice Brassard, in colors; Rose Paudreux (P145), Natural (P100), Light Beige (P-2), and Flax (P-5109). 
  • Loom: Ashford Knitters Loom 20″.
  • Warp:  Double threaded 4 ends per dent on first  reed, then through  a second reed using this method ) also embedded in this post at the bottom) . Using a heddle stand is rather necessary, Jeff made the one I use in tech photos below.  I don’t know how to suggest an alternative, but if one has a couple of heavy objects or uses a bit of cleverness, one could rig a reed stand. Now, with the second reed forward, threading it through in a very seemingly complex manner, but it really isn’t.  Warp length is approx 110 inches from apron rod to warping peg.  See formula below.
  • Number of warp ends: 432.
  • Reed: Two rigid heddle reeds, one 15 dent and one 12.5 dent.   I threaded through the 15 dent reed first, skipping 1 slot after every 4 slots threaded, and the second reed I threaded every slot. End result is as two 12.5 dent reeds, with 25 epi.  See formula below. Note: After both reeds were threaded, I held them together with thick rubberbands as shown in photos.
  • Sett on loom: Warp = 25 epi (ends/threads per inch),  weft =  25 ppi.
  • Sett after finishing: Warp 28 epi, and weft 28 ppi.
  • Selvedges: I did not do floating selvedges, nor did I bother to double up and reinforce the selvedges, mostly because there was so much going on with threading through TWO reeds. I did use a temple.
  • Color Pattern:   
    • Warp =  [18 slots with 4 ends each slot (72 ends) flax, 18 slots with 4 ends each slot (72 ends) rose] REPEAT for a total of 3 pattern reps, and 432 ends.
    • Weft = wound on to a 30″ stick shuttle; [30 wraps of flax, 50 wraps of light beige, 30 wraps of rose, 50 wraps of natural] repeat the sequence to end of warp.
  • Finished: 1/4 inch turned hem, then washed and dried in machine, then pressed, measuring 80″ long and 15.5″ wide, and weighs 105g. 
  • Yardage:  Total yardage used for finished piece = 1943y, figured from weight of finished piece and not including loom waste.

My formula for threading two graduating sized heddles together: All of the reed sizes for the Ashford rigid heddle looms, which many rigid heddle weavers have a size graduation of reeds:

2.5 dpi (10/10cm)
5 dpi (20/10cm)
7.5 dpi (30/10cm)
10 dpi (40/10cm)
12.5 dpi (50/10cm)
15 dpi (60/10cm)

I have most of the reed sizes for my Knitters Loom, but for the sake of very fine cloth weaving with my rigid heddle looms, I am writing down my formula for threading two reeds of graduating larger sizes together so that I can achieve epi’s greater than the finest single reed available for this loom, which is a 15 dent (60/10). I’ll add that It is far easier to use a single reed than to thread two together, so in the case of coupling the lower-dent reeds — I recommend just buying the single 15 dent reed, instead of double threading 40/10 with 30/10 (or two 30/10) reeds to get 15 epi, but for the sake of example I listed all the rigid heddle reed pairings in sequence, in the situation that it applies.

The reed that has fewer dents should be in front of the other, facing forward toward the weaving, where every slot and hole is threaded. The reed with more dents should be behind it, and when threading, skip 1 slot/hole as needed to align to the front reed.  Off of the warp beam there will be spaces in the threading, but the reed facing the weaving is even with no empty slots/holes. Here are my calculations for a balanced threading across the warp . . .

  • 60/10 & 50/10, thread as two 50/10 (thread 5, skip1) same as two 12.5/in= 25epi
  • 50/10 & 40/10, thread as two 40/10 (thread 4, skip1), same as two 10/in = 20epi
  • 40/10 & 30/10, thread as two 30/10 (thread 3, skip1), same as two 7.5/in = 15epi
  • 30/10 & 20/10, thread as two 20/10 (thread 2, skip1), same as two 5/in = 10epi
  • 20/10 and 10/10, thread as two 10/10 (thread 1, skip1), same as two 2.5/in = 5epi

Sakiori No.1

Sakiori was developed long ago by the peasants of Japan, who when faced with a shortage of cloth, made their own by cutting and tearing strips of old used cloth items, and wove them into new cloth for their clothing and home. These days an over-abundance of cloth is everywhere, providing such an opportunity to weave sakiori cloth, from rustic heavy rugs to delicate scarves. I am immensely inspired by the Sakiori style of weaving, and so I bought Ashfords attachable auxiliary cloth beam for my 48″ rigid heddle loom (the Freedom Roller) so that I can weave Sakiori cloth and rag rugs until the cows come home!

Sakiori is like rag rug weaving, that similarly uses cloth strips, but alternates cloth wefts with yarn wefts, so that is a whole element that adds possibility in design. This being my very first sakiori weaving, I have kept it simple, one color for warp and weft. Although I barely even put 5 rounds of sakiori cloth on it with this weaving, the attachment seems to me an essential addition for a rigid heddle loom to make bulky weaves like this, but even for yards of finer fabric, or any situation that benefits from having extra room to wind on a cloth beam, the Freedom Roller frees up the original cloth beam to be used as a secure and stationary front/breast beam, giving the weaving area in front of the reed more room too. I am hoping to weave some heavy wool blankets, rag rugs, and heavier table linens woven in the near future, to fill up that secondary cloth beam with some substantial weaving, and this piece was my first opportunity.

For this style of rag weaving, and in general on the rigid heddle loom, I’ve had to come up with heavy beating tools, because the rigid heddle reeds can not withstand that kind of muscle, and they are expensive, so one must come up with beater tools just for rigid heddle weaving situation like this. I am using the sword from my backstrap loom for this particular weaving that is only 19″ wide, but also tried out the weighted tapestry beater by Schacht. The sword is a heavy piece of wood that has a beveled edge and a slight curve to it so that it can be rocked a little forward and backward, to really pack in that weft. A tapestry beater is a heavy object with grooves like a comb, intended to hit along the weaving edge, allowing the warp to pass between the grooves, and really pack in the weft. These tools slow down the weaving a bit, but with the rigid heddle loom not having a heavy beater like a floor loom, I think these two tools are and will be an essential part of sakiori weaving.

I want to close in saying how amazingly gratifying weaving Sakiori is, because it really weaves up so incredibly fast, especially on the rigid heddle loom where direct warping is in itself so speedy. I am finding I can set up a project like this one and be done warping and tying on in about an hour and be well on my way weaving the weft body by the end of the day. This respite of instant gratification weaving is so refreshing after my many ultra fine weaving projects I’ve been experimenting with over the last couple of months.

♣   Weaving Notes  ♣

  • Warp Yarn: 8/4 cotton yarn, Maurice Brassard, 8.0 oz (~227g) tube = 840 yds. (1680 yds./lb, in color blue. Approx 80″ from apron rod to peg. 
  • Weft Yarn: Cotton flannel, strips 1.5″ wide, alternating with warp yarn.
  • Loom: Ashford 48″ Rigid Heddle Loom, with Freedom Roller attachment.
  • Number of warp ends: 480.
  • Reed: One 12.5 dent rigid heddle reed, about 19″ width in reed.
  • Sett on loom: Warp= 12 epi (ends/threads per inch), weft= 8 cloth picks and 8 yarn pick = 3″.
  • Edges: I did not do floating selvedges, nor did I bother to double up selvedges, but did use a temple. I did weave plain weave with the 8/4 cotton for approx 2″ before and after cloth strips, so that I could make a turned hem. 
  • Finished: 1/2 inch turned hem, sewn against the underside of ends. Rinse & Dry cycle in machine, final measurement after shrinking 8% in length = 9″ x 44″. 
  • Yardage: I did not measure or weigh the actual fabric I tore into strips, but I had a 2 yard piece of brushed plaid, and I have quite a few strips left over, so all I can say is about 1.5 – 1.75 yards of cloth. As for the cotton warp yarn, I didn’t think well about this particular weaving, as it is mostly cloth strips, however I will say I didn’t use the whole warp, I had about 10″ left of warp and didn’t even use the whole cone of yarn for warp and weft. 
  • What I will do differently next time:
    • Use floating selvedges! The rag weft is so thick that if it doesn’t encase the last threads, they sometimes ended up floating over vertically, and I found myself having to catch outer warp threads every pick to keep that from happening, and even had to sew in at the finish some of the long floated warps I missed. 🙁 
    • Measure a piece of string that is the length I want to weave the project, and weave it or pin it to the actual cloth as it winds on to the beam. I did this but let it wind around next to the cloth, and the diameter was much smaller, therefore not accurate, and my end project was about 6 inches longer than I planned for. 
    • Take the time to prepare the cloth strips a bit better; pre-roll and iron the weft, hiding all raw fuzzy edges of torn strips, perhaps use a bias tape folding tool.
    • This thickness was fine for table runner but could have been finer with cloth strips only 1″ wide. For rug I would make cloth strips 2″ wide minimum.

Click 1st image to go to gallery slideshow.