Scarf No.9

Hi, its me Abelene.

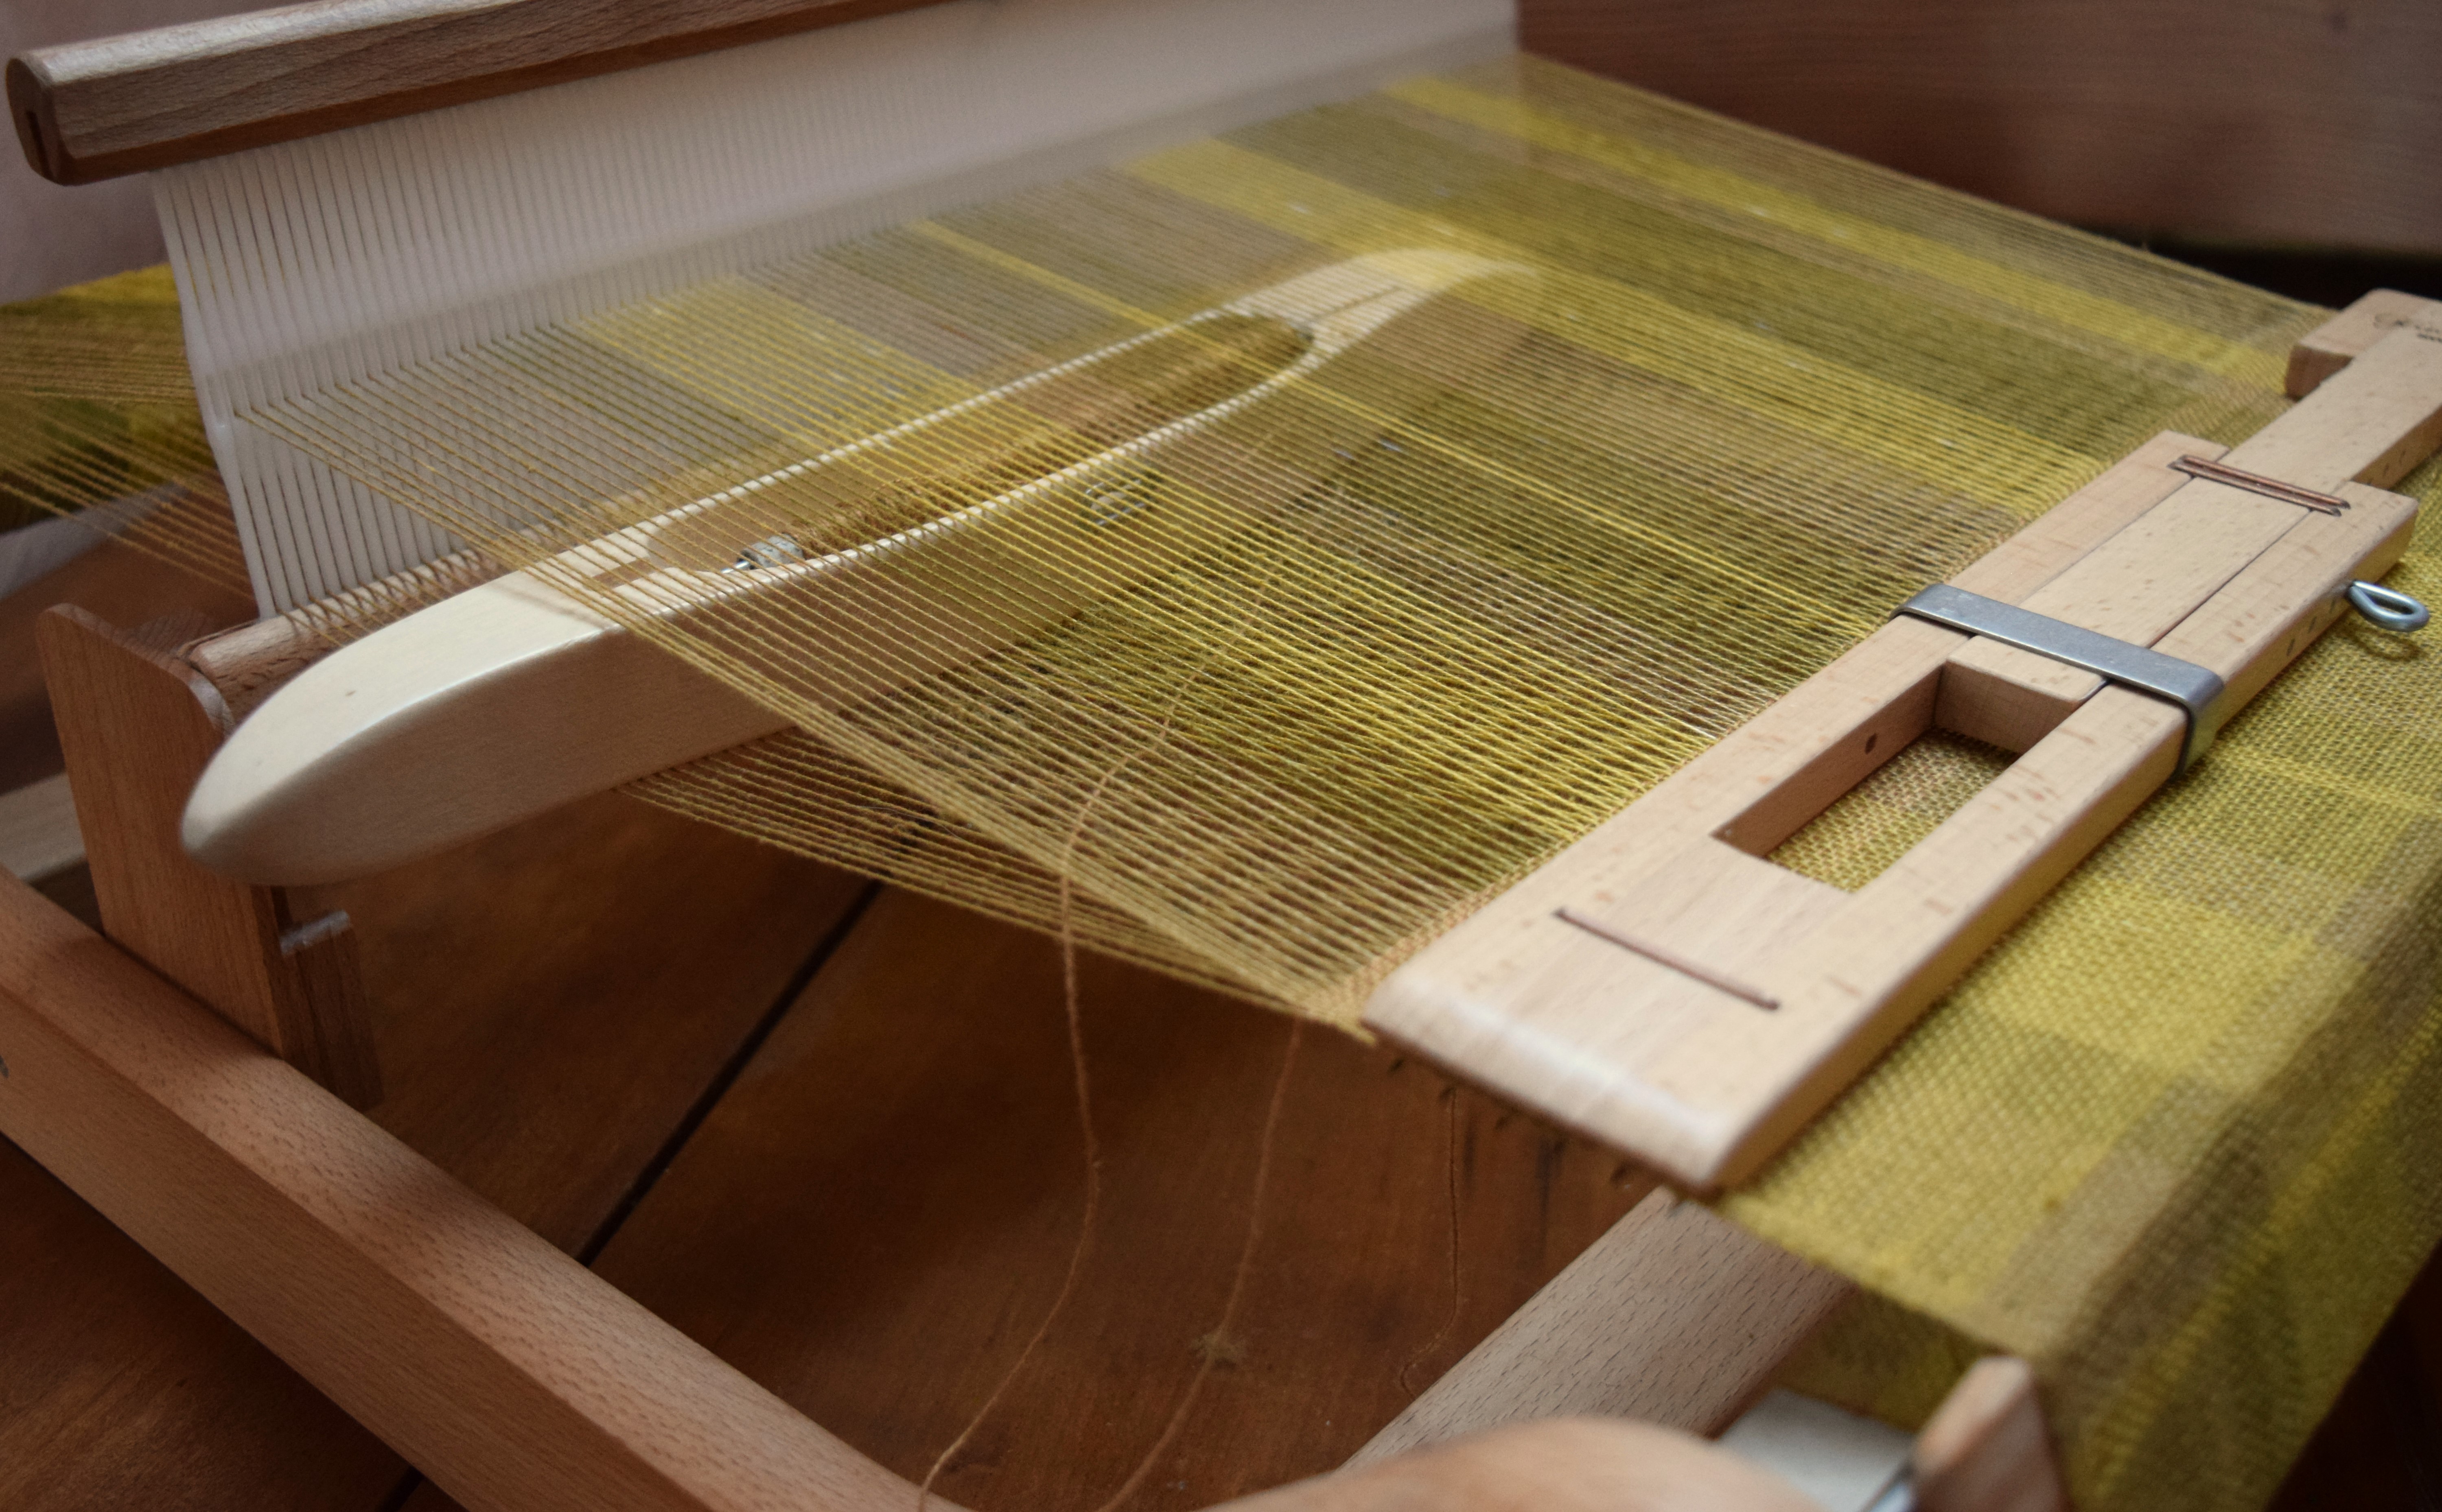
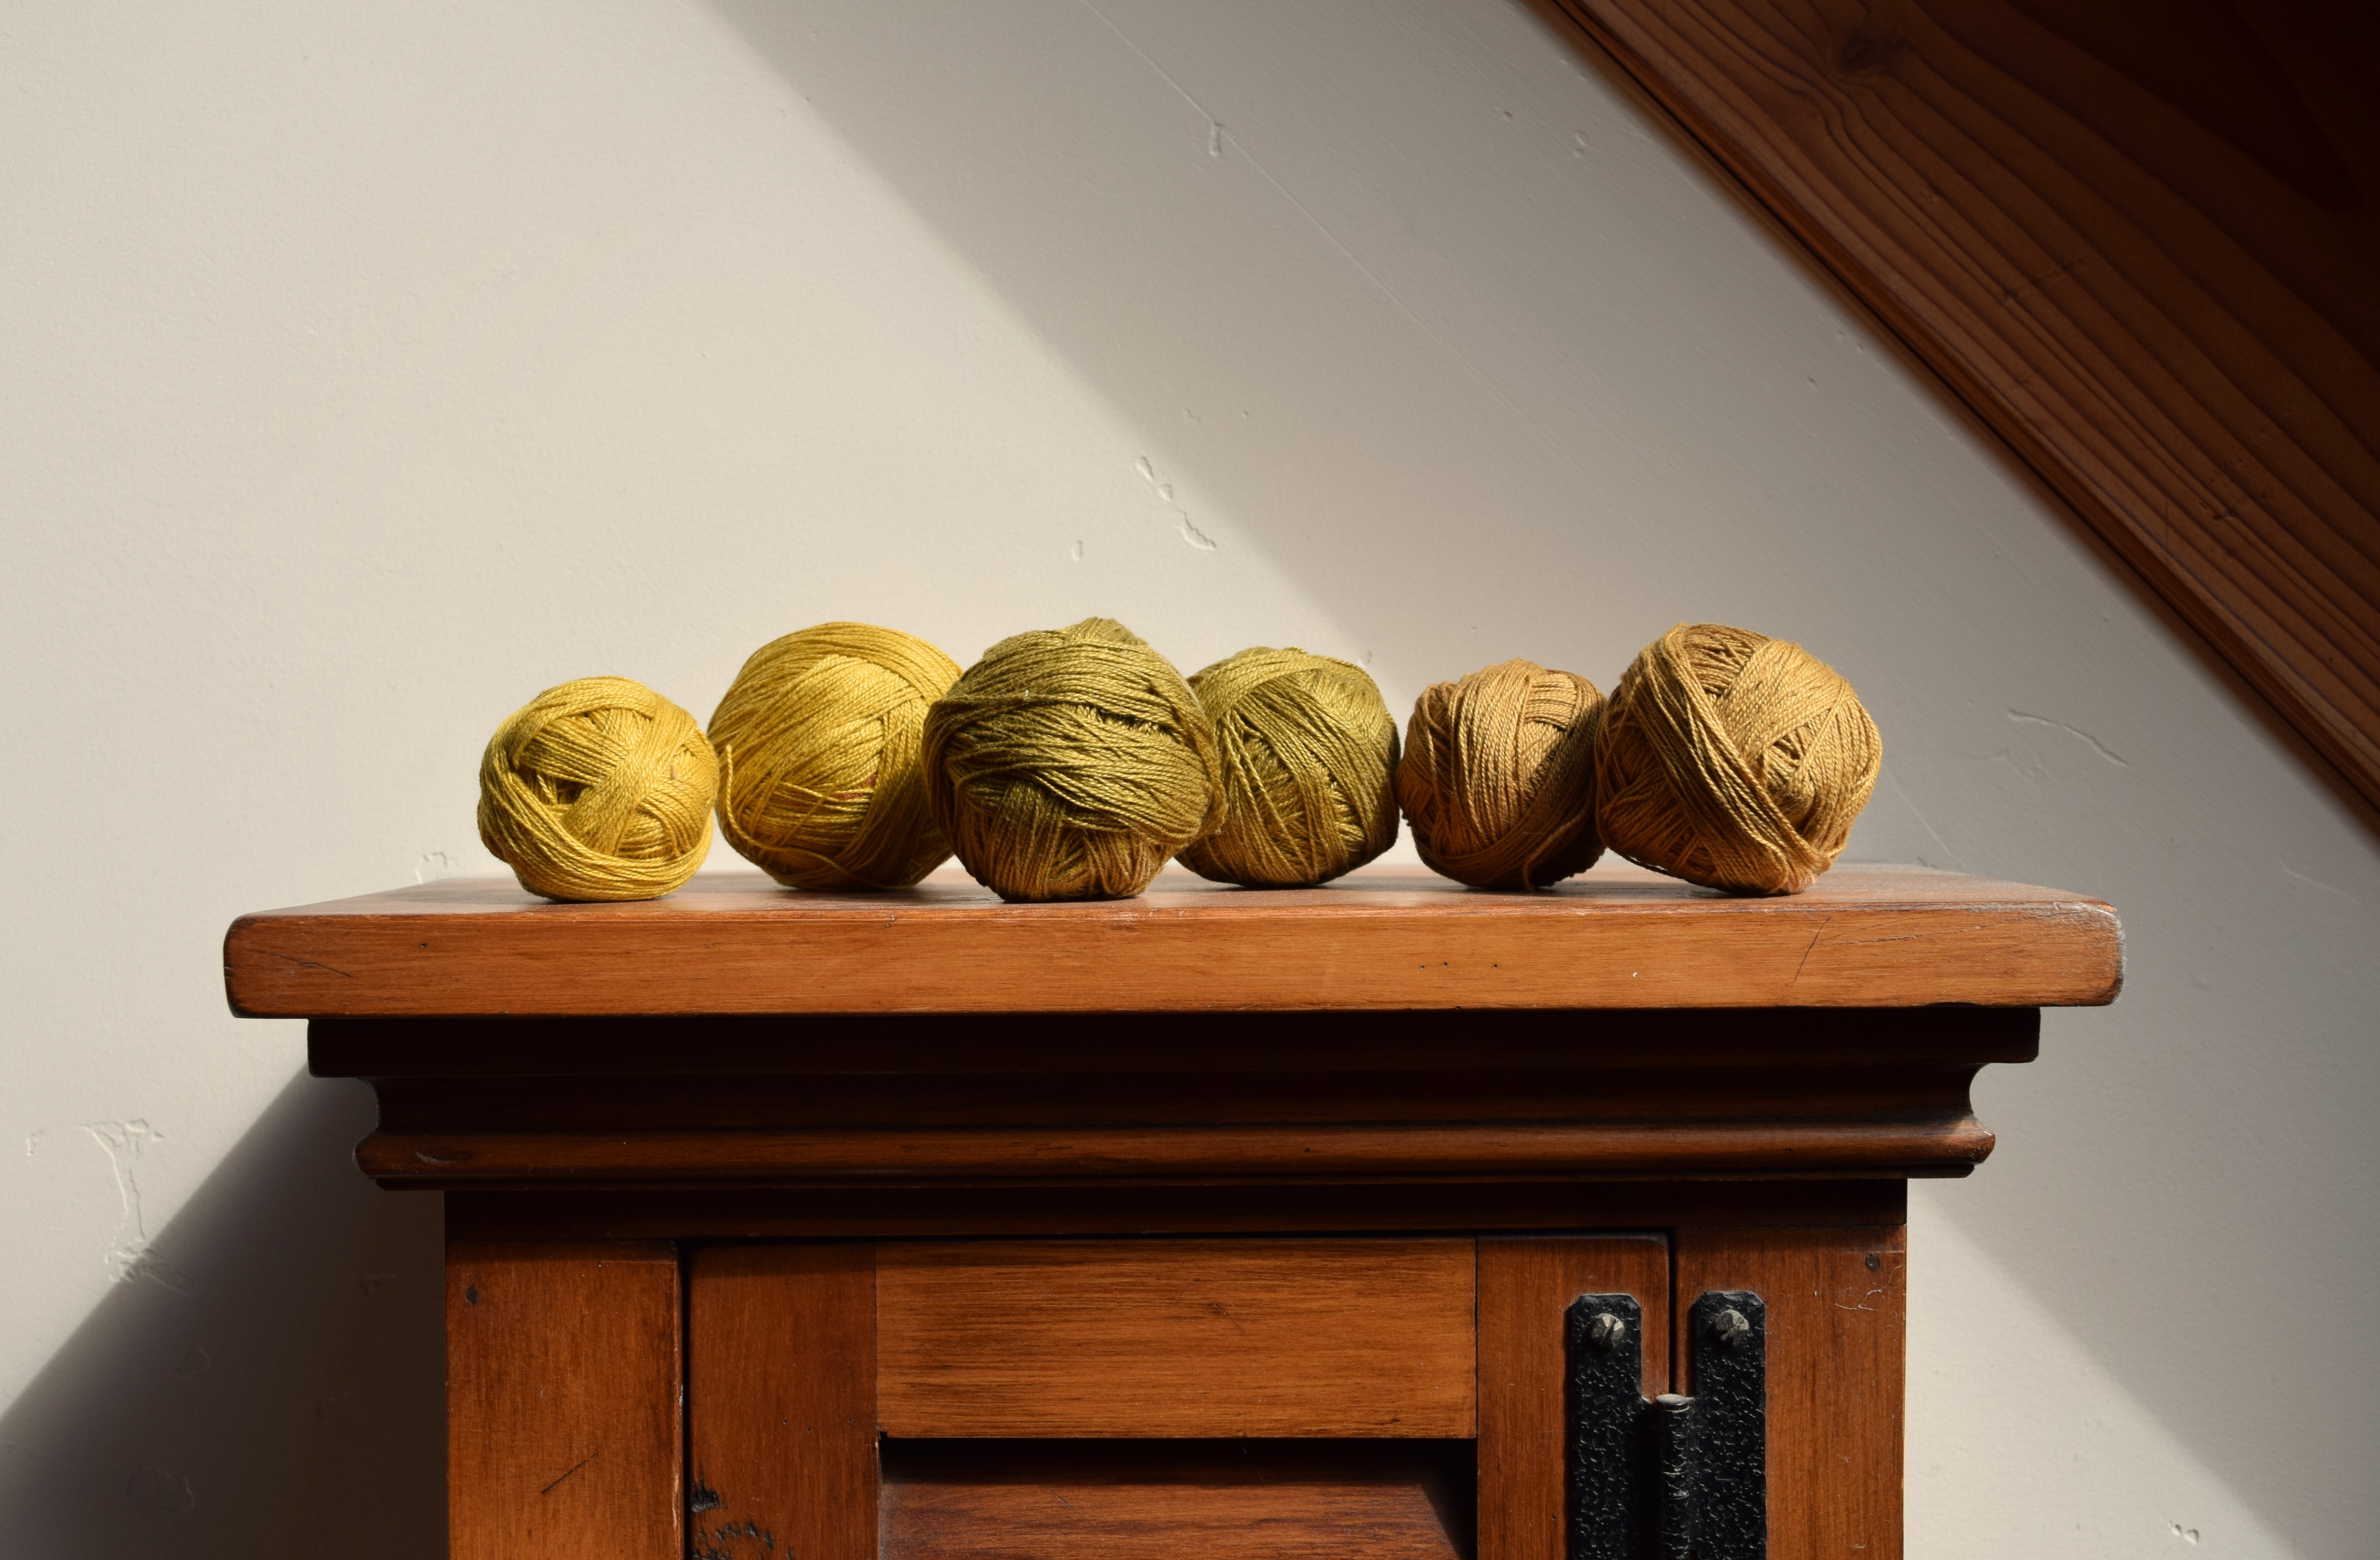
In the end, it was impossible to photograph, the colors could not be grasped by the camera. Even after trying a hundred shots, in different areas of lighting, only these few worked out. But Jen told me how amazing this one was to be weaving freely with no measured blocks of color, just changing quill bobbins randomly, and she has a lot to say about the whole project in the weaving notes below, so I’ll just smile and wave. I personally think the Marigold Scarf (no.9) is so beautiful, in its deep and rich gold tones, and I wish you could see the colors as they really are, but this photo out of all the many, captures the colors best . . .

♣   Weaving Notes  ♣

Note from Jen: Yes, this project was difficult, and I must confess I am not all that encouraged about dyeing cotton but am gaining perspective in the concept of “slow cloth”. After the many steps of scouring, mordanting, dyeing, then finally washing and rinsing, the actual yarn, and that is before the loom is even warped. I must ask myself is it worth it? I ponder this because I really love weaving, but maybe the added overwhelm from dyeing the cotton yarns first did add a new level of complexity. I have tried indigo, madder, pomegranate and marigold, and in every yarn the results were dull and almost unappealing as the sheen of the undyed mercerized cotton was lost after all the processing through the steps, the luster was gone. I will not give up, I just need a small break, in order to be fresh for learning again. You can see all posts for this project here.

  • Yarn: Yellow , dark gold , green gold overdyed 10/2 yarn (see this post. )
  • Loom: Ashford 16″ rigid heddle loom.
  • Additional tools: I used a temple and the board I rest against the cloth beam to stabilize and lengthen the weaving surface.
  • Warp:  Direct warp set-up, 1 end in every heddle/hole, and 1 in every dent/slot –drawing out from apron rod to peg is approx 110 inches from apron rod to warping peg.
  • Number of warp ends: 239.
  • Reed: 15 dent rigid heddle 15.5″ in reed. (The loom says 16″ weaving width, but there is only the capacity in the reed for 15.5″ .
  • Sett on loom: Warp = 15 epi,  weft = 15 ppi
  • Sett after finishing: Warp 16 epi, and weft 16-18 ppi.
  • Color Pattern: Warp =  random pattern.
  • Finished: 3 inch twisted fringe, then washed and dried in machine, then pressed. Measures 78″ long (not including fringe) and 14″ wide, and weighs 135 g. 
  • Yardage:  Total yardage used is approx 1250 y, figured from weight of finished piece and not including loom waste.
  • Note to self, recipient was eventually Camille, although it was intended for Nina.

weaving marigold

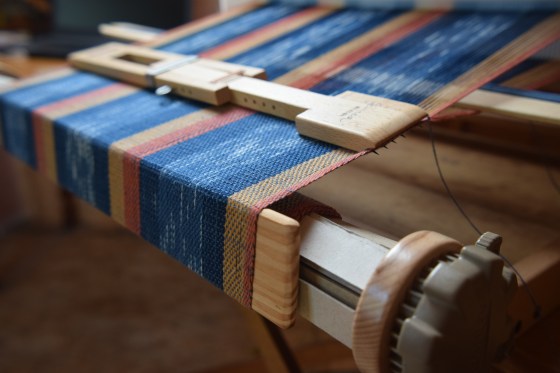
I am weaving with the natural marigold dyed 10/2 weight cotton from this post. I really am glad I got this little loom, for I will be able to weave up my few experimental dyed balls of cotton into something beautiful and useful, at the very least a scarf. Another very wonderful thing is that finally I can use the boat shuttle I bought nearly a year ago, but never could make it work right as it would dive down through the shed in the wider warps on the other looms. But this little loom having a maximum width of only 16 inches, I can place the shuttle into the shed with one hand and guide it under an inch, when my other hand greets the shuttle as it reaches the other side. And it is so easy it is to change out colors in a boat shuttle, especially for a random unmeasured pattern like this weaving, just switch out the quill bobbins with the three different colors when I feel like it . . . improvising and enjoying.

Additionally the breast board I rigged in this post which rests on, and in front of, the cloth beam, and held in position from the warp tension, is working wonders giving me more weaving room, especially as the temple occupies a substantial proportion of surface area, and brings the weaving edge up a couple of inches, so by using this board I can place the temple back beyond what is possible had I not been using the board, so it seems that I gain back the 2 inches that is lost. This really is maximum weaving enjoyment with minimum space, and yarn!

marigold

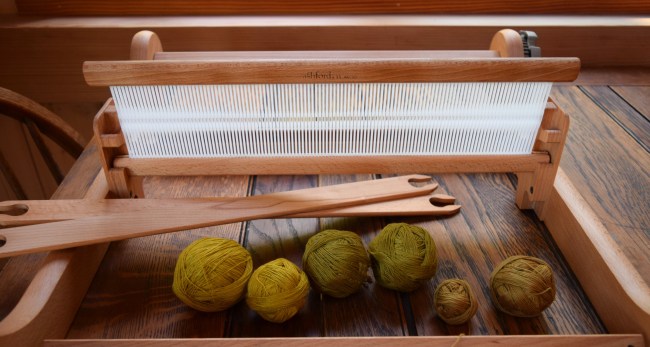
I have just put together my little Ashford 16-inch rigid heddle loom. It arrived yesterday, and immediately after I rubbed all the wood pieces with butcher block wax, then this morning I assembled it with excitement, as my mind filled with visions as to what beautiful and interesting textiles will be woven on it. There is no denying these rigid heddle looms are addictive and tend to fill as much available space in one’s life as there is ambition to weave on them.

I know, I know, I already have several other looms, but I decided to get this little one anyway, and it really wasn’t at all that expensive. I just wanted a simple small loom to weave simple plain weave scarves only, a modest little destination loom for my modest little dye experiments, natural or commercial dyes, I’m no snob about it.

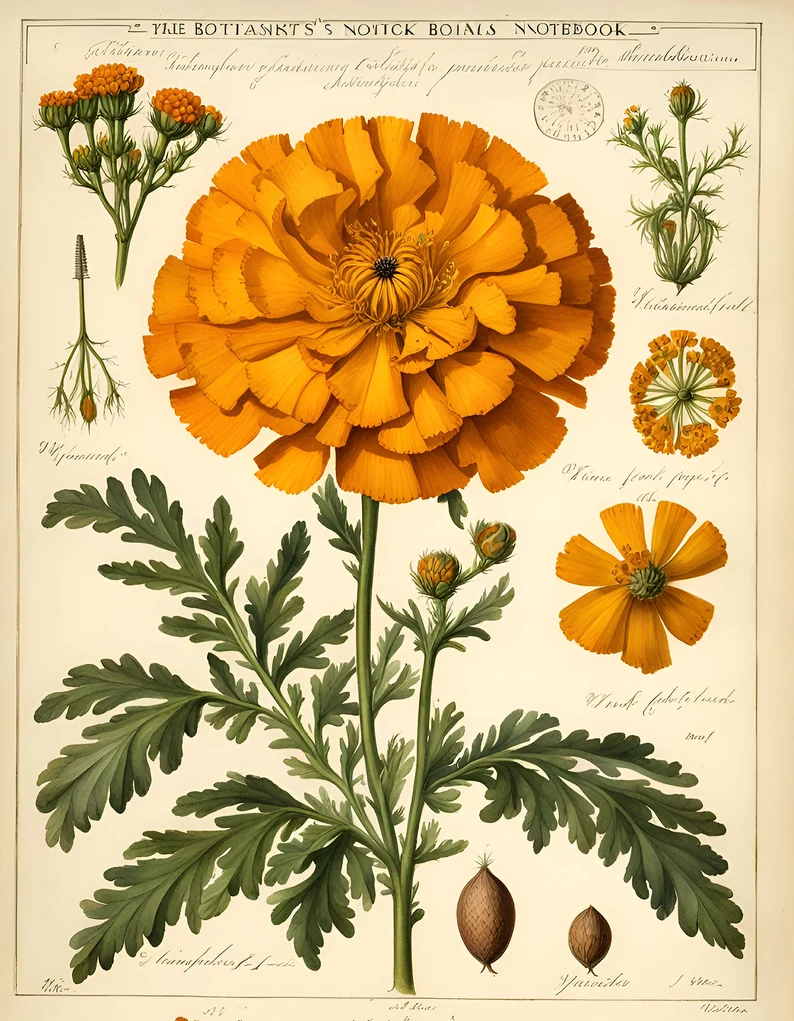
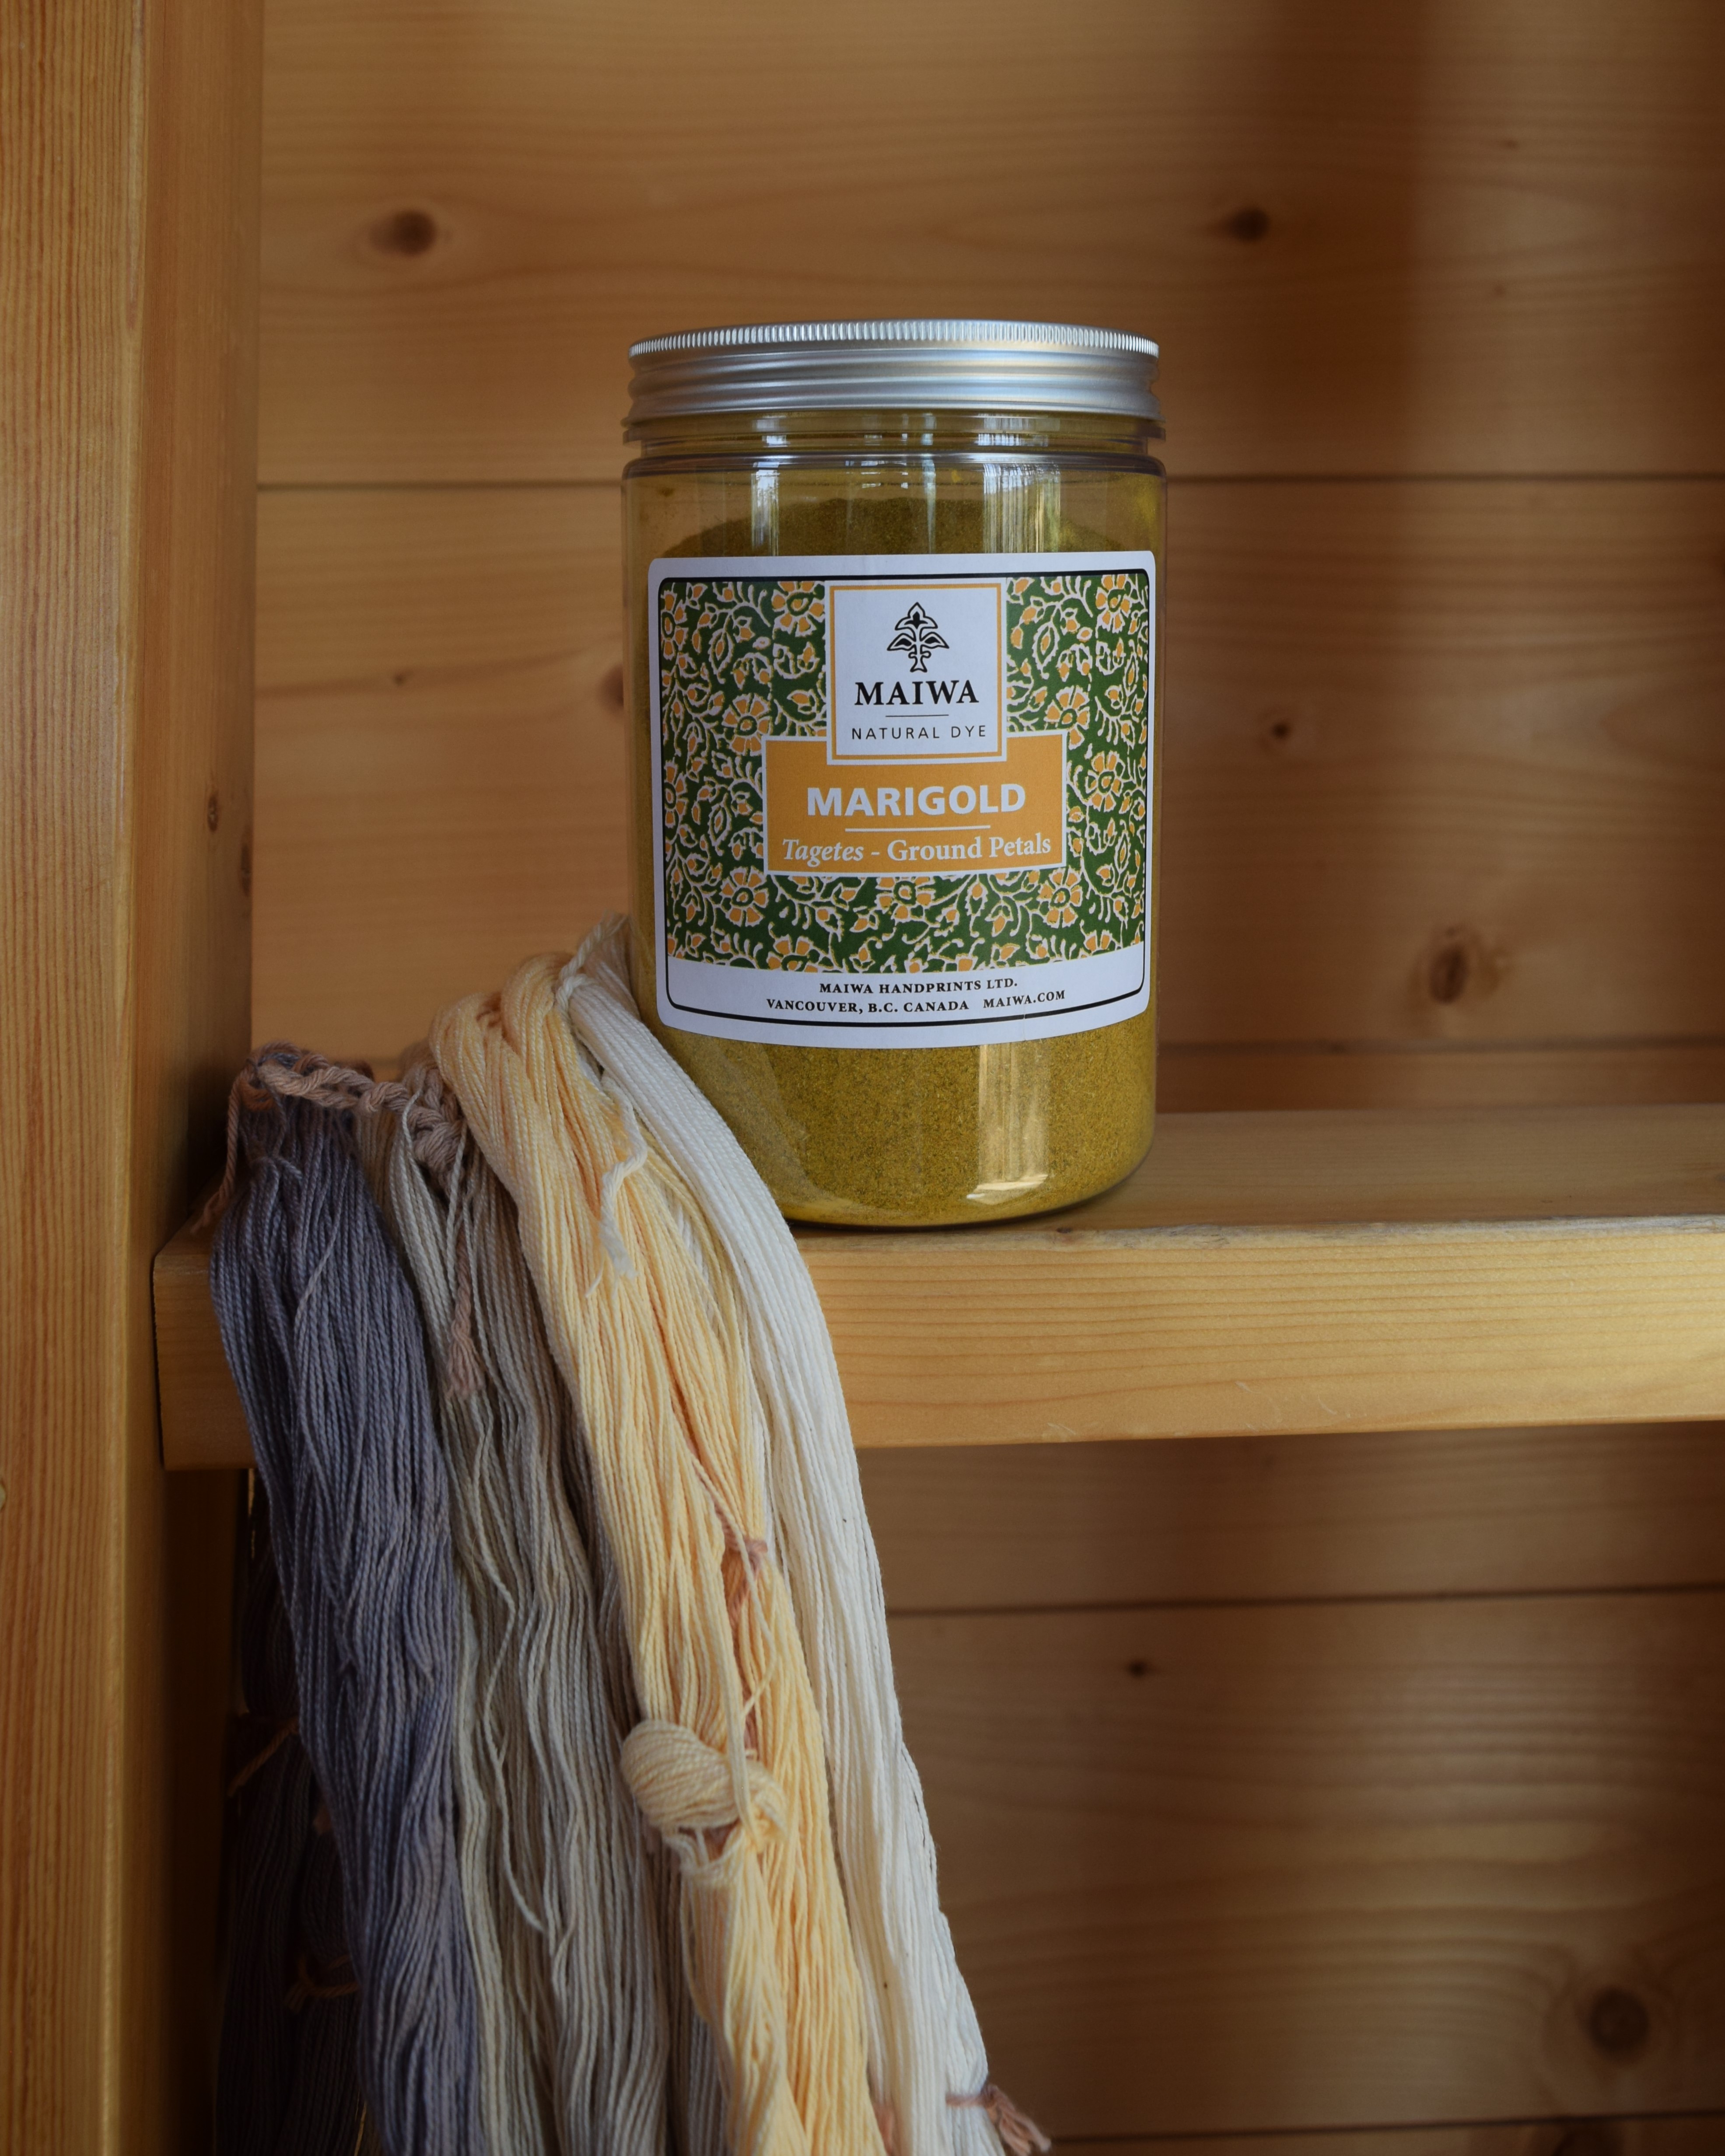
This first project is cotton dyed with natural marigold flower petals! The remarkable thing about this project is that I used a shortcut to a varied colorway by simply over-dying different shades of neutral tones, all in one dye bath of marigold flower petals. Plain and simple, the way I like to do things. I’ve written detailed dye notes below and stay tuned for a finished weaving coming up in the territory ahead.

♣   Dye Notes ♣

I got back to the dye pot, determined to have an easier time of it, working over all my beginner’s doubt with a fine-tooth comb. I hovered over the instructions nervously, double and triple checked every step before commencing, and yet still I was having to improvise and make adjustments. Scoured, check! Mordanted, check! Dyed, check! One hour devoted to each step, not including the tea over-dye. I was quite exhausted by the end of it all.

I started out with four colors of varying tones and hues of neutral, wrongly assumed I would have four colors over overdyed yarns, and ended up with only two; the grey was a darker shade, but all the others looked almost the same. After all was rinsed and hanging dry on the clothesline, I quick made literal quart sized pot of strong tea of Yorkshire Red, basically a tannin bath, and in went the lightest of the yellow shades which shifted immediately to a rusty brownish orange, absolutely beautiful! Love the way nothing can be predictable, and I am ready to make a panic decision at any moment. Now that all is dried the result is three slightly different shades of marigold, and what I figure is the spectrum of the marigold flower, from yellow to deep gold to greyish yellow green.

  • Yarn: Valley Yarns 10/2 mercerized cotton in colors: Natural (8176), Autumn Blonde (1405), Shell (7503), and Frost Gray (8798).
    • All were scoured together for 1 hour with soda ash.
    • All were mordanted together for 1 hour with Alum Acetate.
    • All were overdyed in same bath with marigold petals, but colors Natural and possibly some of the others were again overdyed in Yorkshire Red tea, for about 6 minutes in the pressure cooker on low pressure, for just a kiss of color to deepen the yellow, which turned to a deeper gold.
    • The marigold overdyed Grey yarn appears a deeper greenish yellow, a wonderful surprise! There must have been a little blue in the grey.
  • What I will do differently next time: I will use distinct different values of neutrals, such as natural or white, light grey, and medium-dark grey. The Natural, Autumn Blonde, and Shell colors may have been different hues very slightly but all the same very light value, so after overdyed and dry, all looked the same, I could not tell the difference — I should have labeled the yarns!

Ikat No. 1

This piece is my first attempt at ikat, even though it is only a simple random ikat. I saw a short film on Japanese Kasuri, and wanted to try working with ikat, posted in Knotty. But natural dyeing to me is tricksome, particularly dying cellulose fibers like cotton and linen, and particularly indigo which works in an alkaline solution, which cellulose fibers require. To add, alkalinity is the enemy of wool, which is the only fiber I have significant experience with and possibly the most desire to work colors into. Dying cellulose fibers, such as commercial weaving yarns, involve scouring extremely well, mordanting properly, dying, then neutralizing and rinsing till the cows come home … requiring many chemical ingredients and meticulous measured steps which are very complicated and a lot of work. And if scouring is not done properly a thing happens called “crocking”, where instead of the dye imbedding fully into the yarn, some of it hangs out on the surface ready to rub off on things and ruin them … on to your favorite weaving equipment, on to the clothes worn while weaving, and after being washed the dye gets into the other colors in the weaving itself, which happened to this piece regretfully.

I wish I knew this about the pH issues and limitations before jumping in, and think at this point I need to put the dyes away for while and release myself from self-imposed expectations of dye mastery! I have learned that both commercial dyes and natural dyes have their pros and cons, and I will likely go back to my old favorite reliable powdered Jacquard dye with wools, which are protein fibers, for it needs only a splash of vinegar in the dye bath, a quick scalding, and the dyebath exhausts beautifully if done correctly. Maybe I will again try ikat weaving with wool and Jacquard dyes next.

Going forward, and I have asked myself this: Why spend so much time, money, and resources on the things I am a rank beginner at, while falling behind and not bringing to fruition the things I have a bit of and skill (dare I say talent) with, and really should aspire to become better at? There are a lot of things I want to do, but at this point in my life, I must narrow down the possibilities, eliminating distractions is essential.

♣   Weaving Notes  ♣

There are no technical weaving notes in this post, but I want to document something remarkable I discovered for rigid heddle weaving ! When I was more than halfway through the weaving, and the front cloth beam was getting pretty packed with woven fabric and cardboard I found the cloth beam to have a certain amount of “squish”, the selvedges conforming to the curve of the cloth winding on irregularly, and not really producing a perfectly flat weave. This I assume is one of the things about rigid heddle weaving, the cloth beam builds cloth and as it does the woven cloth distorts in shape, as well as effects the stability of the tension.

I had an idea of propping a piece of wood against the wound cloth on the cloth beam, right at the edge, creating a sort of breast beam setting on top of the wound cloth. I found a piece of board which I had used it for separating the shed wider in backstrap weaving, so I positioned it on the cloth beam so that when I tightened the warp, the tension held it in place, creating a very stabilized and firm straight edge for the weaving, and I found I gained quite a bit of extra space on the weaving too, especially for the temple. The more cloth on the beam, the further back the stabilizing board it sits, creating a longer weaving area in front of the reed! I am going to explore this idea in the future, for I am very excited!

Note to self, recipient was eventually Rosanna.

Out in Autumn

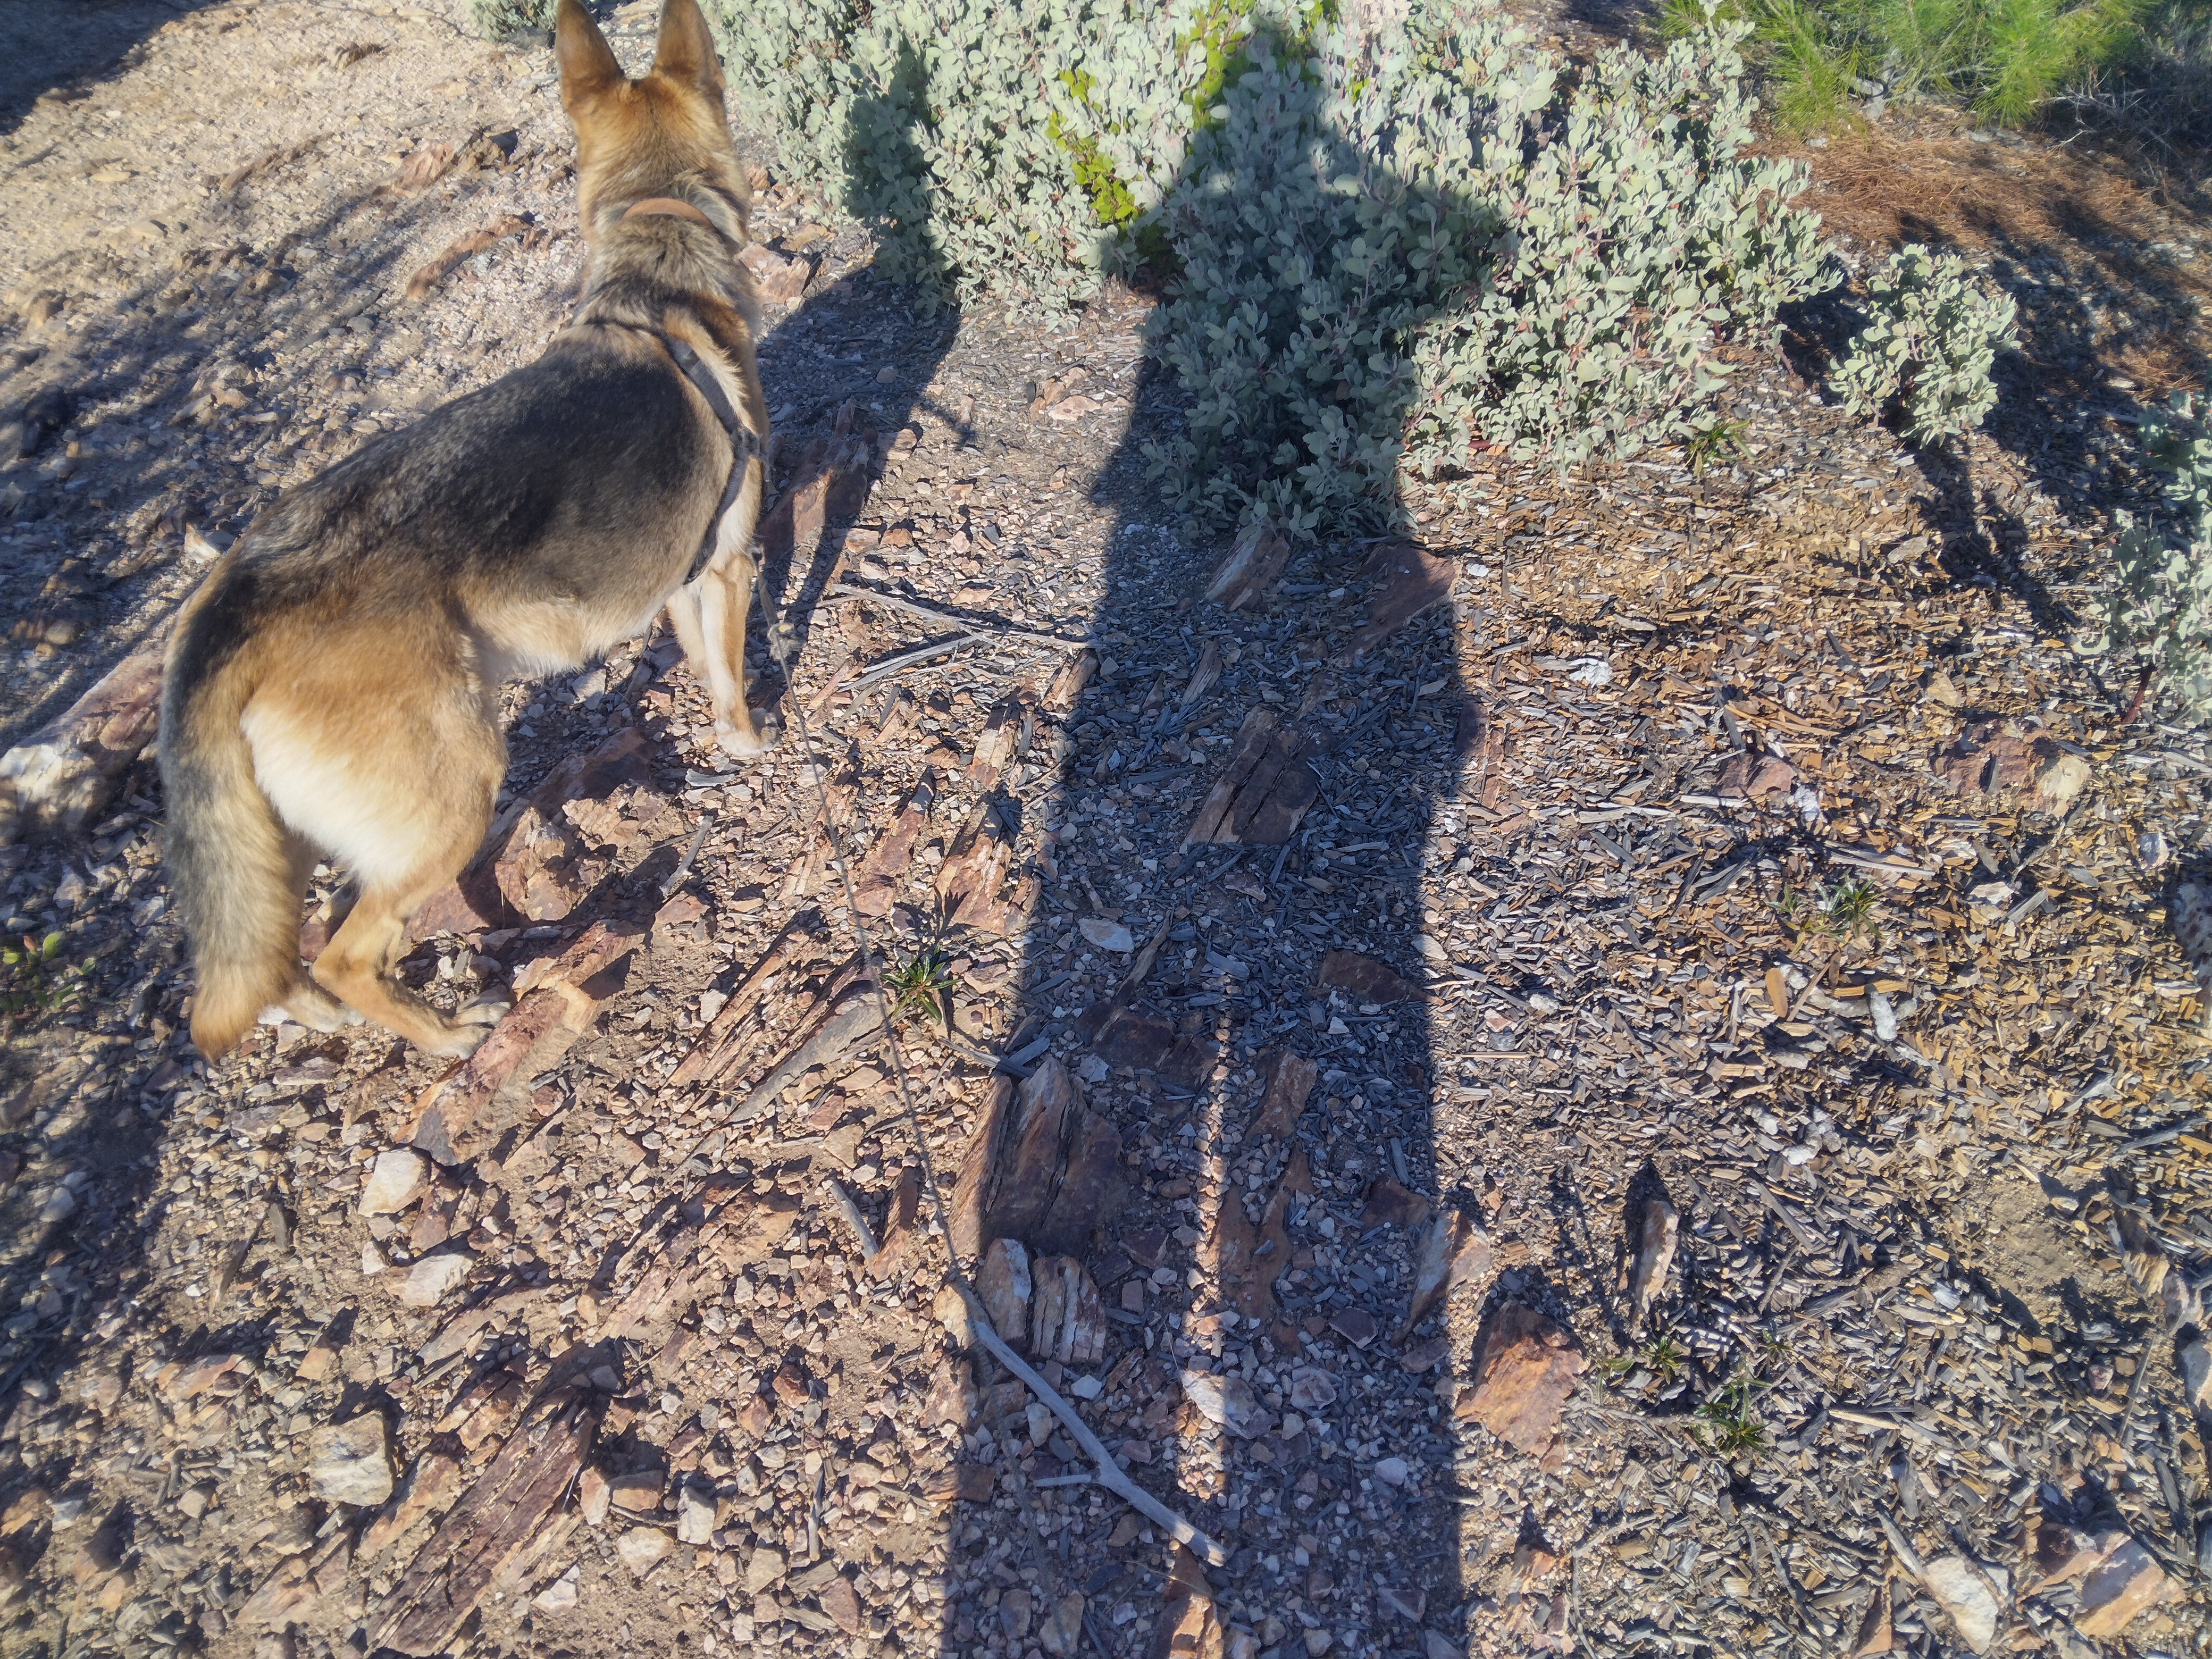
Walking out in Autumn with Juno this morning, up to the precipice, overlooking a beautiful fog in the valley below, and cool enough at 8:30 in the morning. Again, I used my phone, which I keep in a little hip pack whenever I go hiking now, but so disappointed the phone’s photos portray everything hazy and colorless (next time I absolutely must bring my camera!) but I did get some photos of the top of the mountain, and on the way back down. I’m making a good effort with Juno to be out as much as possible in my favorite time of year, cherishing the landscape, although heat still hovering in waves, dusty, dry, and thirsty, hoping for the rains to start soon, and give it a good drink!