Tweed Chronicles: Quick Mix

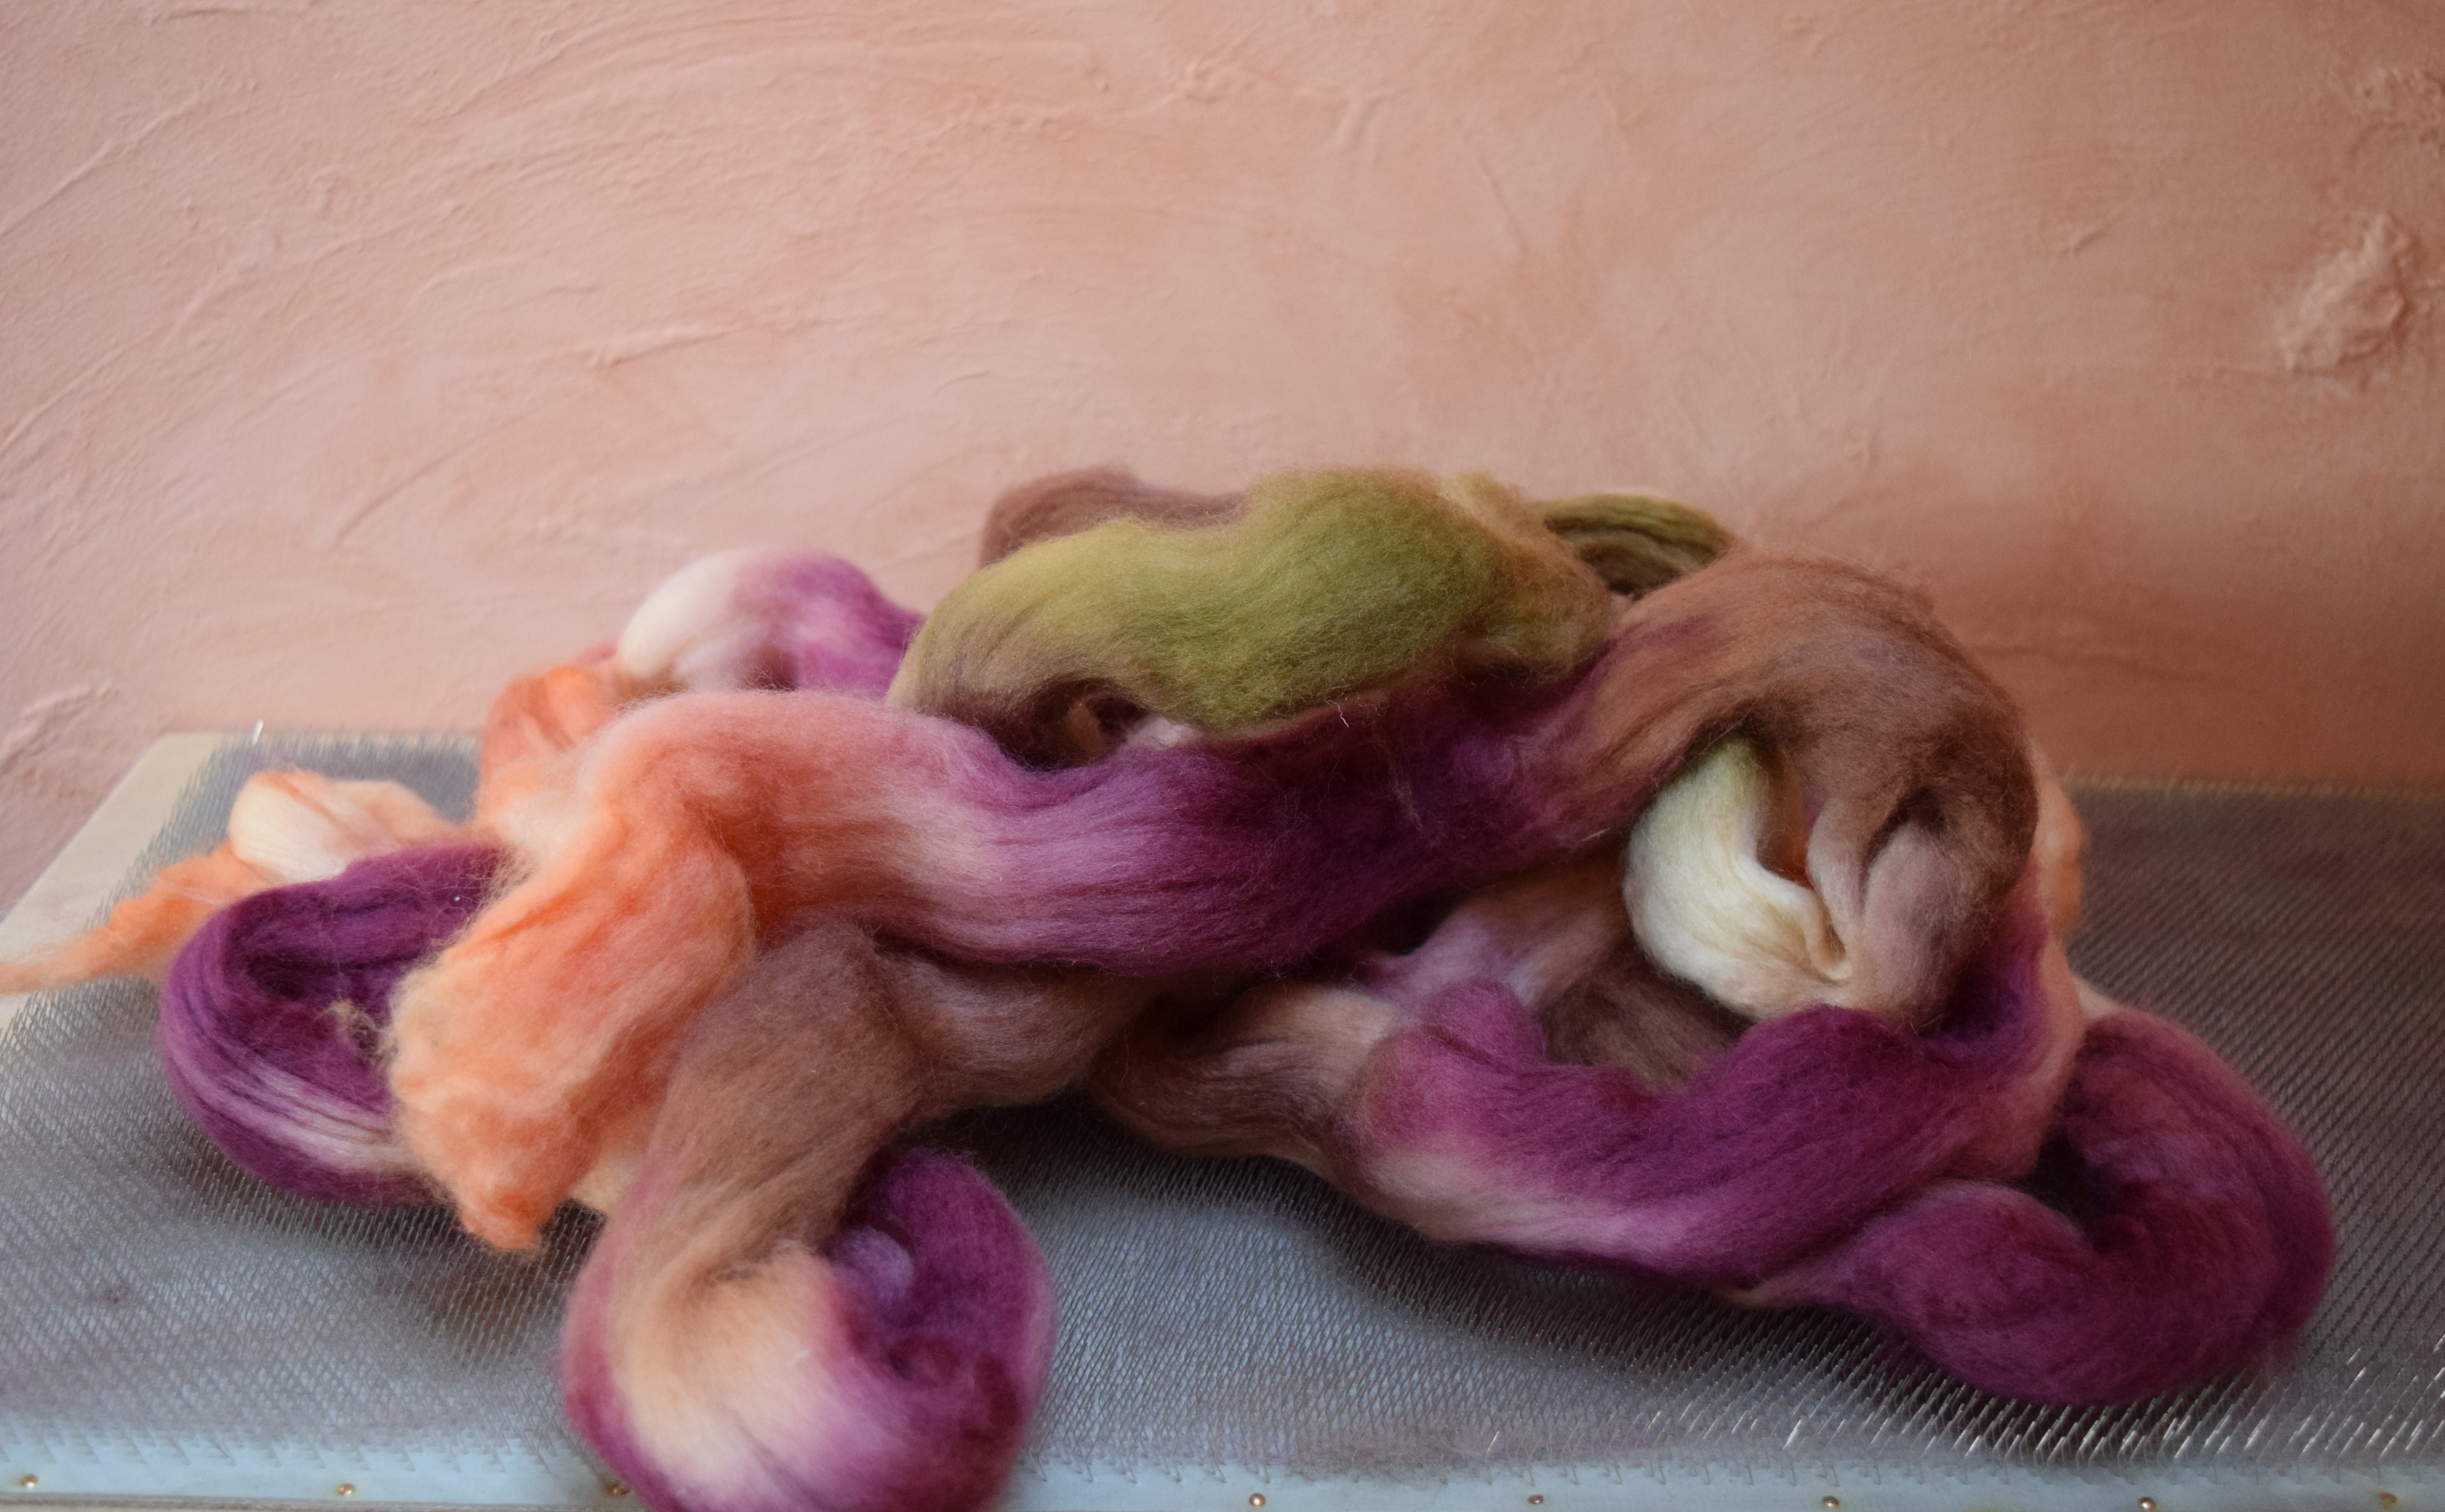
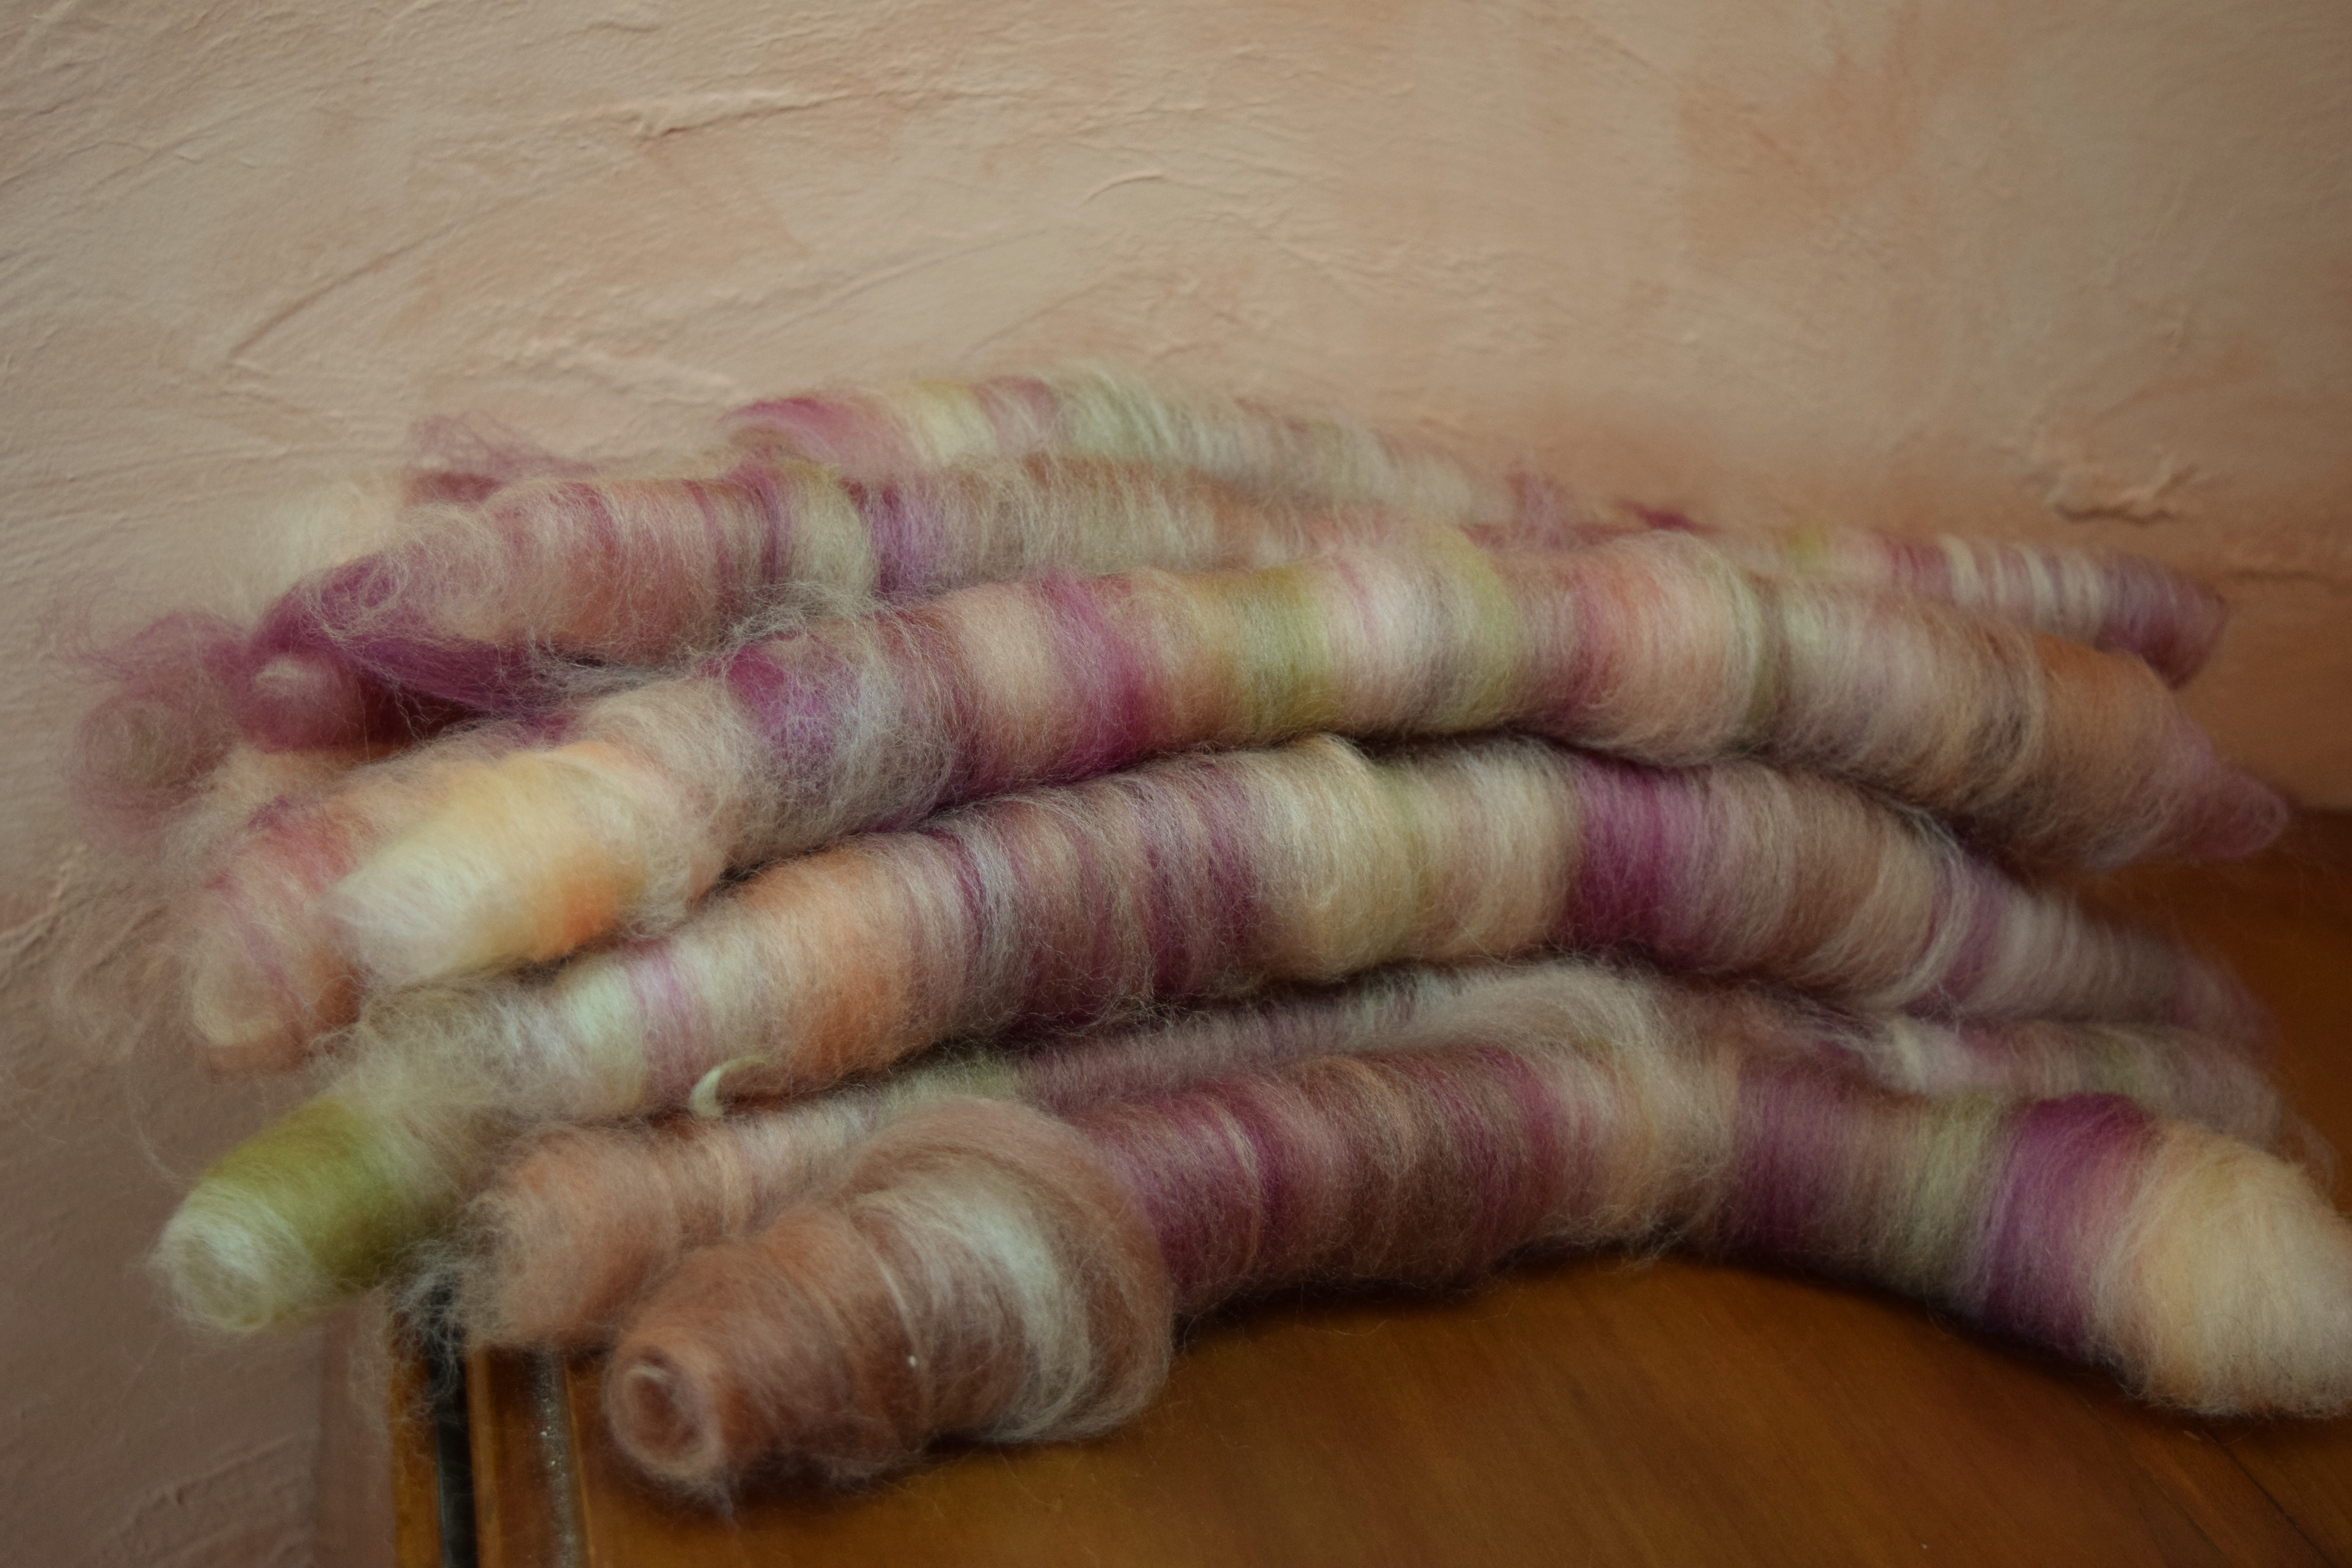
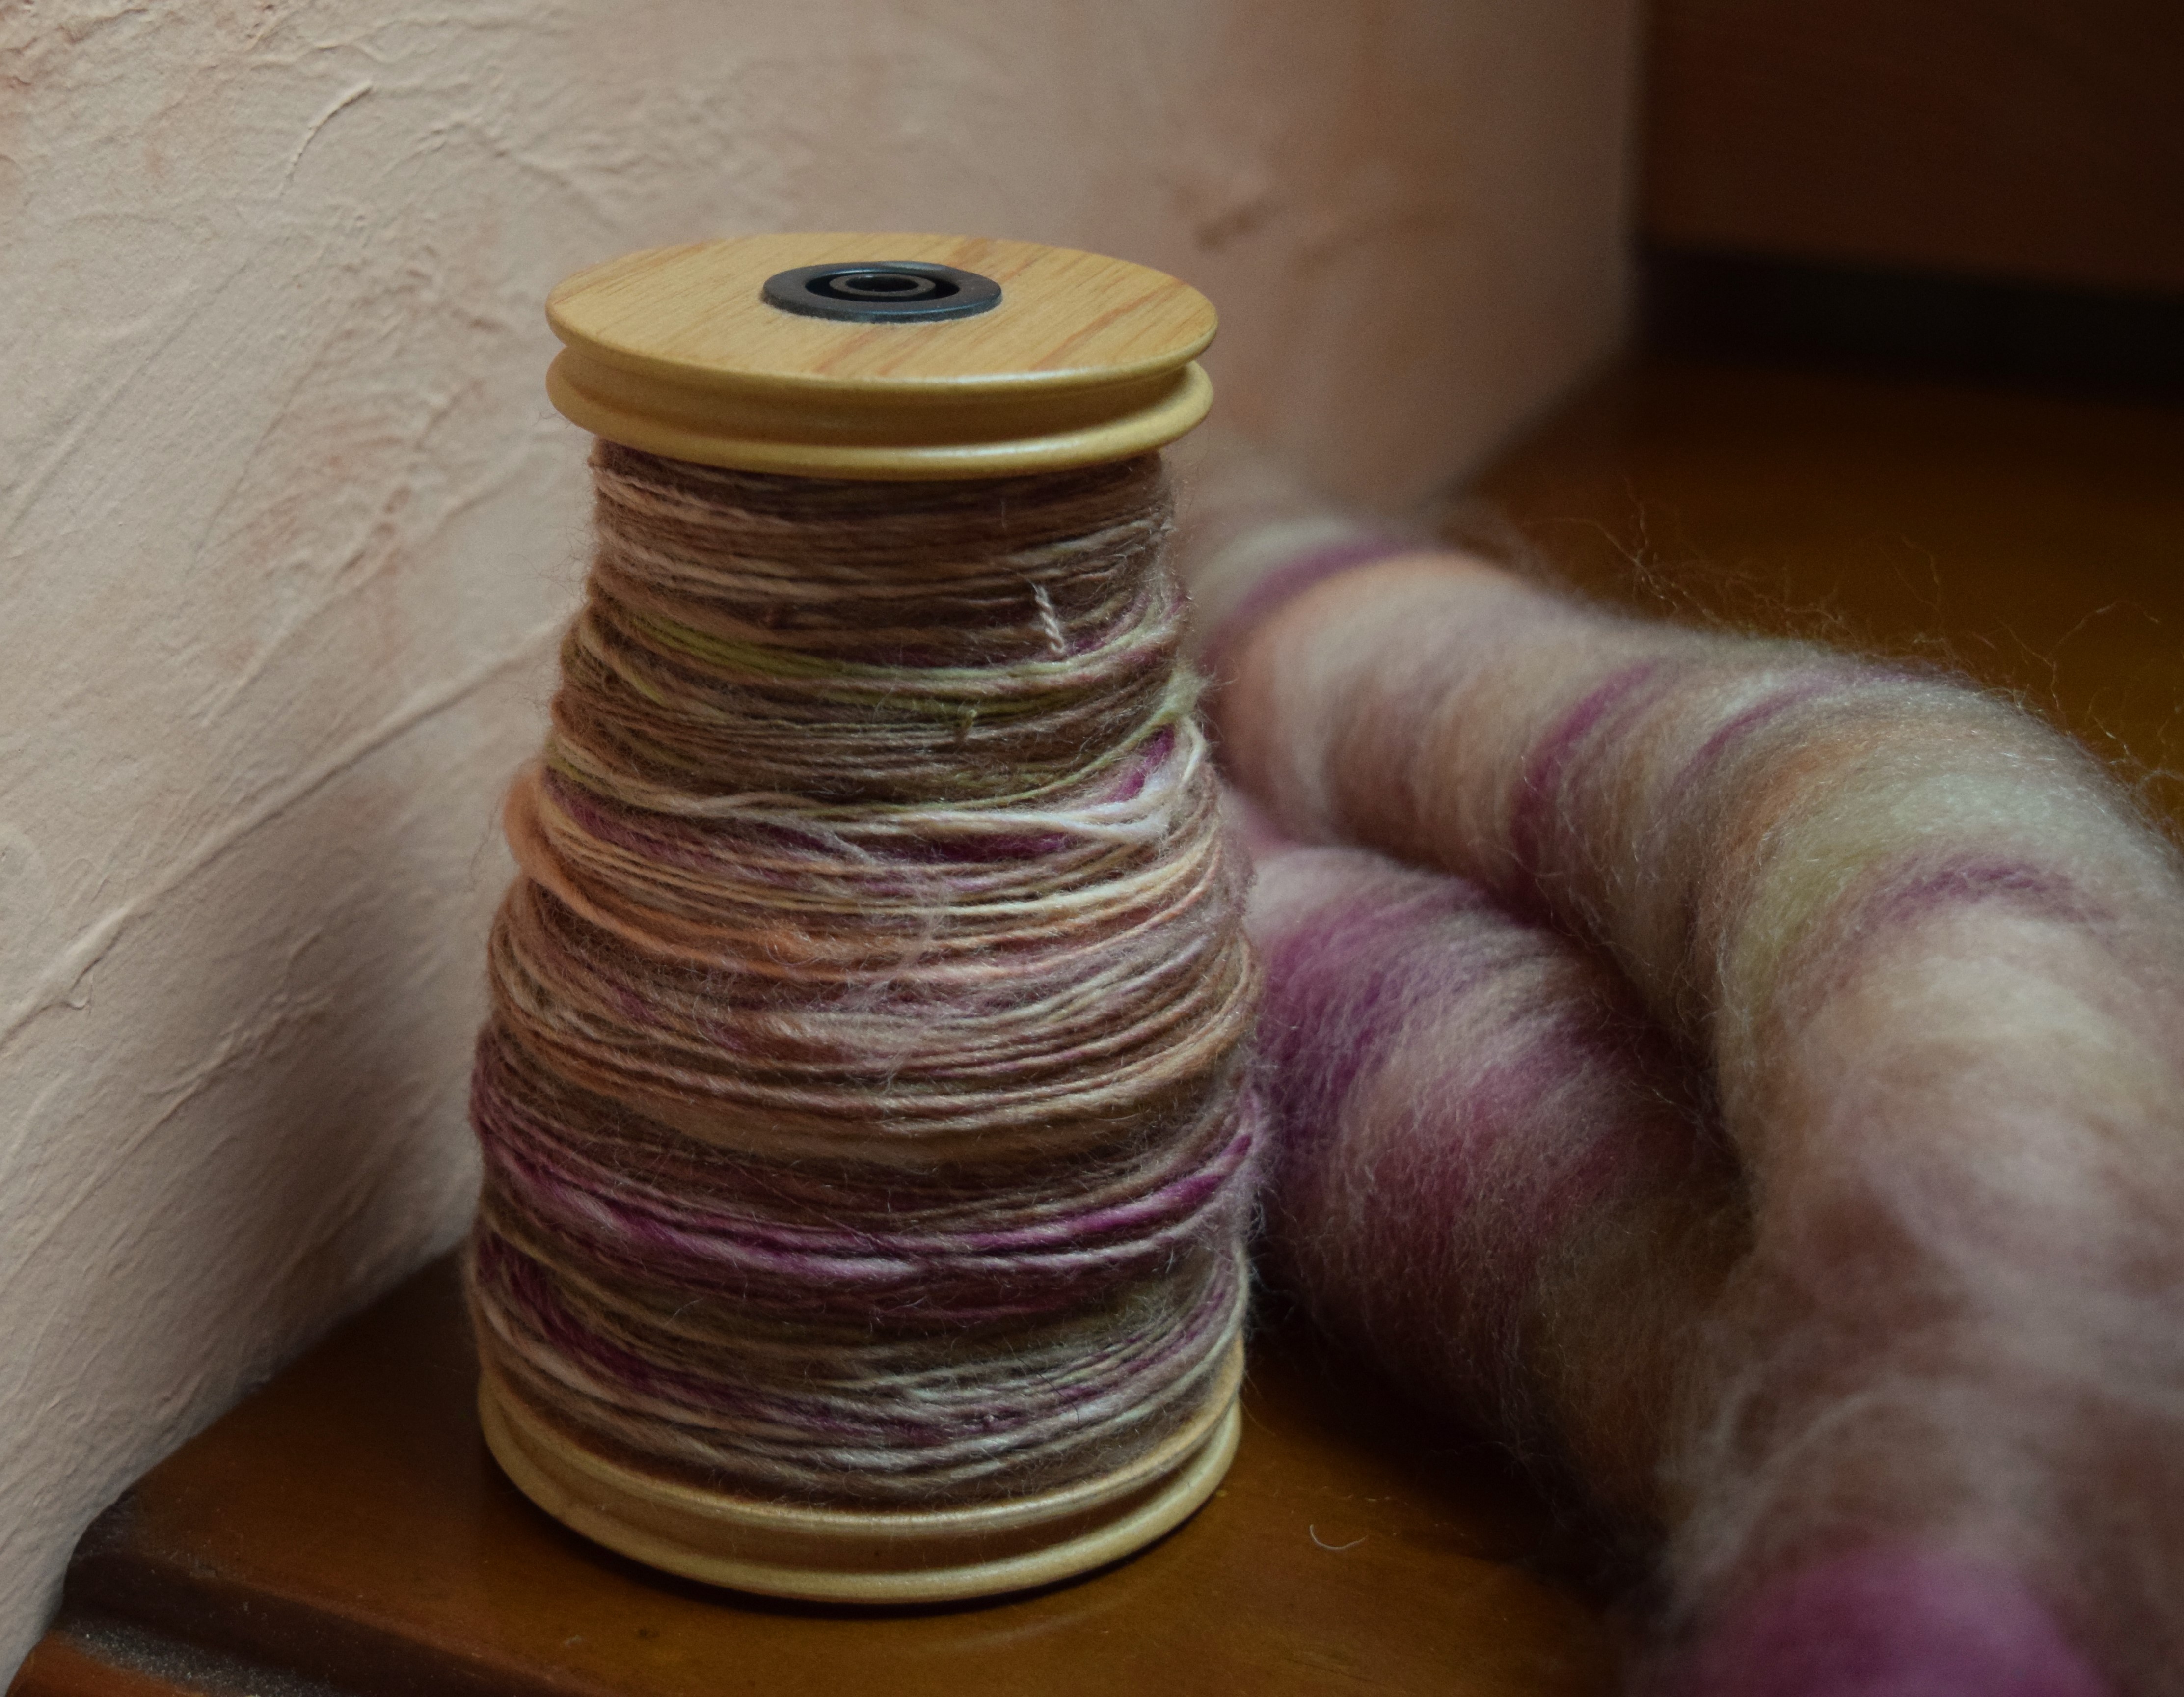
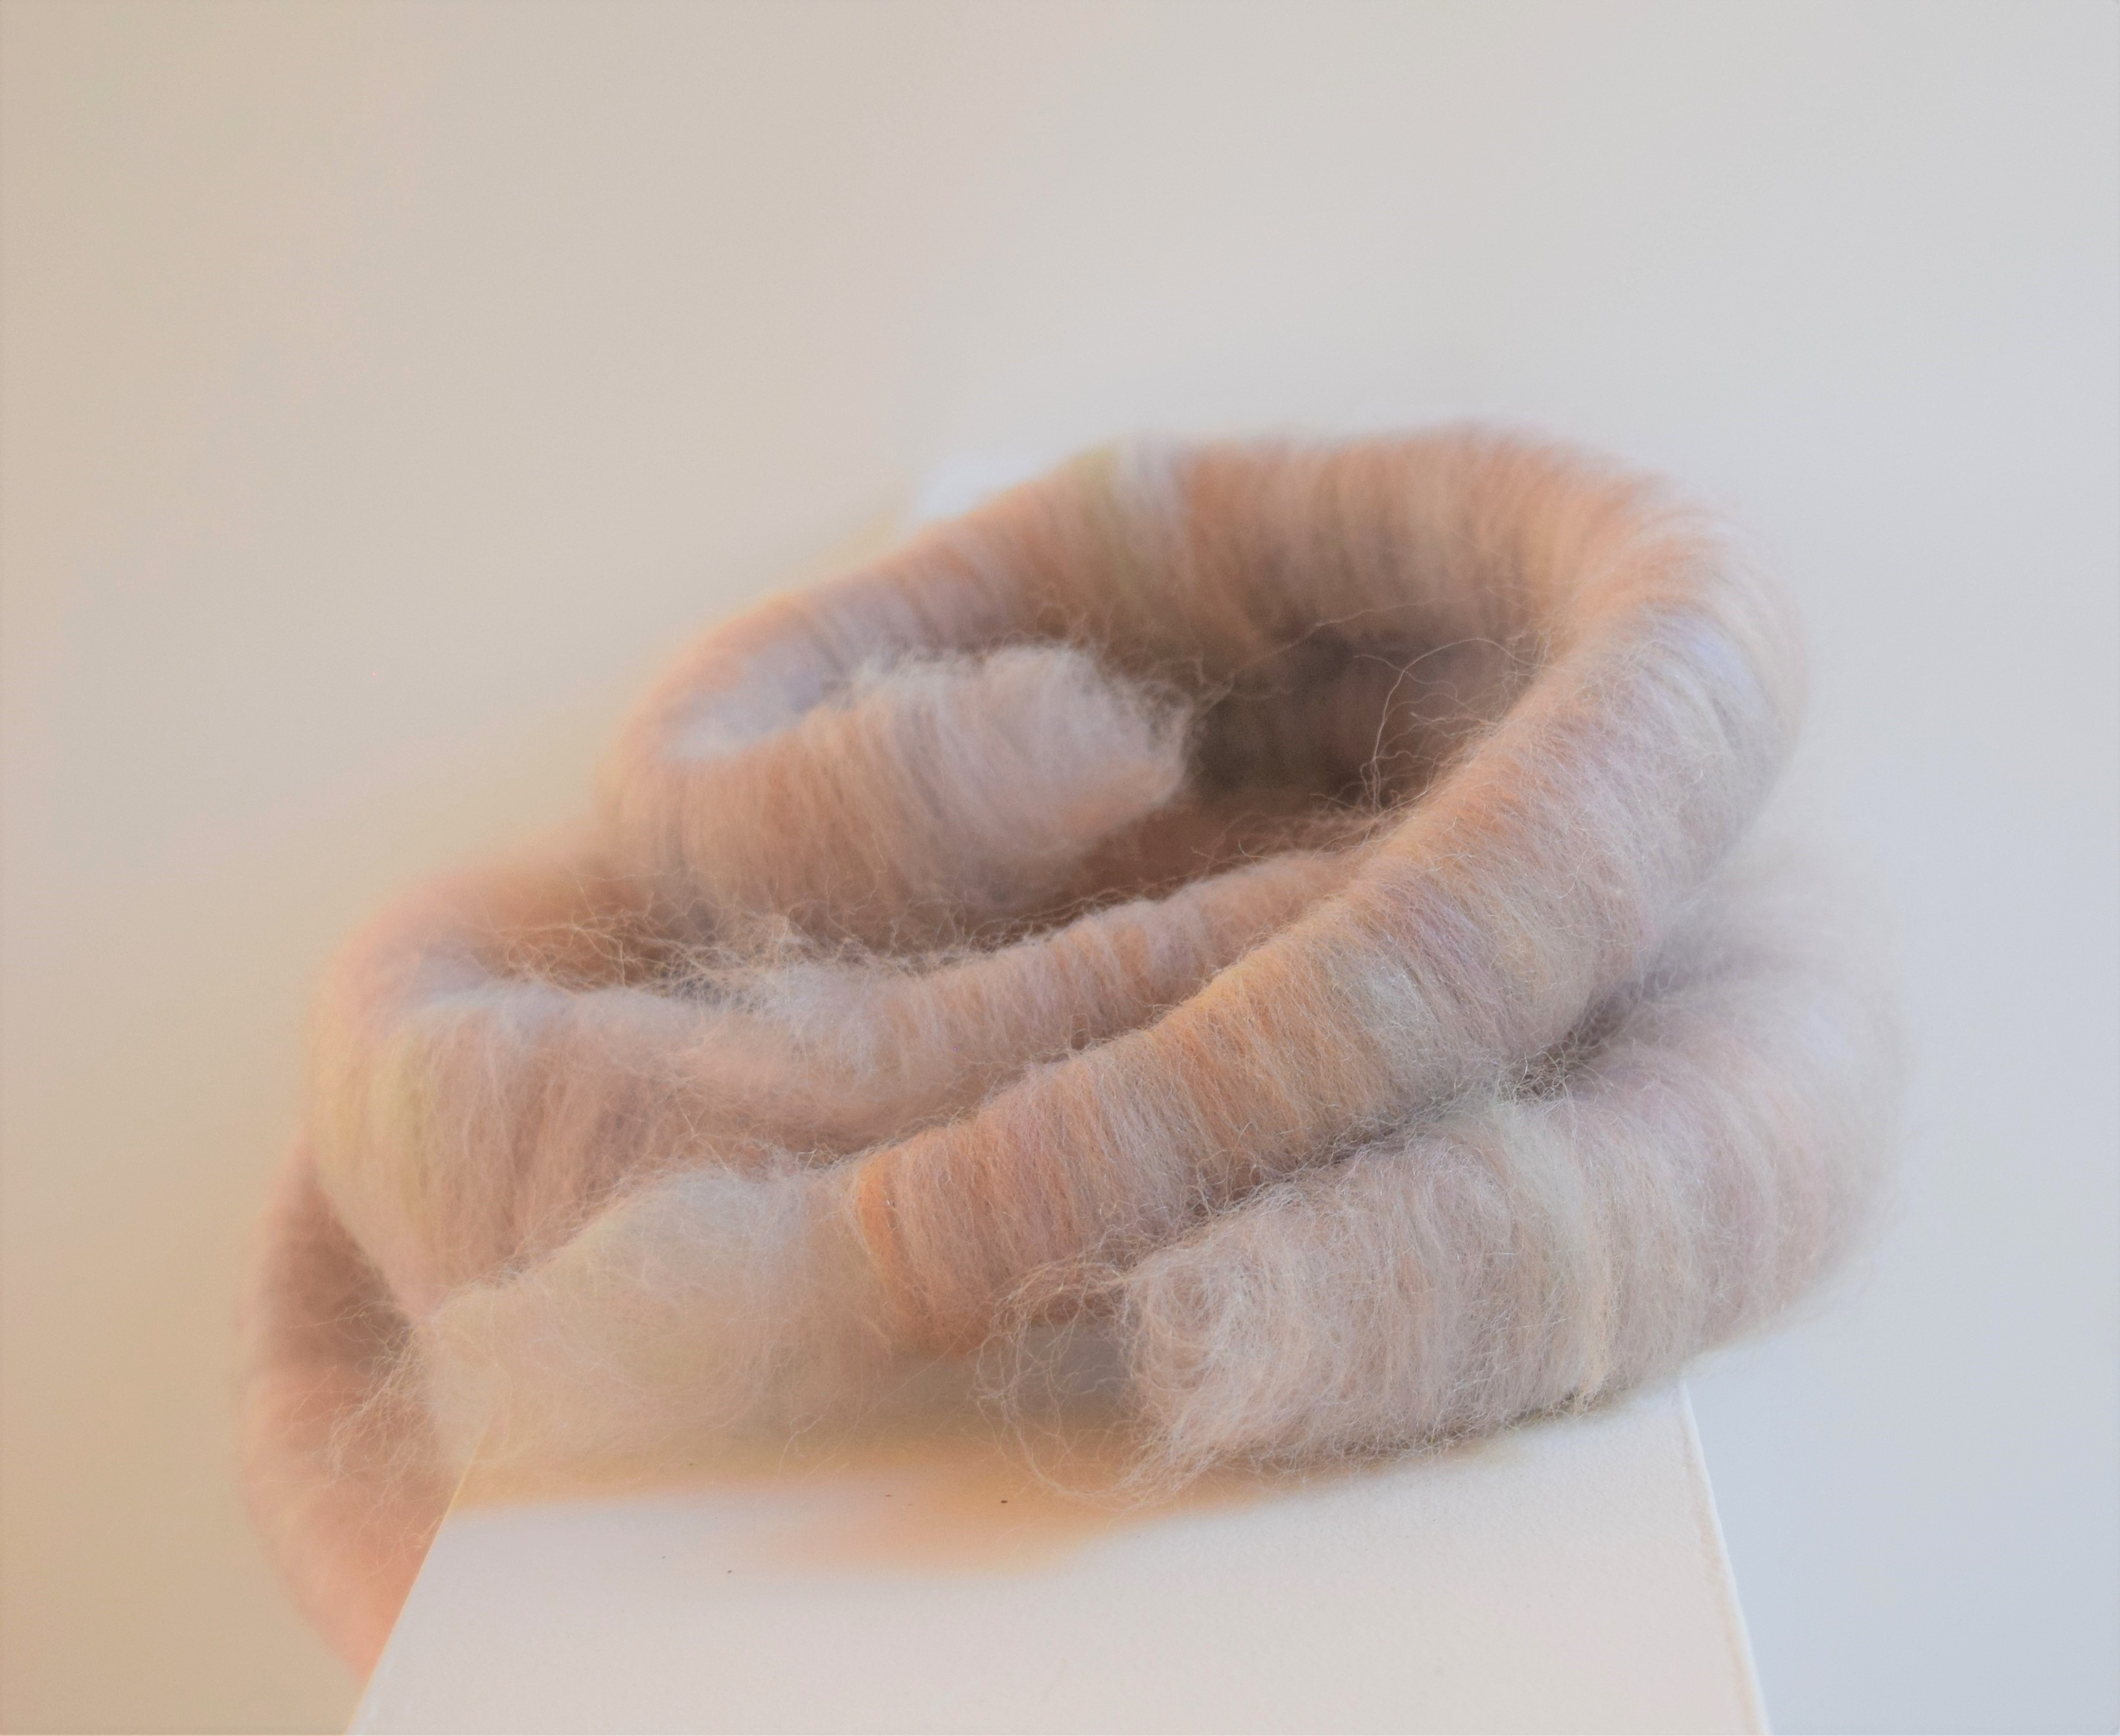
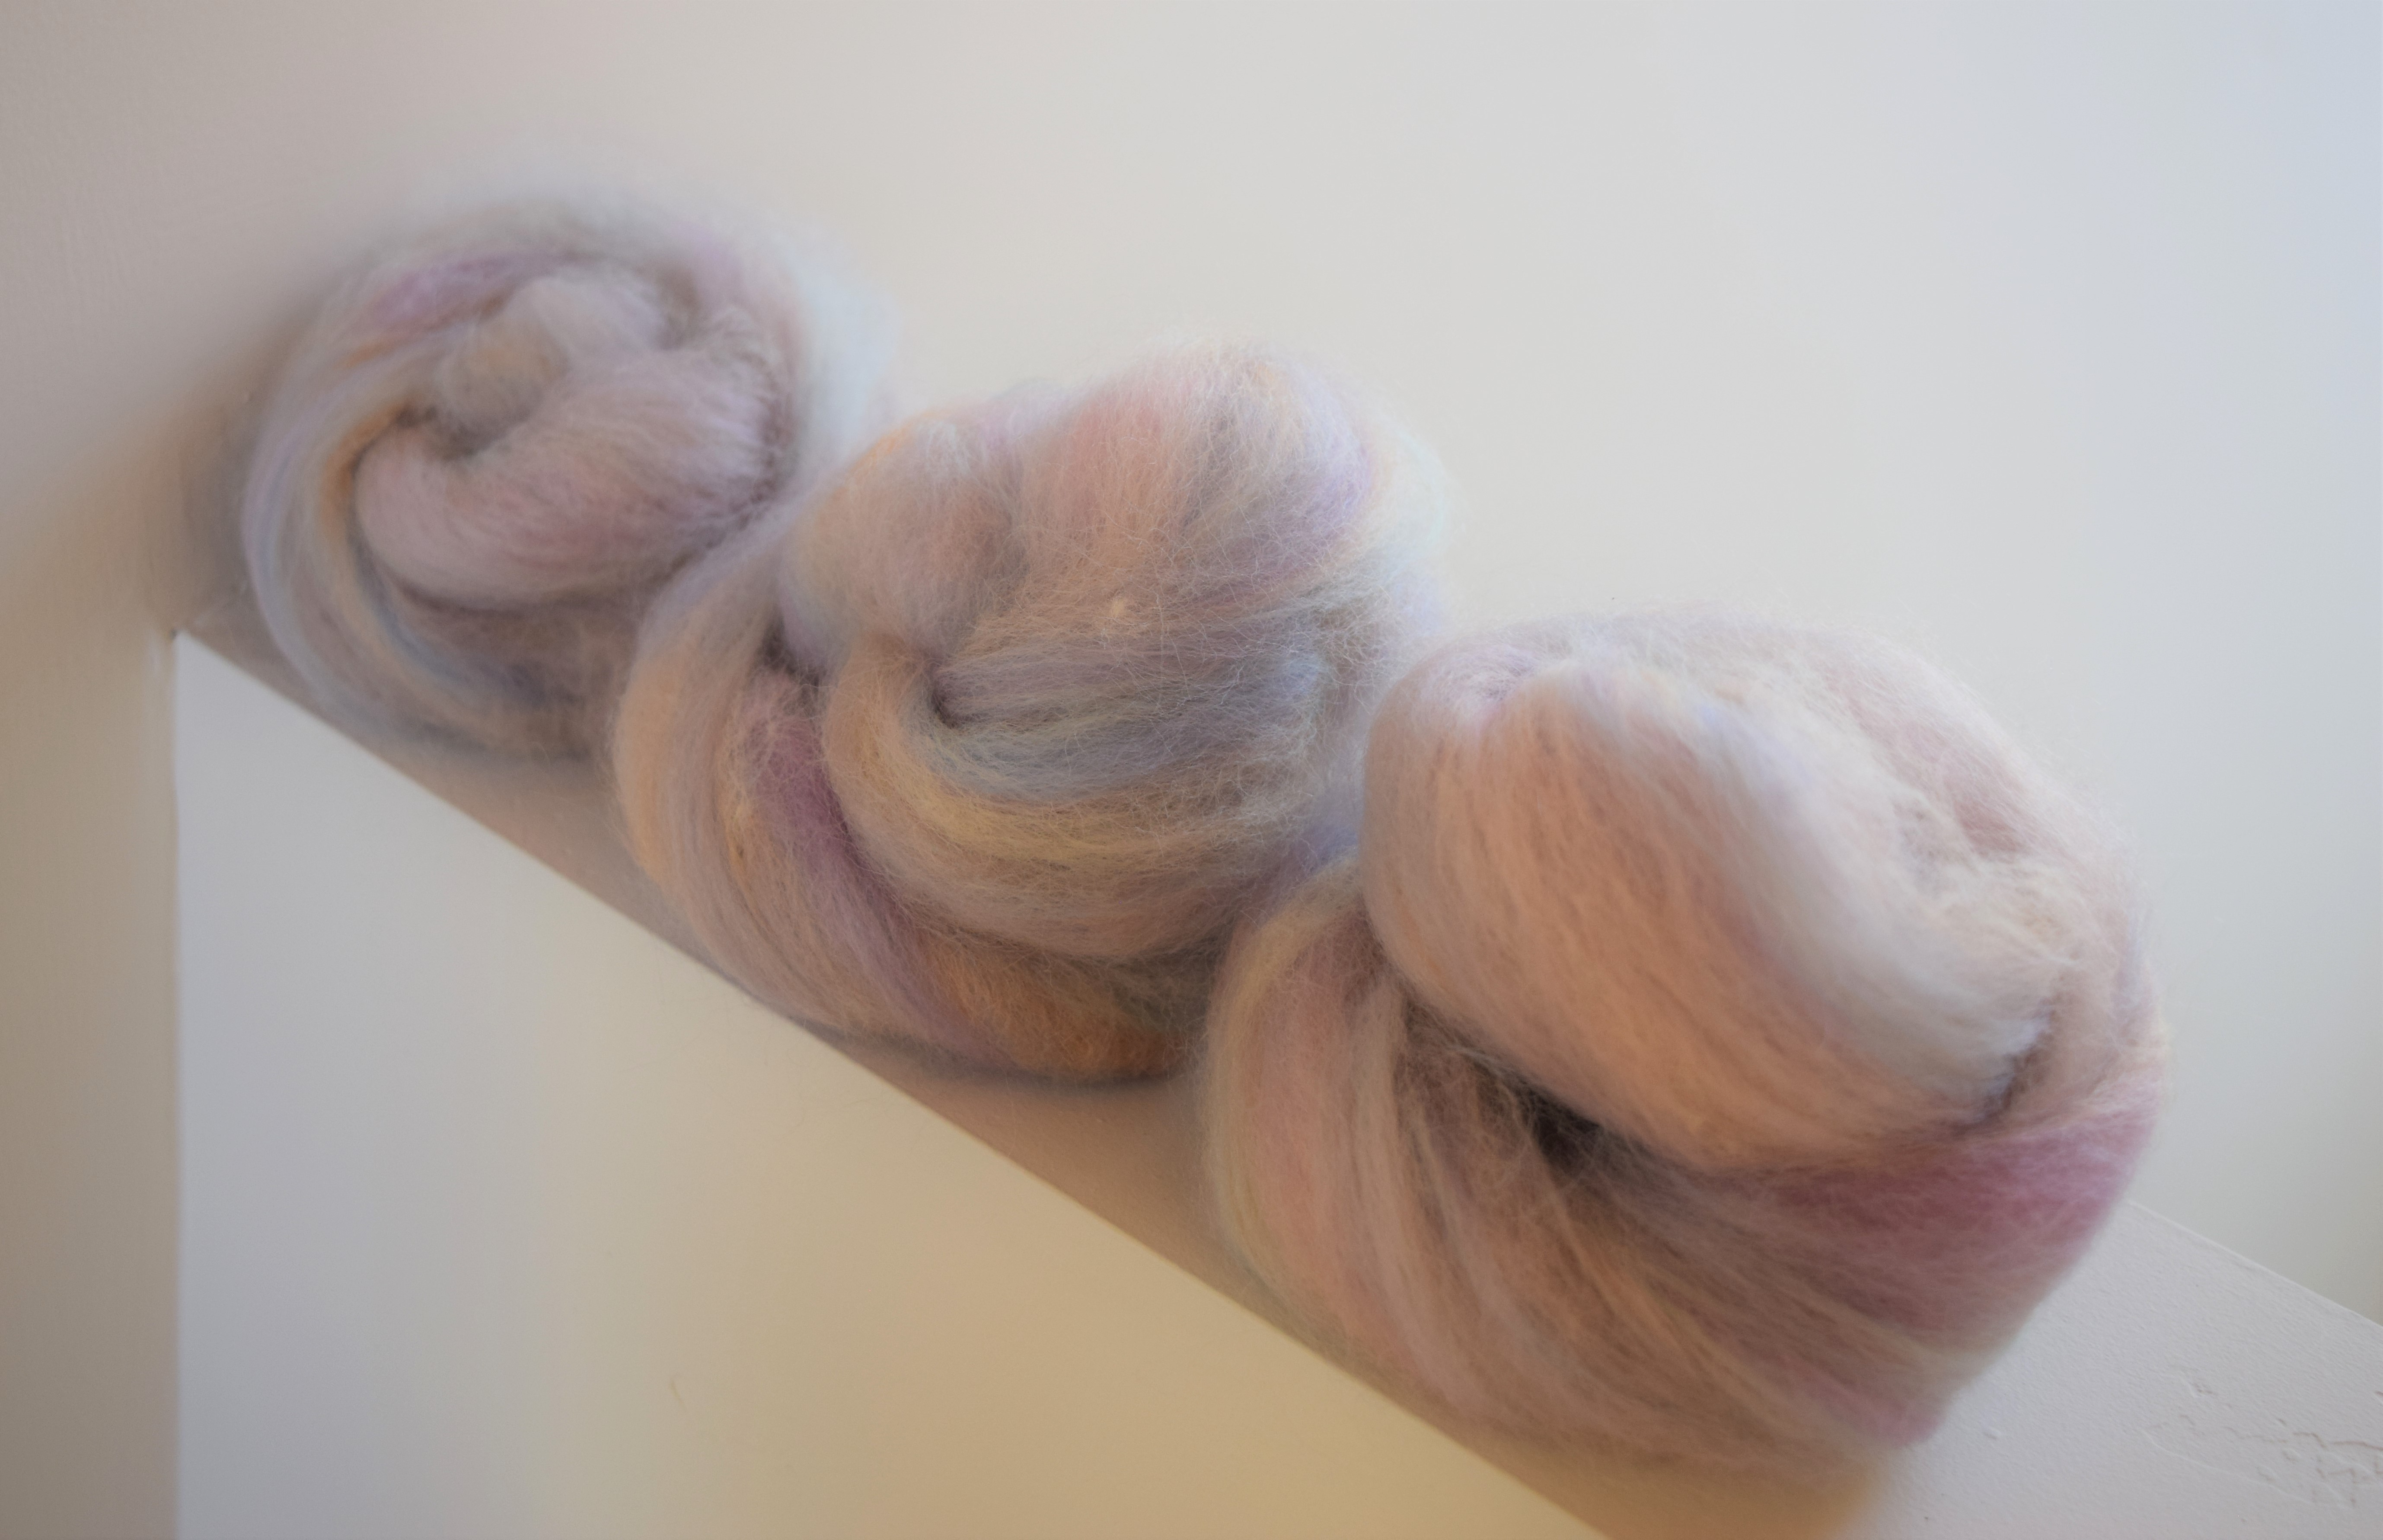
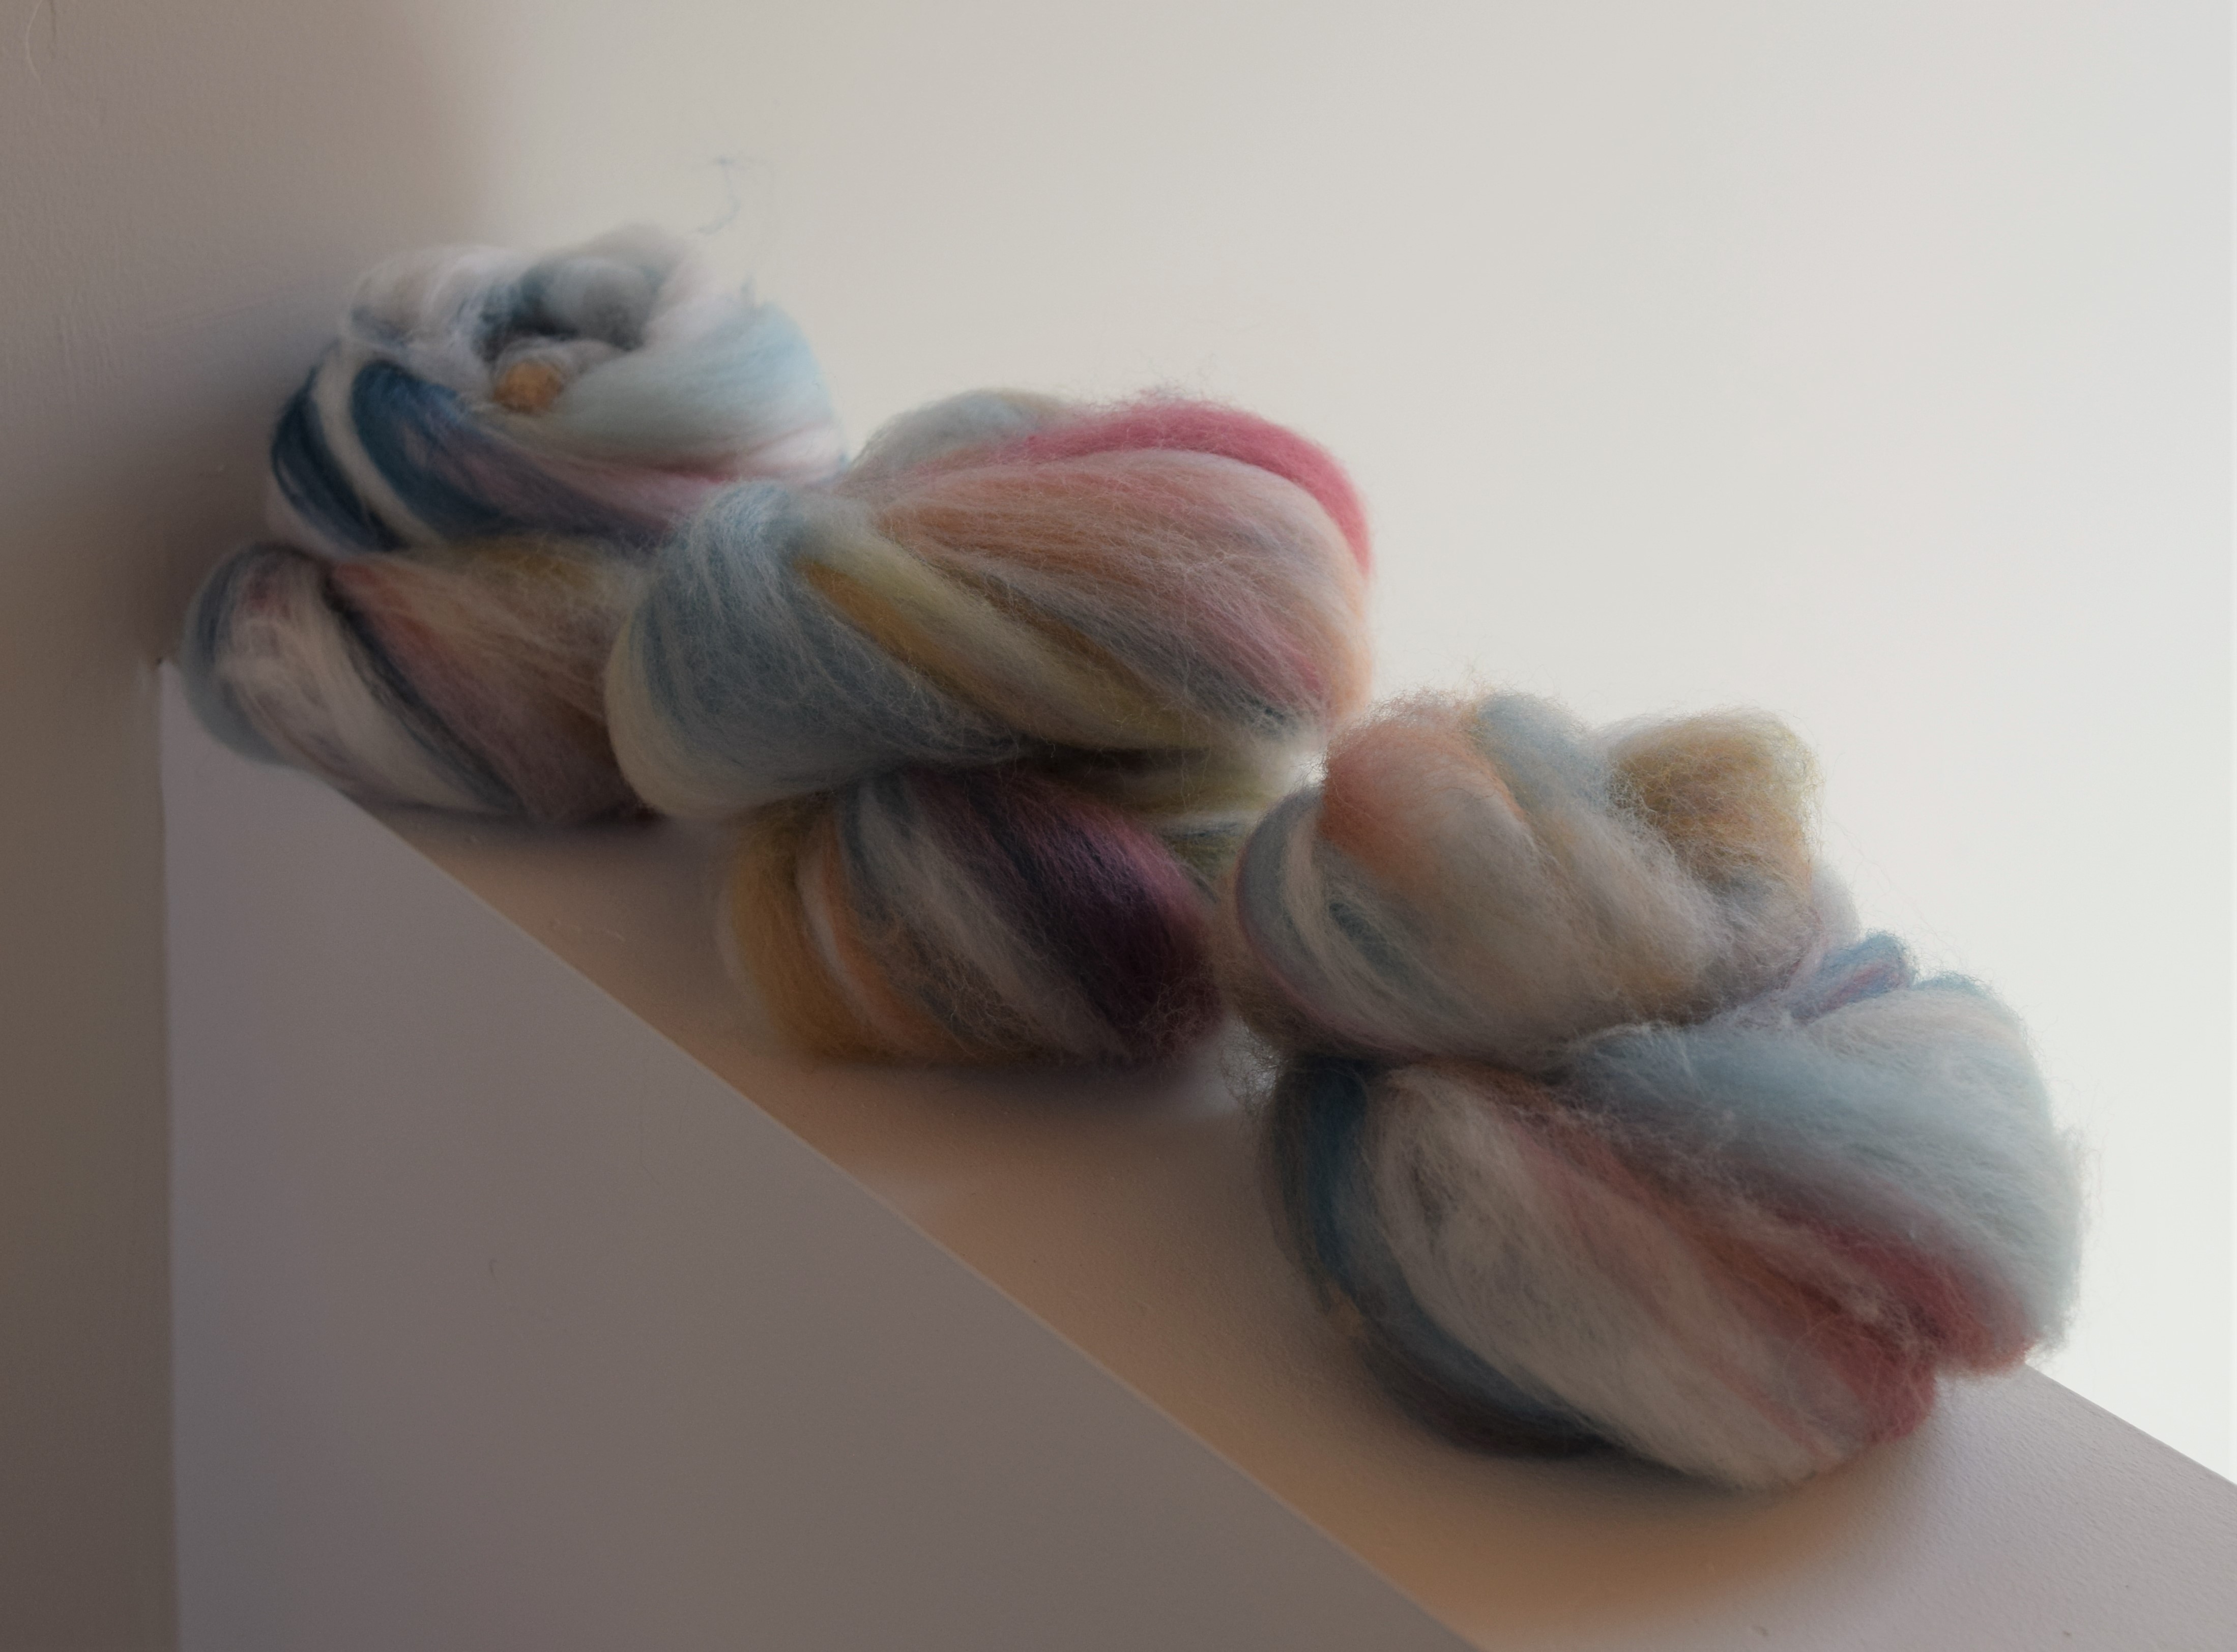
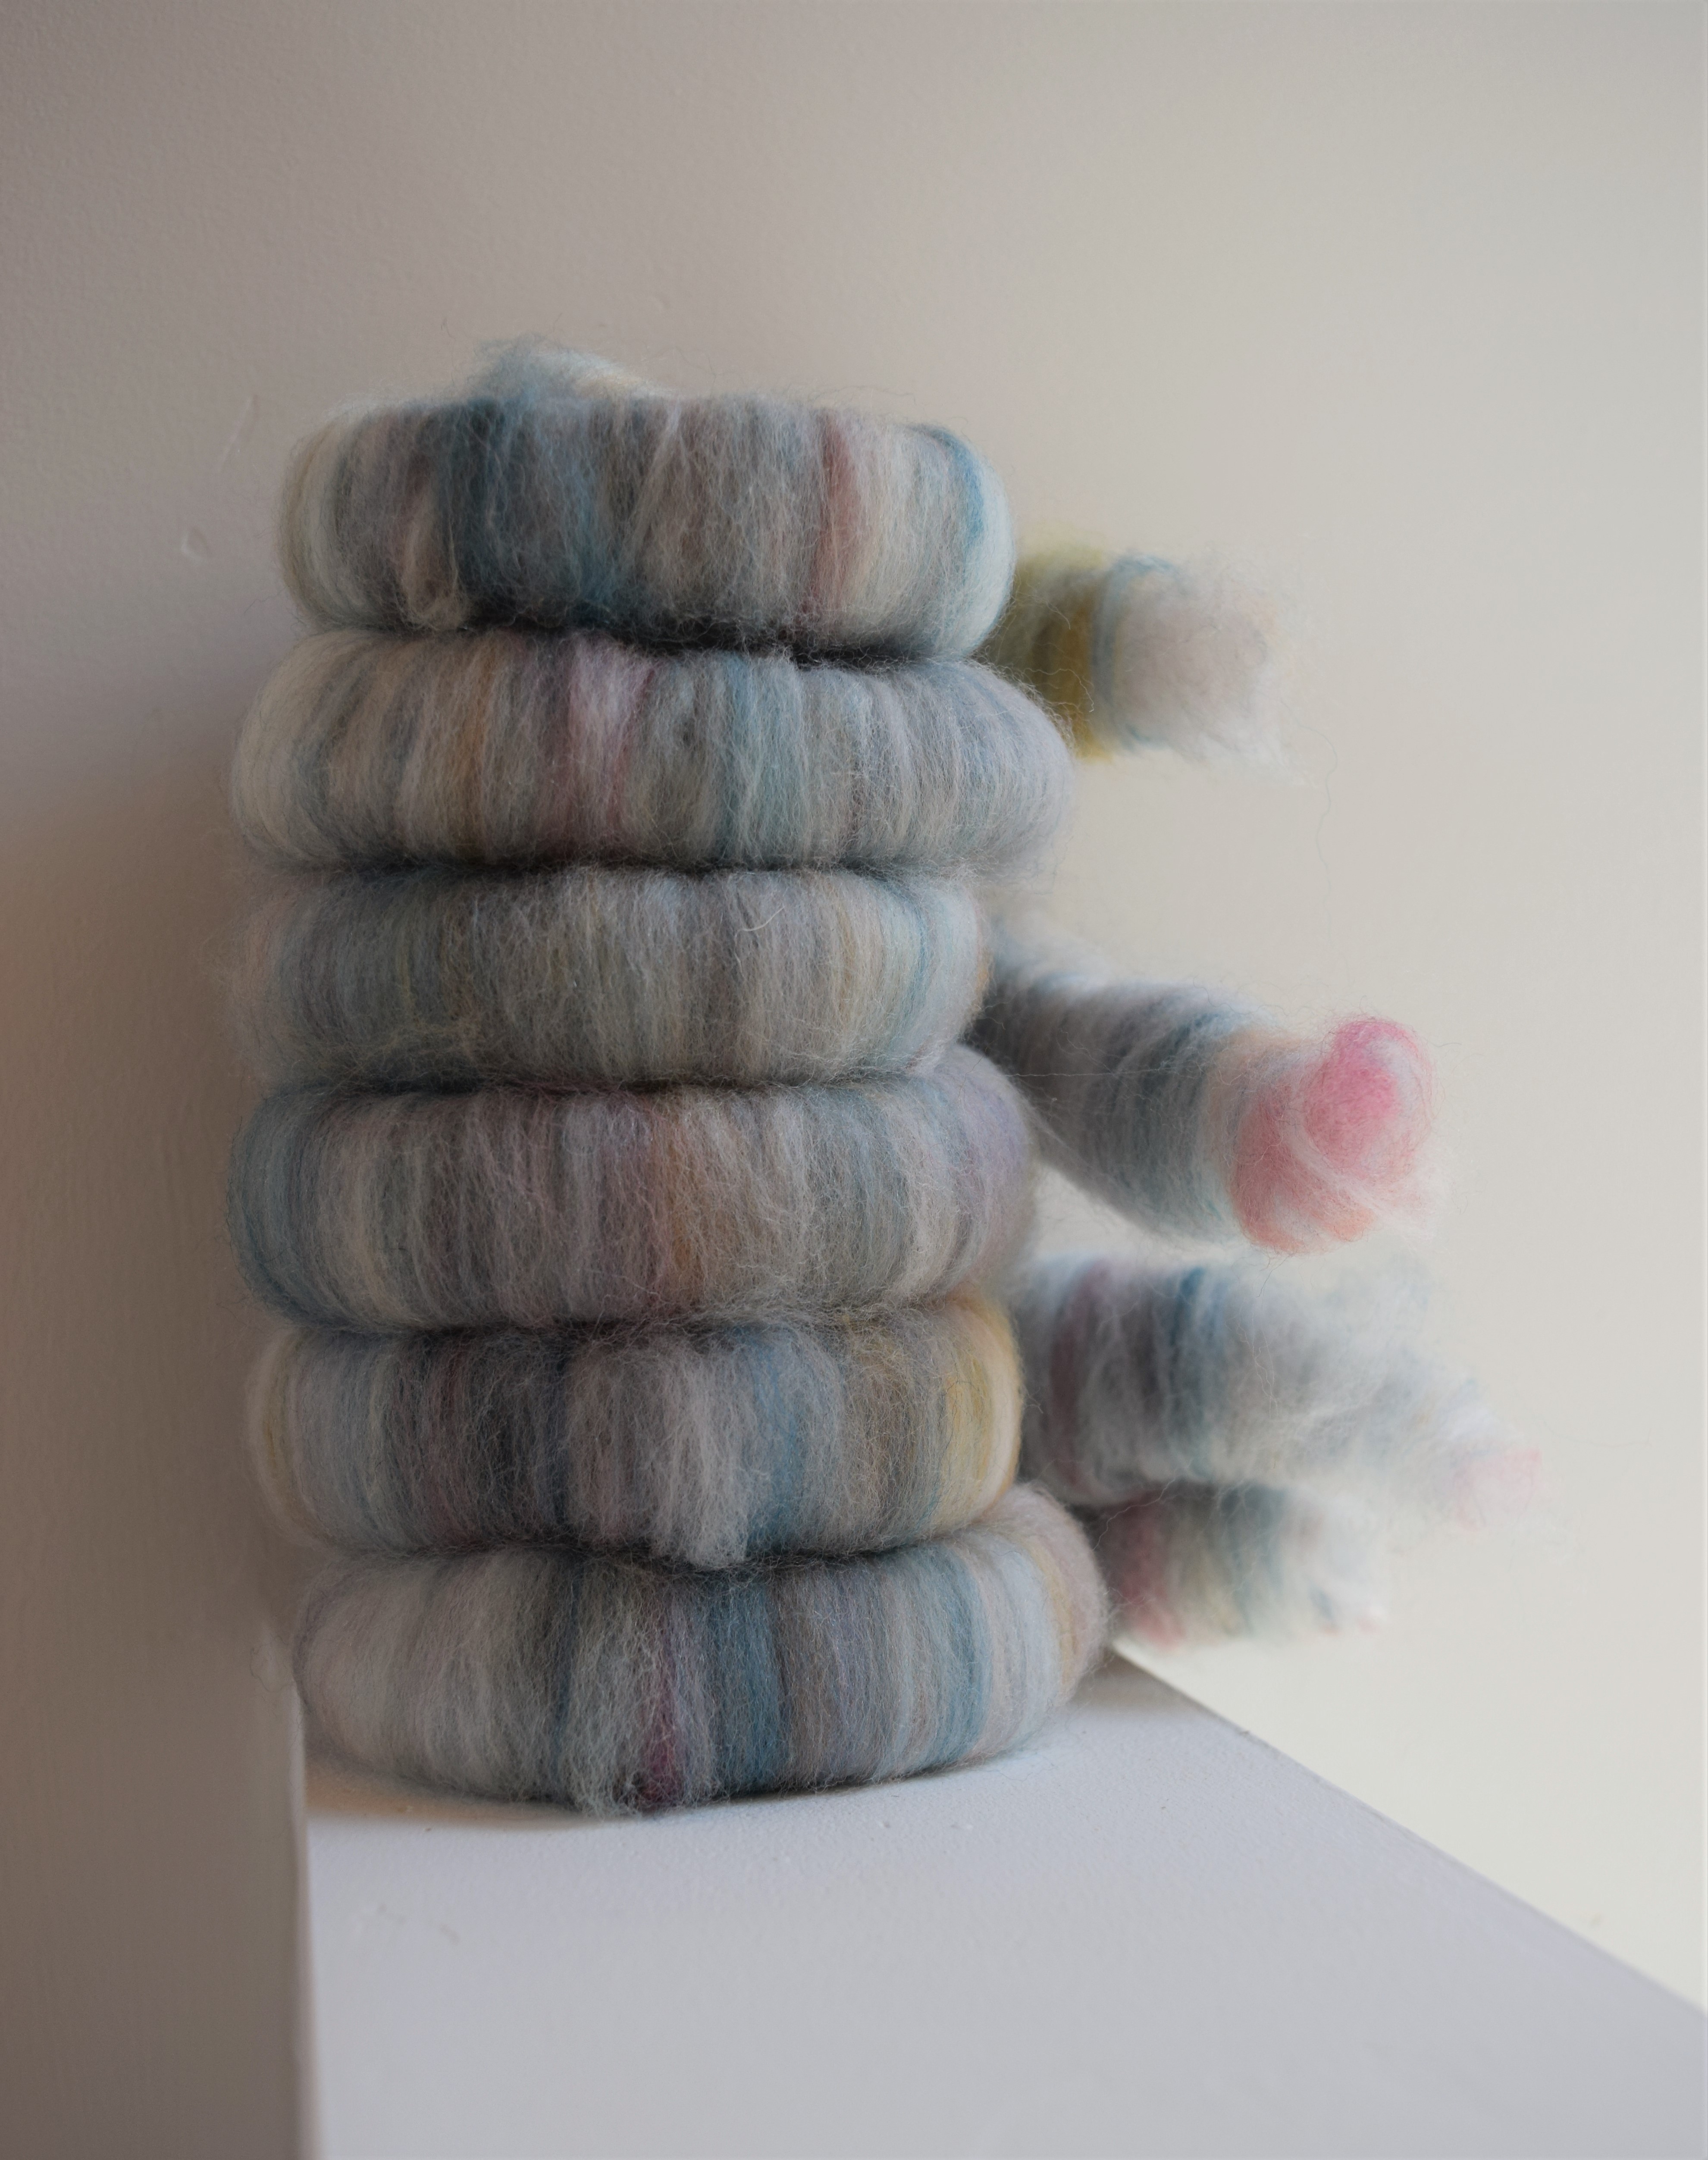
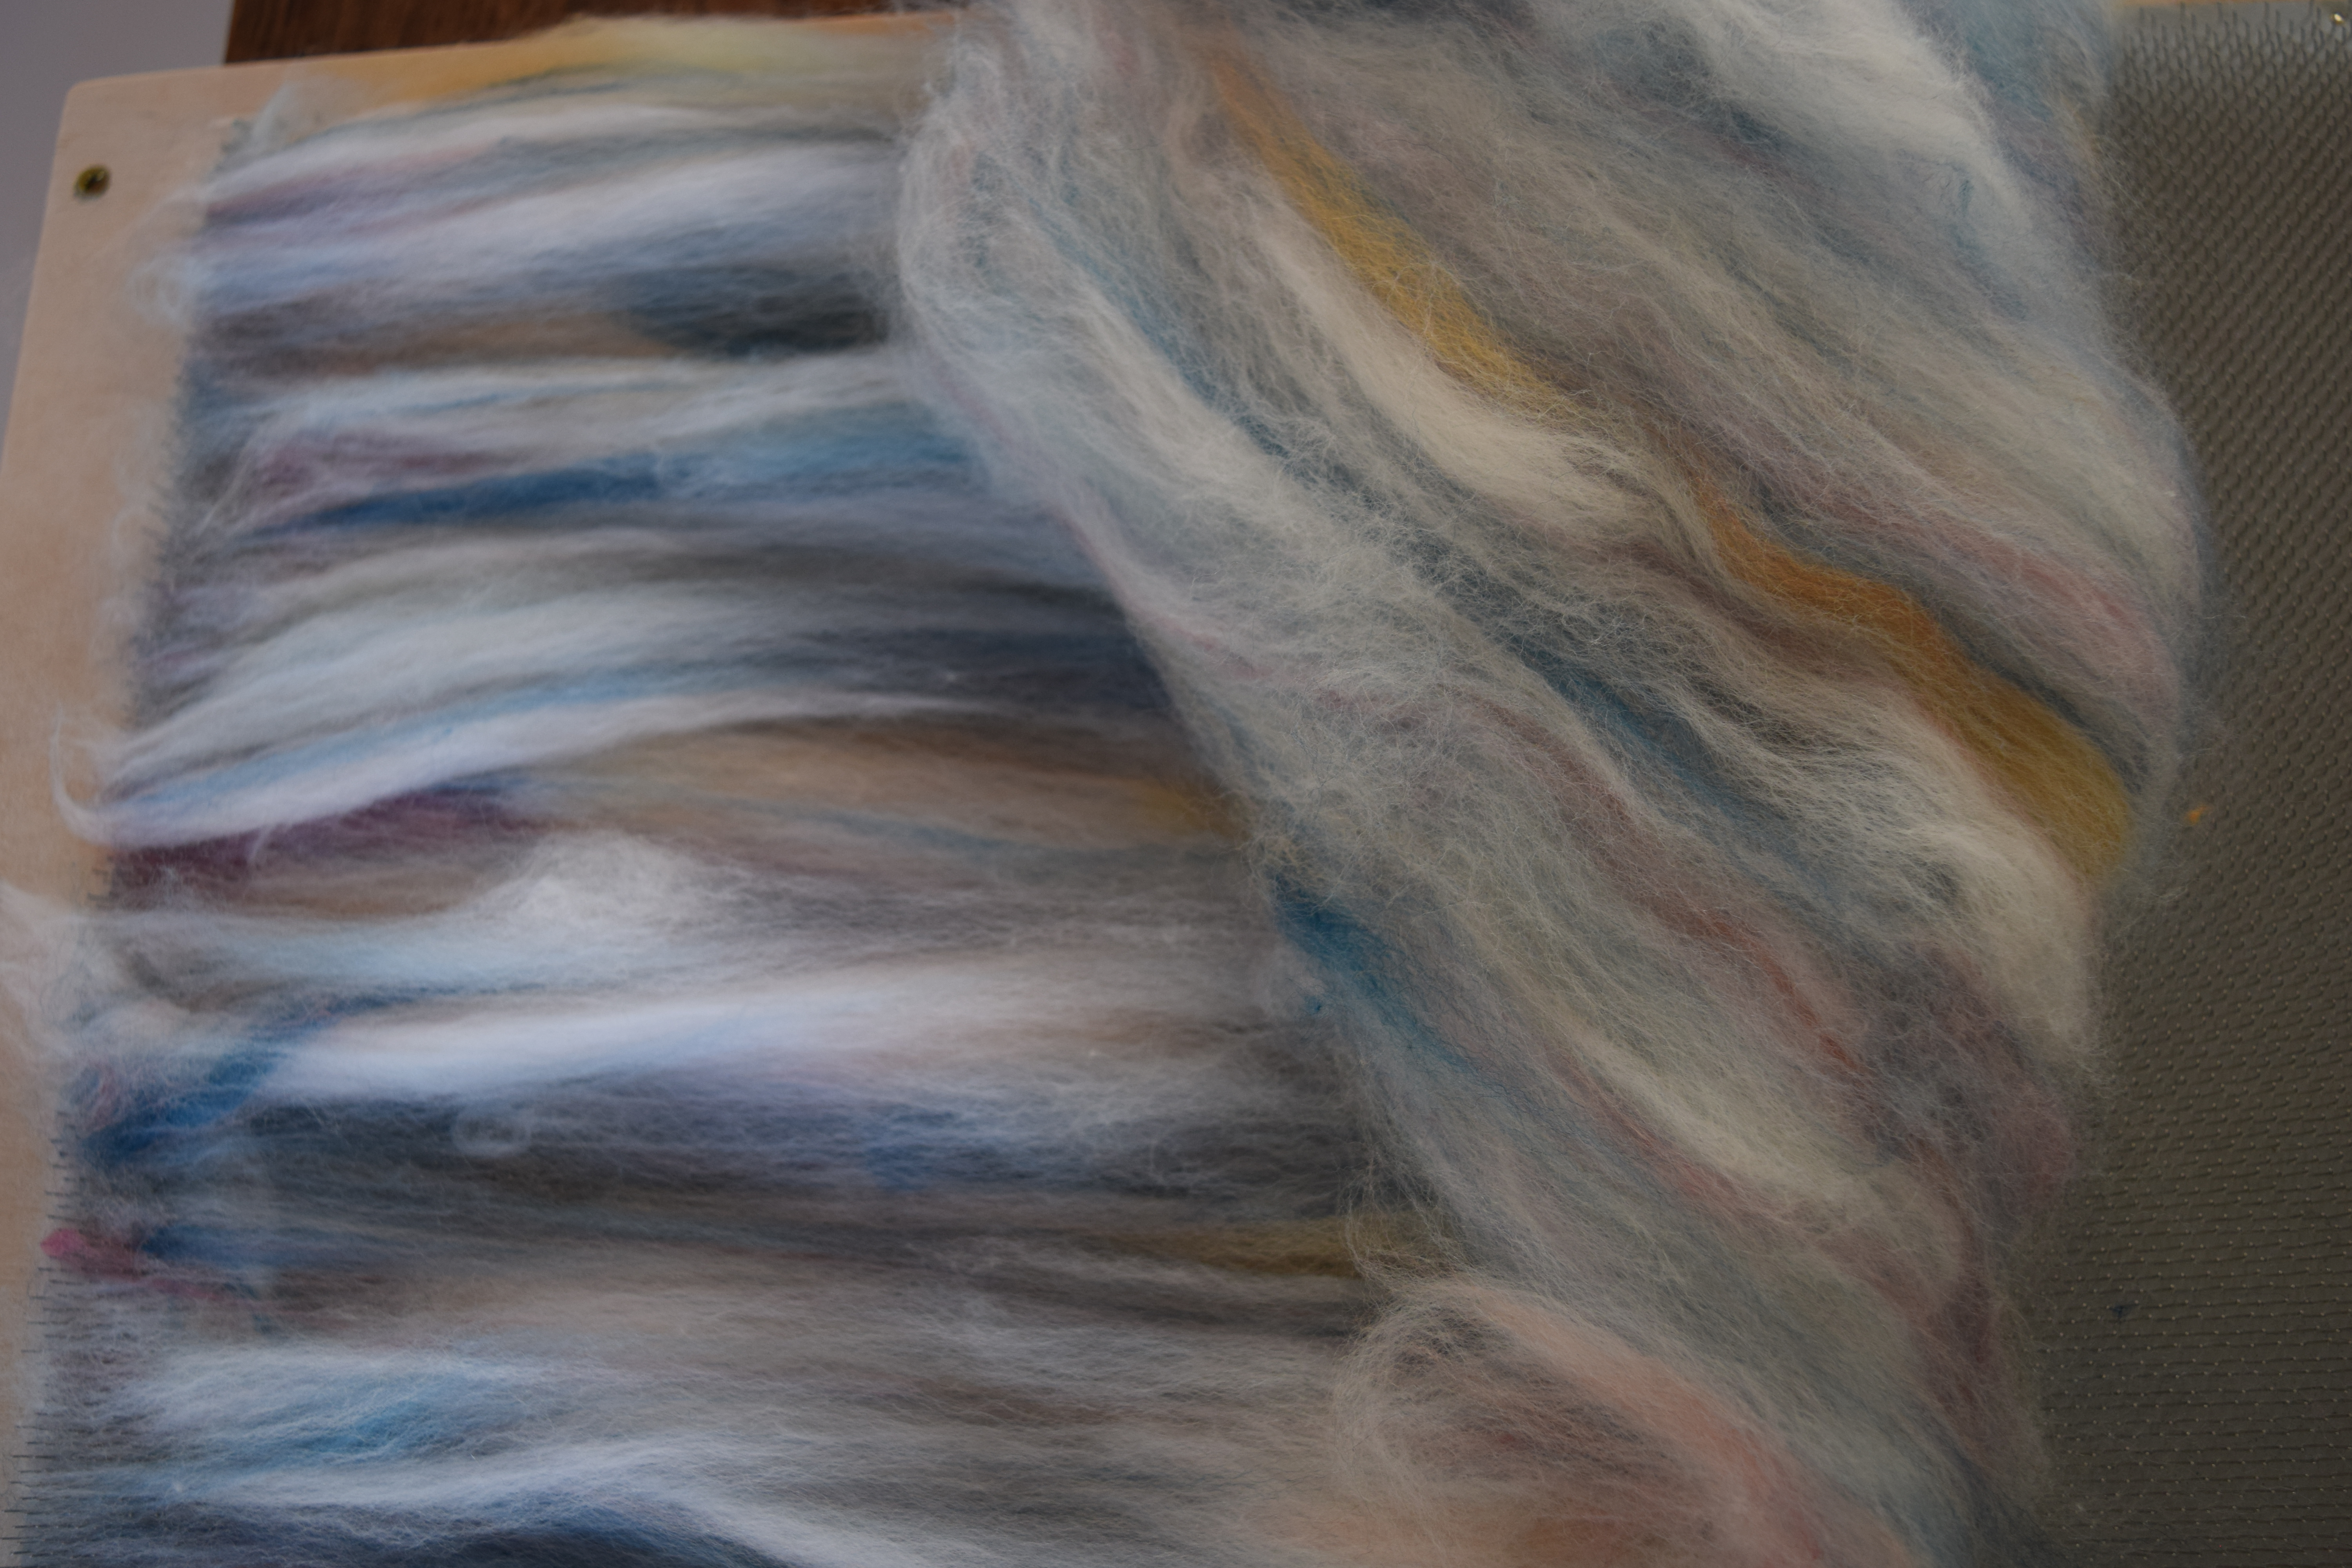
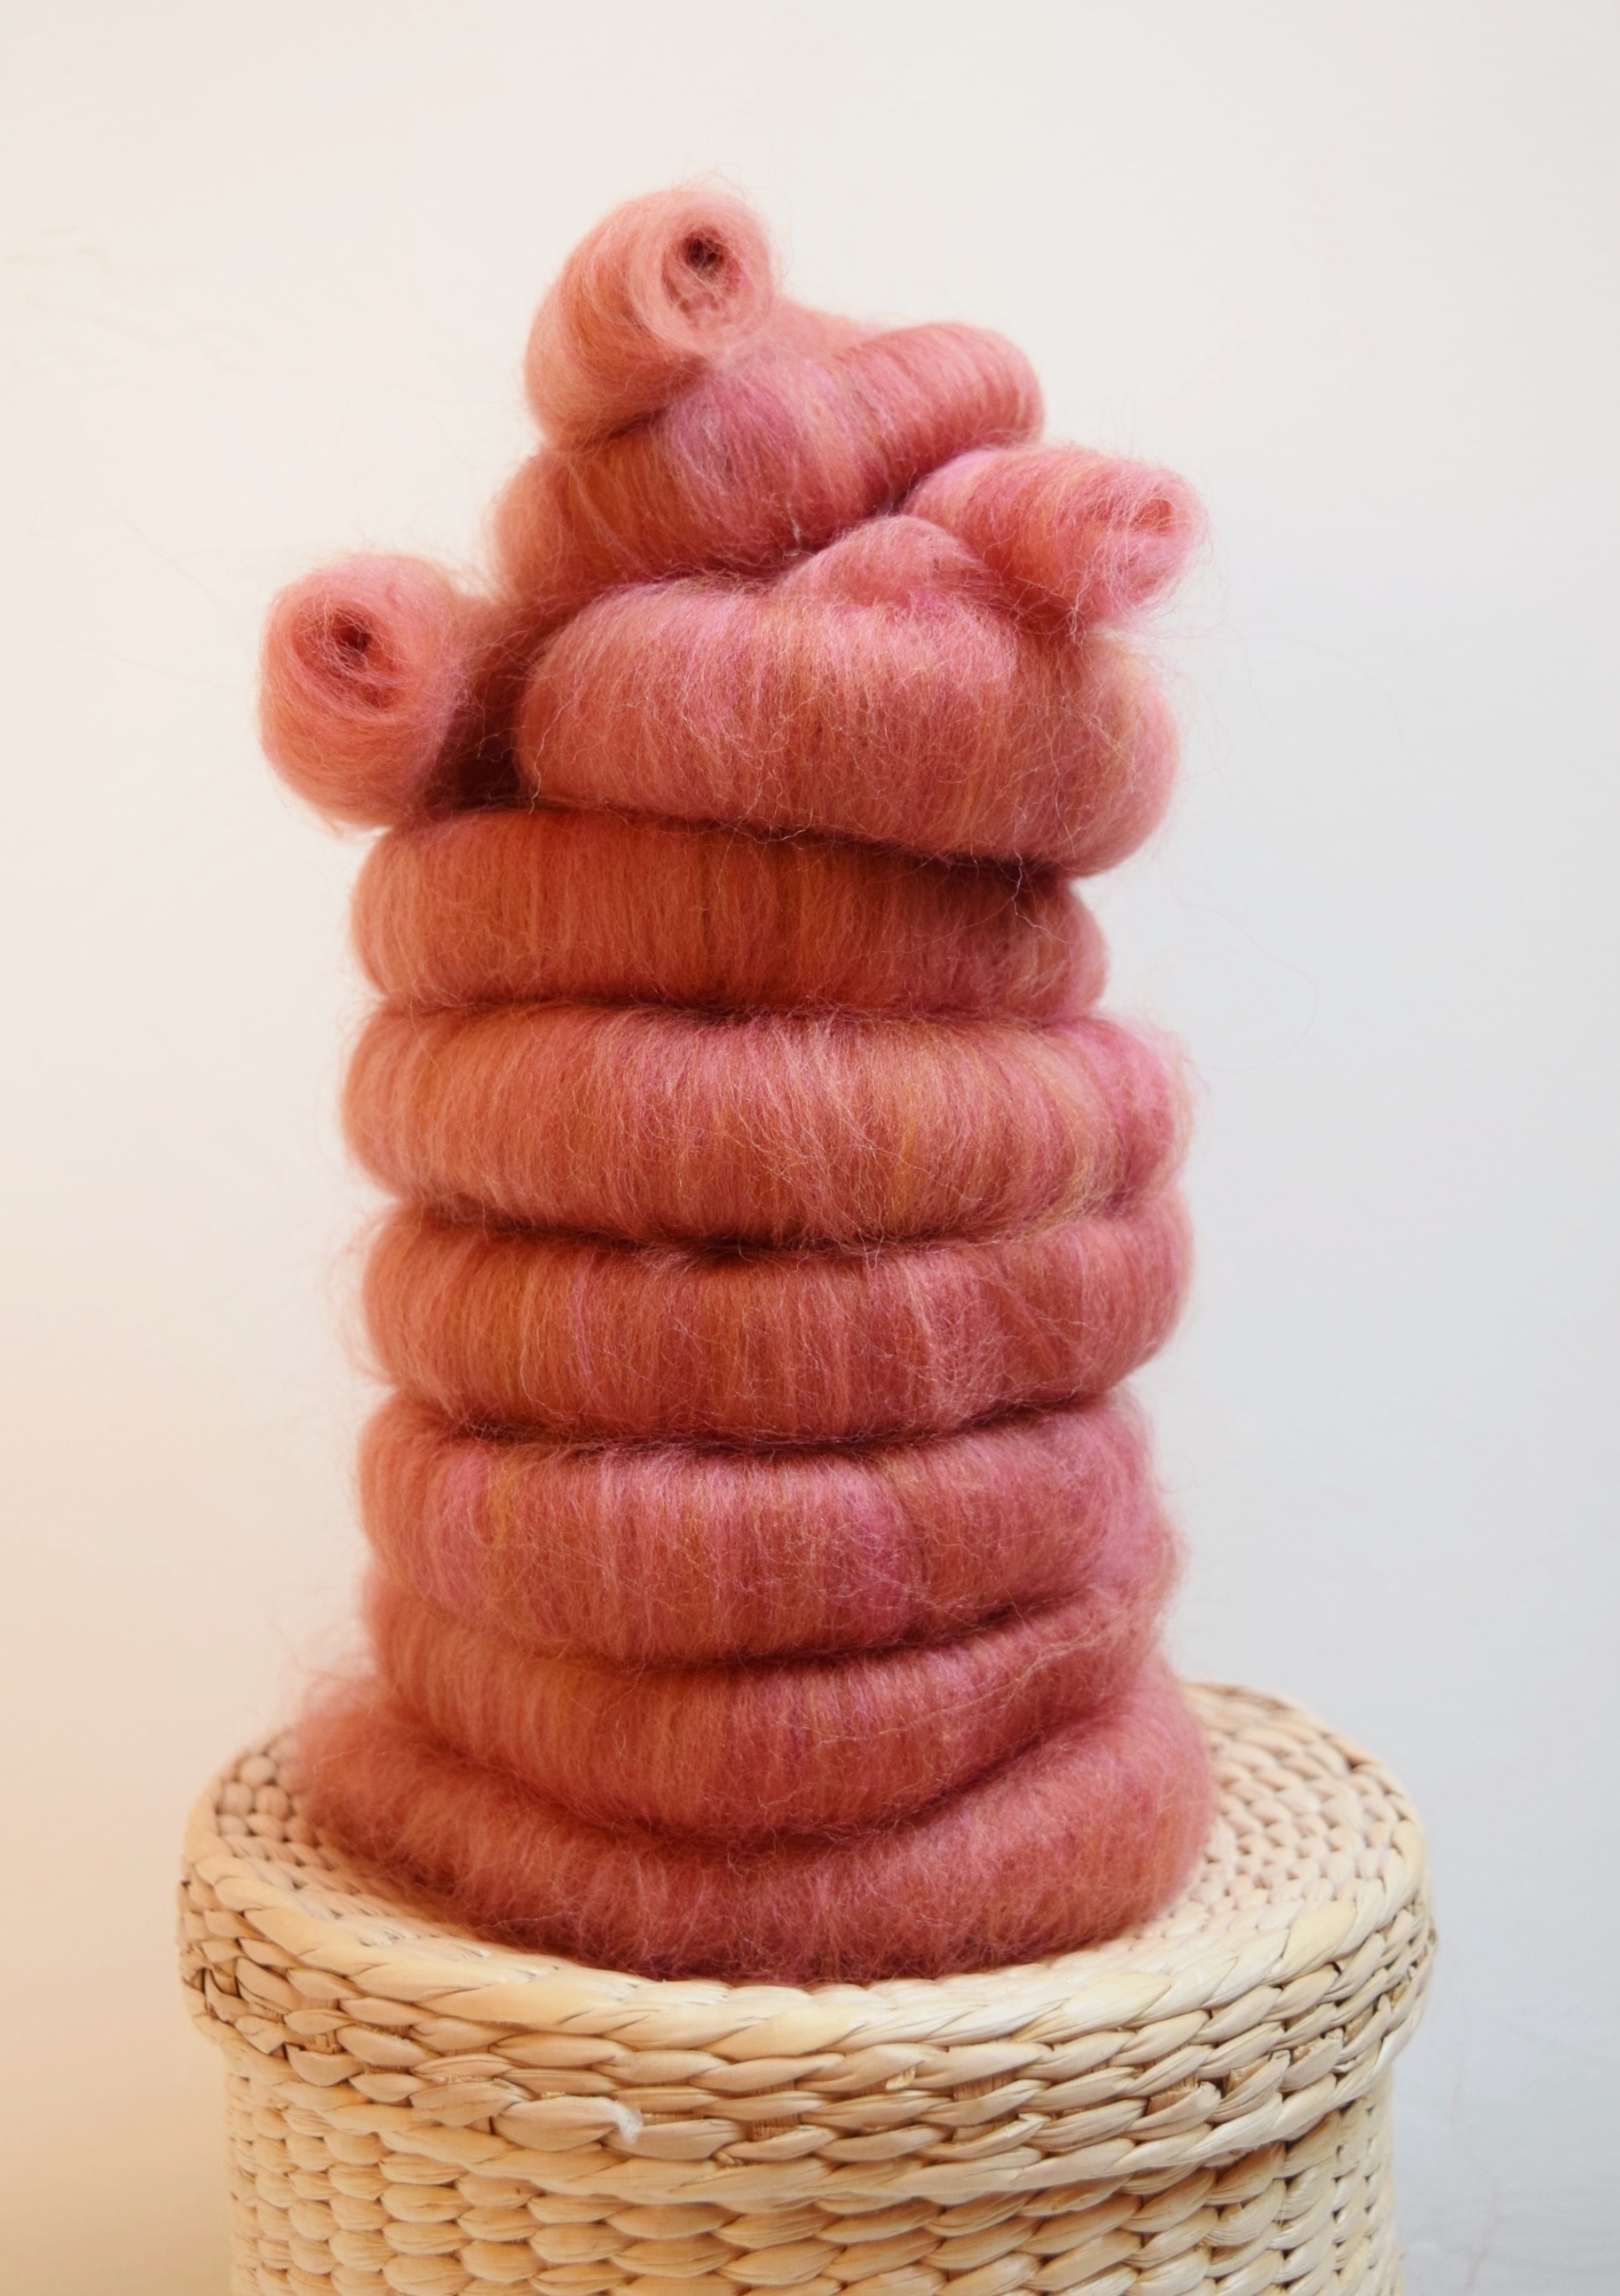
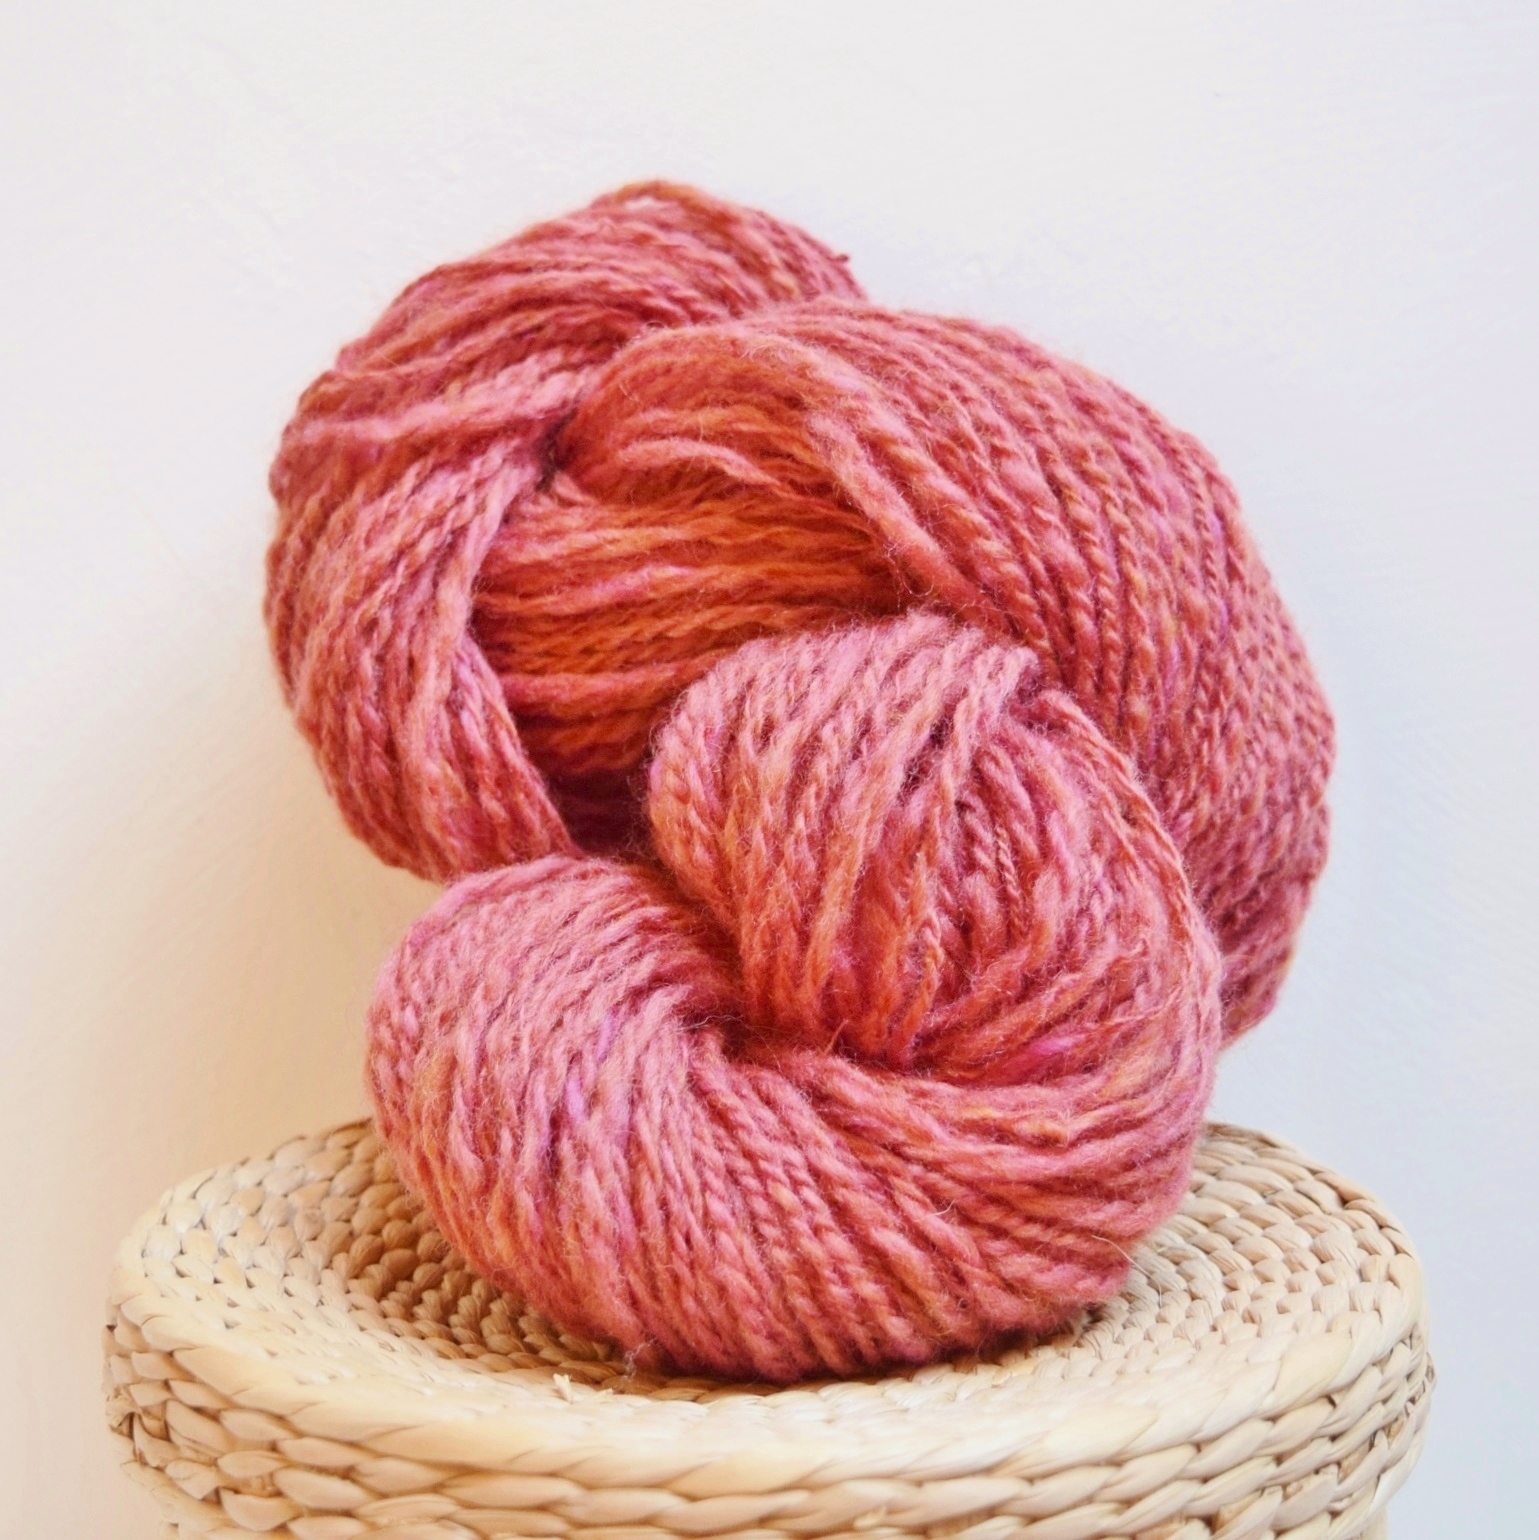
I wanted to try spinning my first ever sock yarn, so I looked in my basket of gifted fiber, and chose some lovely hand-dyed superwash Blue-faced Leicester fiber in beautiful Autumn tones. I wanted to spin this fiber without the barber-pole affect that one often gets when spinning straight from the dyed roving, but a softer and slightly more homogenized result. So you know what that means, I have an excuse to pull out my blending board and do some carding!

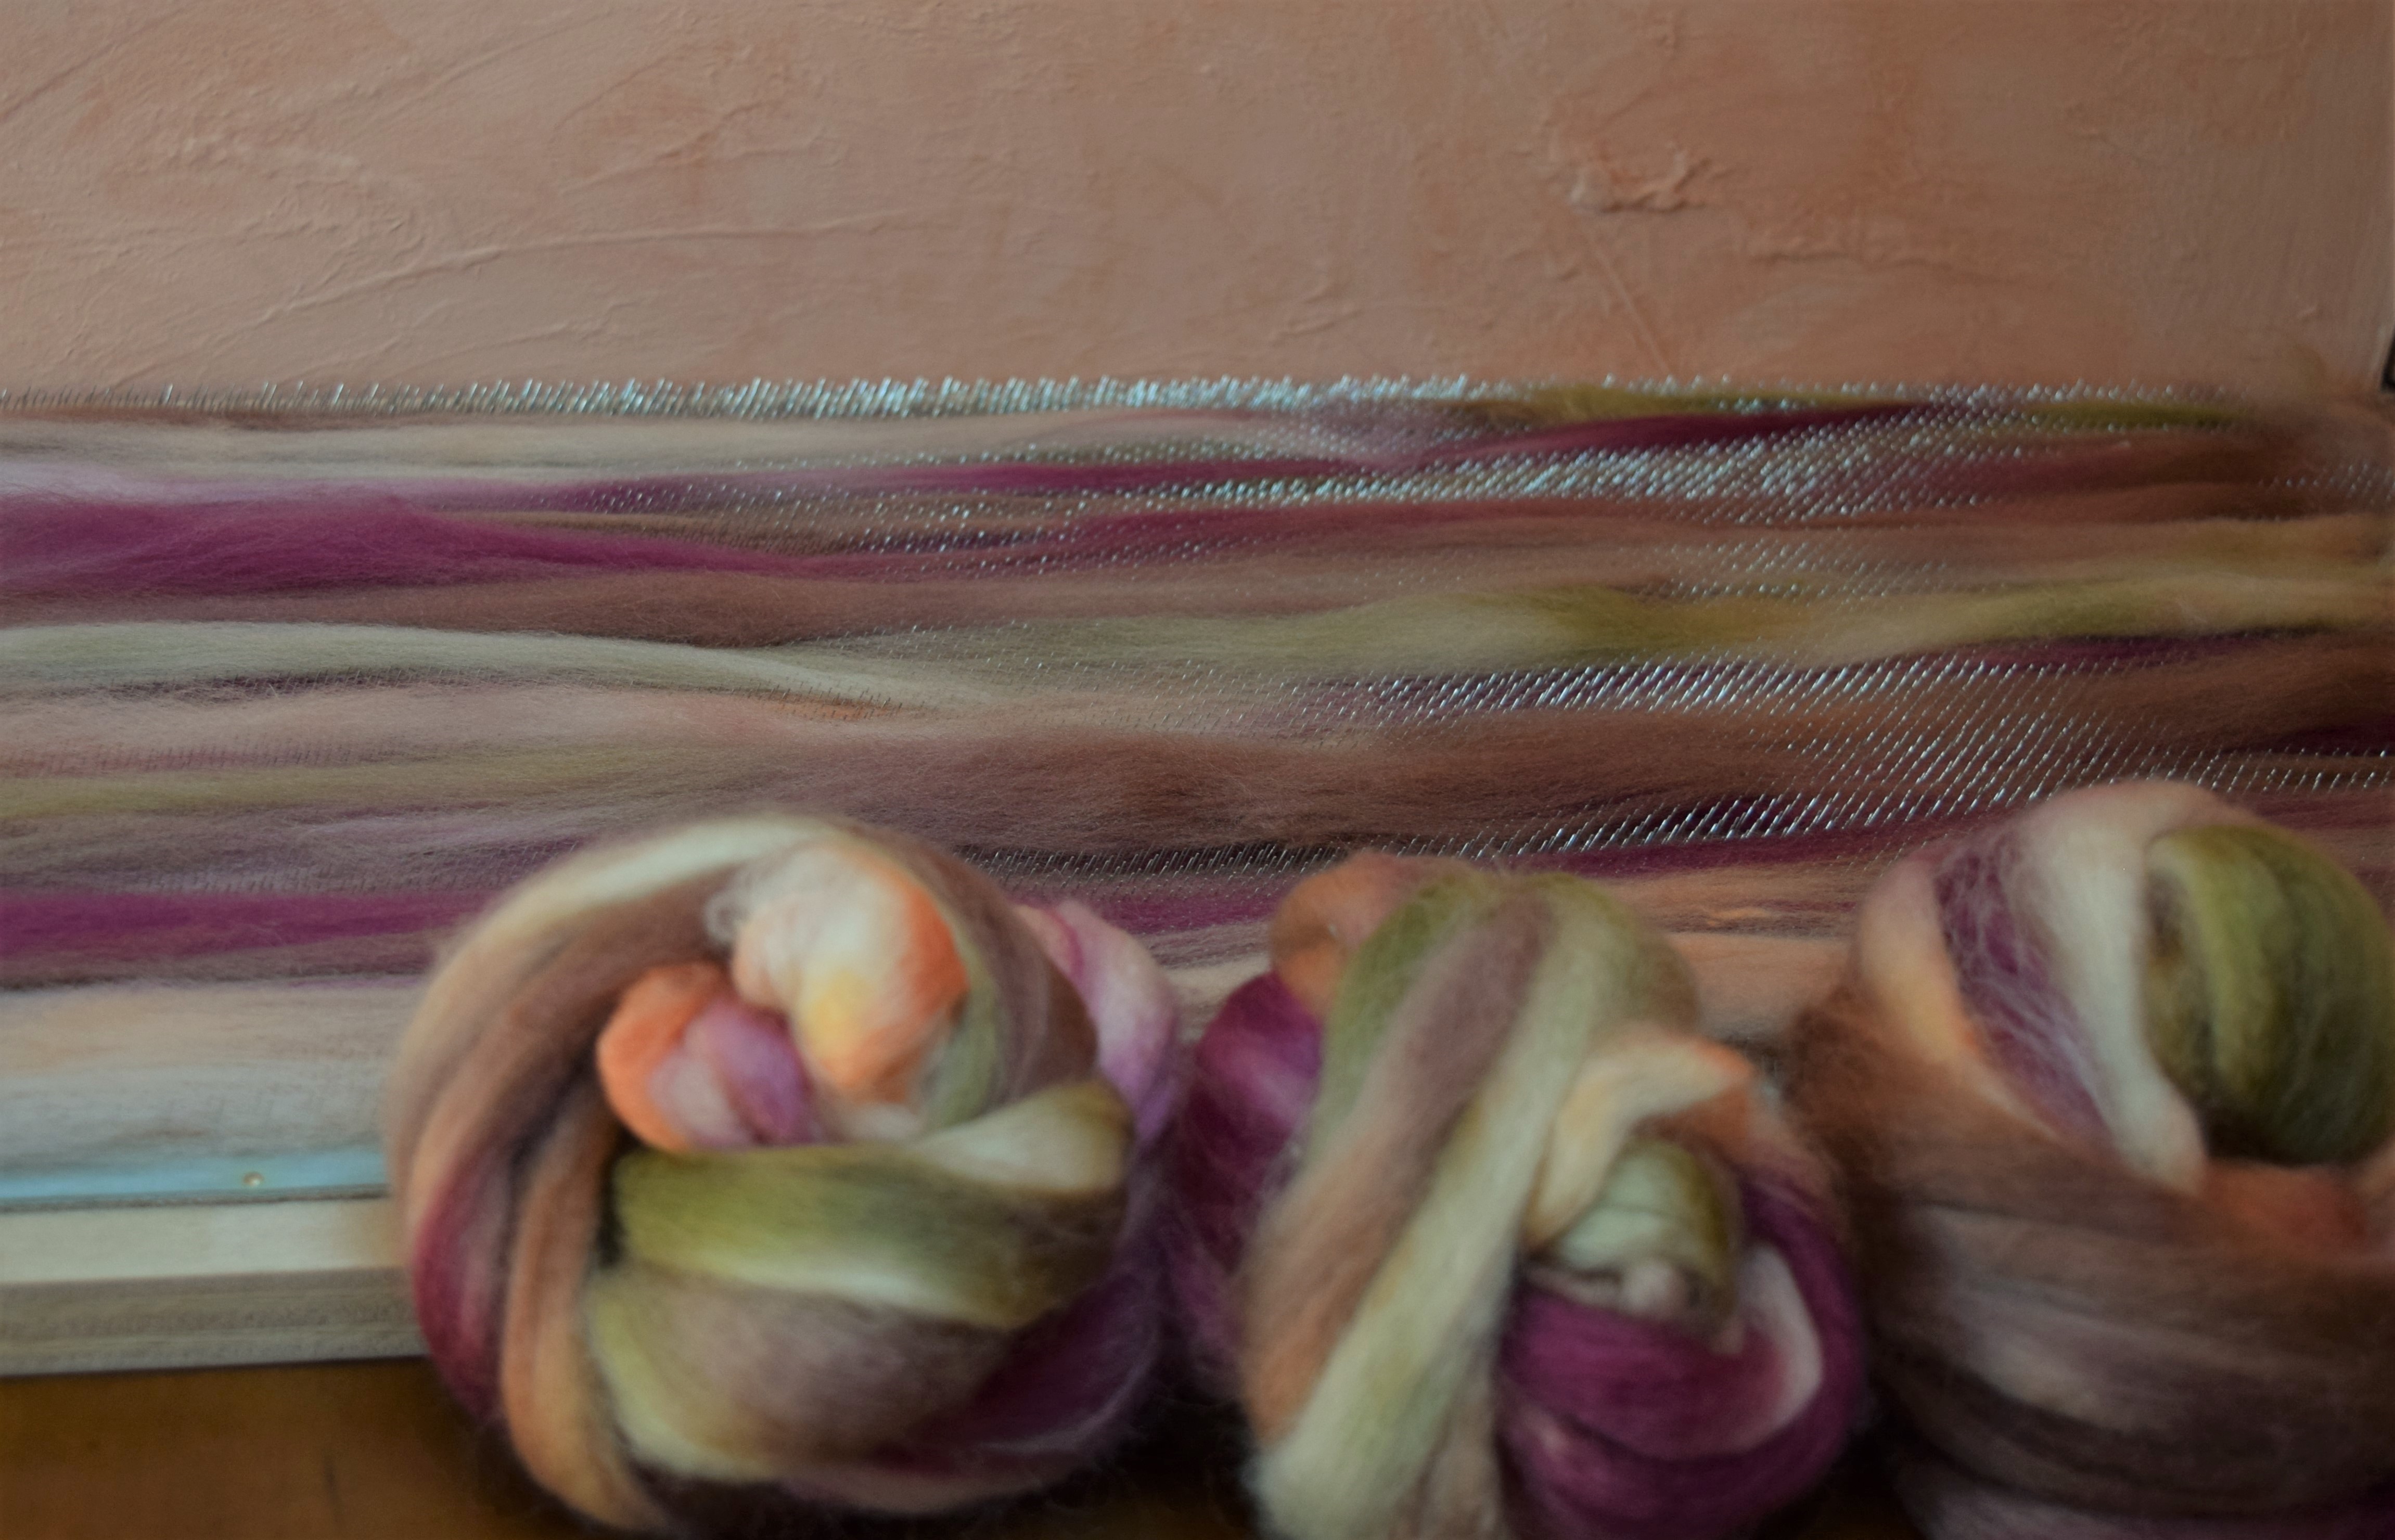
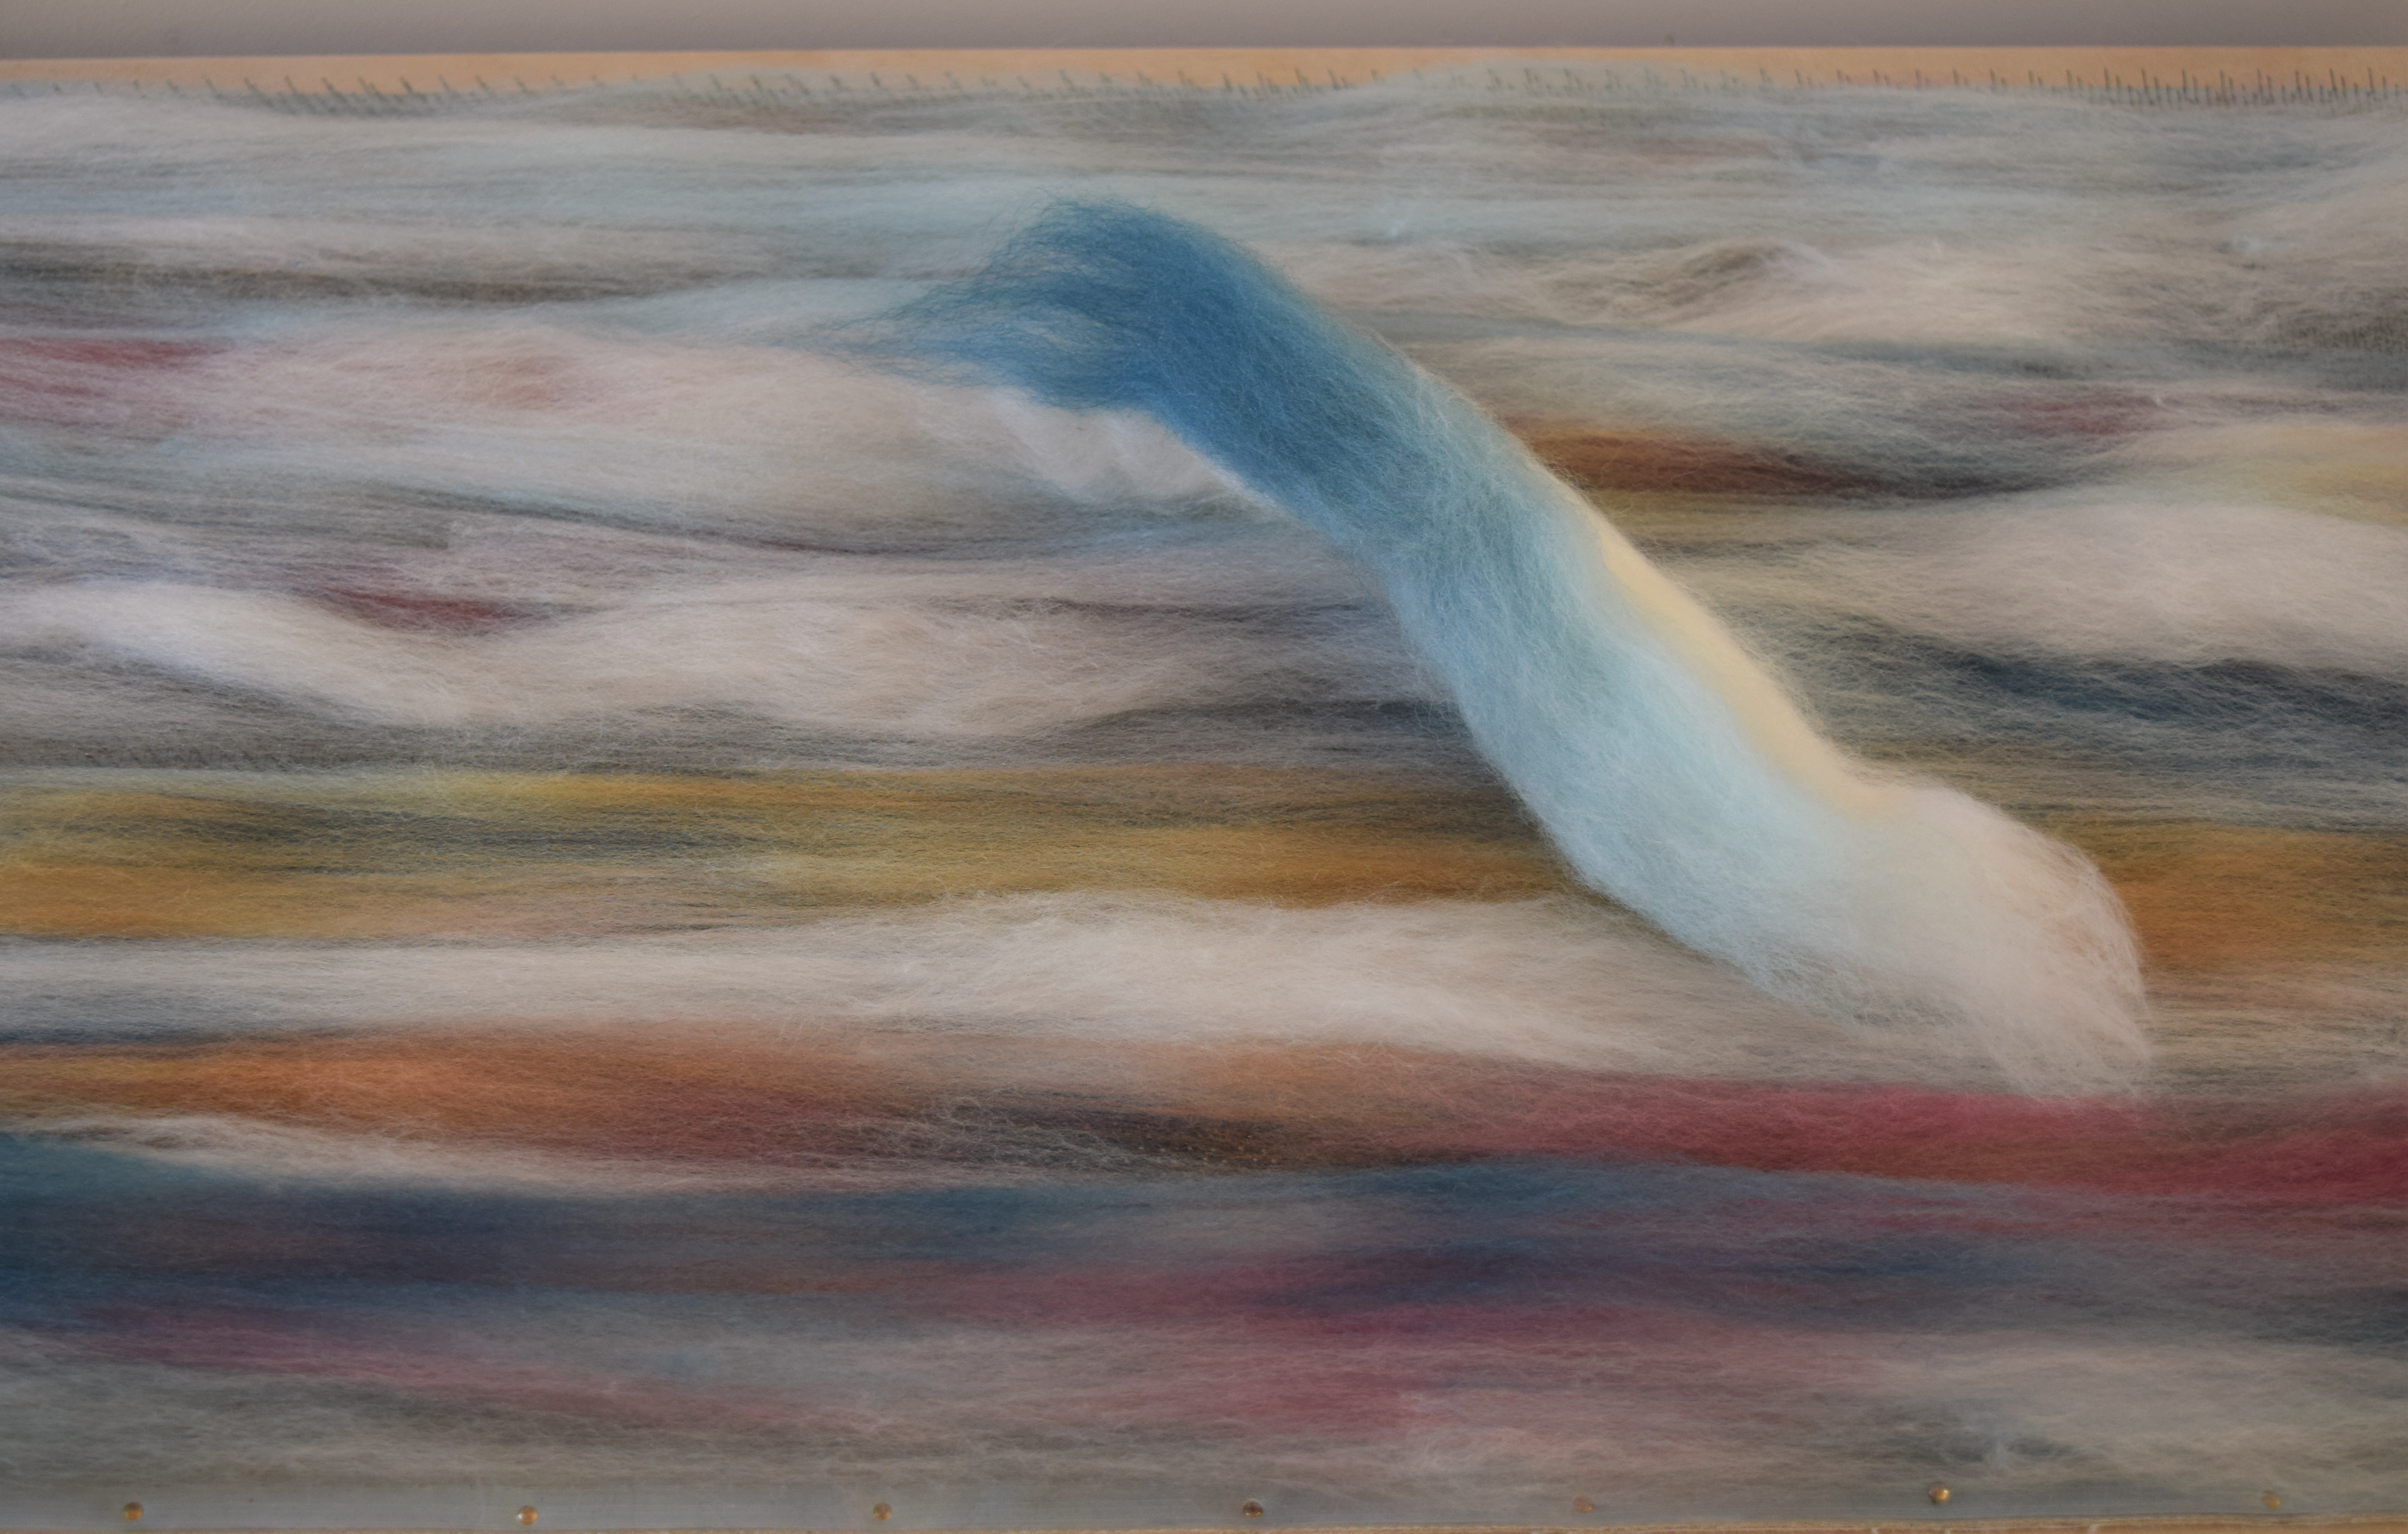
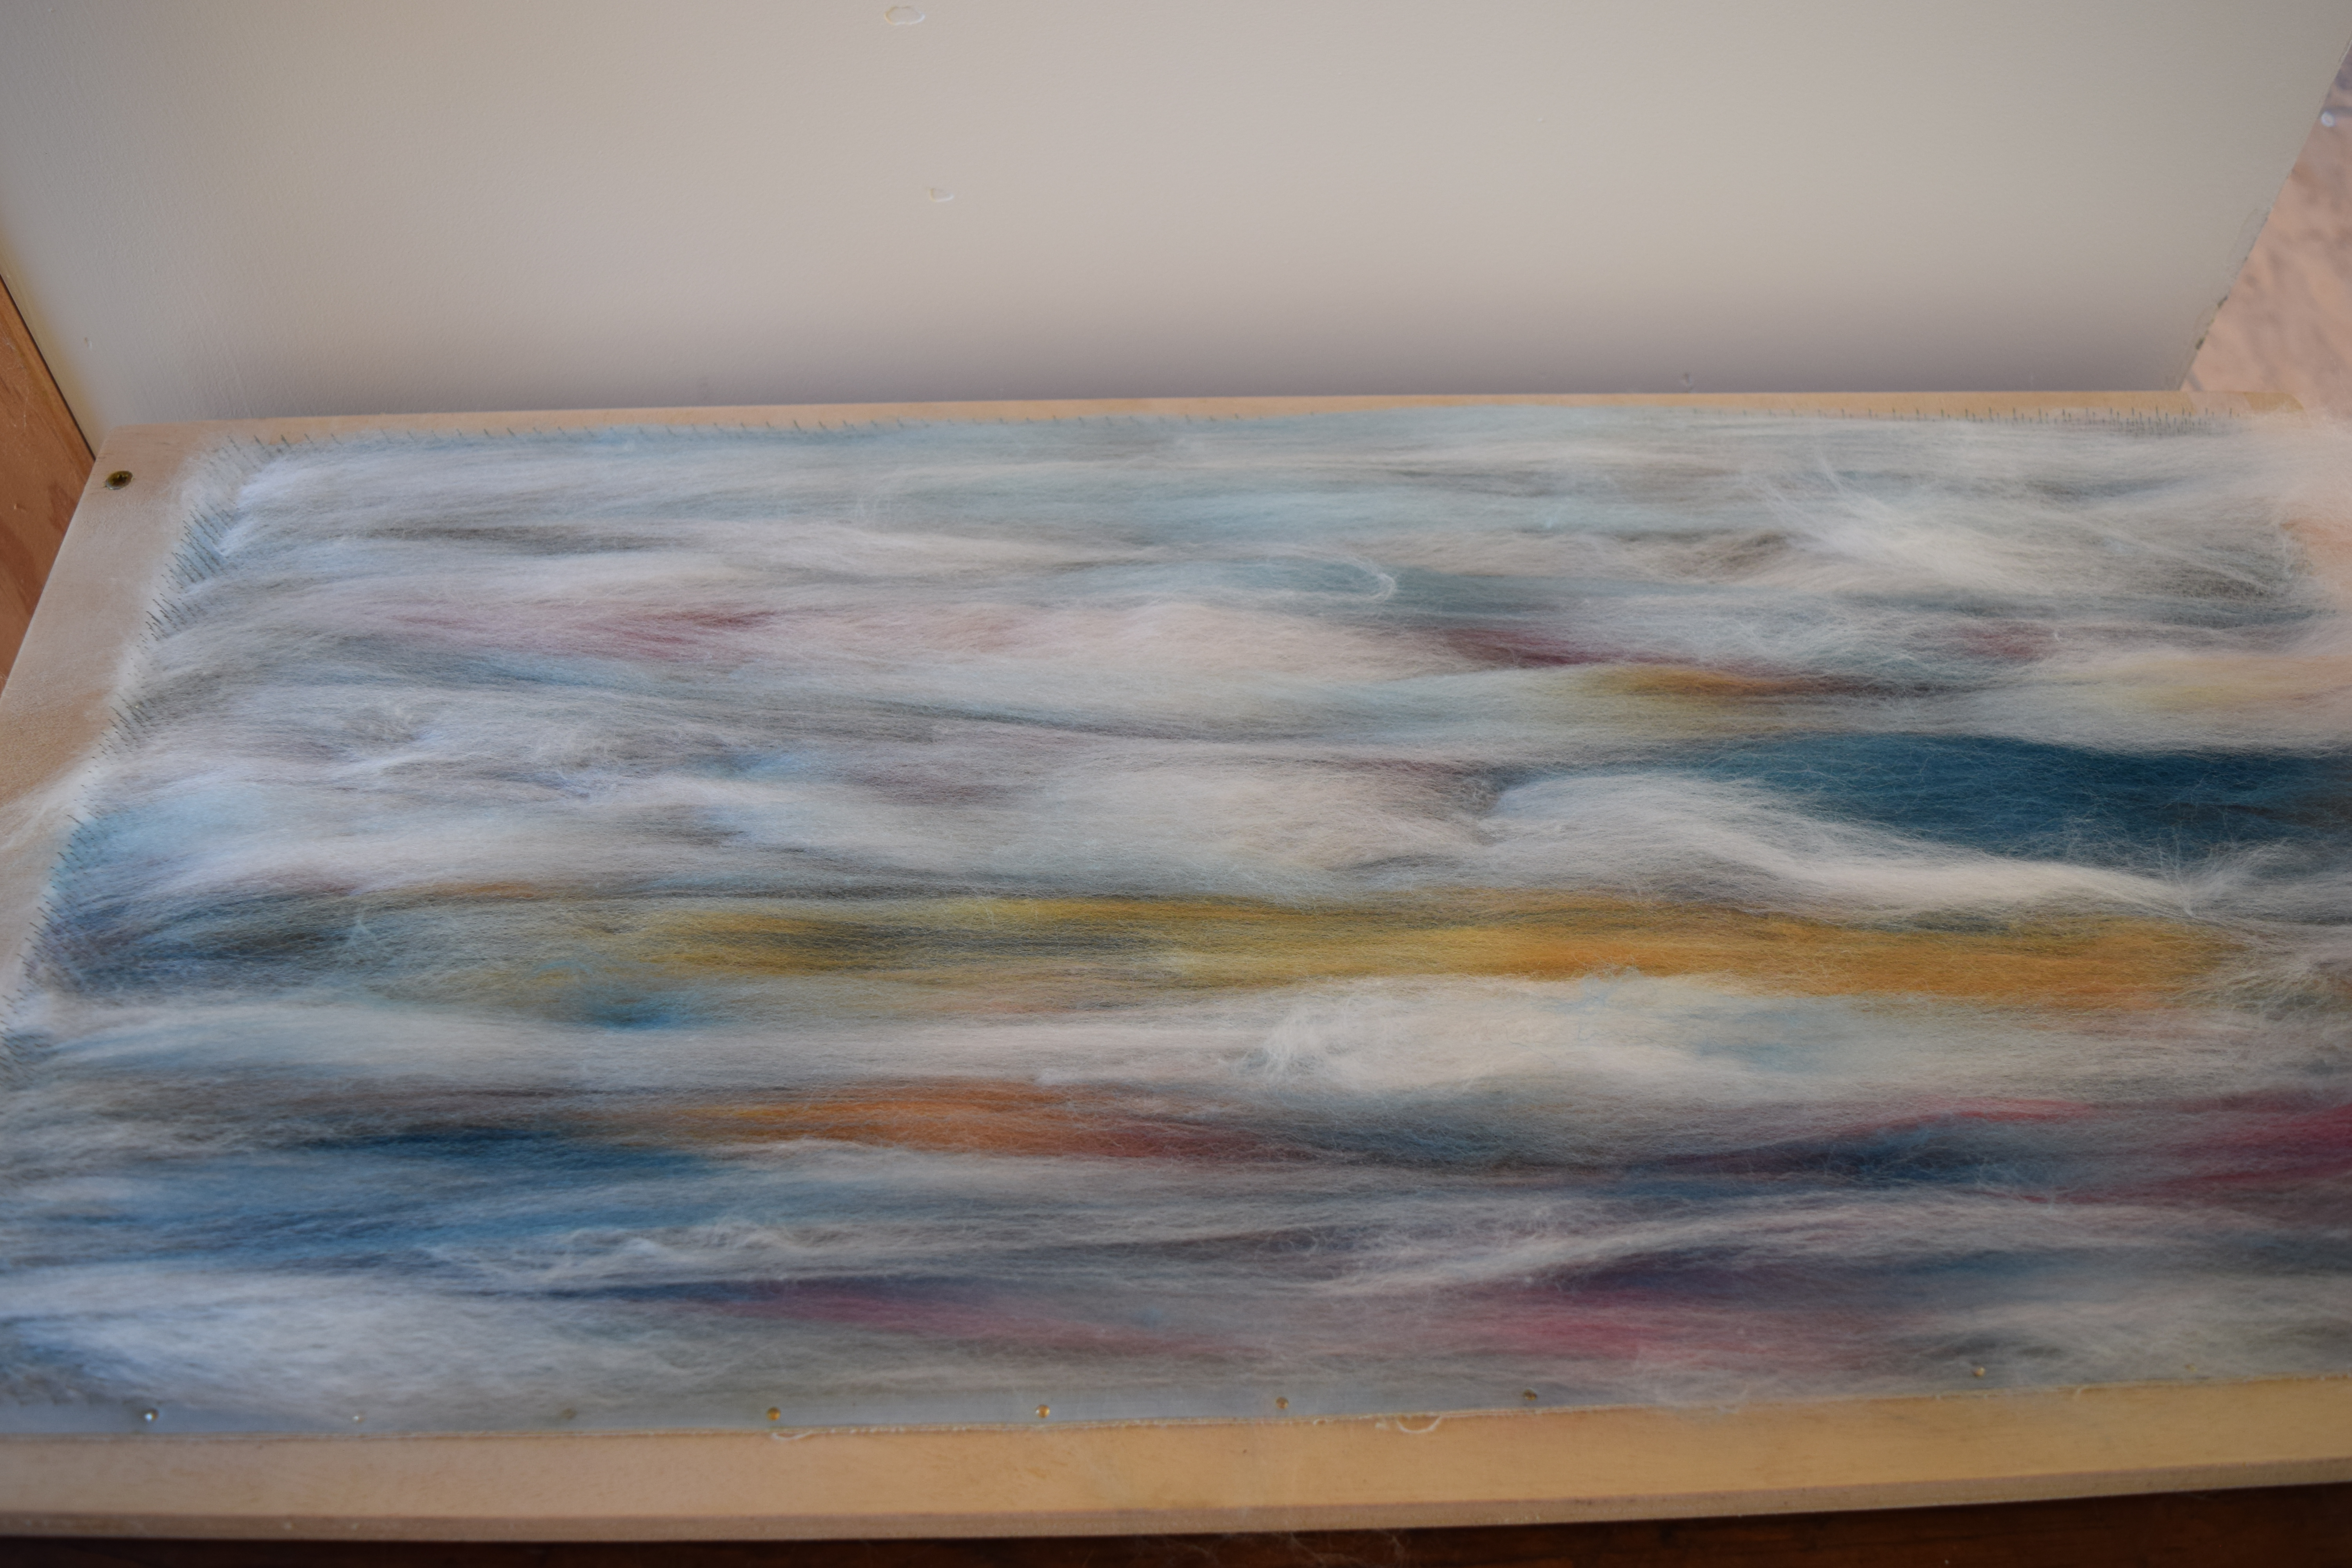
It is much easier to do a quick mix from a dyed braid, than to haul out all my separately dyed colors, and although it is a little less controlled, offers a bit of an element of surprise, and is really just fun, as the colors are all there in the braid. But one must choose the braid wisely, for each time I card the fiber from the braid out on to the teeth of the blending board, the colors fuse more, sometimes dramatically. Sometimes very quickly can depart from vibrant splashes of color into a muddied neutral appearance of one shade, especially if there are any complimentary colors in the braid. Also the colors will blend even more after plying the singles. So this time I am only going to fill up the teeth on the board just once, and draw off the rolags to spin. And here is what I did …

(click 1st image to go to slideshow)

♣     â™£     â™£

Techy stuff …

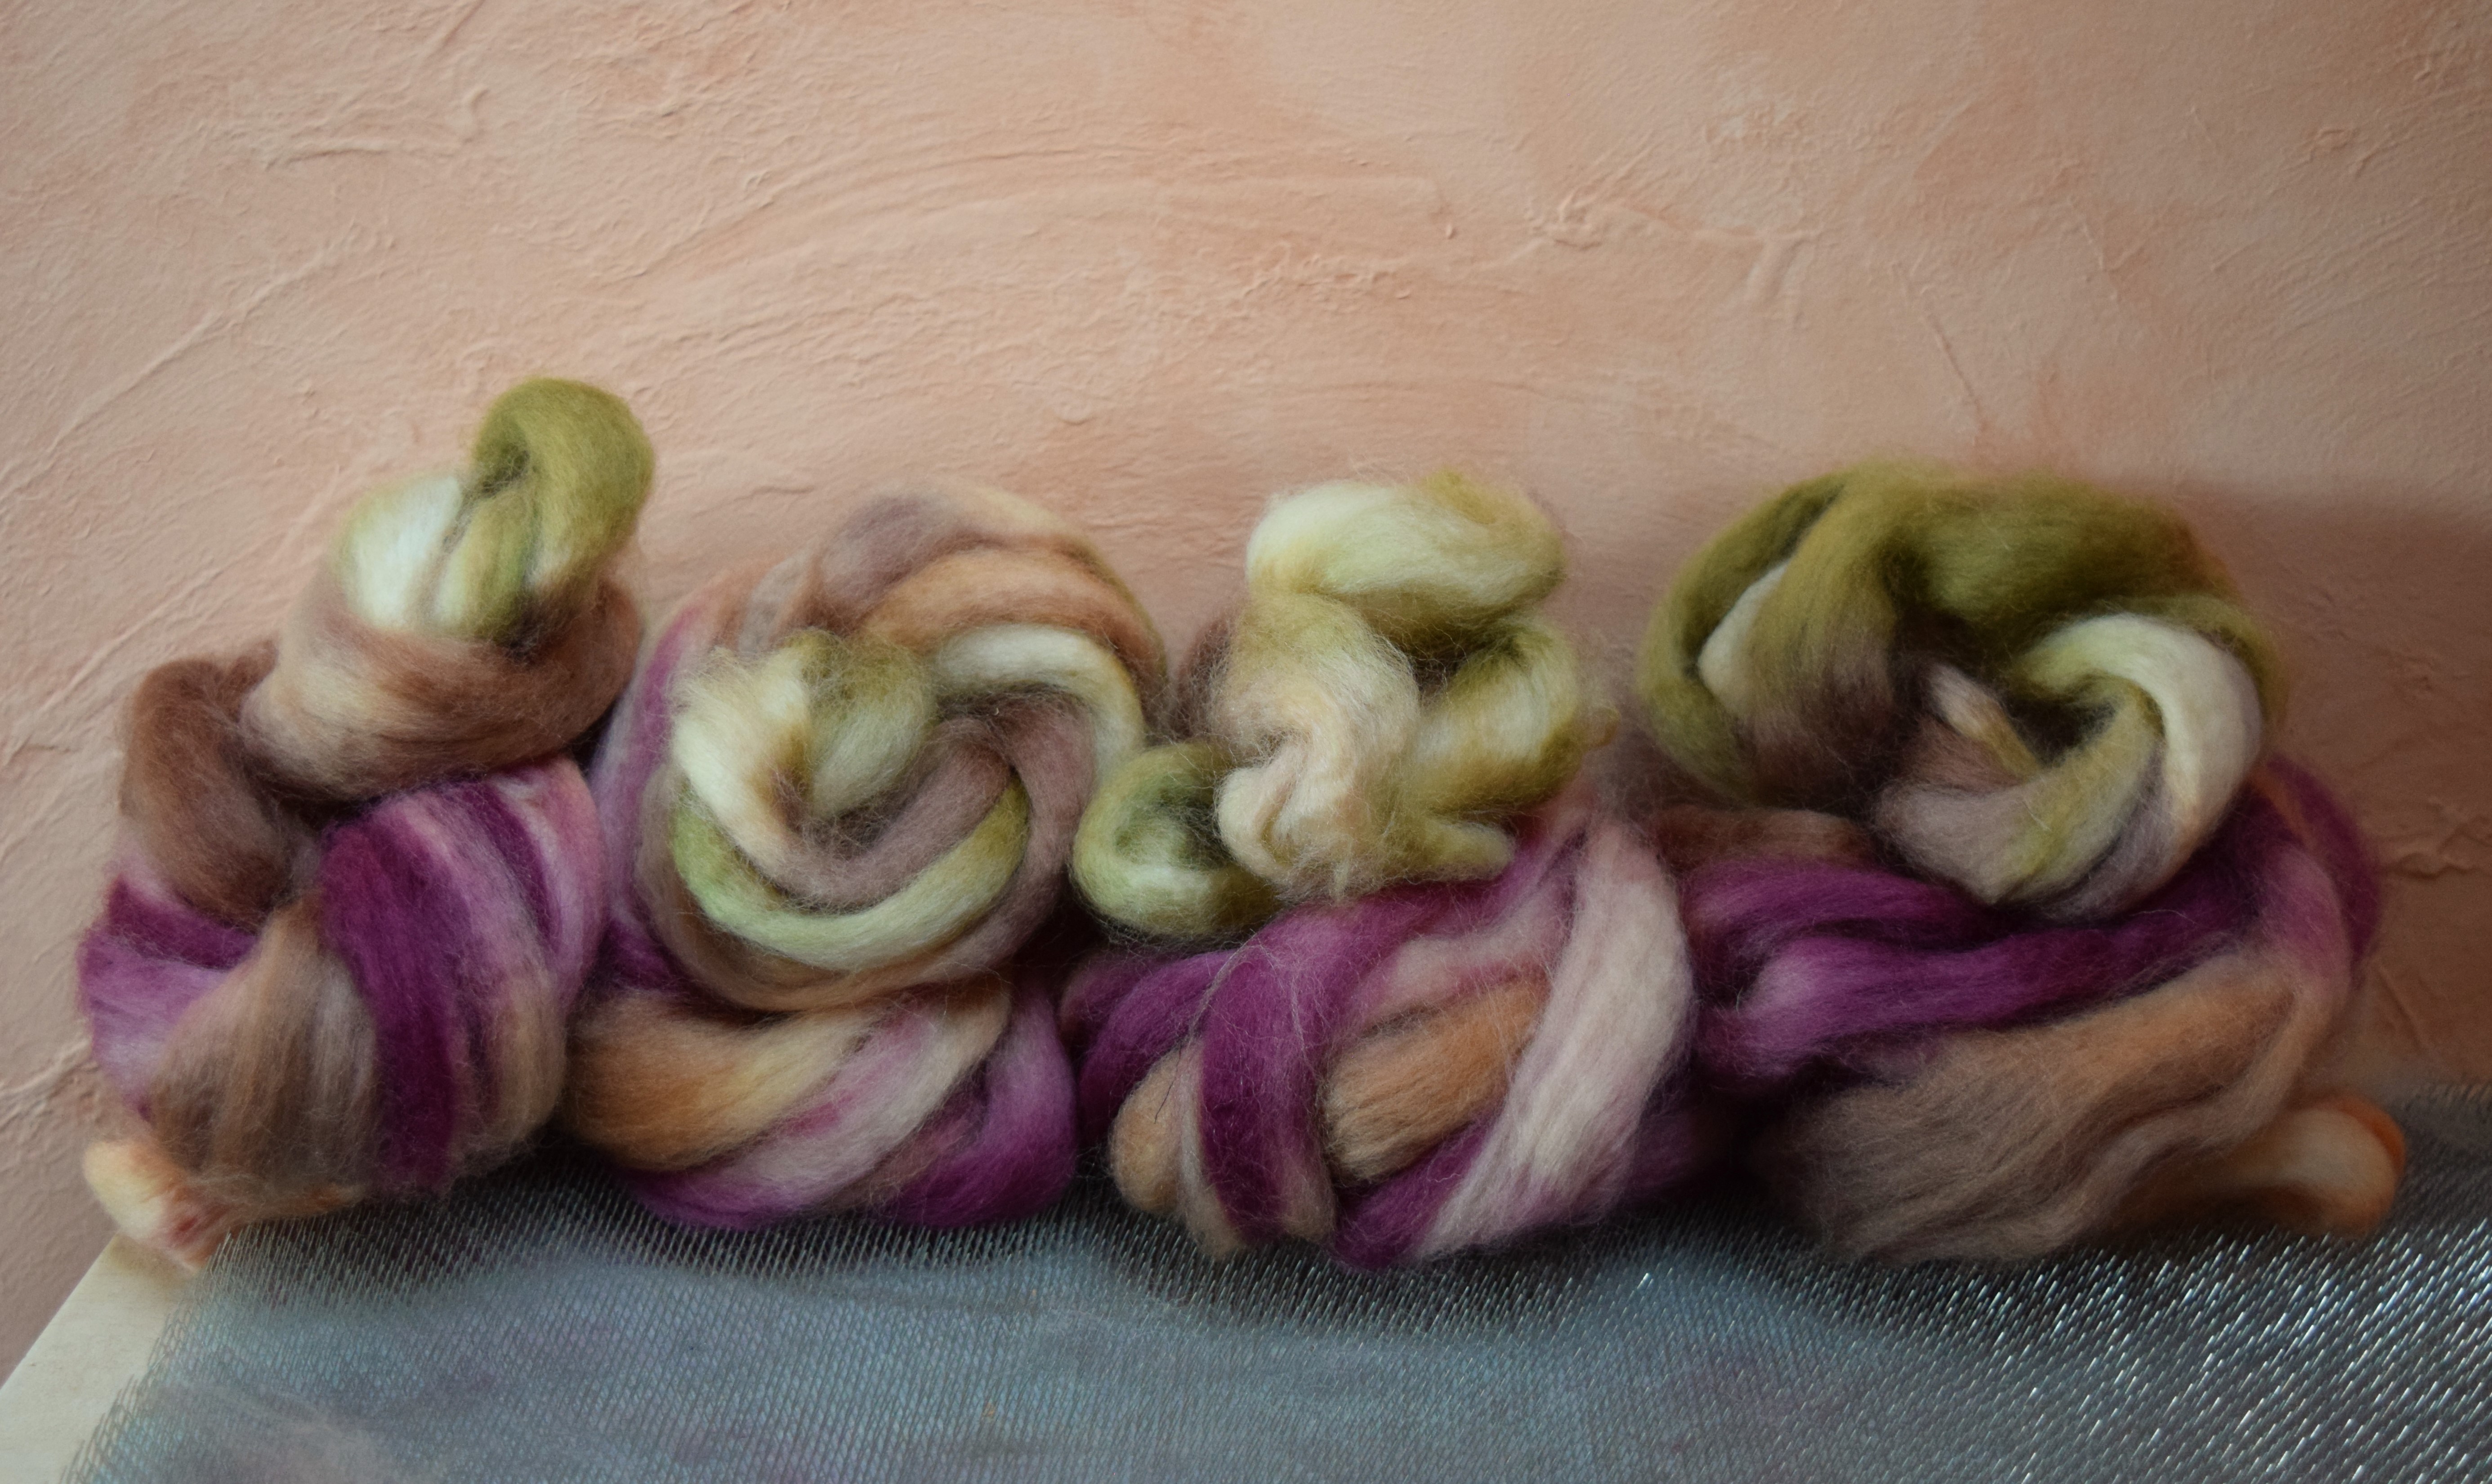
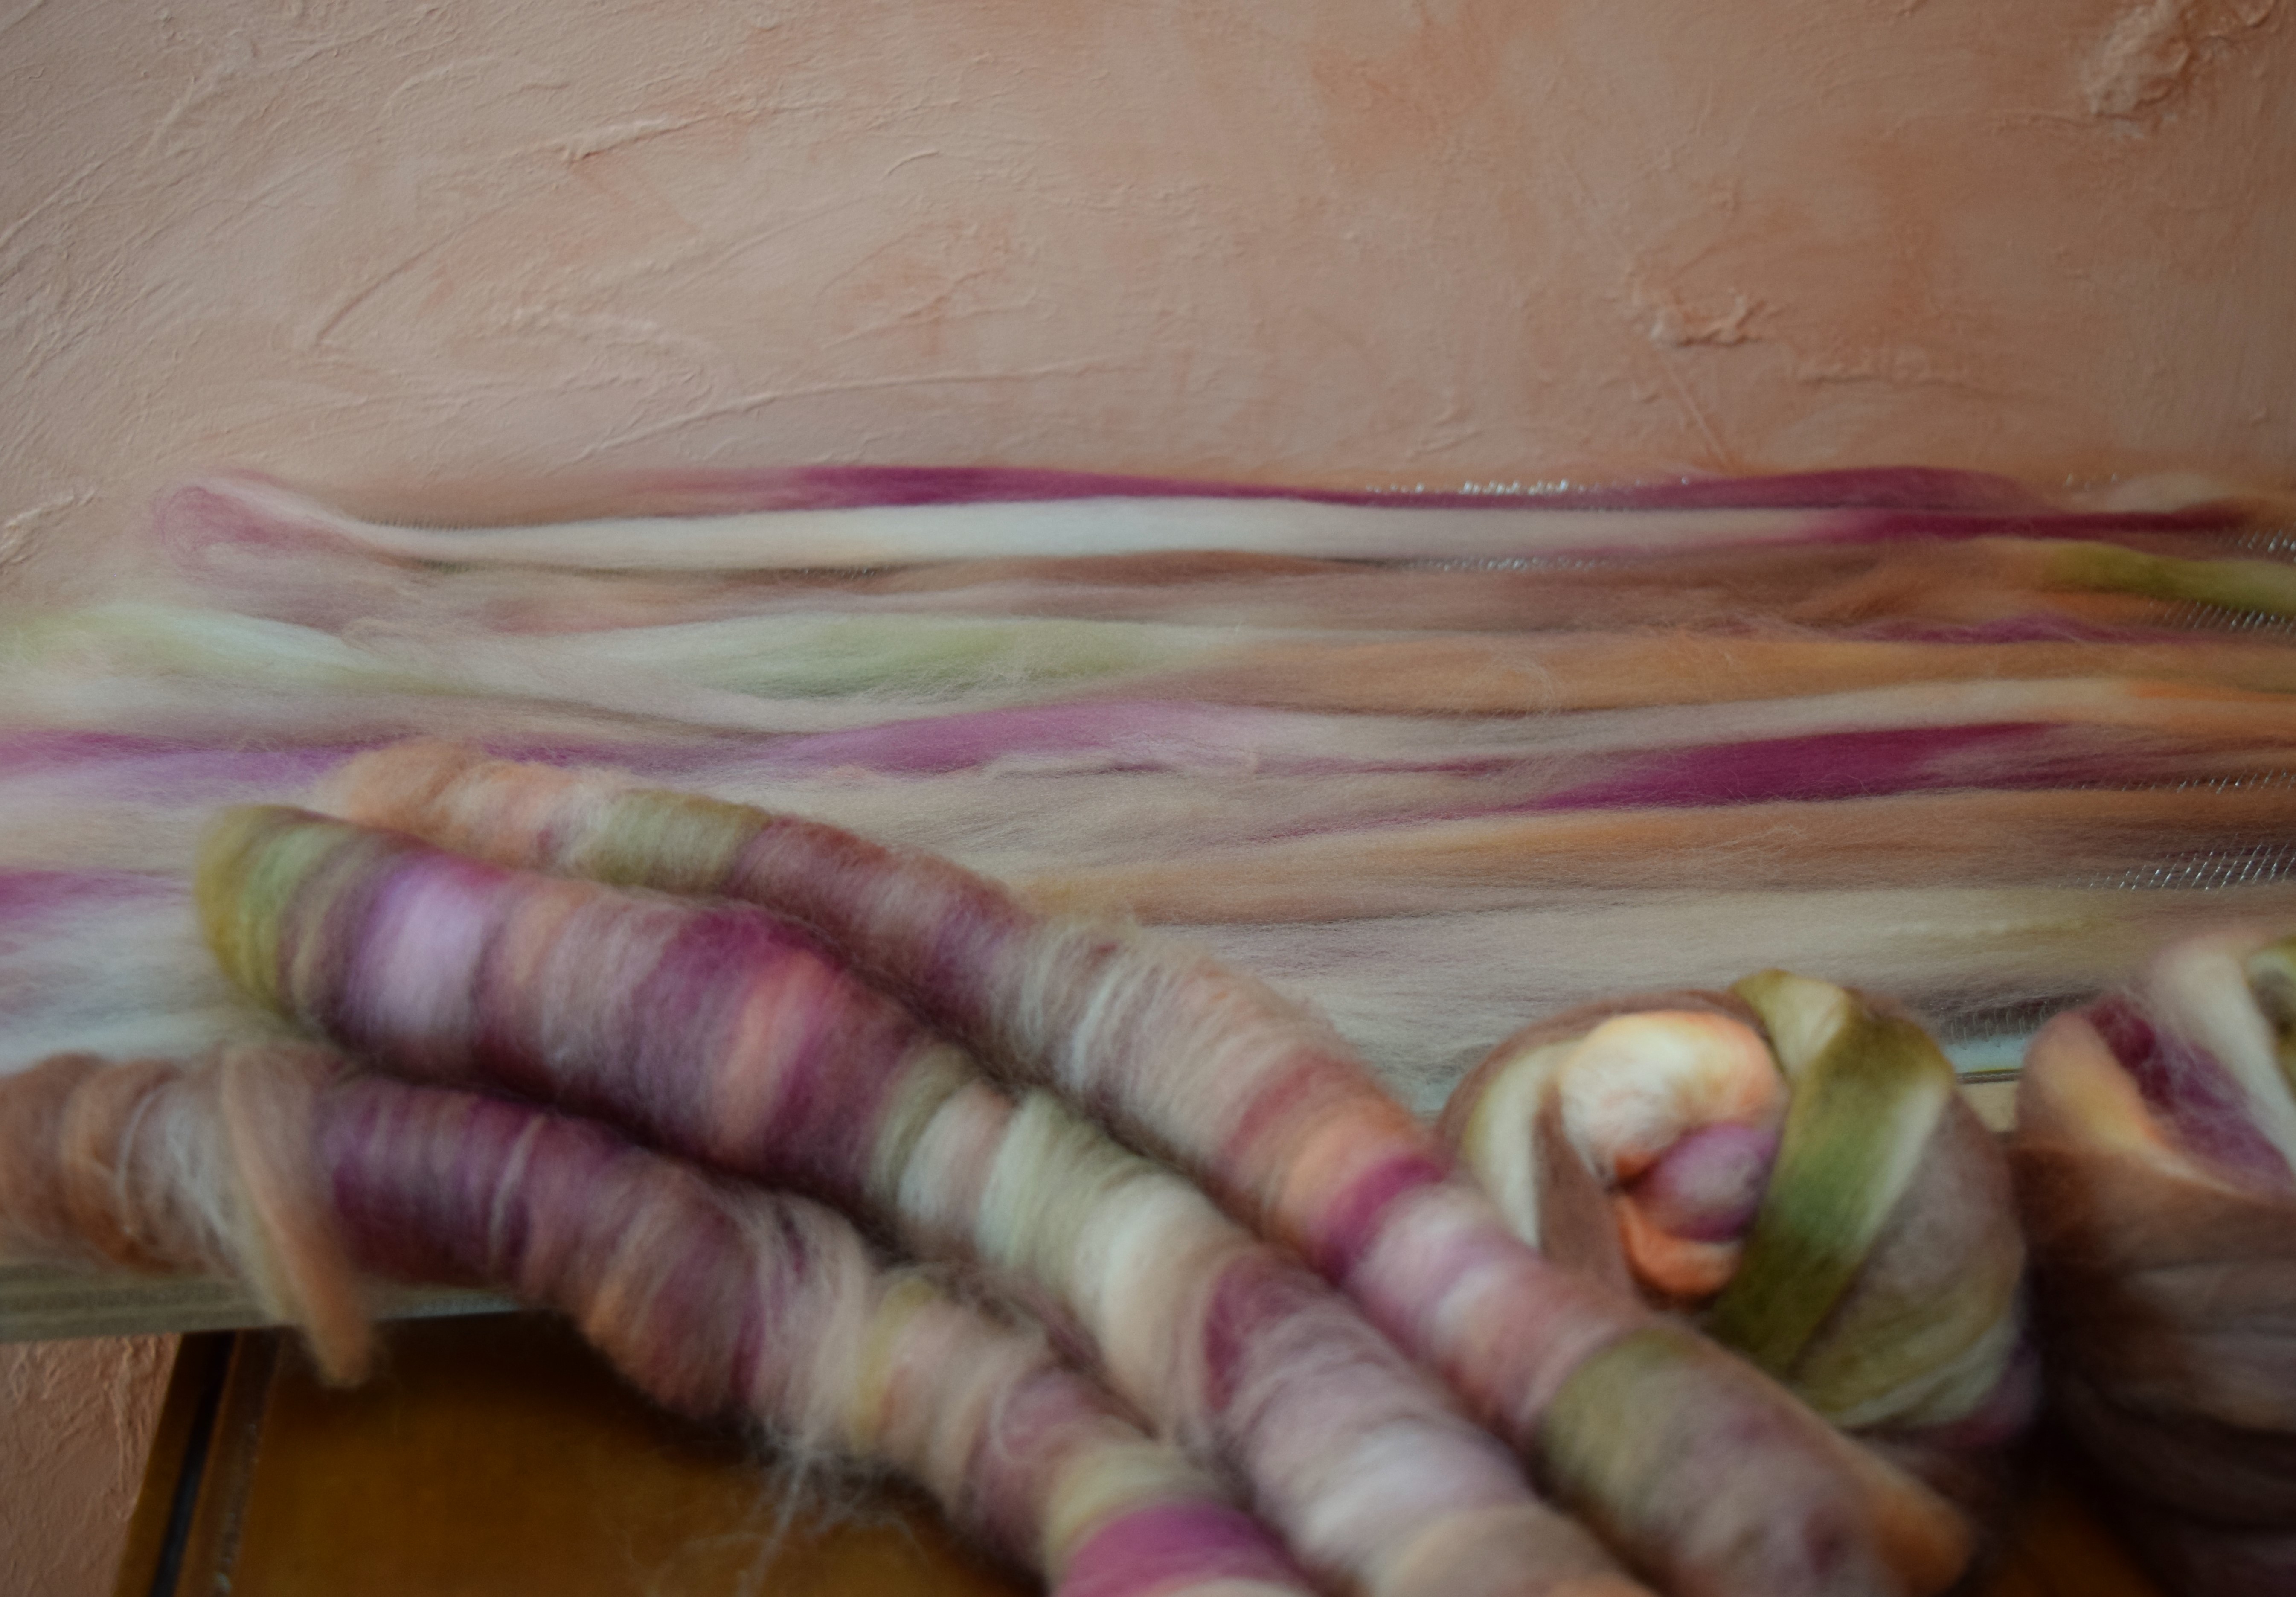
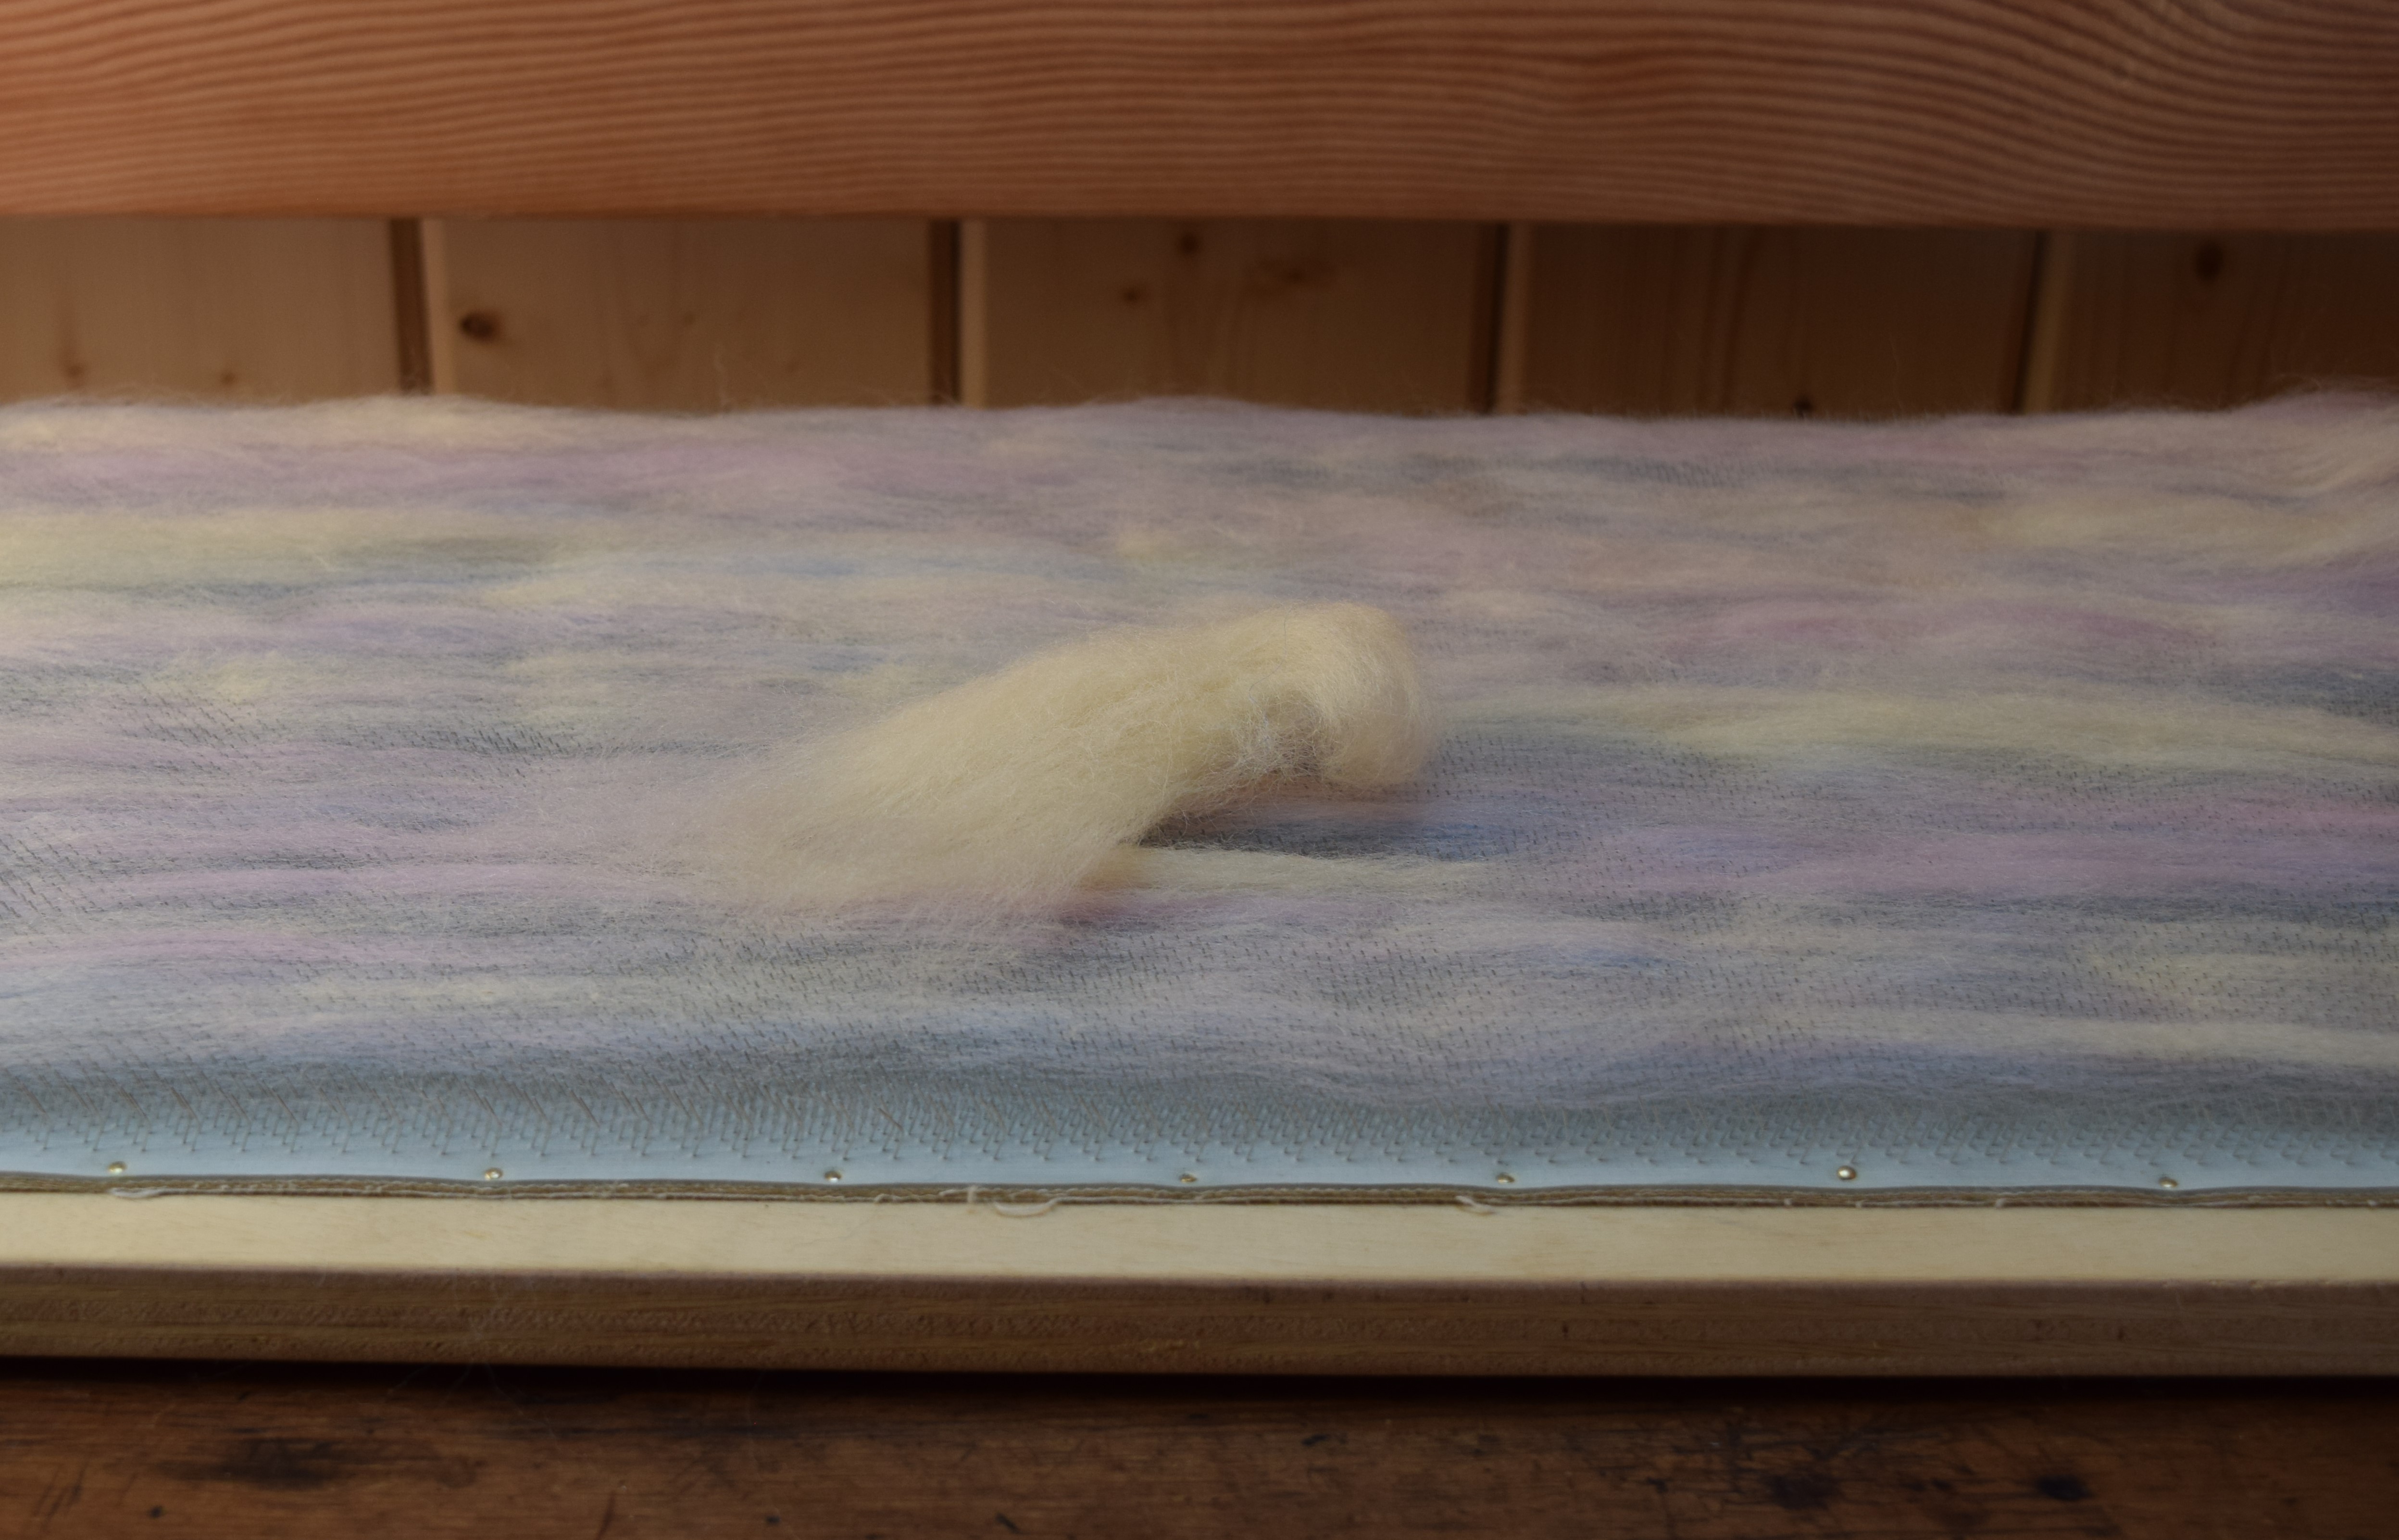
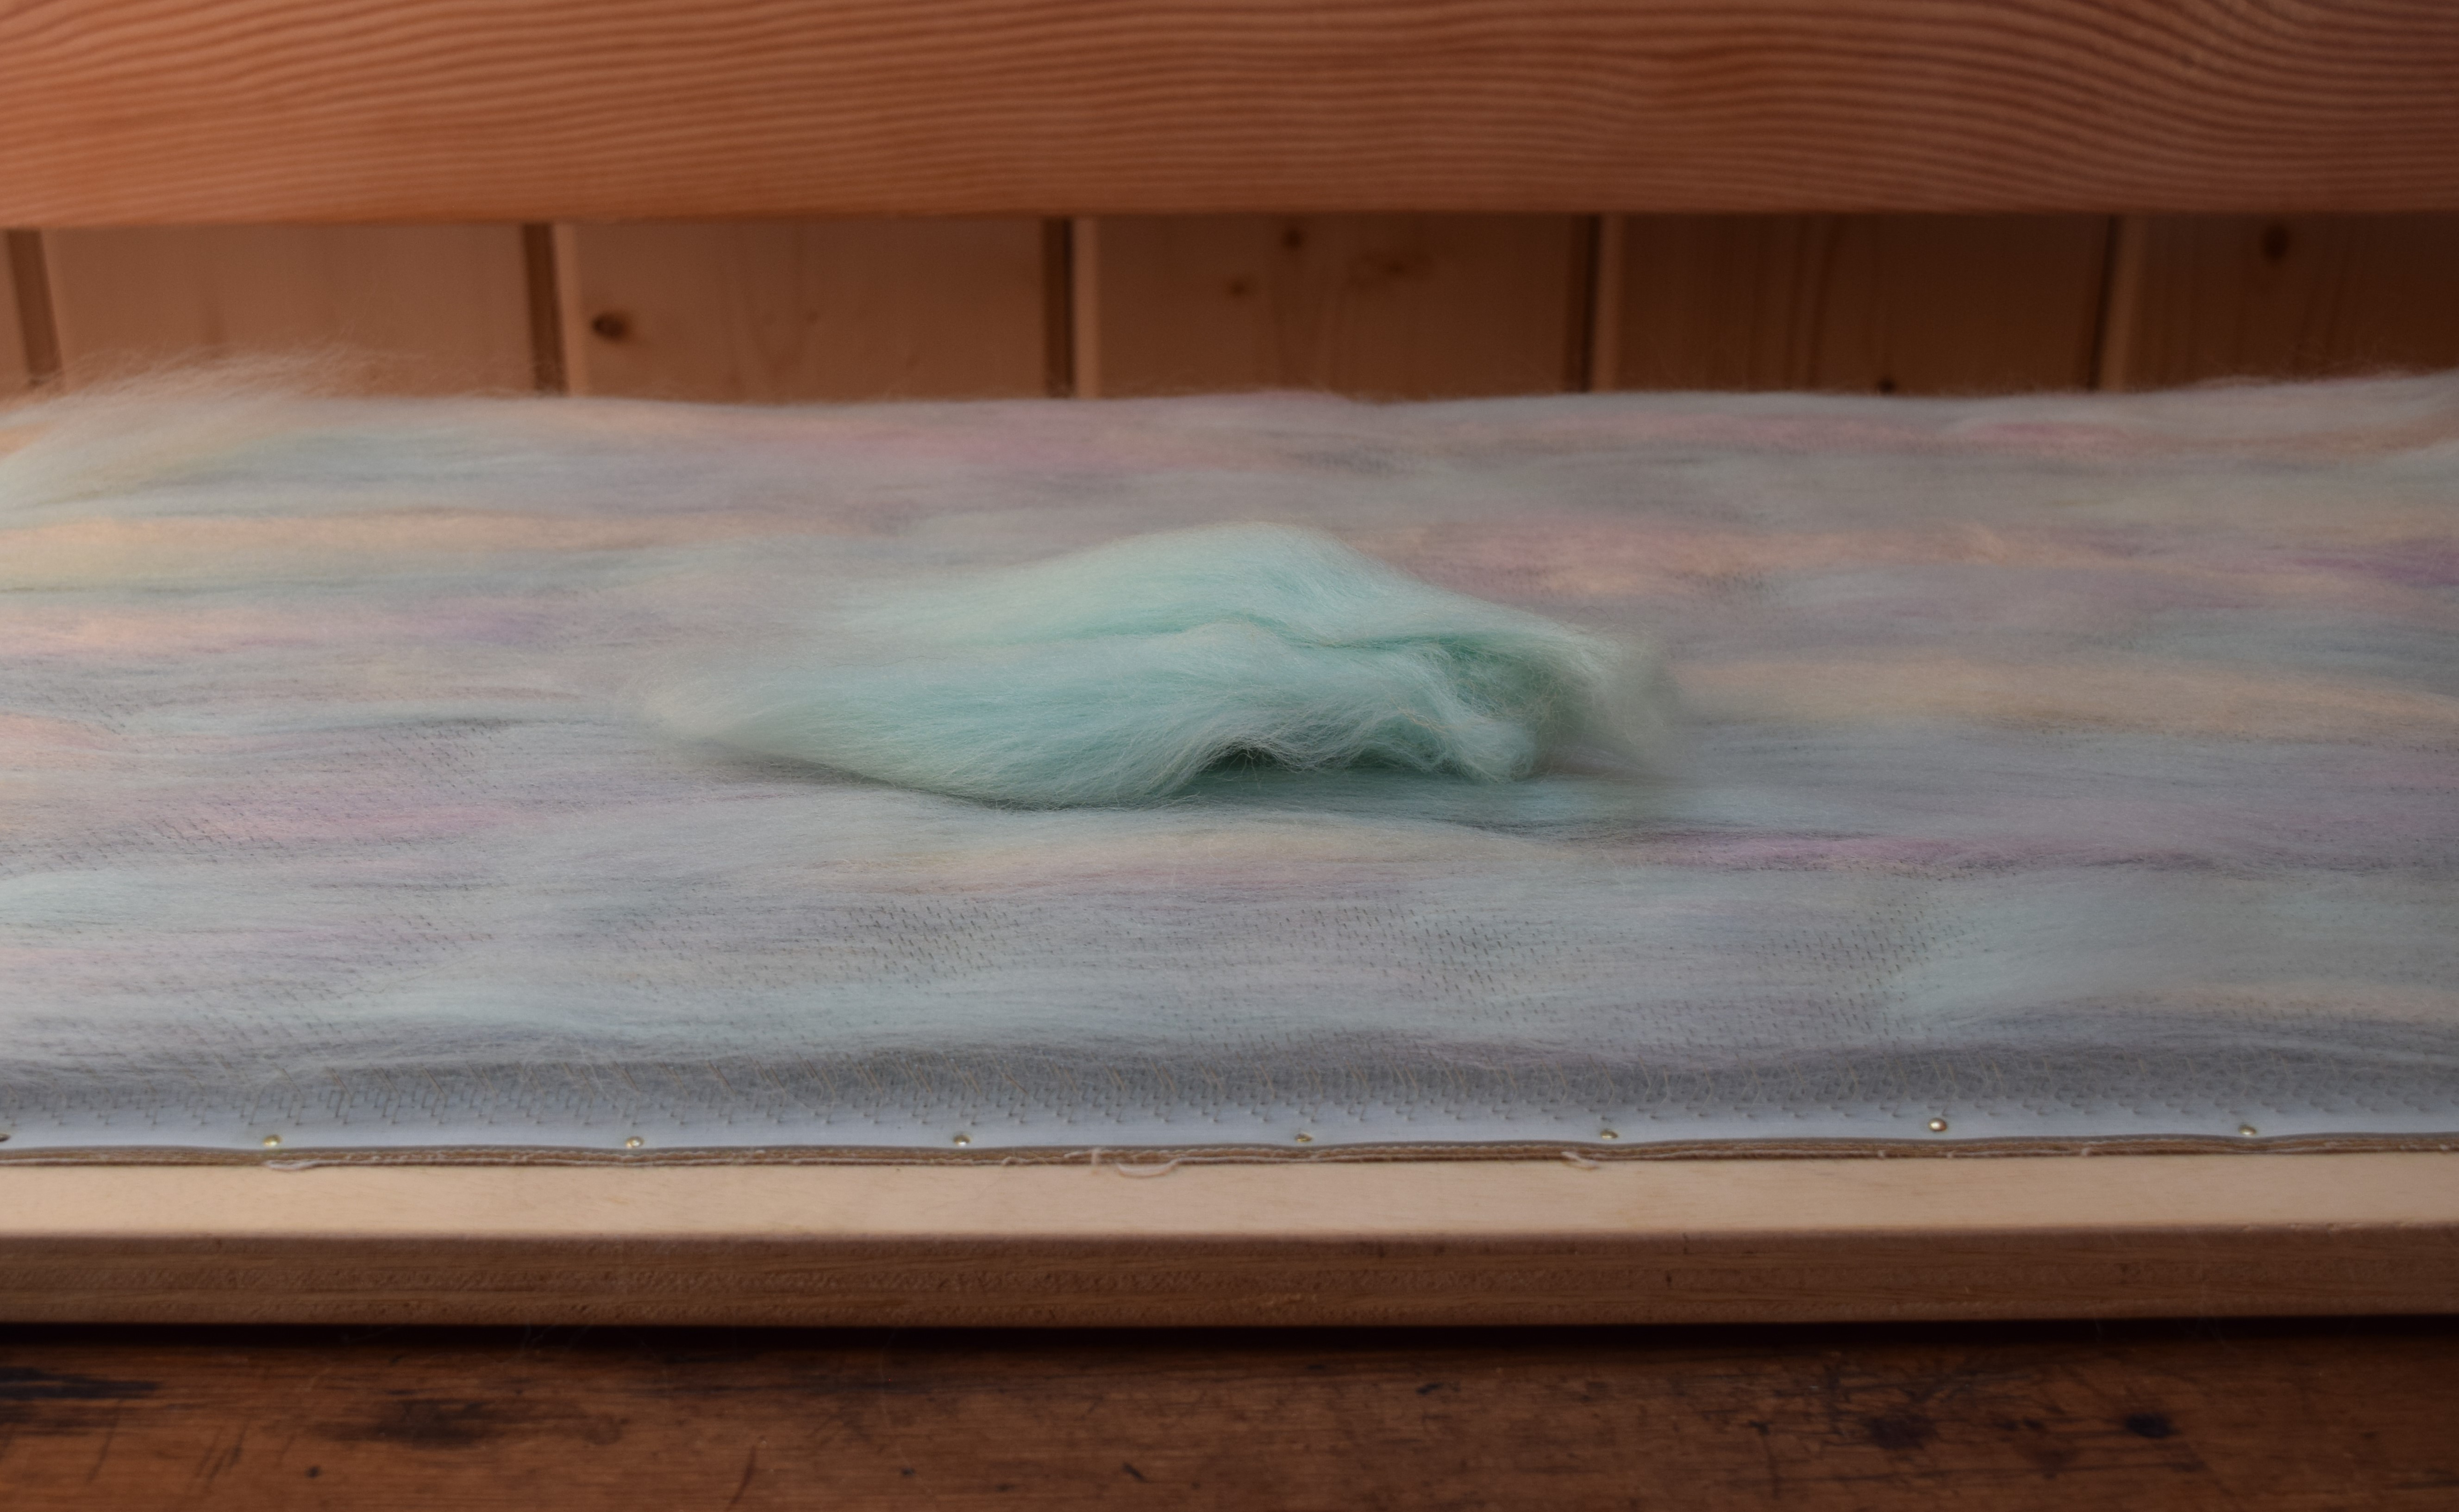
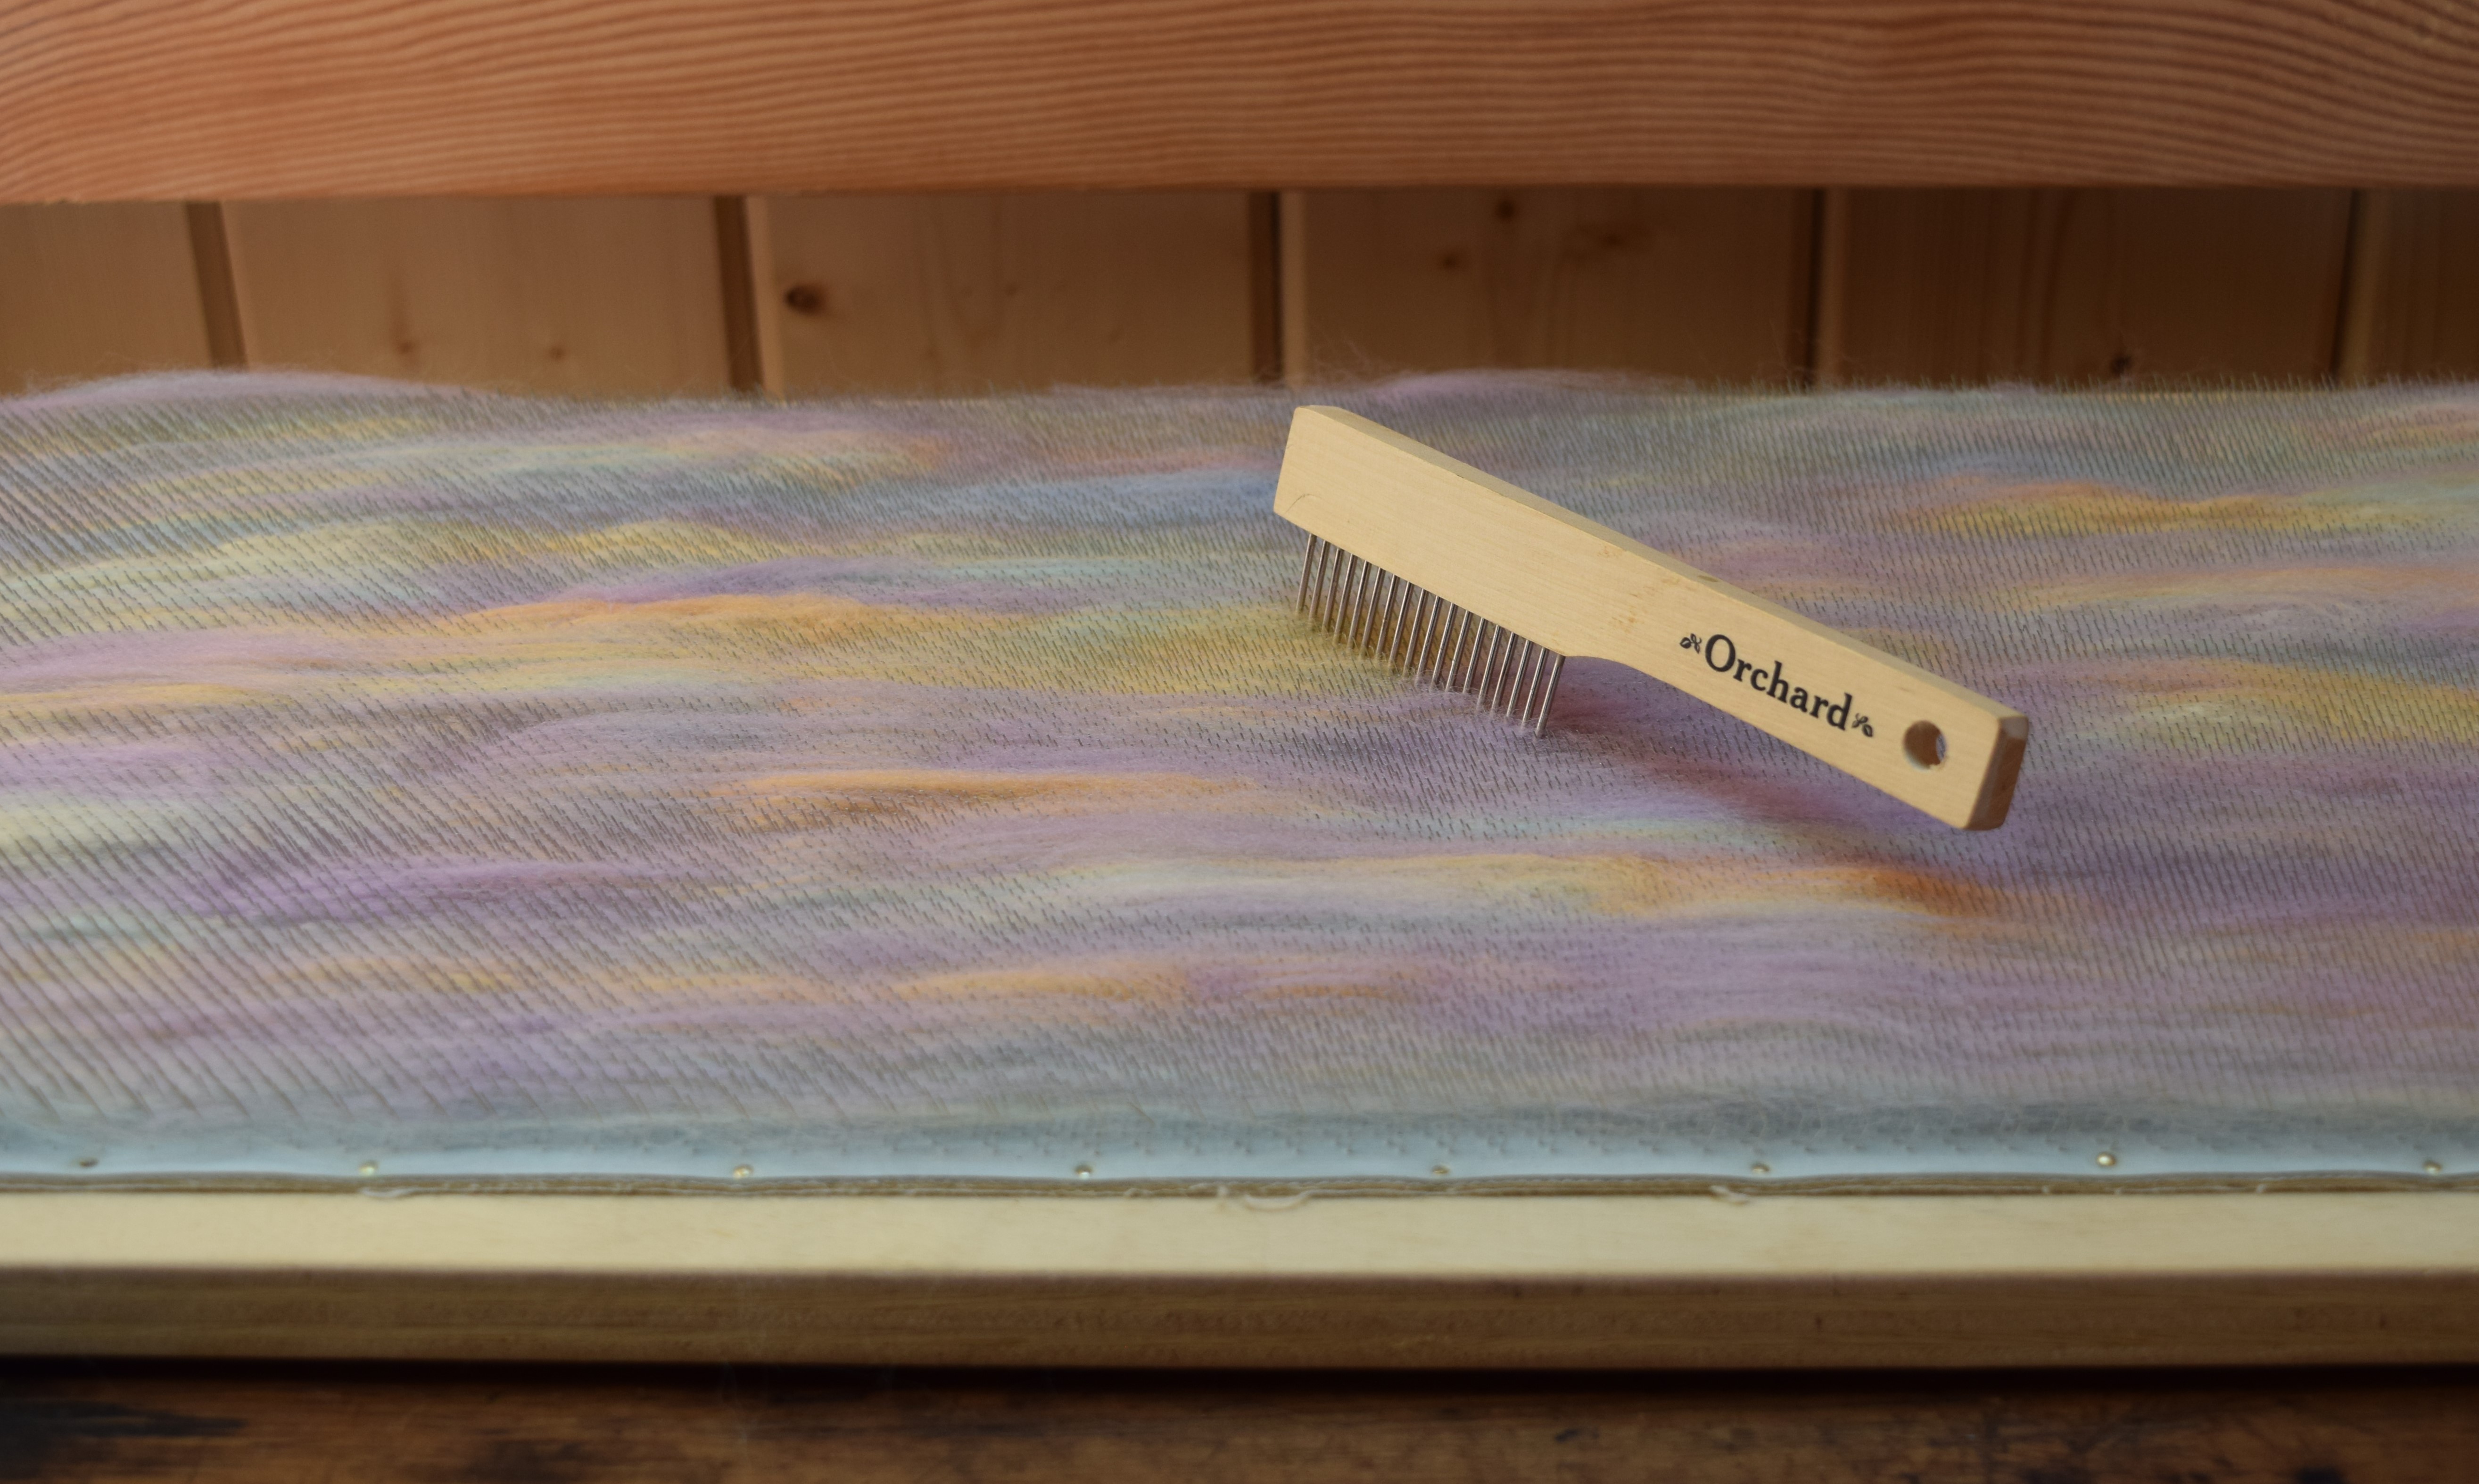
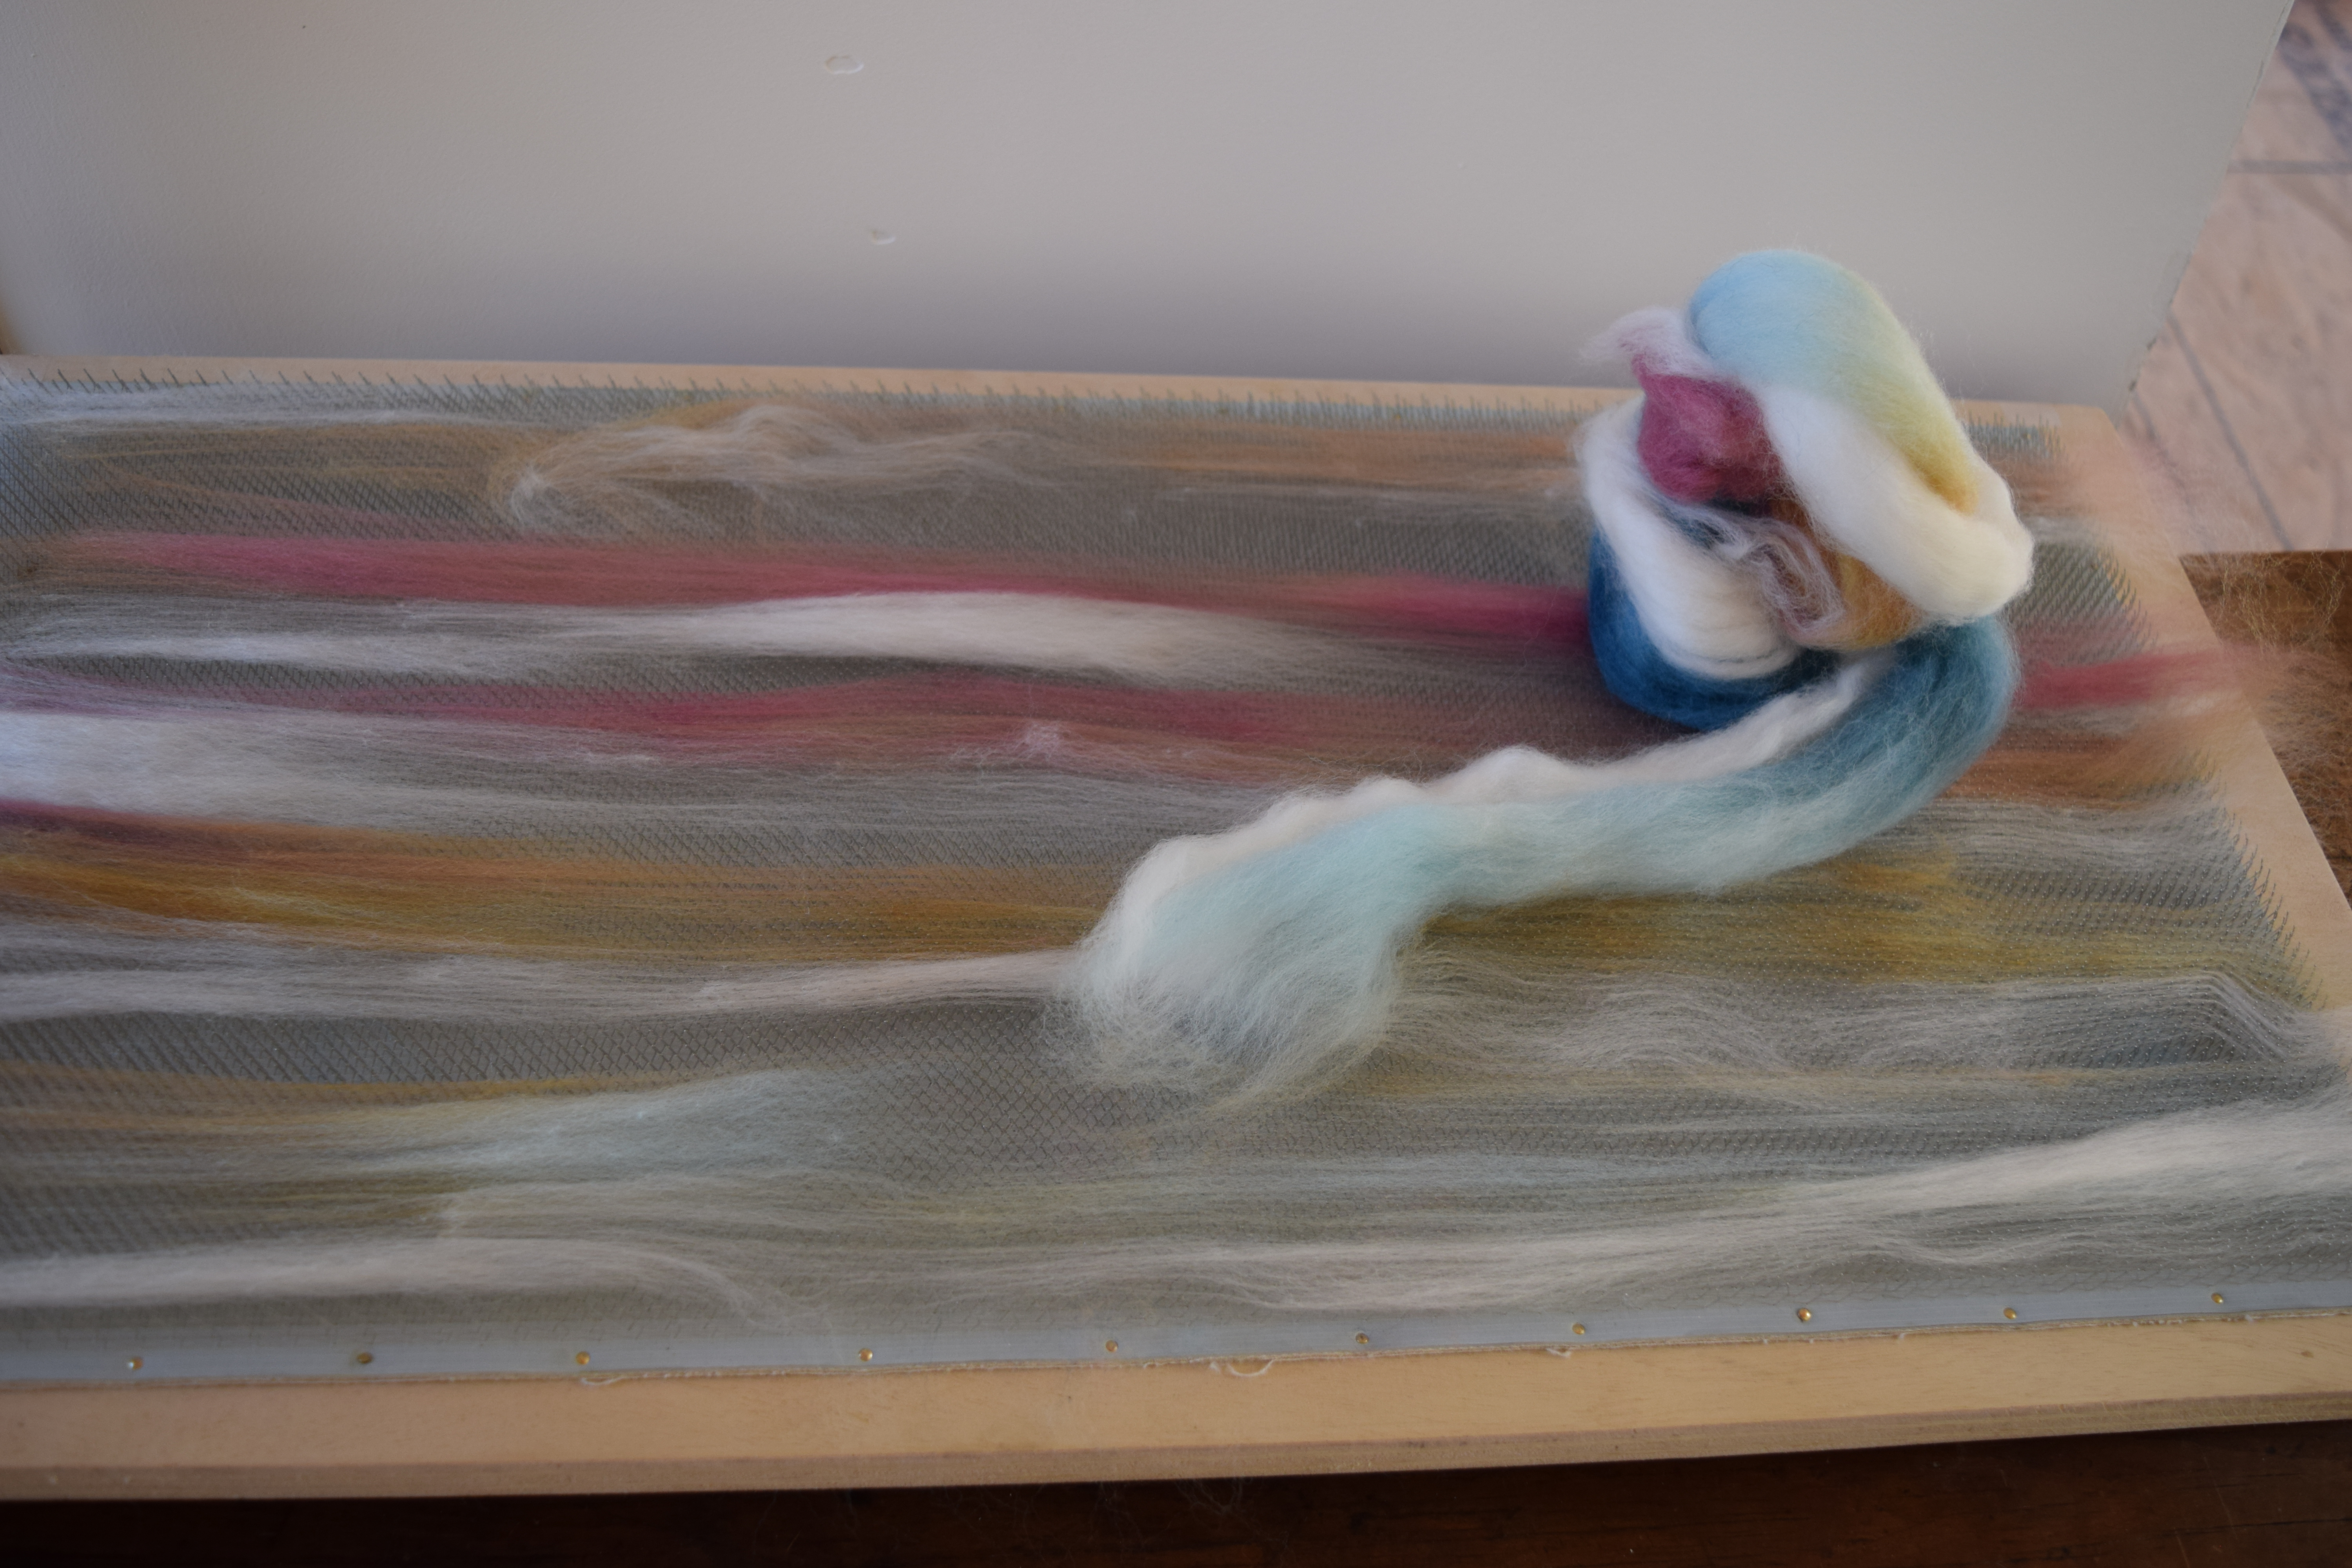
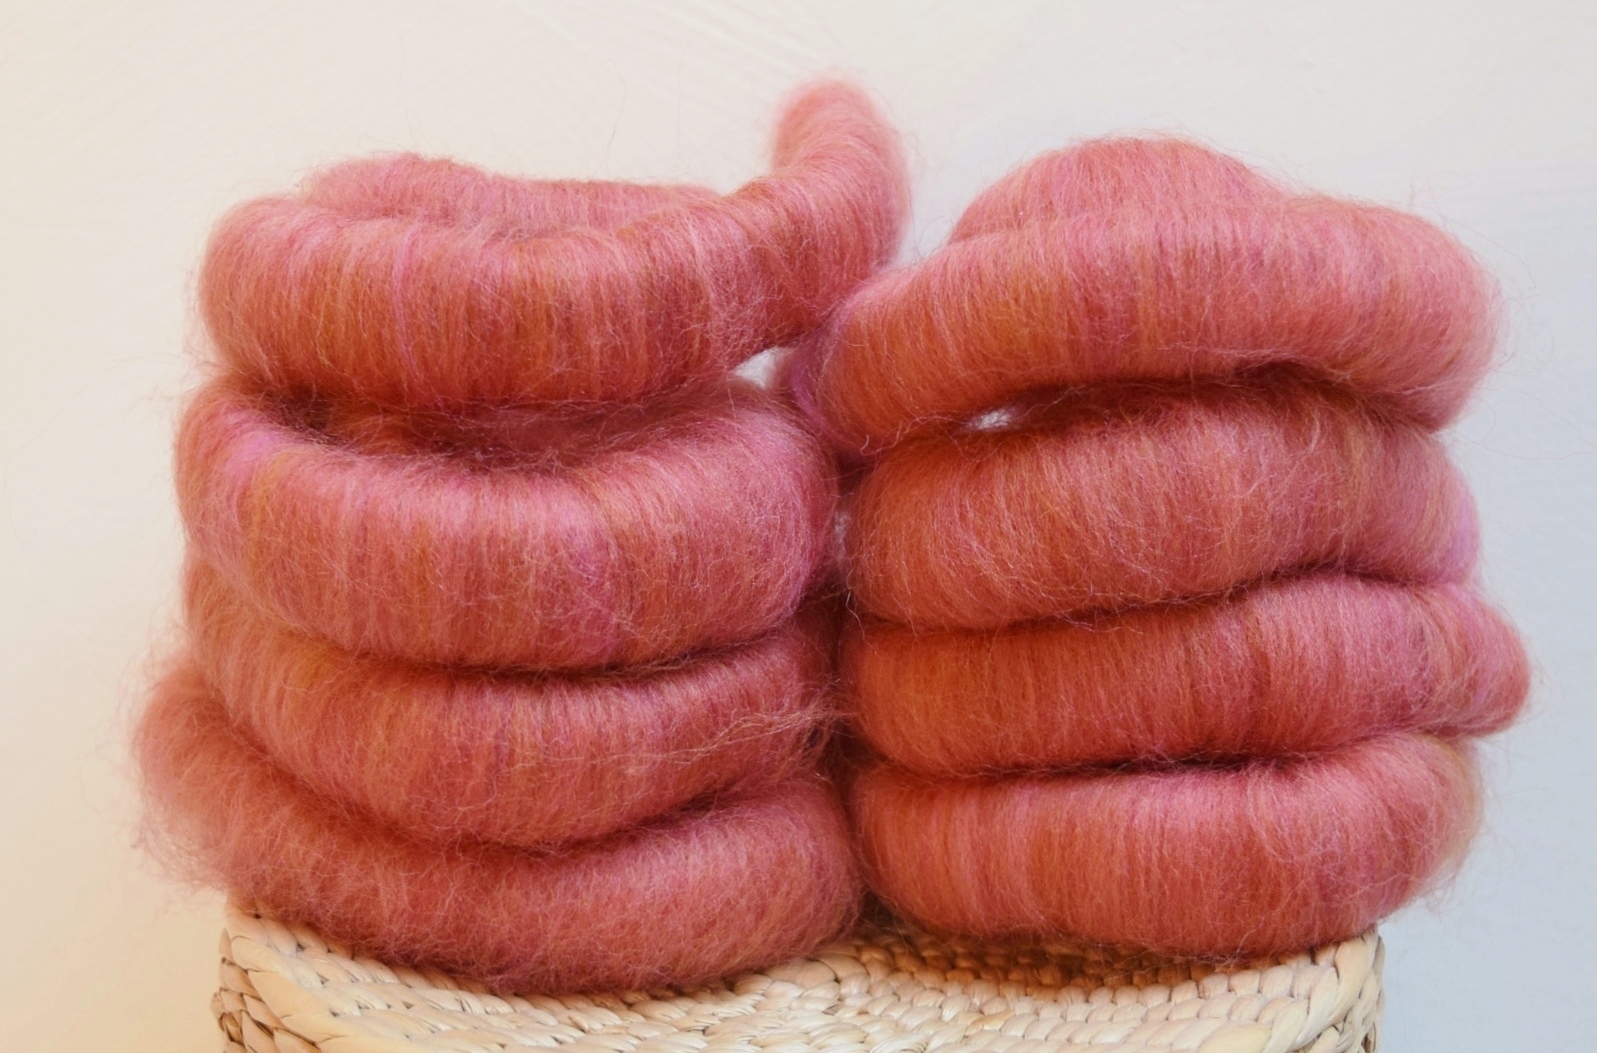
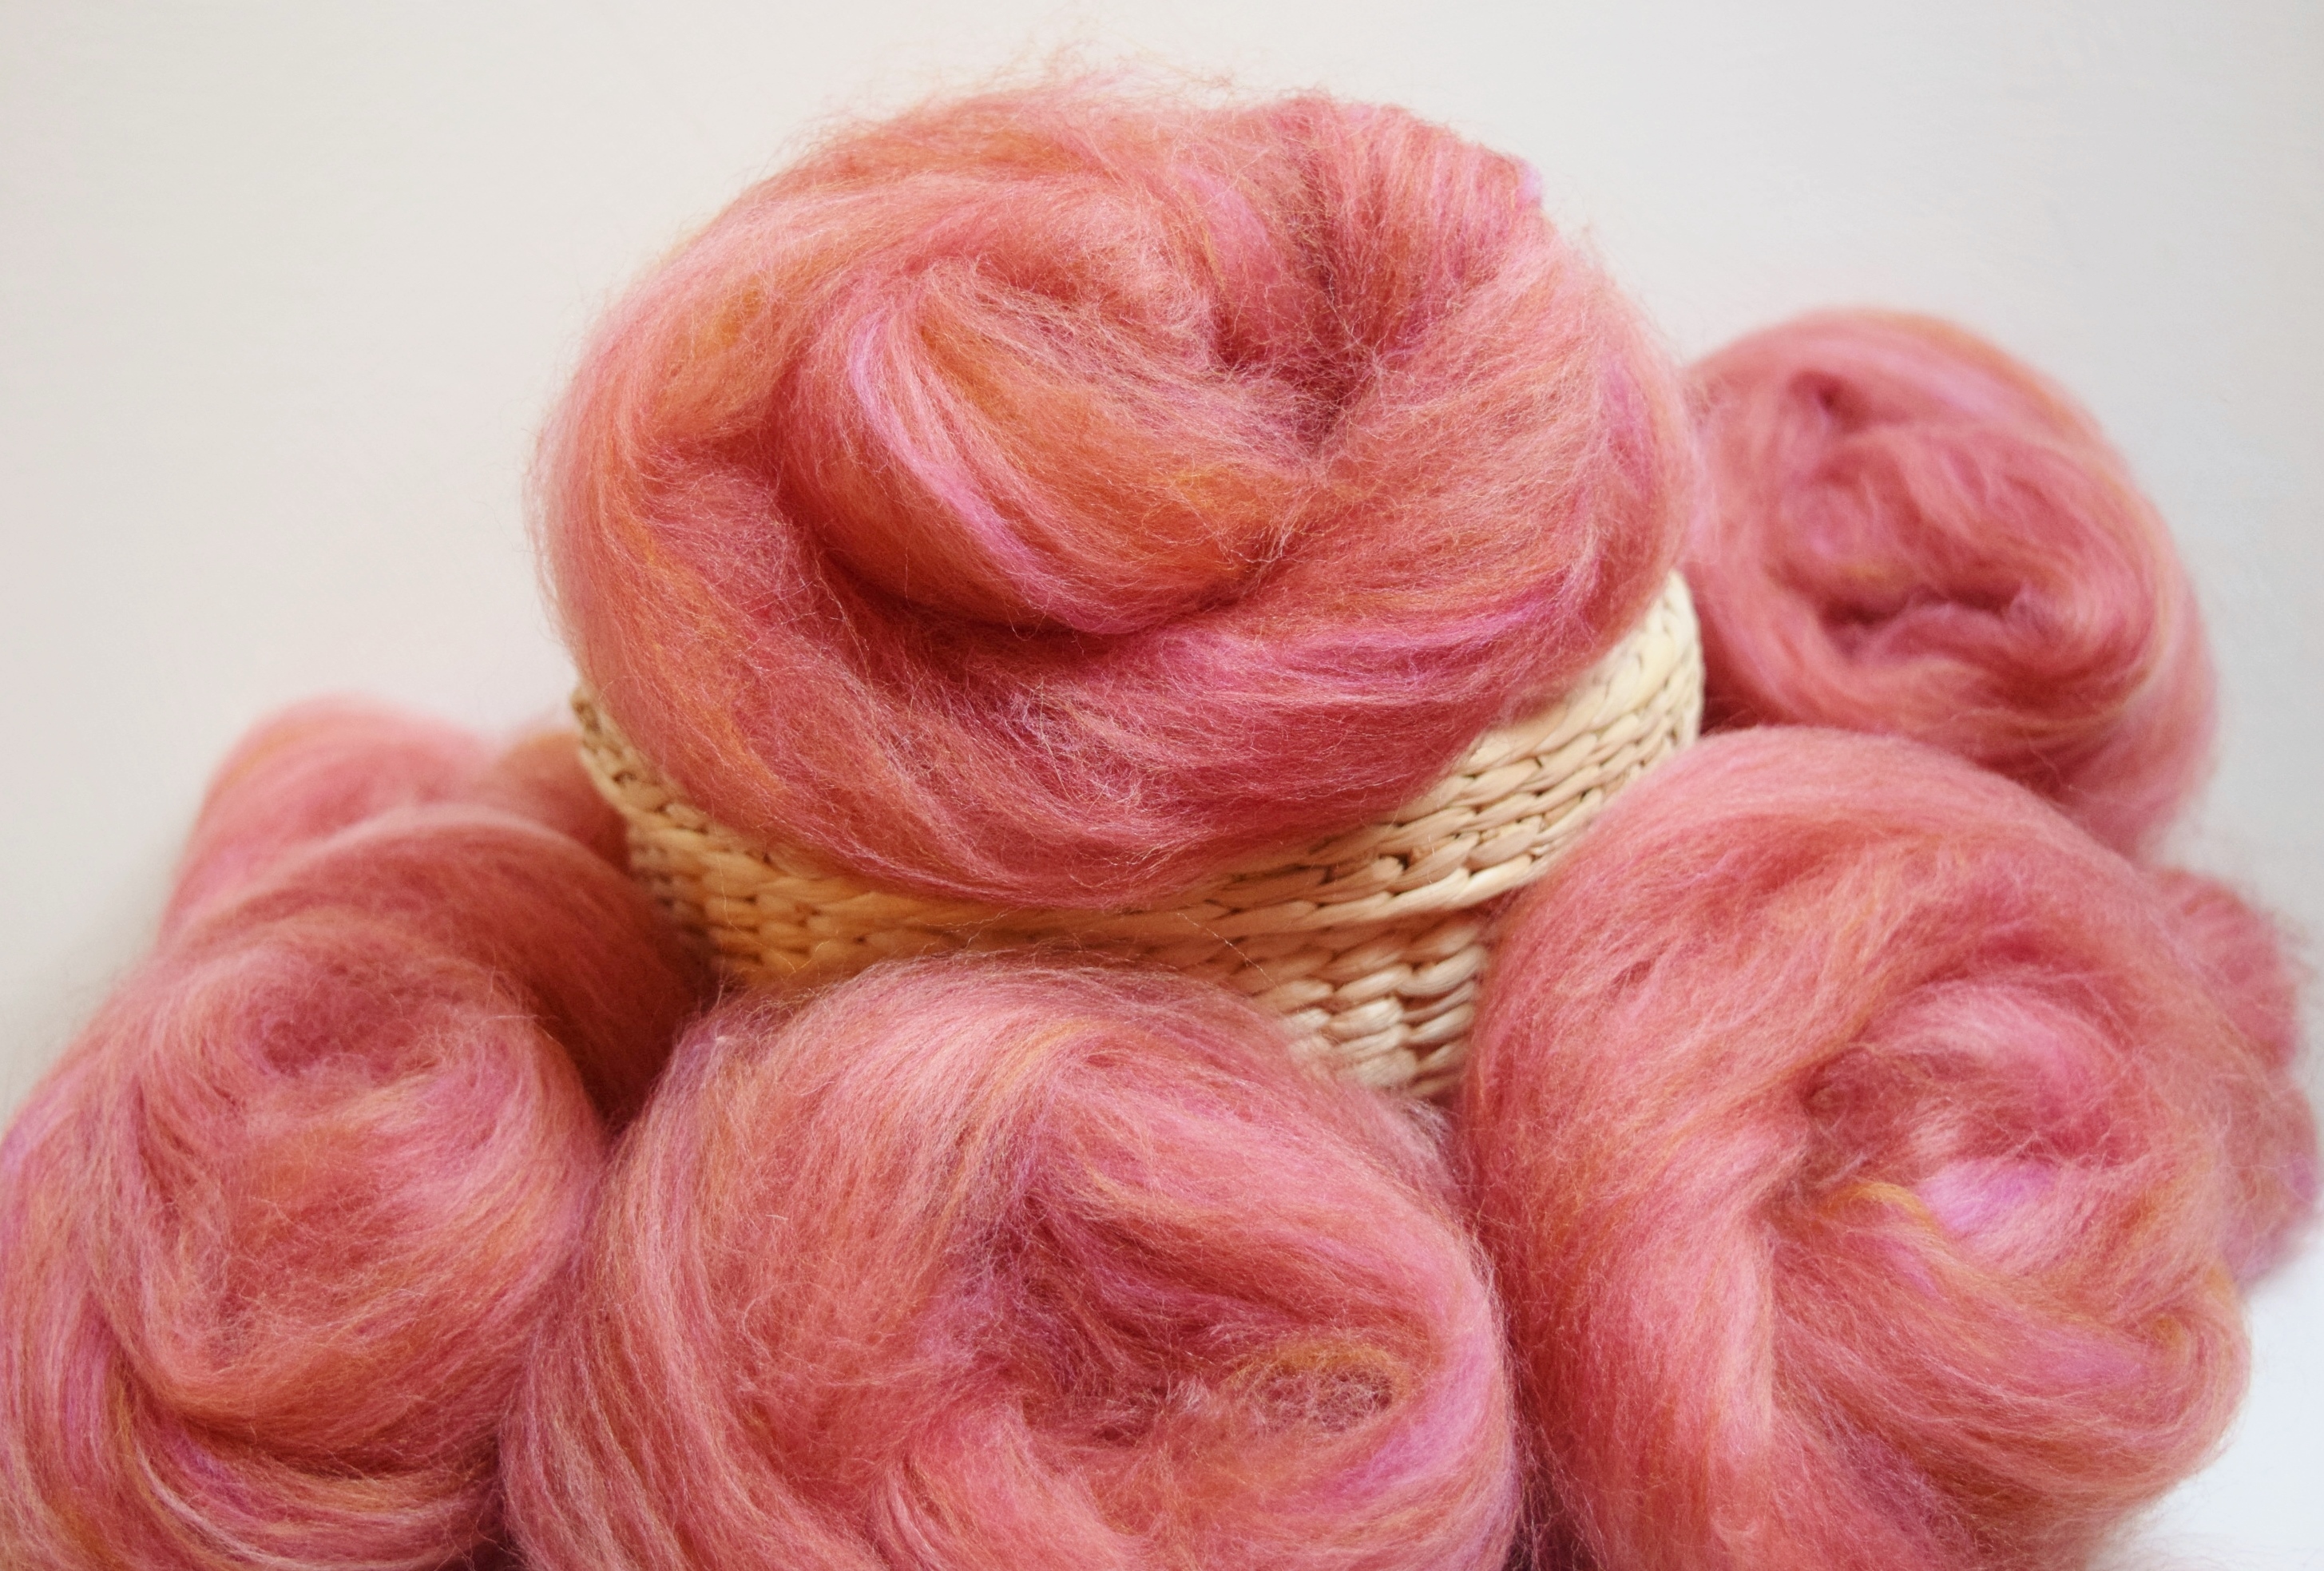
  • My extra long blending board holds a lot of fiber, but to play it safe, I made 4 batts approx. the same. I have 100 grams of fiber, and I want to get four 25 gram batts, drawing off 3 fluffy rolags each to spin.
  • First I divided the braid length-wize into half, then each half into half, so I can get 4 lengths in the same dyed sequence.
  • When layering on the board, I started all four batts with the same end, and layer up in the same way, basically repeating every motion four times.
  • Then I drew off the rolags.
  • See Blending For Tweed Simplified for my basic blending board slideshow how-to.

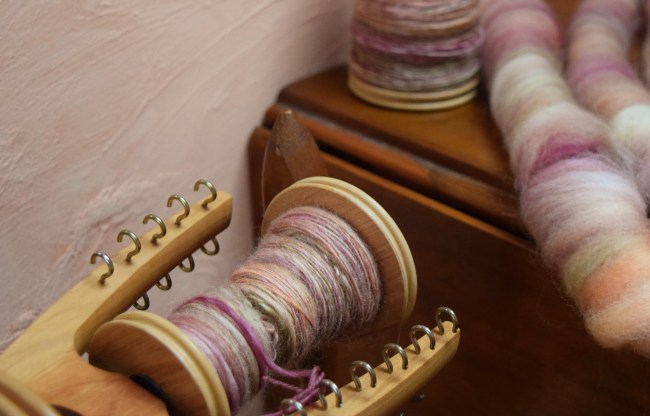
Watch this space for my plied finished yarn and sock project, which I am guessing will end up a rather muted colorway, close to a shade of terra cotta. See all posts in Tweed Chronicles

What I would do differently next time:

Given that one 100g braid could be done in two batts on my extra long blending board (24″ x 12″) which can hold comfortably 50 grams of fiber I would have not bothered to split the the braid into four lengths, but only two, and fill the teeth closer to capacity twice, drawing off more rolags each time. This would have had the same affect but much faster, and when I think of the whole theme of this post ” the Quick Mix” it makes more sense. However, with a conventional smaller blending board 12″ x 12″ to 18″ , four times would probably be better, as I’ve demonstrated above.

Edit in: See spun and plied yarn in Quick Mix Spun

Tweed Chronicles: Opalescent

jenjoycedesign© opalescent mix 1

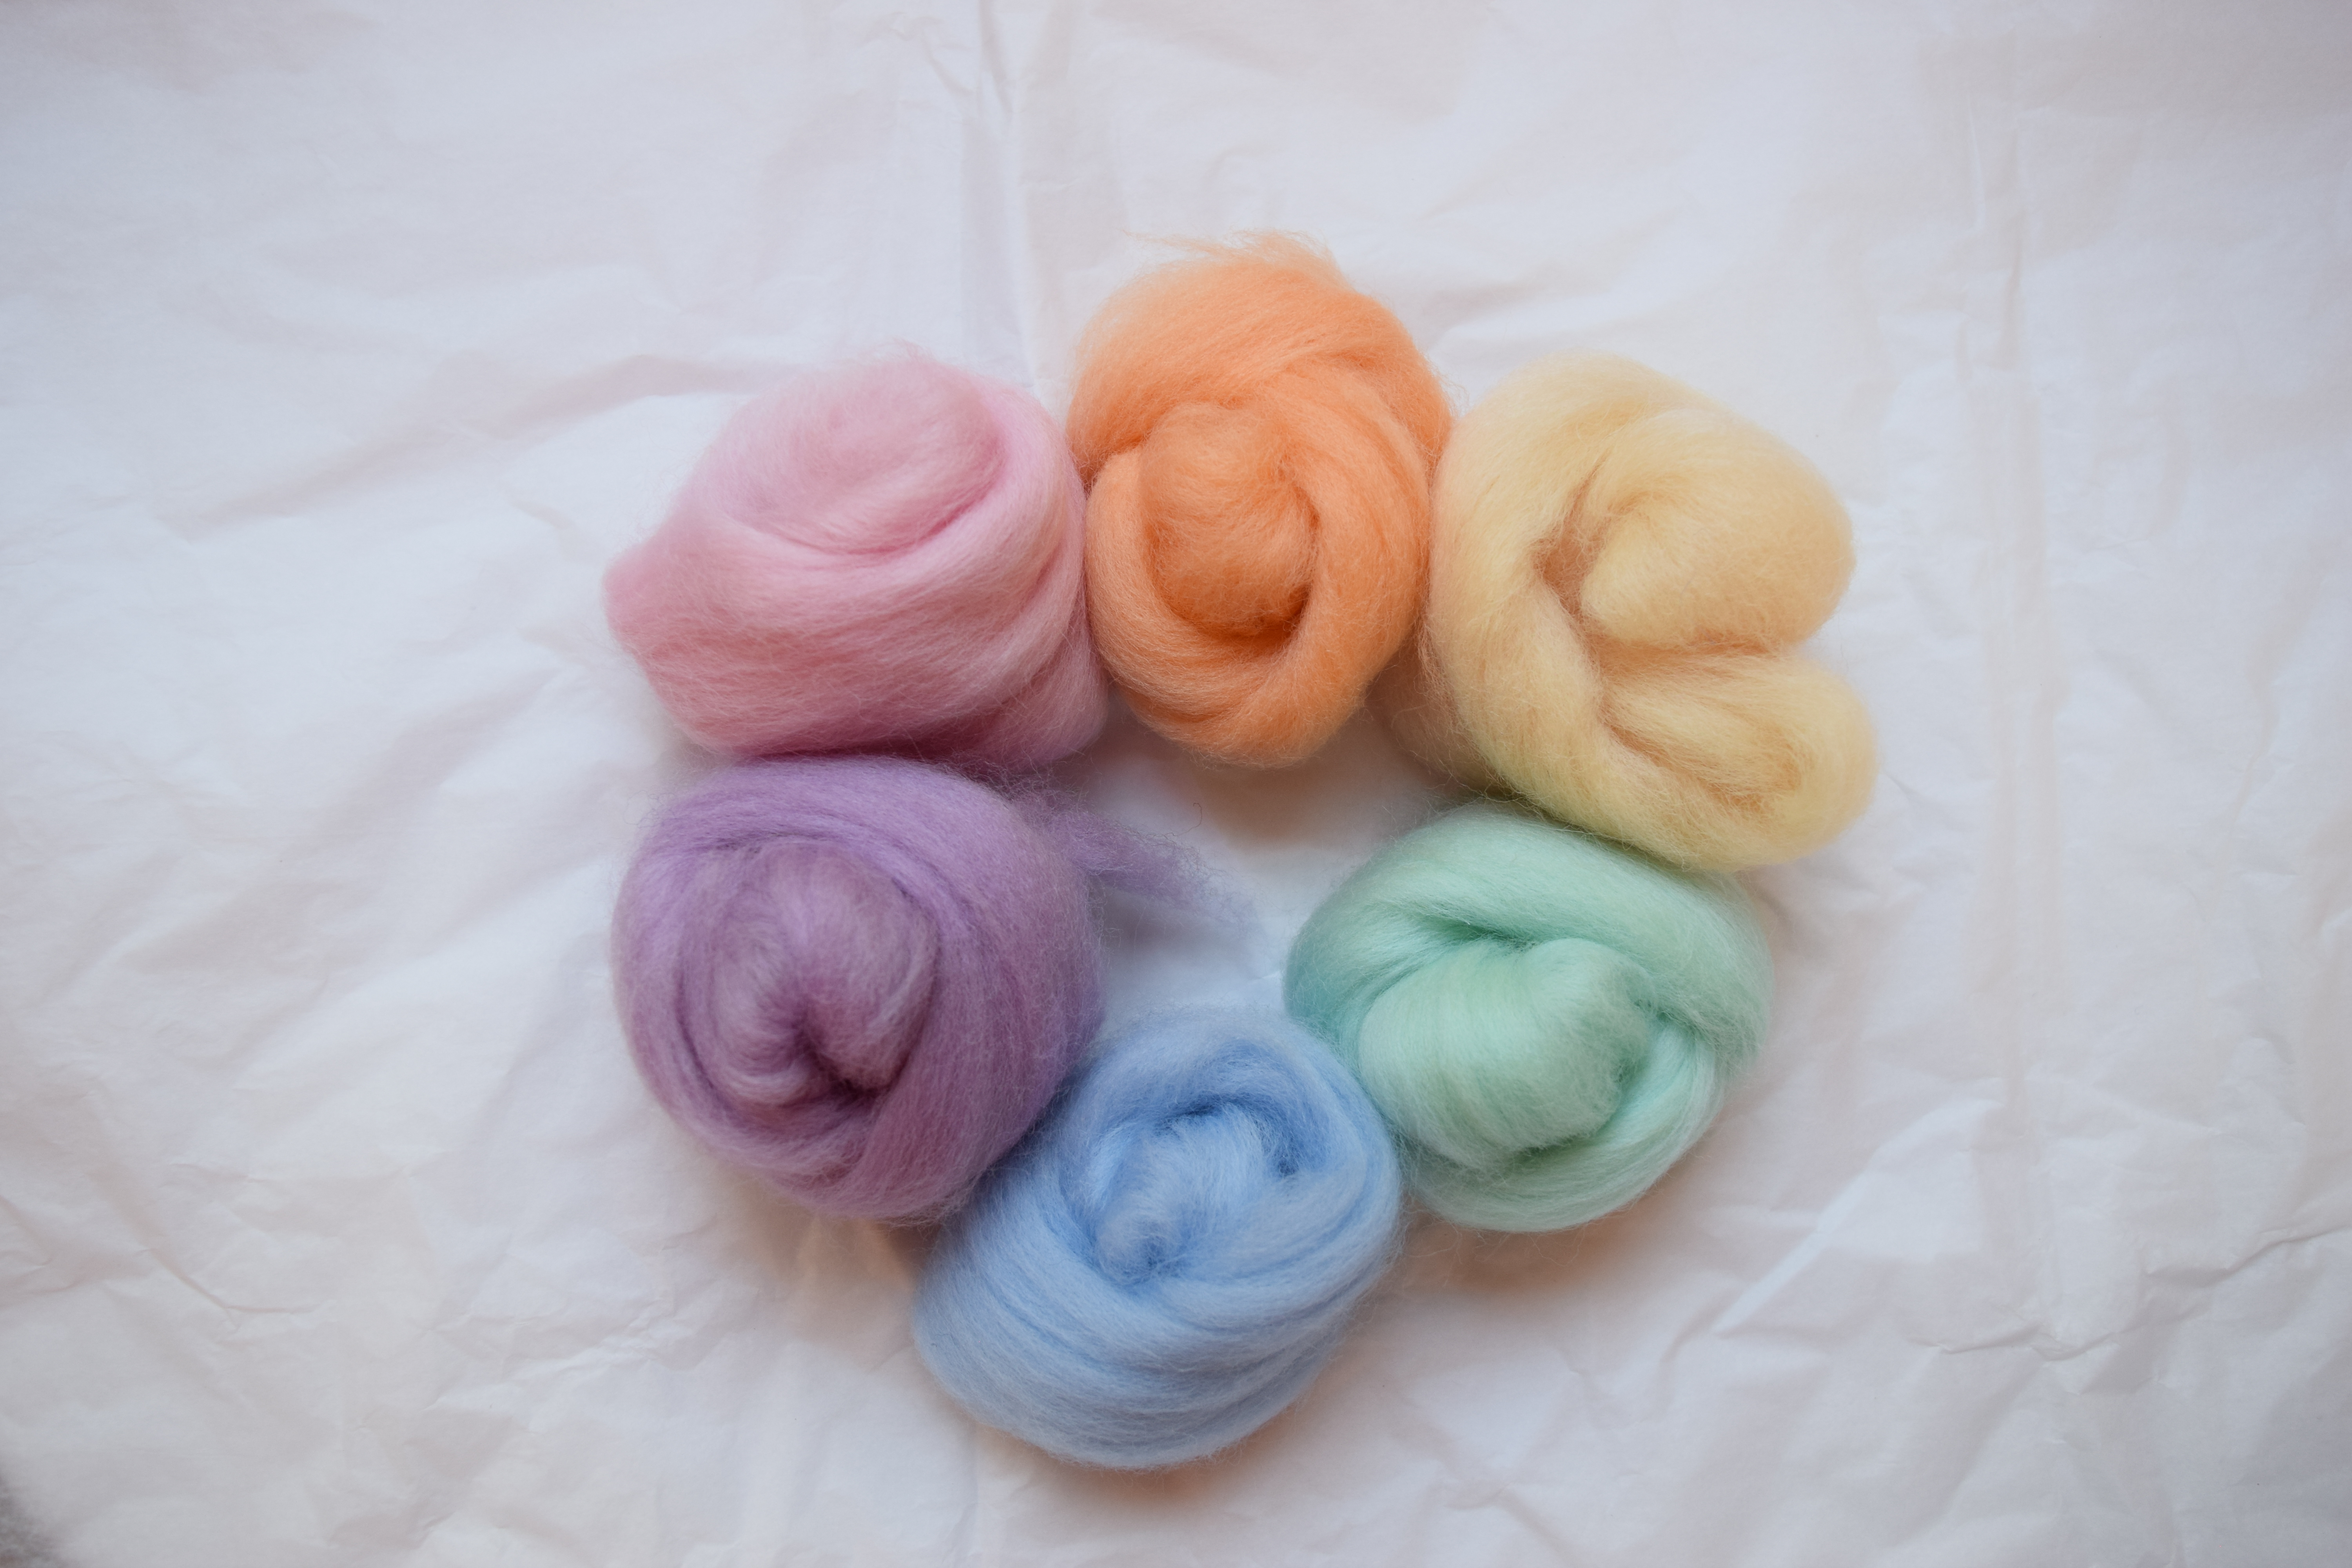
From these pastel primary & secondary colors,

each one like mouthwatering fruity candy floss . . .

jenjoycedesign© pastel primary and secondary

into these fluffy rolls . . .

jenjoycedesign© opalescent mix 10

Magically transforming,  while colors fuse

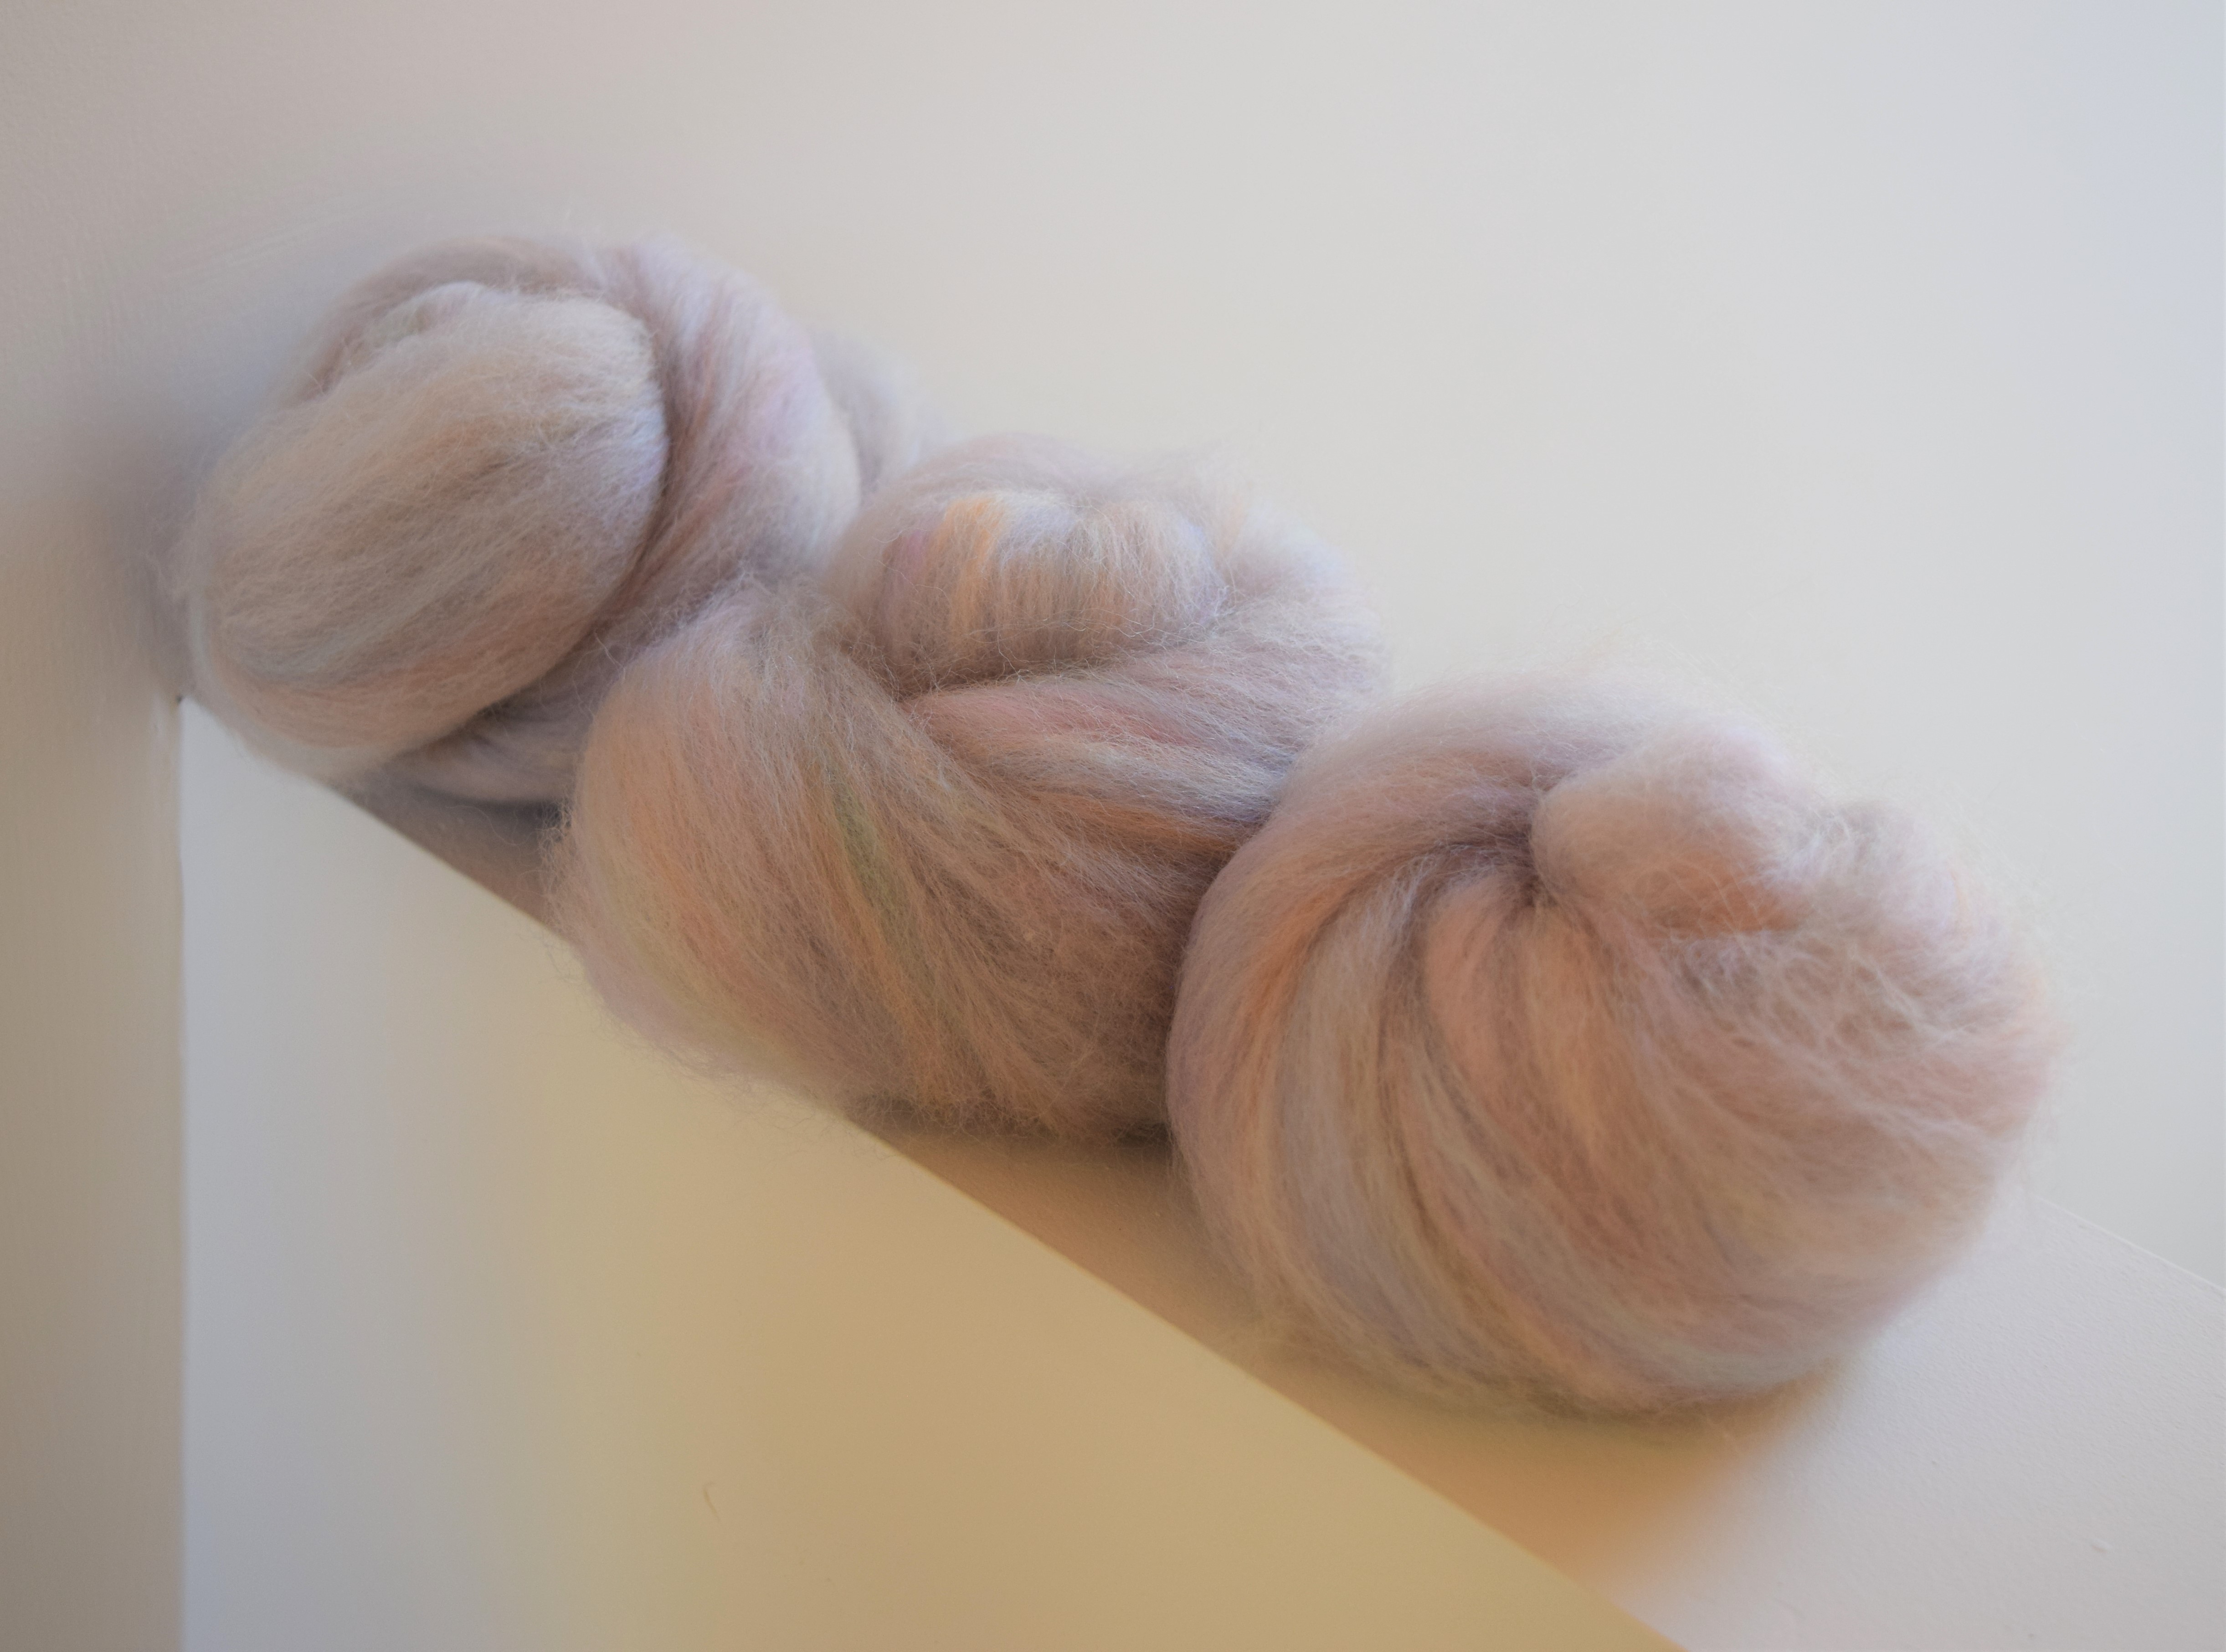
and melt into these opalescent silvery grey rolags  to spin !

jenjoycedesign© opalescent mix 13

I have been thinking about this mix for a year now, and finally was able to do it !   It is a pastel variation of my original recipe mix  Color Saturated Neutral”  , an experiment I did over a year ago.   I am amazed at how the colors just melt into each other , and these pale pastels washing out into a silvery opalescence ready for spinning.   This is how I did it . . .

♣     ♣     ♣

Techy stuff for Opalescent…

  •  Equal parts of pastel primary colors: pink, pale yellow, light blue — plus — pastel secondary colors: pale green, lavendar, pale orange.  These were 6g each, for a total of 36g.
  • Layered very thinly one color at a time, alternately.  using this technique: Blending for tweed simplified
  • Lifted batt, layered again, total of three times.

NOTE: Each time you blend the mix, the colors become less distinctive and magically the all-over color becomes nearly a neutral. These were blended 3 times, then a 4th before drawing out rolags.  Blend only once or twice for most colorful results, 3 or 4 times for very subtle and subdued ” neutral ” results.

  • Lifted bat, and sectioned into strips of about 3, layered again, loosely.
  • Drew off rolags.
  • I’m naming this colorway blend ” Opalescent ” .
  • See ALL color blending experiments & recipes archived in Tweed Chronicles

(( Click 1st image in mosaic to go to slideshow with commentary. ))

Tweed Chronicles: One + One

jenjoycedesign© dyed braid + white 1

How good it is to be back to my Tweed Chronicles!  I seriously have been yearning for this moment for what seems forever, thinking about wool blending in my sleep.  So having moved tools of the trade into the new loft room, it is with great celebration that I resume my blending experiments, just as I was doing two years ago.    I have been contemplating a pale palette over the last year, ” pastels ” just appeal to me these days, wanting to tame the intensity in life with soothing color I suppose.  I received so many gifts from the spinning community after the wildfire, not only a beautiful Ashford Traditional spinning wheel from “L” (thank you so much L , I am forever grateful, and the Ashford is working beautifully after being stored four seasons in a shed!)  but there were many gifts of spinning wool too (thank you & hugs to everyone who sent wool!).  So now having everything nicely within reach, I looked over it all and got an idea with a hand-dyed color braid I found, by Nest Fiber Club, called “Muse”. 

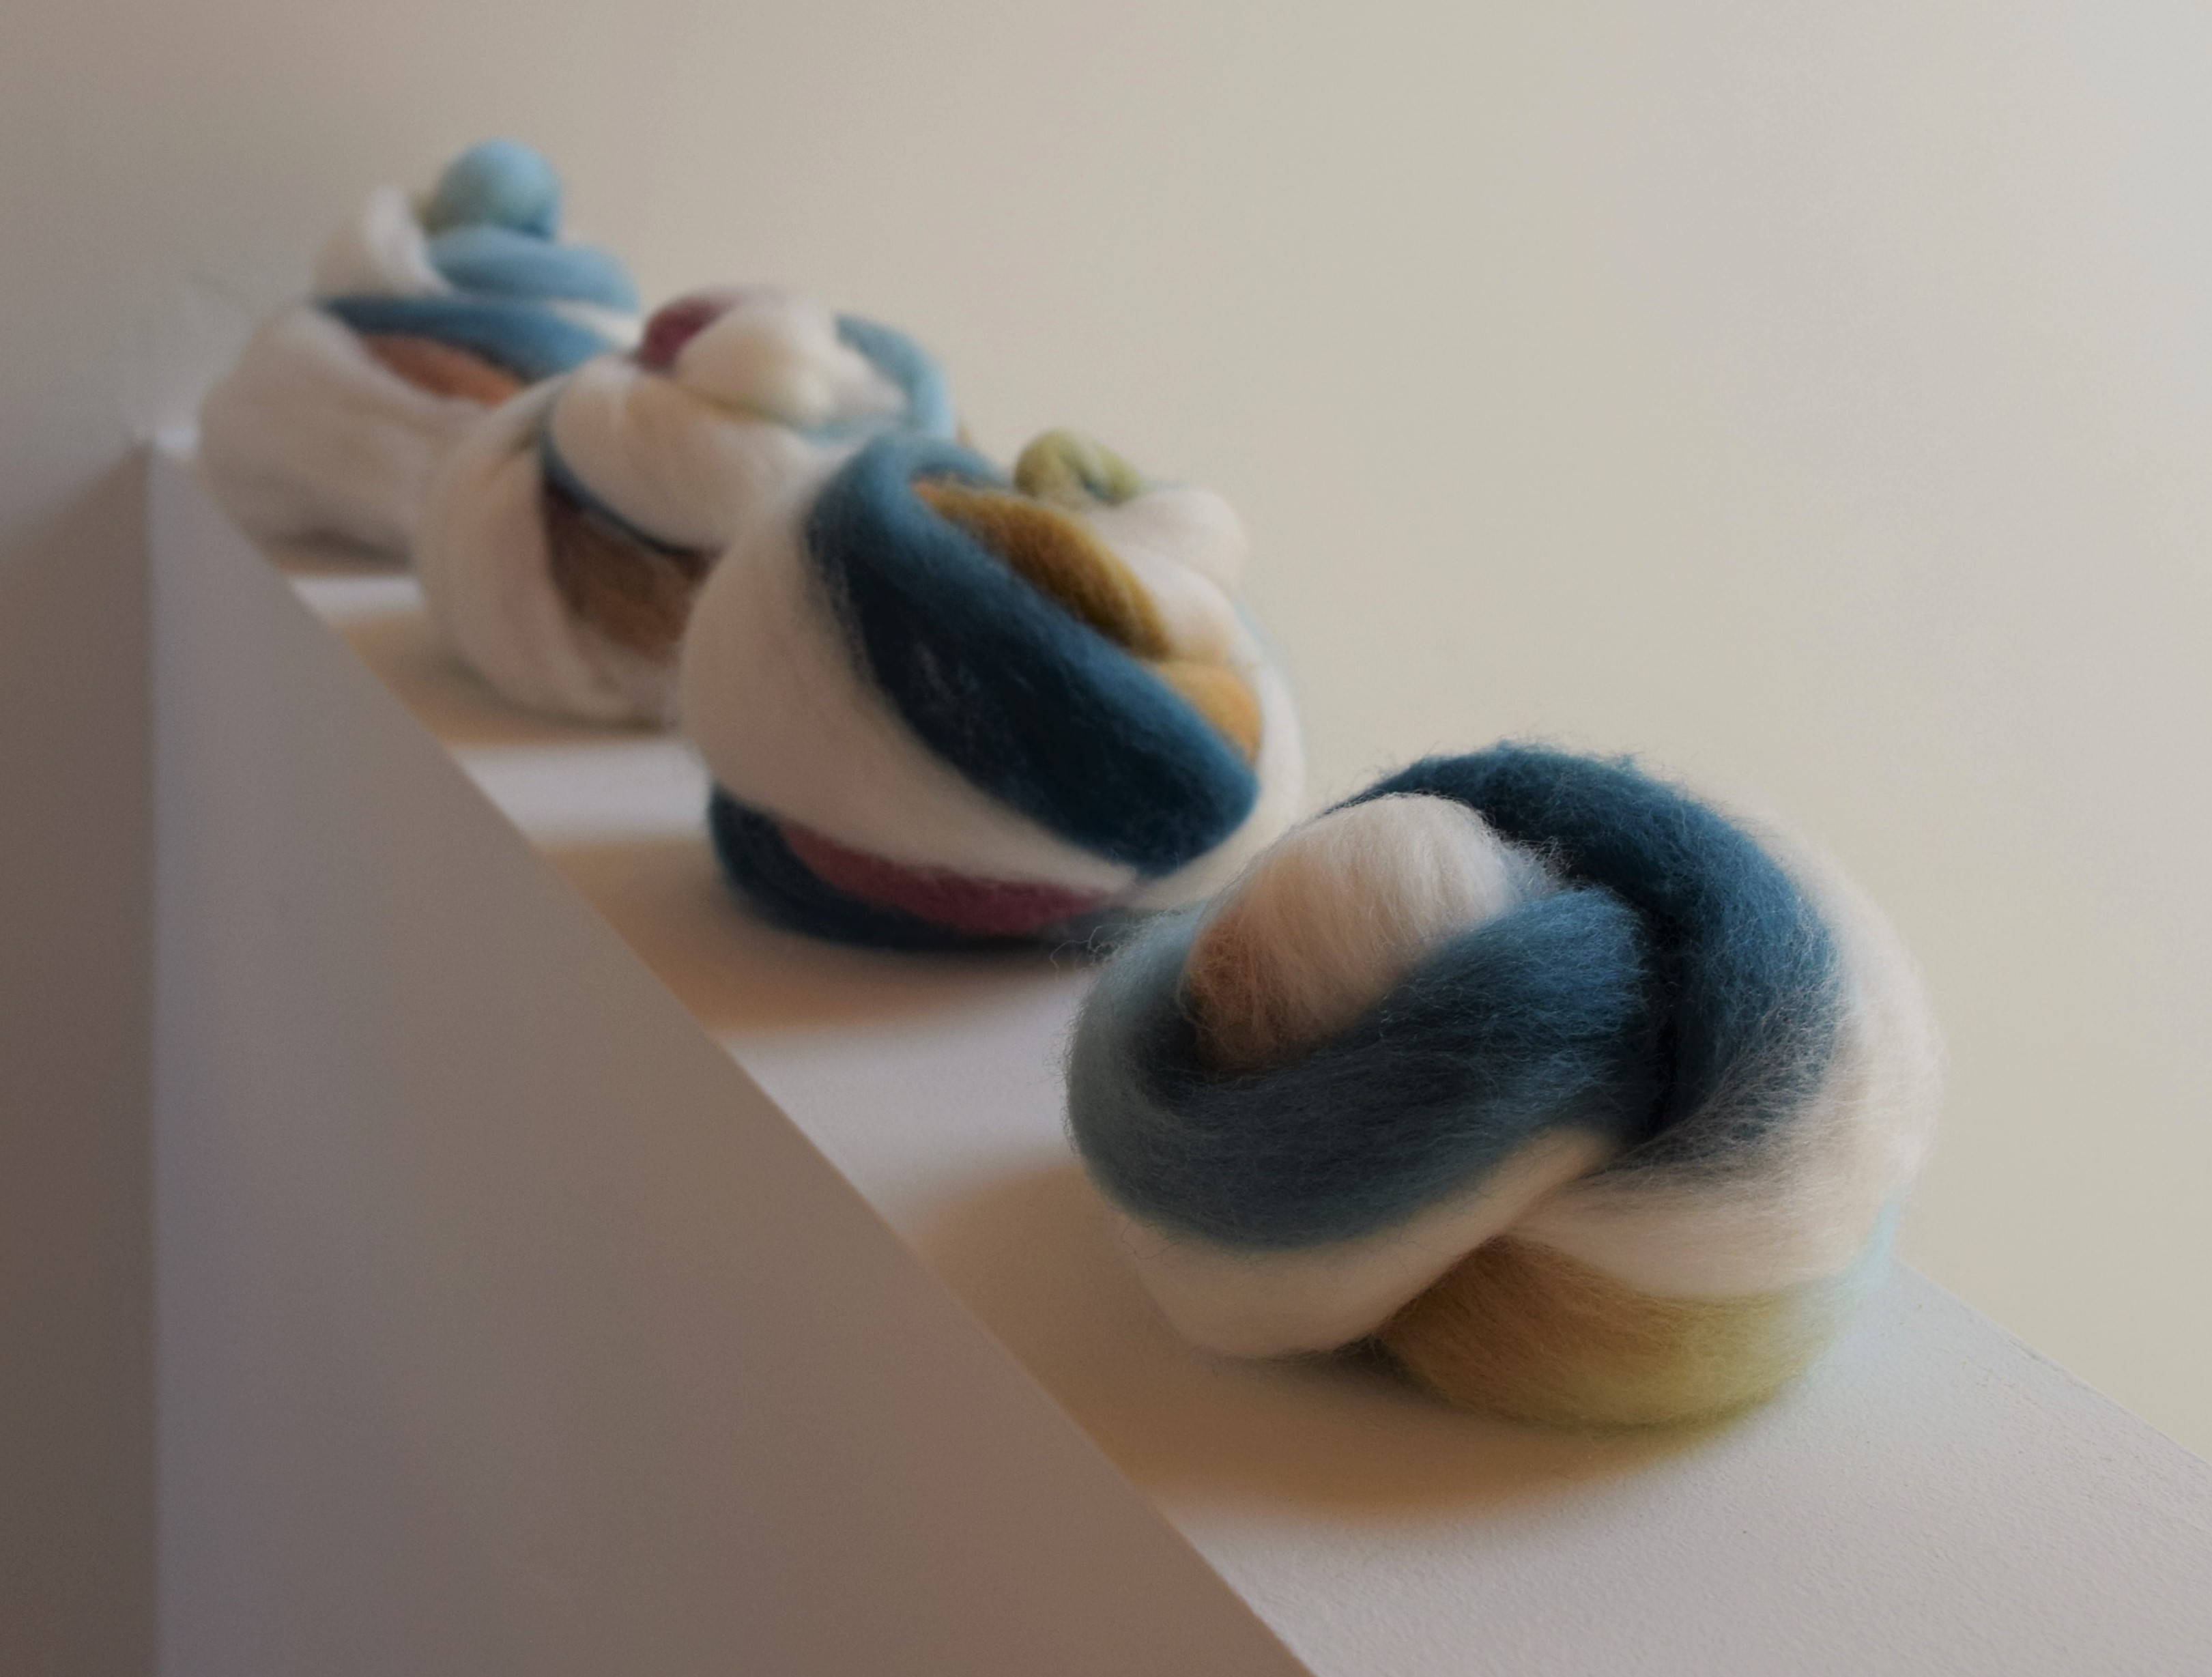
Wanting to lighten up the color a great deal, I added one part white. I went from these . . . 

jenjoycedesign© dyed braid + white

To these . . .

jenjoycedesign© dyed braid + white 2

to these . . .

jenjoycedesign© dyed braid + white 3

and finally to these . . .

jenjoycedesign© dyed braid + white 7

I reckon I will be spinning up these tasty wool sausages next and seeing how my hand at the wheel does after an unplanned hiatus.  This was the perfect re-entry into my blending experiments too, although I was a bit forgetful about the steps, it came out lovely. Now as I need some practice again with my recipe documentation, here’s how I did it . . .

♣     ♣     ♣

Techy stuff for One + One…

  • Recipe I am calling “One + One” is 1 part hand-dyed colored roving plus 1 part undyed roving in natural white, grey, brown, or black, etc. (in this case white).
  • I split a sliver off the “side” of the length of dyed roving, along the entire length so that it has the same colors in sequence as the hand-dyed roving. I then weighed, and it was 28g. I then matched the same weight in ultra fine white merino, totaling 56g.
  • Then divided the two rovings equally into  4 thinner slivers ( made into little rolls to photograph) to hold together while drawing onto the teeth of the blending board, until the teeth were moderately full ( which actually only took three times, and why you see my wool rolls count go from 4 to 3)
  • Using paintbrush tool to lift batts from board, (rolling up again to photograph 1st mix) I drew out each roll onto the board again as before, resulting in slightly finer mixing of color, for a second batt.
  • Repeated last step again, ending after a third time.
  • Drew off rolags.
  • See ALL color blending experiments & recipes archived in Tweed Chronicles

Click 1st image in mosaic and go to slideshow in sequence with commentary… 

Tweed Chronicles: Blending for tweed simplified.

jenjoycedesign© rolags!

I have been refining my technique of tweed color blending on my blending board.

jenjoycedesign© rolags 2

I think of this fiber blending process as a micro wool mill, it is basically achieving the same thing in my mind, that the big wool mills do, the ones which card together whole dyed fleeces of wool and put through massive carding machines to make incredibly rich heathered blends for “tweed” yarn.  Furthermore, I’ve been inspired to simplify the process as much as possible, and with as few tools as possible, in what I call ‘micro batches’ of around 30 – 50g.

jenjoycedesign© 1st batt
First batt

In this post I show the different stages of each carding, and with only three times loading the blending board, I almost completely homogenized four separate colors!

An improvement on the last post  in which I talk about my fiber blending recipe #3, this demonstration is ever so much easier, showing finer, wispier layers. Fine layering is key I think, to fewer cardings, meaning faster results.

jenjoycedesign© 2nd batt
Second batt

I’d like to add that the only equipment other than the blending board needed is some sort of apparatus to spin the fiber  with; this can be a spinning wheel, or a rudimentary drop spindle, nothing fancy is needed, in fact, my wheel is very tiny and almost insignificant — I bought it for $250 brand new in 1987, and although there have been times I’ve wanted to upgrade to a big wheel, I resisted the expense, and was determined to do more with less. Thus, making my blending board was a very resonating positive instead of buying a very  expensive drum carder, and I’ve learned that one can really have their own micro wool mill, with very little ~~ so empower yourself, and make some tweed yarn!

A retrospective thought: In carding the colors together three times, each time hemongenizing the colors into each other significantly more,  I must say, I almost wished I’d spun it from just the first batt, as those colors looked so delicious so fresh and softly vibrant!

jenjoycedesign© tweed 8

♣    ♣     ♣    ♣     ♣

And now the technical stuff…

002 (2)
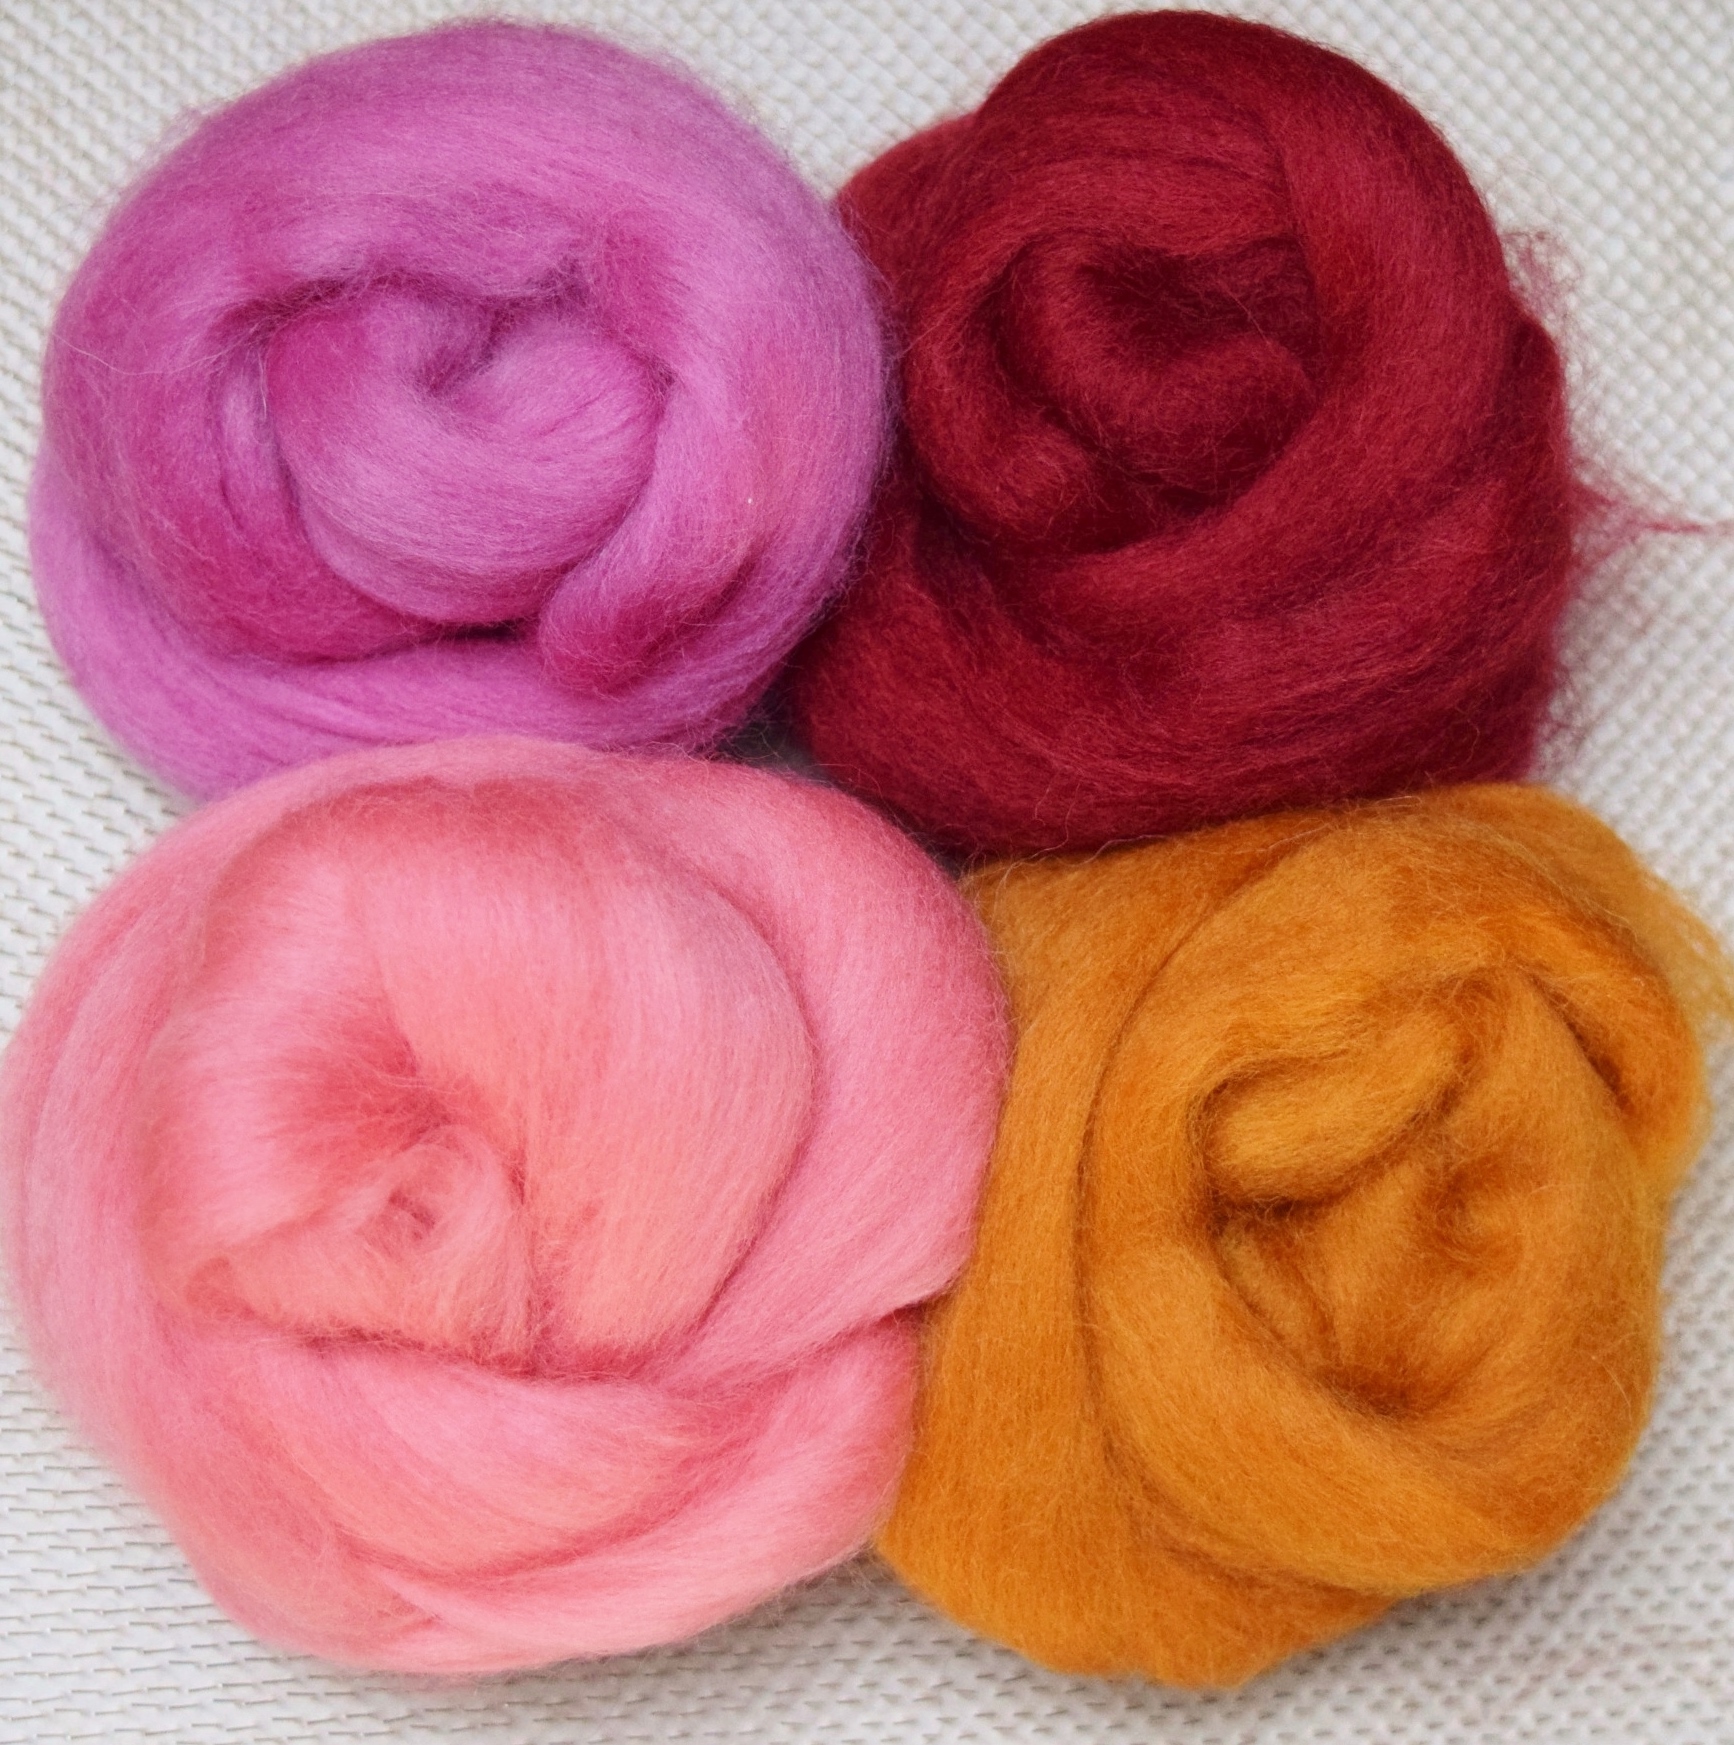
Corriedale roving: salmon, fuscia, amber, and ruby.

In this blend, I’ve used only colored Corriedale solid roving, no undyed or other fiber. The steps are illustrated with a slideshow at bottom of post, and they are:

  1. Lay the colors in extremely thin wispy layers (as shown in slideshow) It will take a lot of layers to get through all of your fiber, but this is part of the carding process. I’ve used Corriedale roving in; 20g salmon, 10g fuscia, 10g amber, 10g ruby.
  2. Comb down as needed until teeth are full and all your fiber layered. You can see this above, photo captioned “first batt” , and you can draw off into rolags straight from this step if you want a lesser homogenized look, or even just spin from the batt itself , sectioned into strips and coiled up.
  3. With strips of first batt, layer into teeth again, just as thinly as you have been, because again, this a part of the homogenization process.
  4. Lift batt and either spin  from this, or layer once more into a third batt.
  5. Lastly draw off into rolags.

Now, after all this playing with fiber blending on the thing which is called a “blending board” I would like to link to a few of my favorite sources online, all where a spinner/felter can purchase blending boards & fiber additionally, if a nifty fiber & spinning shop is nowhere near you to be found.  (These are of course, USA sourced, but I am confident these can be found probably most anywhere, or available at shops which sell spinning equipment & tools.)

Paradise Fibers Blending Board for $175, comes with board, blending brushes, dowels

Laughing Lamb Blending Board for $185, comes with board, blending brush, dowels

The Woolery a whole selection of blending boards, starting at $149

Oh, and in case you’re still unsure of what a blending board actually does, I’ve searched YouTube for you , all ready to surf through the fun blending videos… HERE 

What I use: I’d like to say that even though I made my own from a 24″x12″ piece of carding cloth (read in this post)  that it would be a lot easier to purchase a regular 12″x12″ blending board already made up, in a kit with brushes & dowels.  However, carding cloth is available by the foot if making one’s own is preferred.  Additionally, although many people use blending boards on their lap, I find it much better to use on a table top, secure & flat, with the foot of the board hooked on the edge of surface so I can pull the fiber into the teeth and pull the needles toward me when drawing off rolags — not away from me, or sideways.   I have found that large slippery metal knitting needles work better than dowels, and use a pair of my mother’s old aluminum ones, size US 13- 9mm.  Lastly, the only other tool I use, other than the needles and blending board itself, is a paintbrush comb, which can be found at a hardware store, something like this  with rigid teeth and very sharp points, to lift the fiber off of the carding board.   I use the palm of my left hand to gently and carefully hold the fiber against the teeth as my right hand pulls the fiber along the carding surface. That is all I use; carding board, needles, and comb.

All my posts related to Tweed Chronicles (blending on a carding board)  in this category.

And now …. here’s the show!

This slideshow requires JavaScript.

Tweed Chronicles: Fiber Blending Recipe 3 – Carded


Tweedy mossy wool sausages are the most recent in my string of obsessive experiments in color blending, and this time in which I am basically carding by using the blending board alone! I lay down the layers, and lifting the batt after teeth are full, section out the batt and with little pieces I pull down into the teeth again and again and again. This process doesn’t need hand carders, I am able to homogenize colors & fibers with the blending board as the only carding tool!

jenjoycedesign© carded rolags detal

The depth of color created from blending many colors together create a stunning result! Compare to the original solid dyed olive roving, to the tweedy rolags with a prism of colors hazing into each other, all together making a very similar green. (I will show spun yarn photos later, for I have notes on actual spinning that I want to go into a little depth about)

jenjoycedesign© carded mix with original olive roving

I am documenting my tweed yarn making process, hoping that I will arrive with a few tested methods which I can use as recipes in future to refine my own tweed color palette. I am inspired now, to do it all with only my blending board , because there is such freedom unfolding ahead of me, in discovering I can perfectly well make my own personal tweed colorway from an array of solids in the fiber of my choice  ~~ making the vertical hand-made experience all that much more in depth & customized.  I feel like I am my own micro wool mill, and I am unstoppable.  

Meanwhile, I hope all of this fiber tech stuff does not bore the socks off of you ~~ if so, I promise, this will be a string of a few more posts, then I will move on to my usual philosophical banter about life on the mountain.

jenjoycedesign© tweed 7

♣    ♣     ♣     ♣    ♣

Now back to the techy stuff…

Edit In: I have posted HERE a final best method of my Fiber Blending Recipe #3.

Notes on Blending Recipe 3: For the best homogenization of color I have used only wool fibers, they are: undyed fawn Shetland, olive Corriedale, mallard (dark teal) Corriedale, and amber corriedale.  Here is what I am doing , as illustrated by a photo slideshow at the bottom of the post.  In case you want to make more than one micro batch, a good idea to write down weights of each color, so you can repeat process.

jenjoycedesign©004

  1. Portion out the fiber I want to mix, weighing if possible.
  2. One at a time, ​thinly layer each color into the teeth of the blending board, combing down the fiber between each layer, until all the fiber is loaded onto the board and the teeth are full.
  3. ​With comb lift whole batt off of teeth.
  4. ​Divide batt now into small sections, and again thinly layer into teeth, pulling and drafting & “carding” as you thinly layer again. You are essentially carding using your hands to pull fiber along one carding surface.
  5.  Repeat this process until the fibers and colors are fully homogenized, or as desired.
  6. Draw fiber out into rolags!

You can find all of my experiments in blending & Fiber Blending Recipes HERE

Okay then, here’s the show!

This slideshow requires JavaScript.