Tiny House Shortbread

jenjoycedesign© Tiny House Shortbread

This is a great little method of shortbread I have refined out of necessity, because of the challenges of Tiny House tiny oven that burns everything from the back way before done, and having hardly any counter space to work on anyway.   No complaints really, but only that I have had to abandon my usual ritual of making my own signature shortbread . . .  beginning with fresh grinding oats with a grain grinding attachment on my heavy duty  Kitchenaid mixer that swishes together three batches at once like stirring cream into your coffee, then a process of rolling out over a great sprawling counter space, between layers of waxed paper  with my maple wood rolling pin and lastly cutting then perforating each piece with three particular wooden chopsticks. Right, so my tried and true shortbread ritual with all of its specific paraphernalia has been abandoned while living in our Tiny House, but by abandoning it for a far easier & faster method,  I have actually made a discovery of shortbread with delightful and very unique texture!

And I have to make this small batch very often, because not only does Jeff really appreciate home-made shortbread in his working man’s lunch, but the carpenters building our house do as well, and I have been bringing this very shortbread up to the builders often, with pint jars of tea, coffee, or cocoa. They light up when they see me bring in the basket, thanking me again and again, and for me it is essential that our house is being built by happy & pampered  carpenters!   So,  I am the designated shortbread pro.  I was once employed at what is now a locally famous bakery cafe, and these are in fact, the same ingredients that bakery used, but put together in a very different way.  This is how I make one batch of my  no-burned-edges Tiny House Shortbread.

Preheat oven to 350 F.

Ingredients : 1 cup fresh unbleached flour, 1/2 cup organic powdered sugar, 1/2 cup (1 cube) organic salted cold butter, cut into slices.  (I also put in the mix just a pinch of grey sea salt ground in mortar & pestle.)

My specific Tiny House instructions:

1. In small Cuisinart (should I say tiny food processor?)  blend flour & sugar, then add butter and pulse until all the butter has been finely chopped into the flour/sugar, and has become a lovely buttery shortbread ” powder “.   Do not over process into clumpy dough, stop mixing when it is still a powdery crumb, but integrated fully.

2. Dump mix into 8x8x2 inch square Pyrex glass baking dish, and very lightly distribute evenly with your hands or a spatula and lightly pat into a somewhat level even layer, but no pressing, it really will all melt, then crisp together in a beautiful way that these three magical ingredients do all by themselves.

3. Place in oven, right against the door and bake, turning a quarter turn every 5 minutes, so that shortbread is forced to bake more even.

4. When the edges begin to brown, around 15 minutes, lift out of oven and cut around perimeter of baking dish about 1/2 inch into the shortbread and lift out these bits on to the cooling rack (to eat in the mean time), before the edges scorch and are wasted, and the flavor of burn permeates the batch.

jenjoycedesign© trimmings

Honestly, omit the trimming edge step if you are using a conventional oven which heats evenly and doesn’t burn the edges of things, but if you want to do it for fun, and to have those little bits & cut-edge squares,  well then do it anyway!

5. Cut into 16 to 20 squares, and then carefully separate the squares a little in the dish, without lifting — but really, this is fiddly and not even necessary.

6. Back into the oven, turning dish every 5 minutes to get even baking.   When the shortbread looks golden and beautiful, remove from oven, and with spatula carefully lift squares onto cooling rack.  Voila!

jenjoycedesign© Tiny-House-Shortbread
Tiny House Shortbread stacked on a tiny plate!

Heavenly chocolate version: Make the exact same way but add into flour mix 1/4 cup best dutch-processed cocoa powder, and when adding the butter, also add 1/2 tsp of best quality vanilla extract.
Wrapping it up.

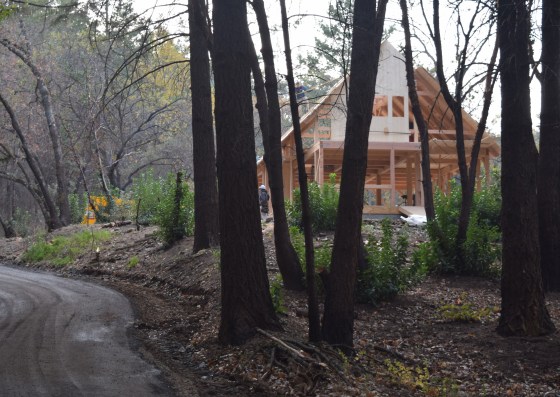
Road and house construction side by side.

Quite literally, many things here are getting wrapped up, so to speak.  The biggest and most important of course, is our house,  and the timberframe is swiftly becoming enclosed, that is wrapped, while road construction is making great progress too as dumptruck after dumptruck of base gravel makes its way up the mountain from the quarry. 

Secondly I am about to close in on the last quarter mile of 880 yards of  Unspun yarn I made in the end of October. In fact, I have been putting together a lace stole & cowl design using this yarn, and the pattern is all ready but for the finish photo, all awaiting on the speed which I can wrap up this project!  I am hoping for it to be ready by the end of this week, and then there will be a lovely simple & satisfying lace pattern available for holiday knitting! 

DSC_0124

Next we’re wrapping up November, with only four more days to it, then its already December and the big wrapping up of 2018!  I tell you, in the recent couple of weeks I’ve had a transformation in attitude; I am no longer feeling sad and sorry for myself, but really excited, and my panic episodes calming, as the tide changes to feeling abundance and gratitude coming my way.   Its been a difficult year since last November,  but I am so very excited for 2019 at last, with all that it promises.  And until then I am loving the loud rumbling of road-making machinery, merged into the cacophony of air compressors, nail guns, and hammers, so while so much excitement is here at last, I want to enjoy every moment! I just know that in a blink the day is going to come when we migrate from this tiny house 500 feet up the road into our new rebuilt house. I am very content for life as it is, knowing that time will be here most certainly by the coming of next summer solstice. 

In closing, over the Thanksgiving holiday the rain came in a big way, wrapping up another epic dry season, transforming the dry moss into lush moss, life drinking it in, miniature rain forests growing thick carpets on the wood and rocks, and bringing a verdant mood to things. Loving that and giving thanks indeed.  

Four Posts

jenjoycedesign© four-poster4

Now that the posts & beams of the house are going up, I am in a creative mood about what will go inside the rooms.  A couple of days ago I found  this  old oak double bed frame, and I’m really enjoying fixing it up.  It is very solid,  relatively inexpensive and worth every bit of work I put into it.

jenjoycedesign© four-poster1

It will go in the Loft Room, replacing an old tarnished brass bed I had forever, but I have convinced myself that I love this much better than the old one, for I love the feel of wood, so sensual and natural.
jenjoycedesign© 4 post 1

I spent several hours scrubbing every surface with #0000 (finest) steel wool and a beeswax citrus cleaner, scrubbing off a layer of dirt & old lacquer,  resulting in a satin finish with golden oak highlights! Although it could use another scrubbing, I am reticent for I don’t want to lose the depth of patina in the grain & crevasses.

jenjoycedesign© four-poster5

A few cracks in the posts and flakes lifted from the veneer of the side boards, but I am absolutely totally in love with it.  I will be looking for old quilts now to dress it with, perhaps making another someday, but for now I am envisioning blocking out lace stoles the whole length of it!

Unspun: Deconstructing a ball of yarn.

jenjoycedesign© Cascade 220 Birch 12

From a single ball of worsted weight yarn,  I made a beautiful new skein of single ply fine lace weight yarn, then over-dyed into a very personal colorway.   What is the point you might ask?  To make something handmade from something commercially made.   Enough reason in my thinking, and yet there are more reasons (oh, so many more).

The color selection alone is entirely worth it!   There are certain commercial yarns that are timeless & very popular, like Cascade 220, easily found in local yarn shops, and have a colossal color selection to add.  I am a lover of “heathered shades”  which  means the yarn is spun from blended colors of fleece, not yarn dyed in one color.   Heathered shades make over-dying that much more interesting for the base colors are already color textured.

If making a fingering weight , or a lace weight yarn from balls of yarn needing re-purposing sounds appealing ~~ then this post is for you.   I dare you, go into your yarn stash and look over your plied yarns, grab one, and simply deconstruct the plies. You may end up with a sport, or fingering or lace weight single ply.  But first it may be helpful to see this post.

  ♣   ♣   ♣

The techy stuff for the Cascade 220…jenjoycedesign© Cascade 220 Birch 1

Start with drop spindle and untwist, separating the 4 plies into two balls of 2-ply (they will be 50g each)  This will take some time.

jenjoycedesign© Cascade 220 Birch 3

From two balls of 2-ply separately divide and wind into two single ply 25g balls.

jenjoycedesign© Cascade 220 Birch 4

I found that I really didn’t need to untwist the 50g balls that much, if at all,  because the initial untwisting of 4 into 2 plies did all the work, so it goes so much faster in this step.  In fact, I just took off of the spindle and just began to pull apart the plies wind into little balls,  however they will still have some twist (sometimes a little z-twist , and sometimes a little s-twist )  so it helped to put a weight (I used a pen) on the 2ply, and draw out about 8 feet, then the plies separated easily with hardly any twist.

jenjoycedesign© Cascade 220 Birch 5

Finally I had four balls of single ply, at 25 grams each.   A feeling of strong satisfaction comes from the work!

jenjoycedesign© Cascade 220 Birch 6

Now join the ends ~~ spit-splicing them joins nicely and quickly!

jenjoycedesign© Cascade 220 Birch 7

I ended up with one full 100 gram ball of single ply.  But not finished!

jenjoycedesign© Cascade 220 Birch 8

The single ply needs to be wound into a skein it so that it can be simmer-dyed, or just soaked in a very hot water bath to relax & set the plies which will be energized with twist, as shown above.

jenjoycedesign© Cascade 220 Birch 10

I dunked a couple of times in a very pale diluted dye bath of Vermilion pink, to give the yarn a tone of late summer, ‘toasted in the sun & weather’ look. In the over-dying, I wanted to capture the lovely color of late summer golden fields  of my home and made a pale bath of a purple-pink which I used to cut the brilliance of the yellow.  The dye soaks really fast having a slight blotchiness.   If you lightly over-dye your single ply yarn as I did,  re-skeining the yarn is essential to see the color variegation at its best, and it mixes up any slight blotchiness that happens in a very light non-saturated dye bath ; which is what I aim for these days, simmering a little in an acid dye to set the plies & relax them, but also exhausting dye bath quickly and with clear water left only, having used a dash of white vinegar for the fixer .

jenjoycedesign© Cascade 220 Birch 11

Summary:  A ball of Cascade 220 weighs 100g and is approx 220 yards , and constructed of 4 plies.  When that is split into half , there will be two  balls of 2 ply weighing 50g  = 440 yards per 100g.  When those balls are split into half , there will be four balls of 1 ply weighing 25g = 880 yards per 100g.    Another four ply worsted weight I’ve tried and love is Knit Picks Wool Of The Andes, with almost the same yardage and definitely the most impressive color selection. But seriously, try splitting plies of ANY yarn you have, if you can get a hold of a simple drop spindle, then you have all the tools you need. (A swift and ball winder are tools I used as well).

It takes some time, but untwisting yarn is something really innovative and resourceful in my thinking, and I’ve come up with a fun category under which to post the process of re-purposing yarn to finer weights ~~ Unspun !  I’m just kind of getting to be a nerd about it.

Original Yarn: Cascade 220 = 220y / 100g in “Birch”.   Made in Peru.

Repurposed Yarn: Unspun = 880 y / 100g in colorway ” Golden Fields “.  Remade by Moi!

Pattern made from this yarn is now available HERE

See all posts Unspun

some lace

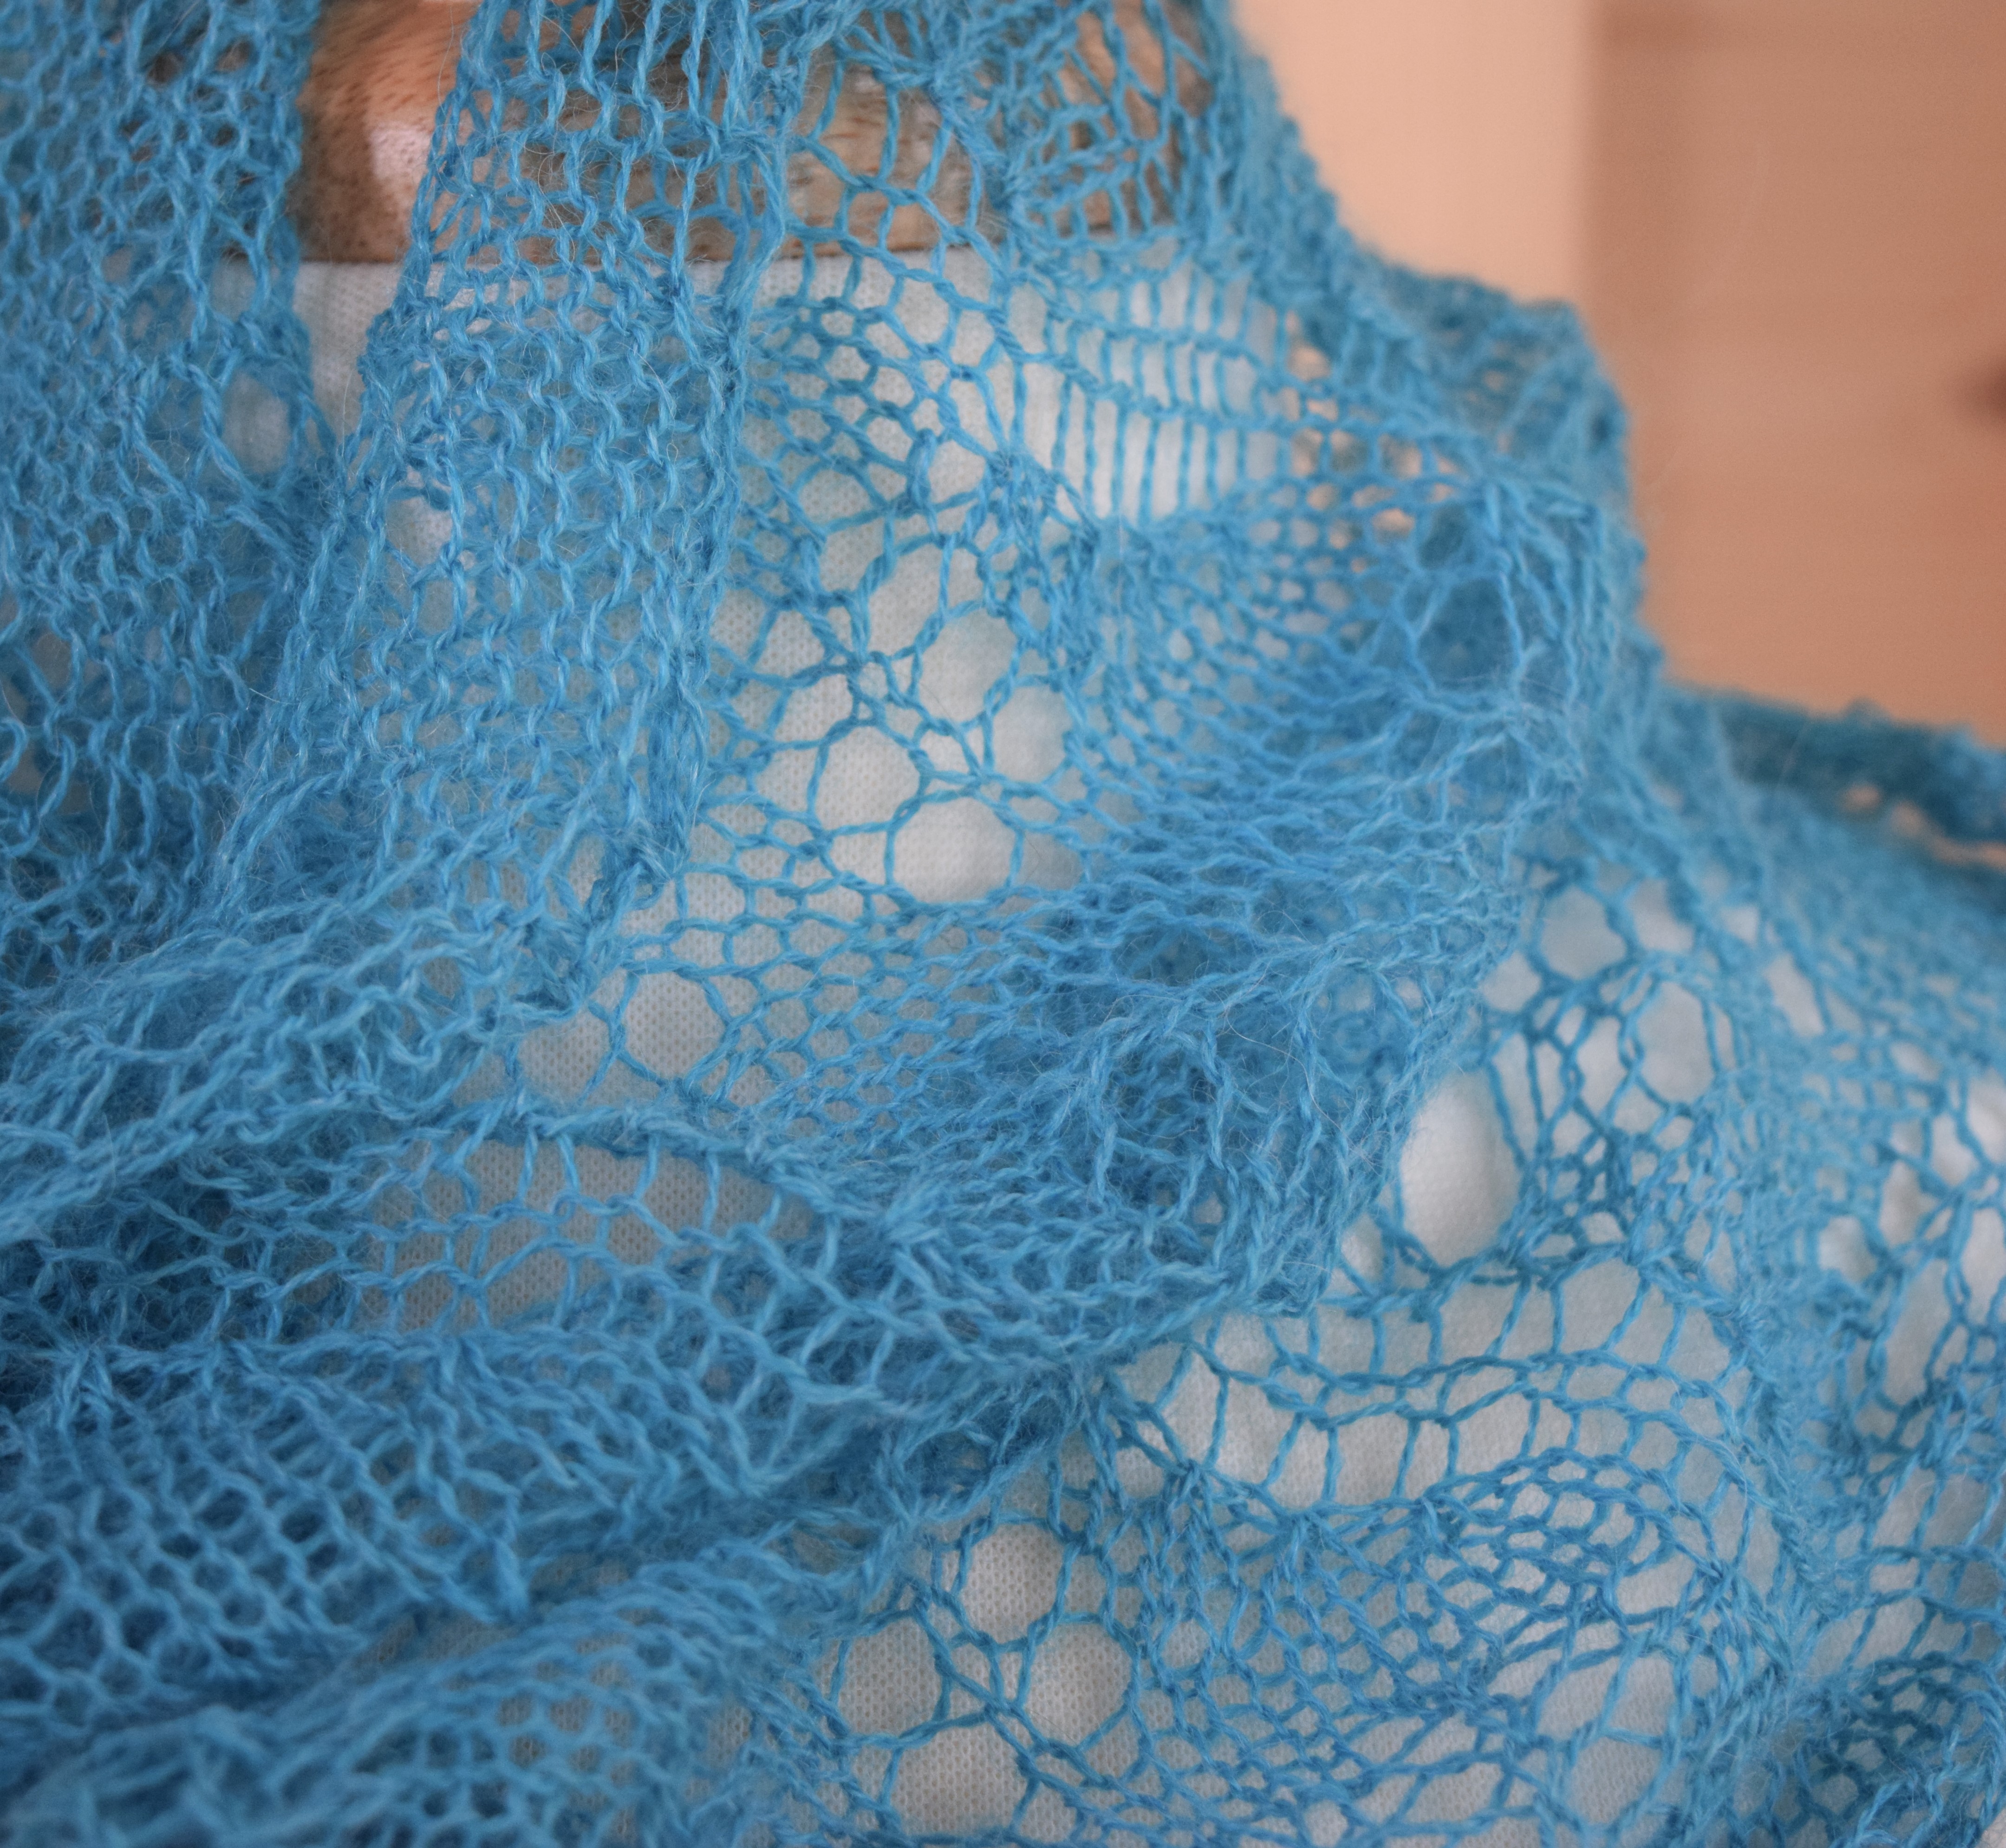
jenjoycedesign© blue lace cowl 1

Hi everyone, its me Abelene!

Jen let me try on her most recent lacy things, and they feel so pretty.   Just so nice.   This blue one is baby alpaca, called Alpaca Cloud by Knit Picks, and Jen said it is a sample of a new lace thing she is working on that she hopes to come out with this Autumn. How exciting that I get to model it as a sneak preview!

jenjoycedesign© blue lace cowl 2

Jen told me that there was no room in the Tiny House to block the cowl out to dry, so she pinned it down on her car seat over night ~~ ha ha, very funny!    Also she put this lovely  plum colored ribbed lace on me, told me to say that it is made from a yarn called Gloss by Knit Picks, which has silk and merino wool, and is a modification of her Double Cappuccino pattern … and I just can’t help but think how similar to frothed milk that it feels like. Really so!

jenjoycedesign© plum lace cowl.JPG

Thats me for now, signing off… and its back into the shed I go.

Ta ta,   Abelene