floating

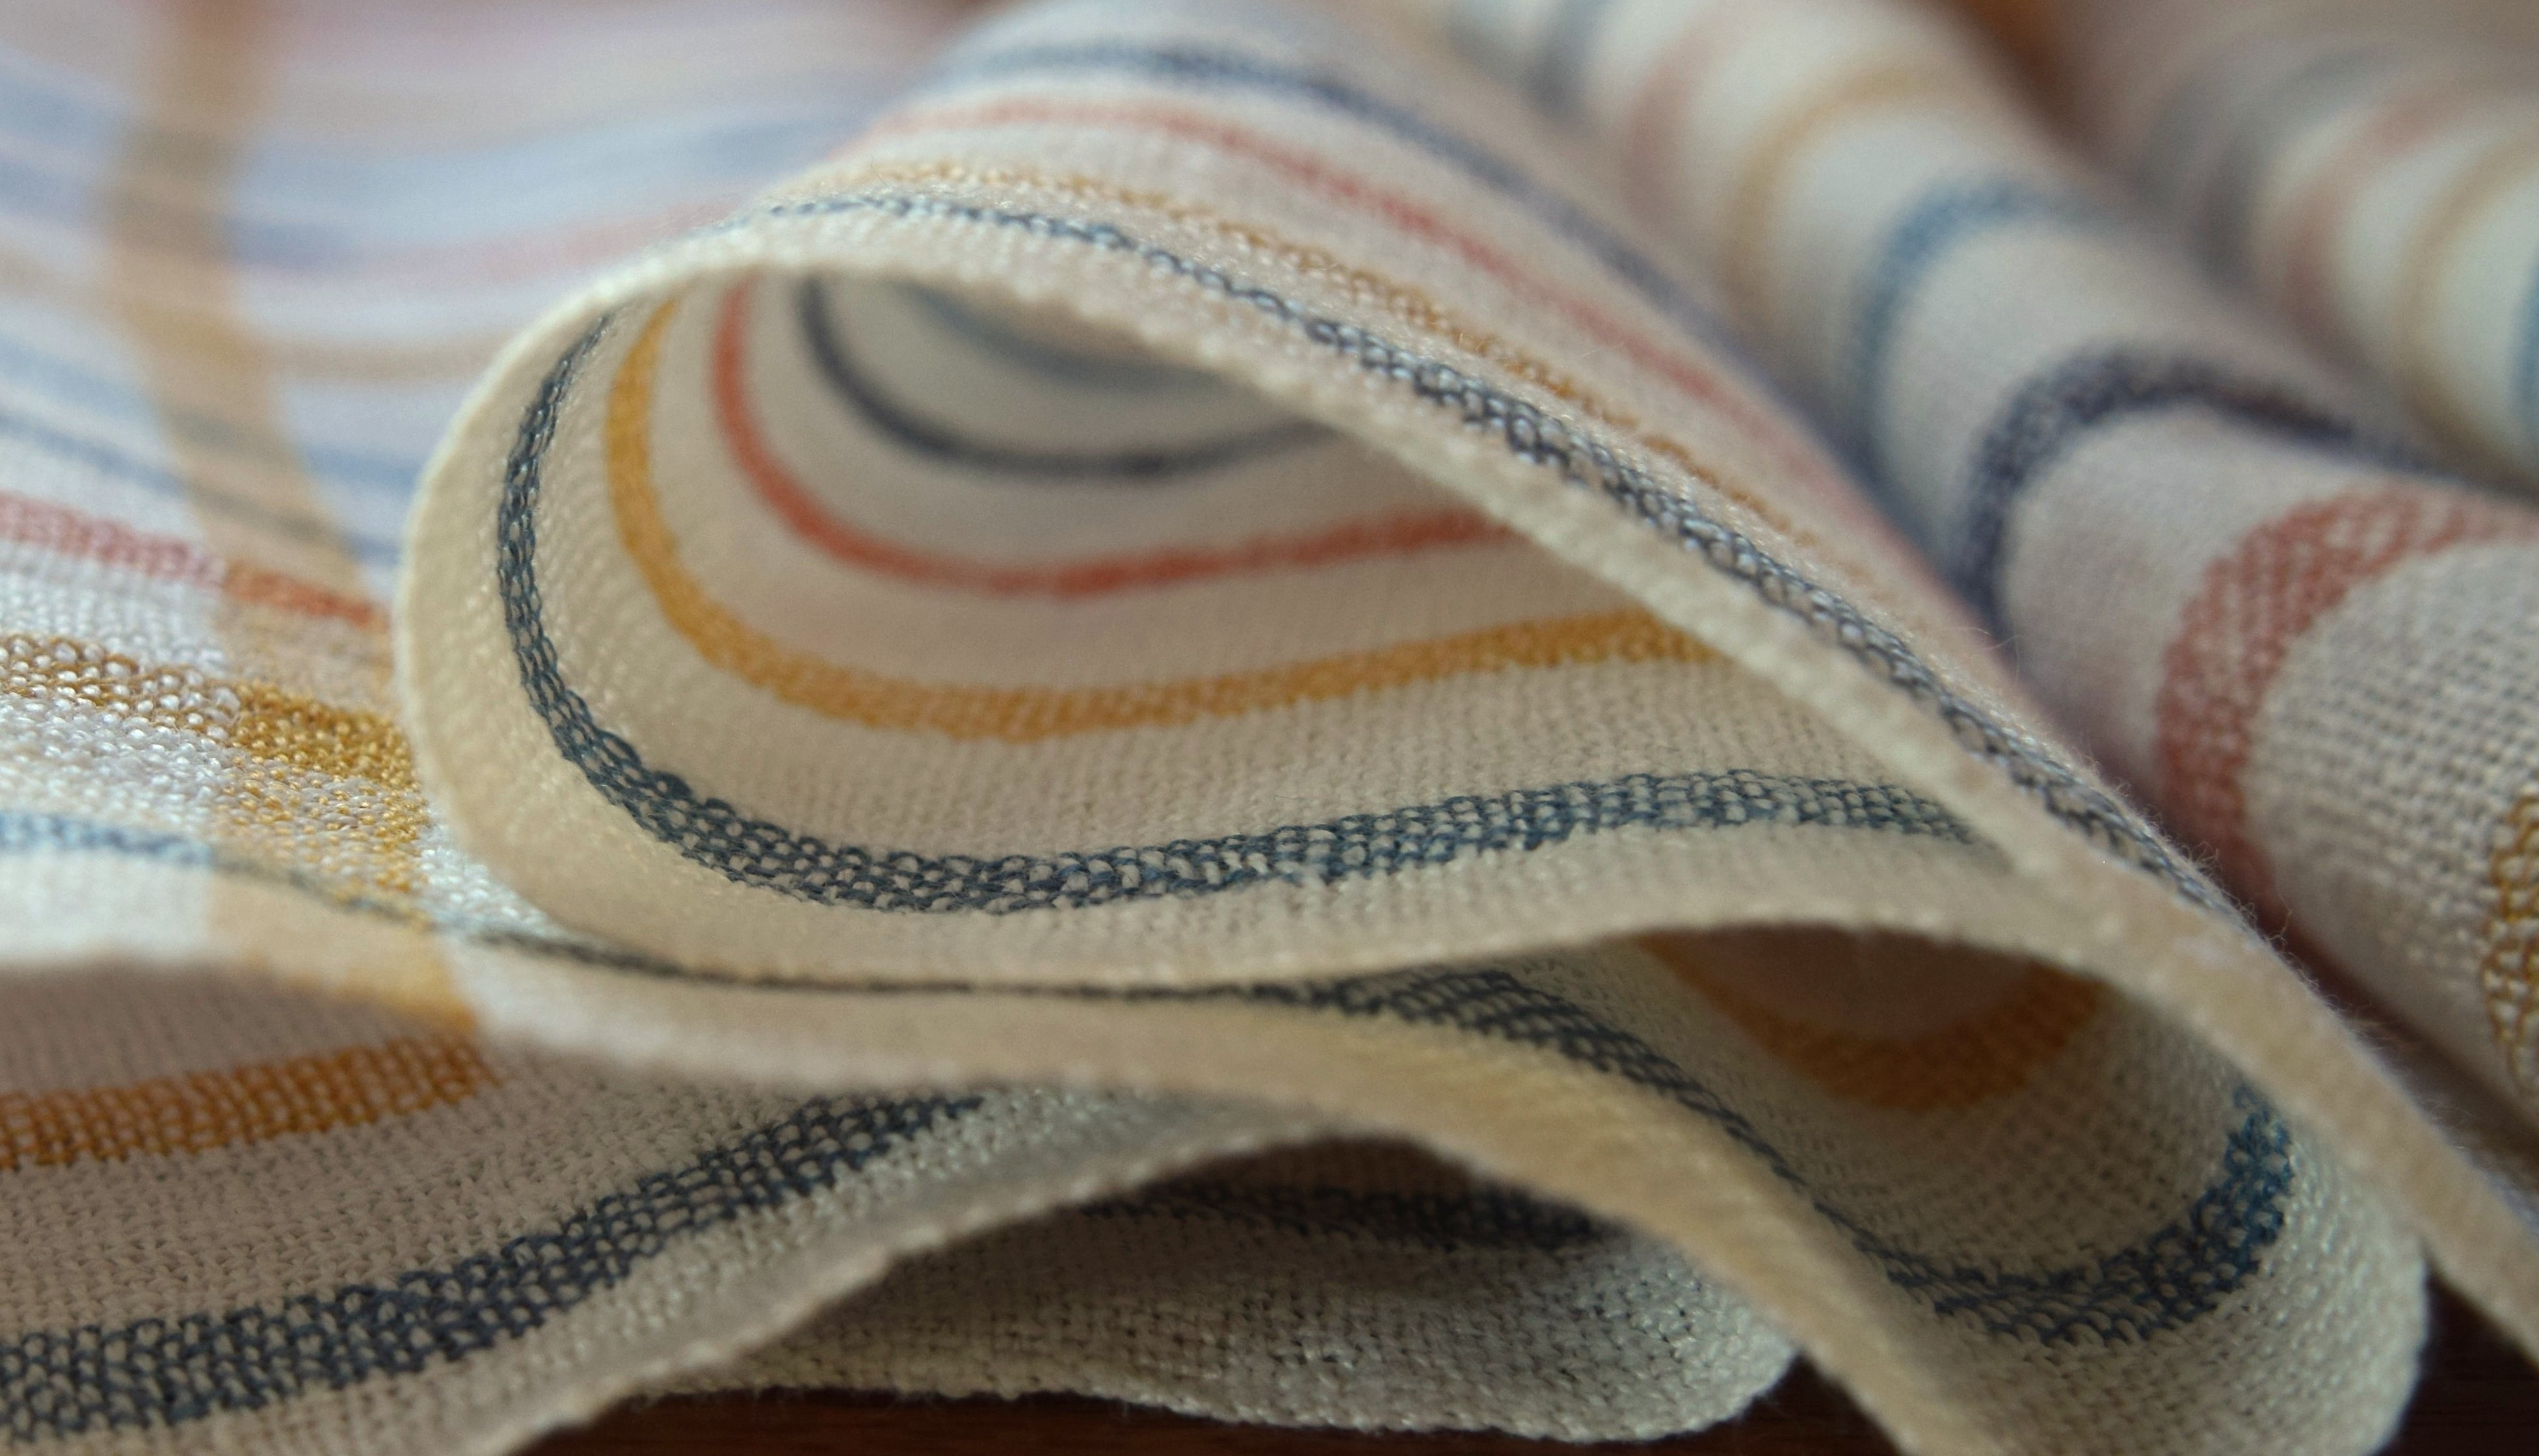
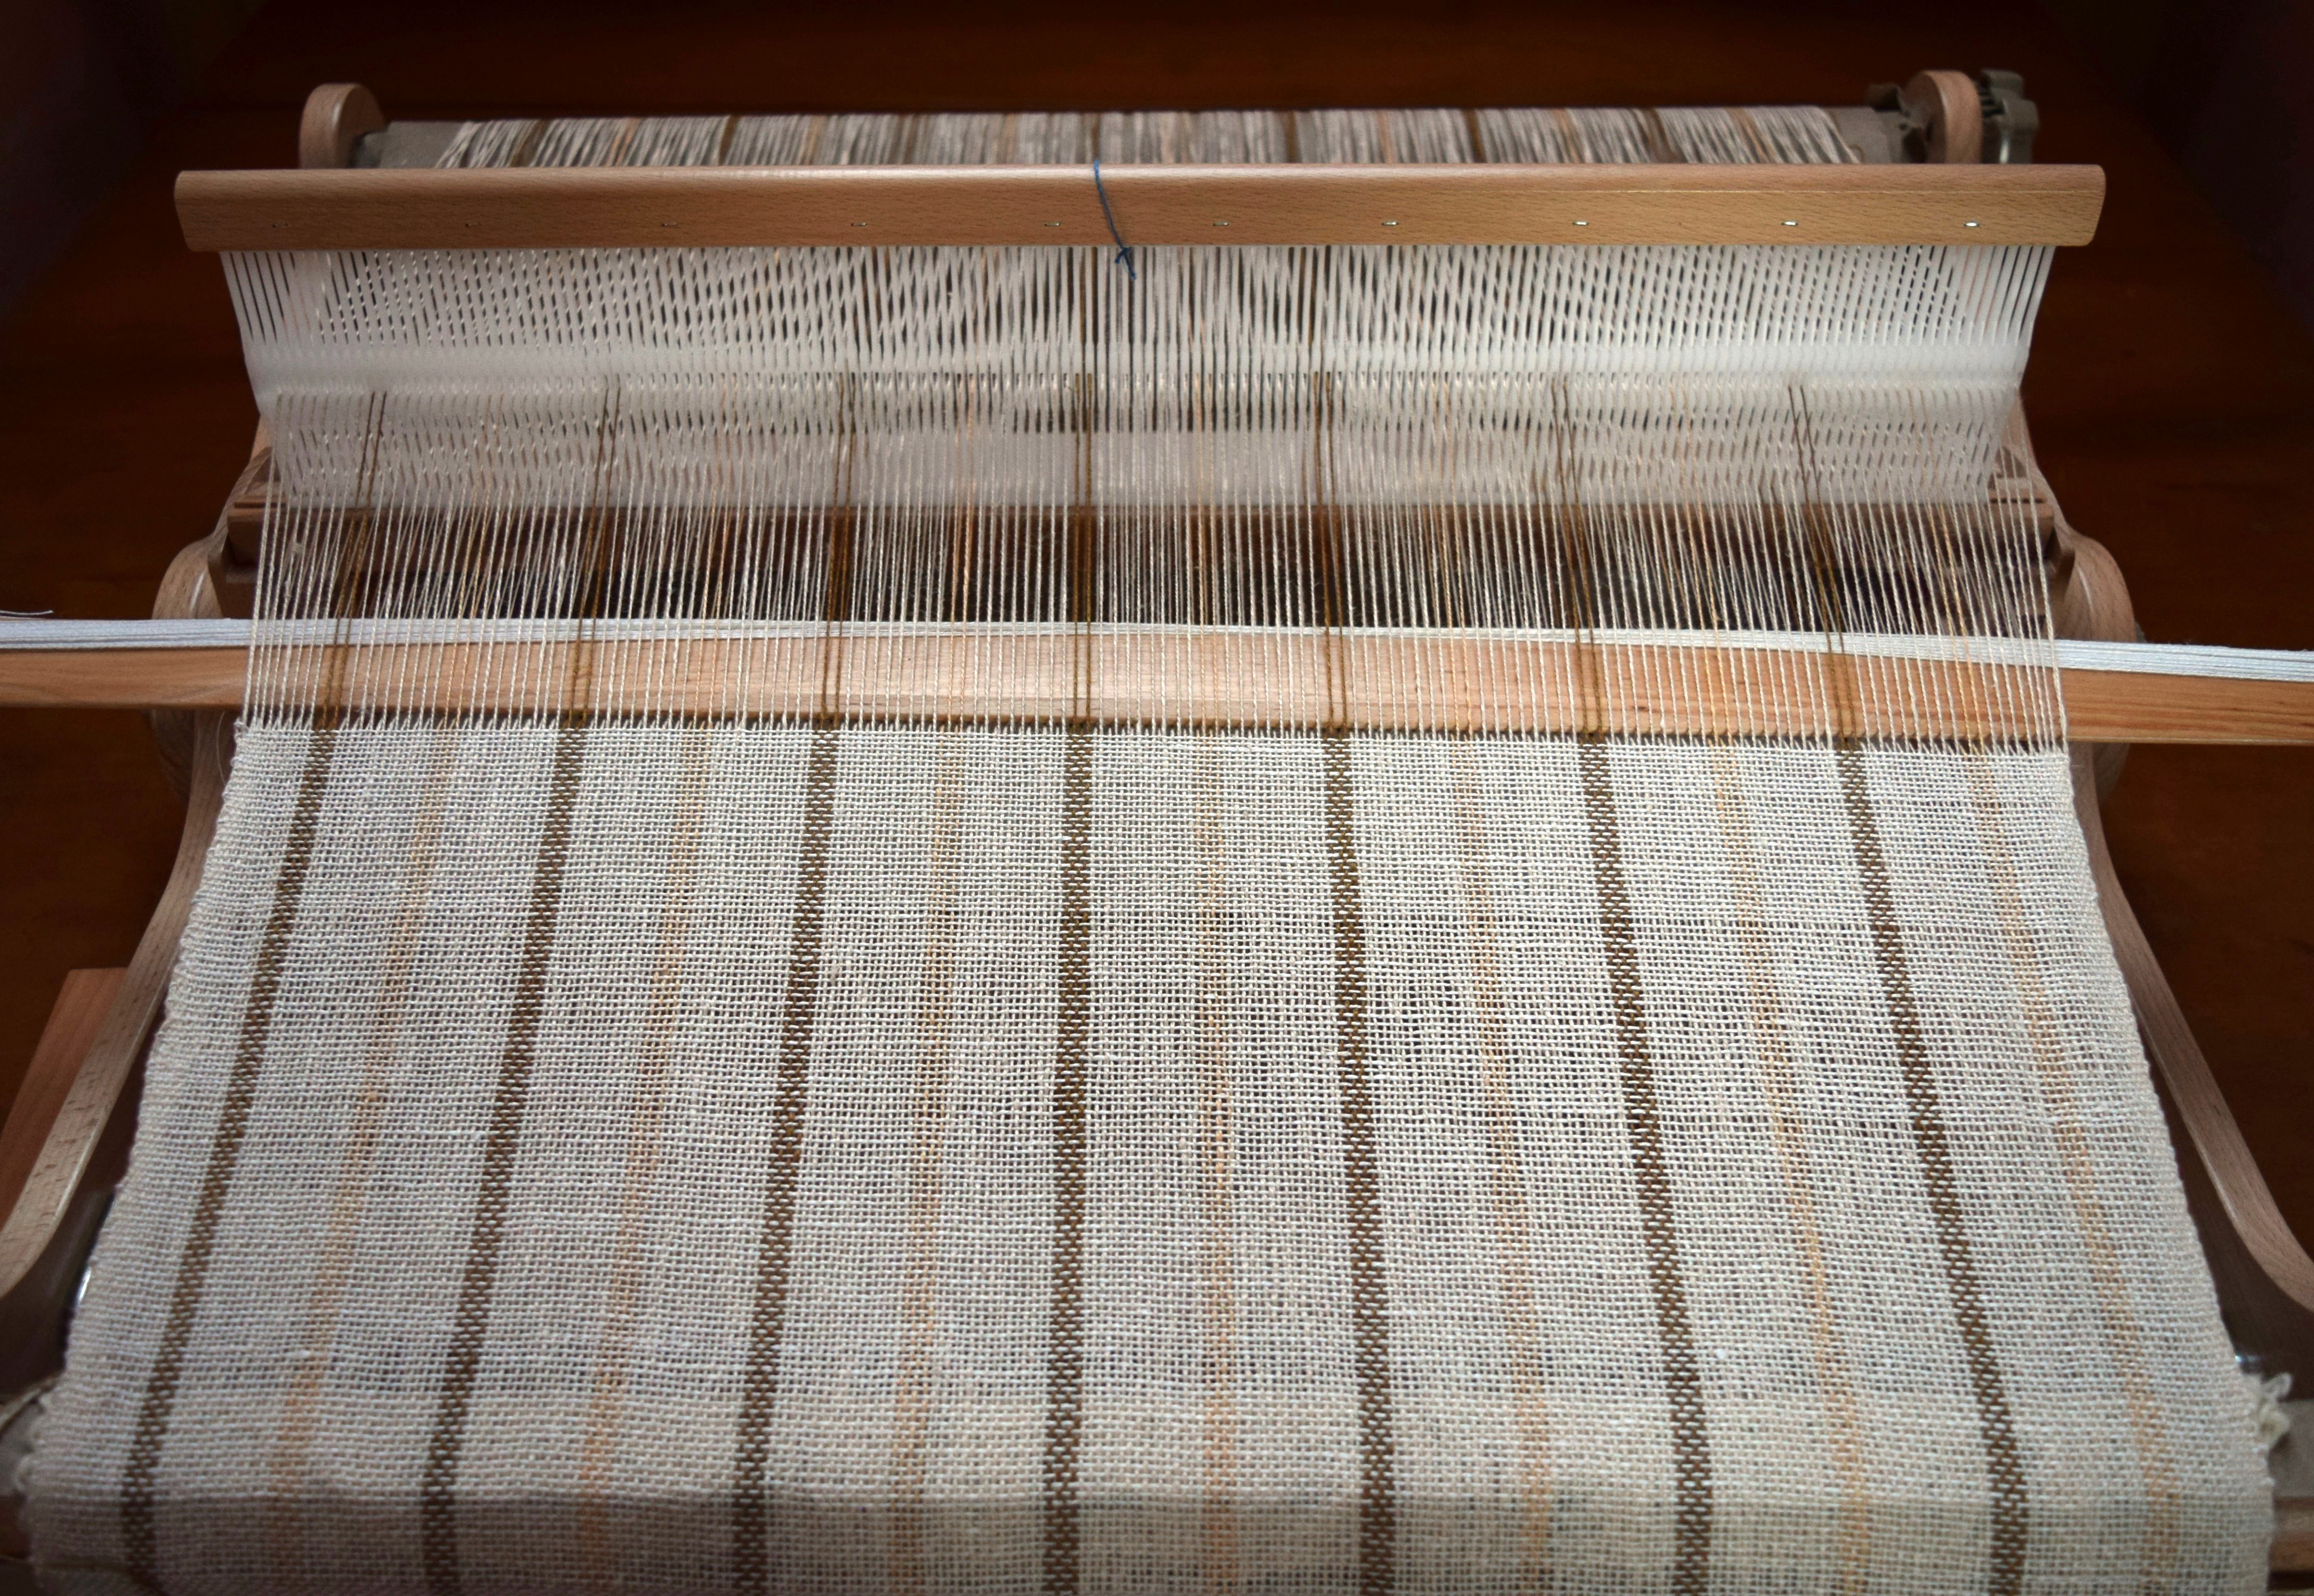
Things are floating presently. These mornings the dense fog floats up towards the mountain from the valley, the floating selvedge weights hang suspended until the weaving is finished, and even the most subtle windowpane texture seems to float in the cloth. And I have been floating too; between resolve and distraction, between cool mornings and warm afternoons, between the first half of the warp, and now the second.

I have been making steady progress. It is a quiet kind of work as I study and admire the linen, and I find myself enjoying the rhythm of the loom, especially while things are even more quiet than usual, even more still than usual. Weaving linen requires a lot of focus, much like any important journey. I’m keeping at it, and watching my “weavers’ angle”, even in the times I’m not writing as much, it is because the work itself is a way of staying connected.

And as I have finally reached a bit of a turning point, having woven half the warp, I feel suspended and hanging a bit, like the floating selvedge weights, yet at the same time I feel things notching-up with excitement to finish, finding it interesting how focus becomes clearer once you finally sense the end ahead.

Cloth No.2

Linen is my absolute favorite fabric, more than any other, so I decided to focus on it , as well as cotton, for my cloth series where I learn to weave finer thread counts into utilitarian cloth. Being from California it just seems that linen makes the most sense, and I’ll confess, most of my clothes are made of linen, and so the very reason I am ambitious to learn how to weave it. I’m not considering the traditional floor loom for weaving it, where tensions can get crazy, but on a modest little table loom, where tension seems more manageable, and the whole narrower warp within arms’ reach from the front of the loom. I think I’ll be able to make it work fine on a smaller scale, downsized.

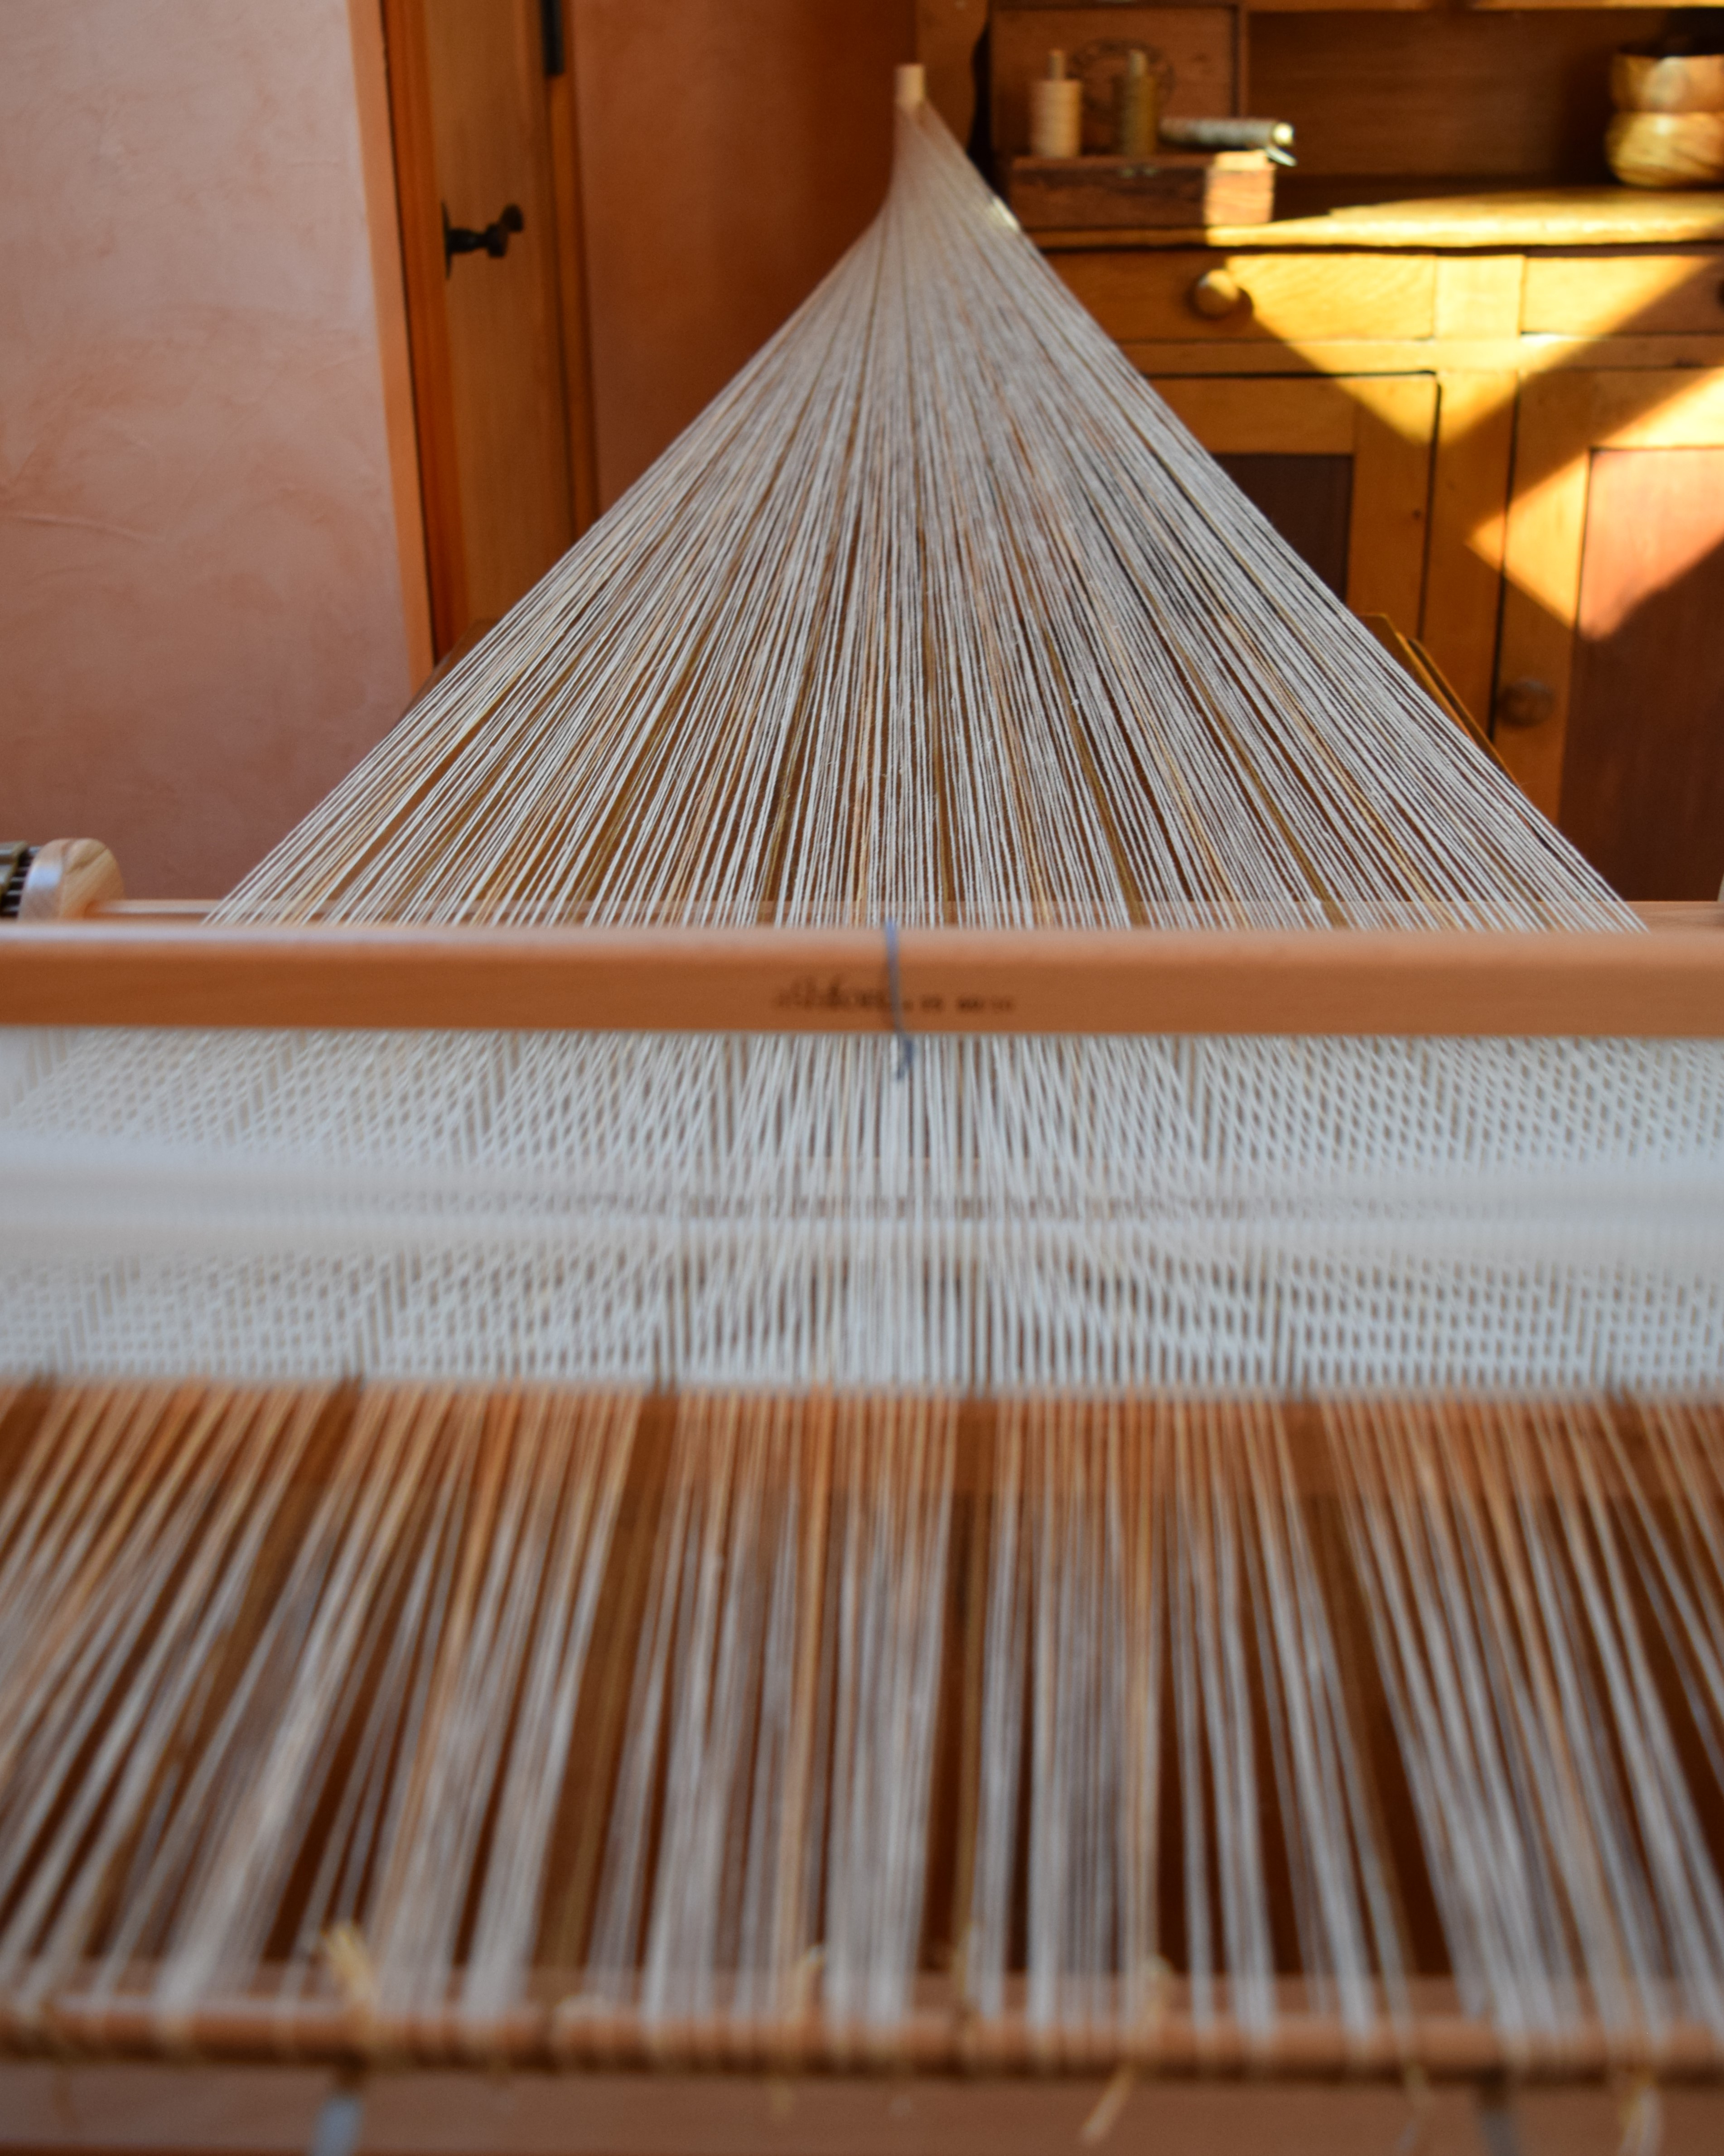
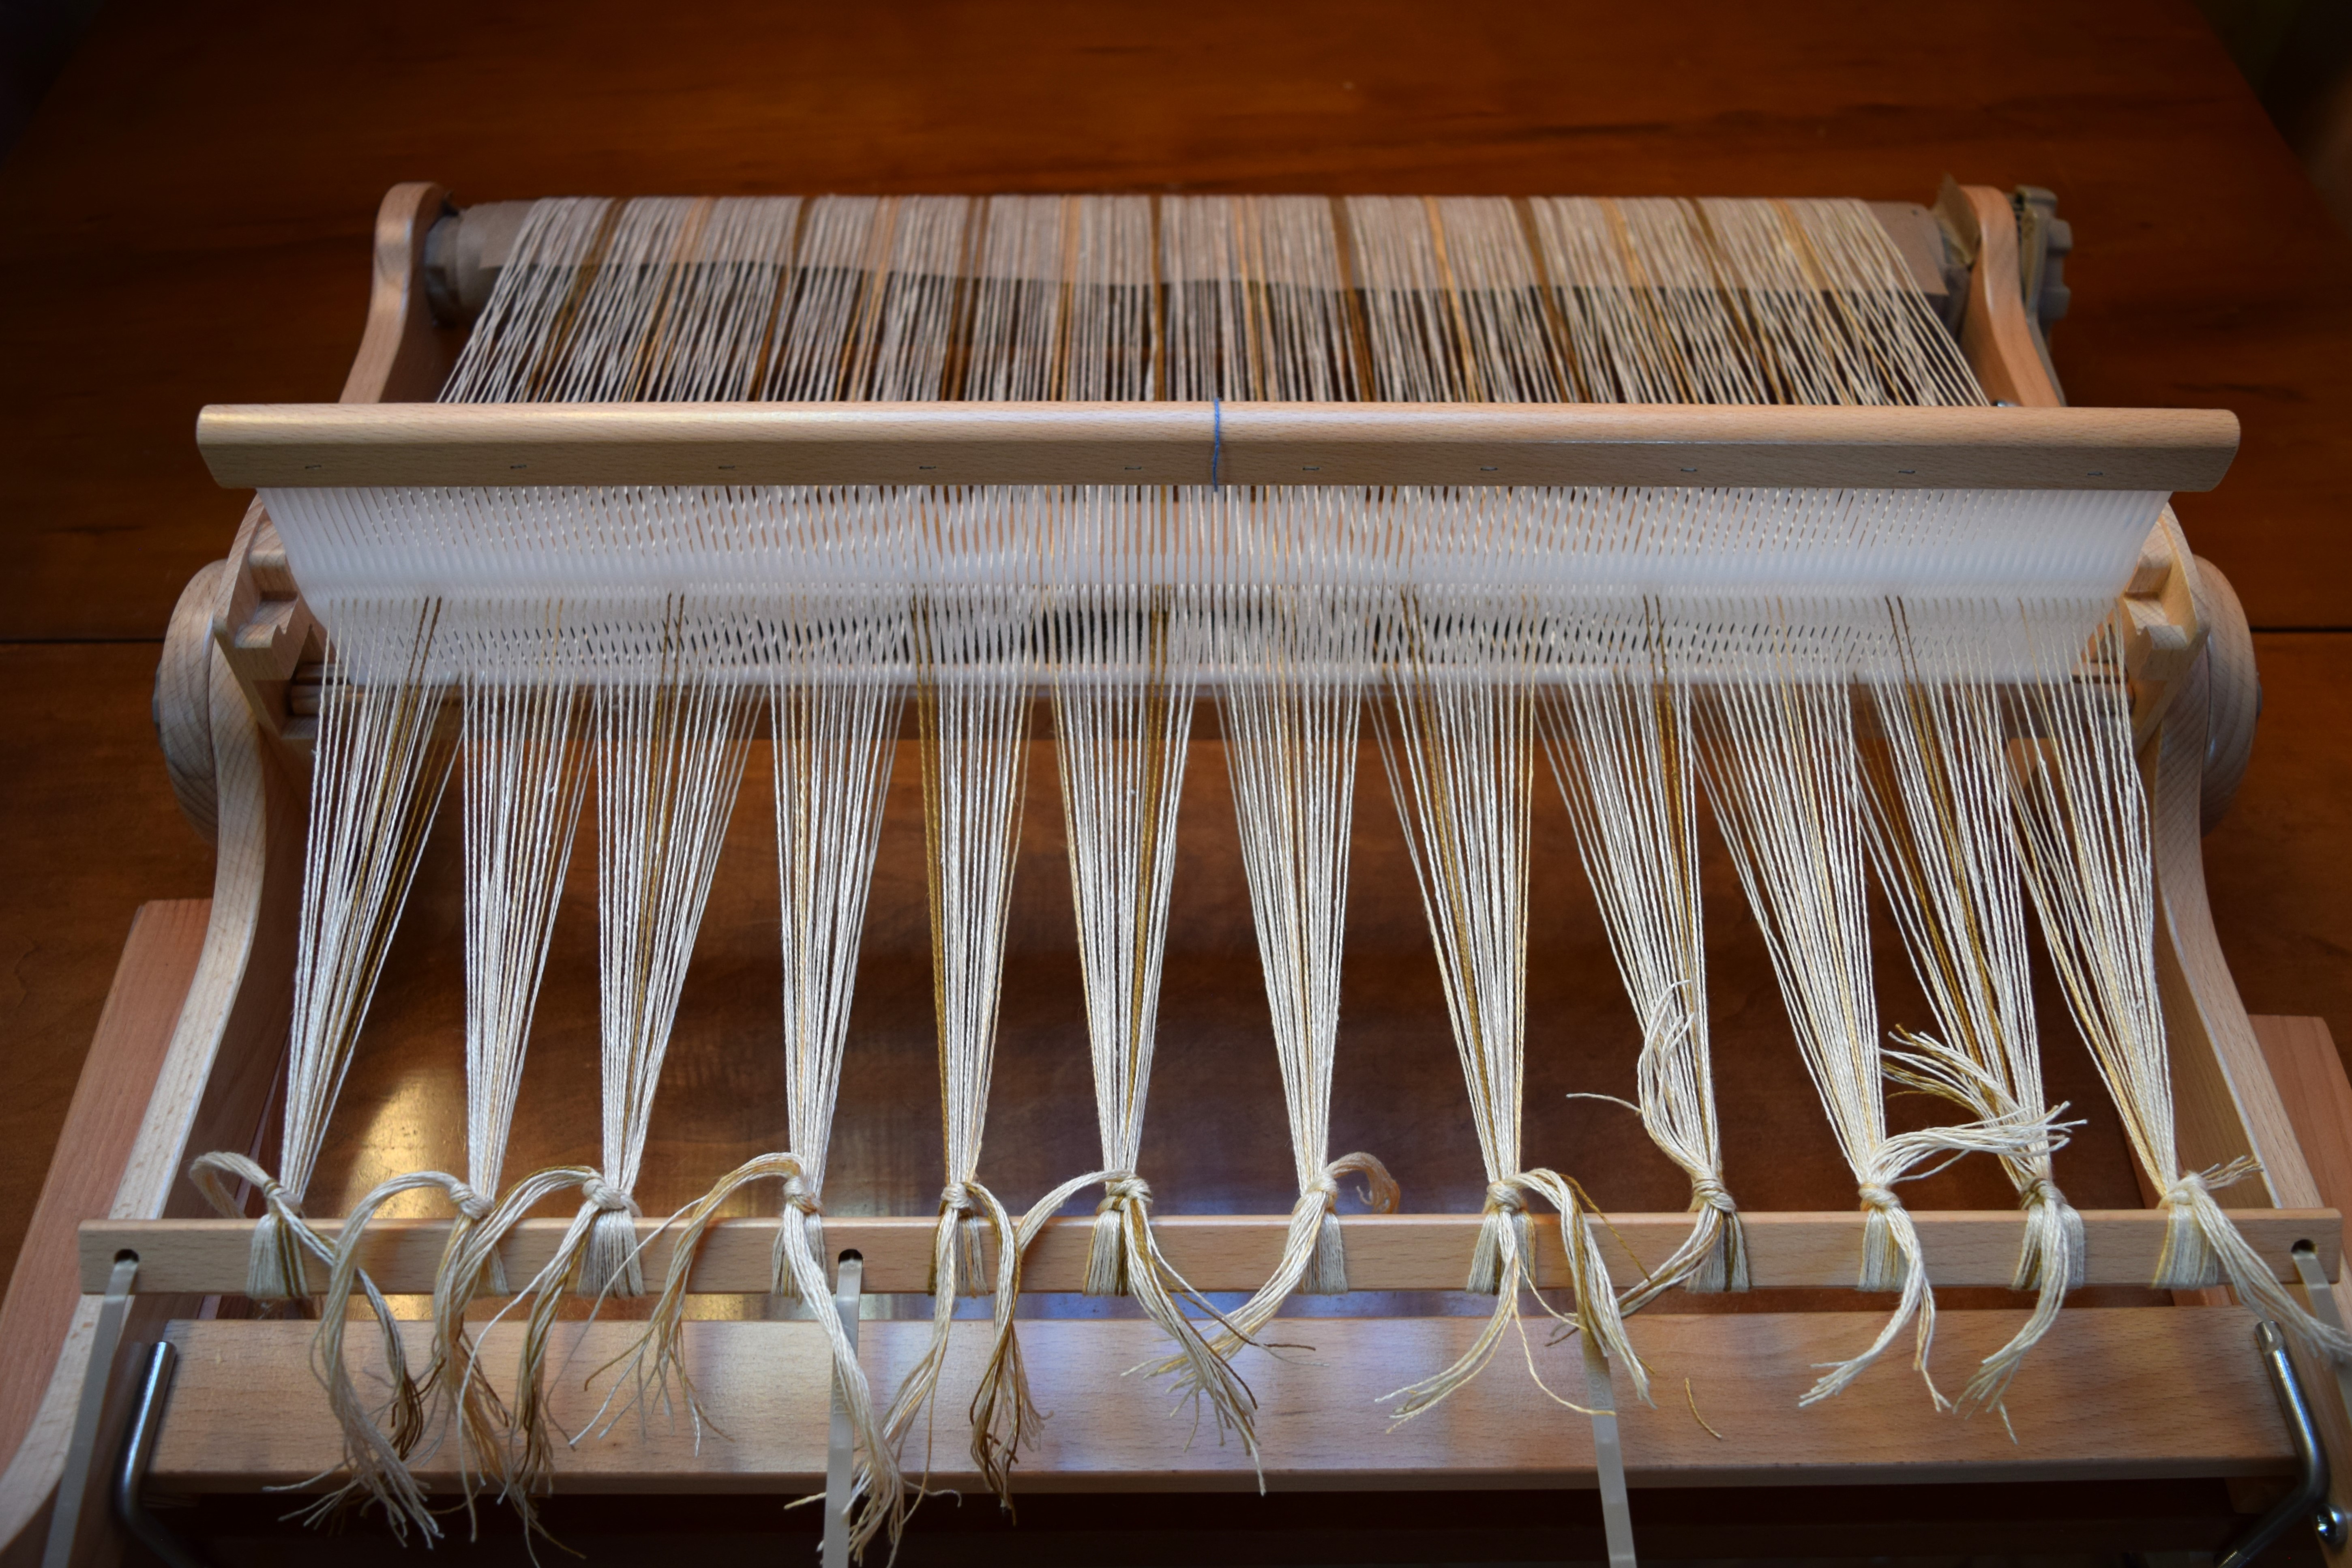
I had just set up yet another small table loom, an Ashford 16″ 8-shaft, and it came with 320 heddles over 8 shafts, pretty sparsely distributed but nonetheless I wanted to get started and not have to wait for more expensive heddles to be ordered. It came with a 10-dent reed so 20epi was to be the bottom line for me, as I prefer to work 2 ends per dent evenly, and although I know that this linen should be woven at least at 24epi, I wanted to discover the limit for loose sett. From this starting point, on this loom, in the future I’ll weave with finer epi with 8 shafts easily, as I acquire finer reeds and more texsolve heddles, I am looking forward to weaving 40/2 linen (7000 ypp) at 32epi, or even up to a crisp 40 epi linen cloth, just something I dream of doing.

There were problems in the warp, as there always are, but I have come to love the mistakes, as they all give the feel that the cloth is handmade and definitely not commercial. Oh, the usual, I missed some heddles, some of the stripes and intervals are narrower, and also, as I was advancing the warp for the last 10″ of weaving, the back warp apron ties came undone and put an end to the weaving (my knots were not done right) so I had to cut it off the loom and forfeit the last bit of length, making the piece 62″ instead of 72″. It was both narrower and shorter than I planned, but that is fine as it is only a sample piece.

♣   Weaving Notes  ♣

I had experimented with threading the heddles first while pulling the threads to the peg for direct warping, and was going to sley the reed last — I can’t remember why I decided to do this, and struggled getting the wound warp to widen enough to feed through the reed, and learned that valuable lesson to sley the reed and heddles both at the same time — even if I have to re-sley the reed to get set up, which is how I have been doing it in my own direct warp method. I didn’t fill the width reed, and I forgot the floating selvedges I planned on doing, so only 15″ in the reed, and shrank quite a bit to 13.5″ after finishing with a hot machine wash & dry to shrink. I have a hunch that since it was an open weave, that the shrinkage was more than it would be with a denser warp. Next time when I weave 7000ypp 40/2 linen will be denser and will fill the entire reed, plus floating selvedges , that shrinkage will be less.

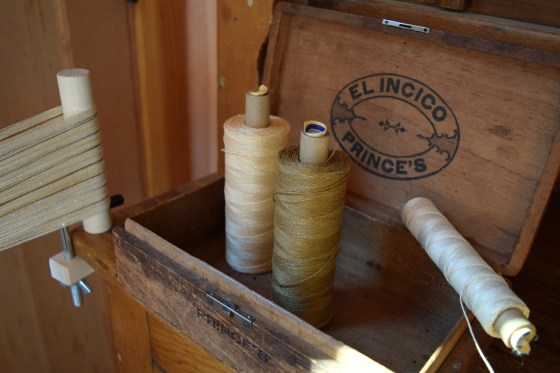
  • Yarn: 40/2 linen from Valley Yarns (249 g cone/ 3300yds) in Half Bleached (HB) (or possibly it was 20/2, I couldn’t be sure and the cone was unmarked)–and– 40/2 linen from Jane Stafford Textiles (100 g cones /1,540yds= 7000ypp) in Ginger (G), Topaz (T), Denim (D), and Indigo (I).
  • Loom: Ashford 16″ 8-shaft Table Loom, straight draw threading for plain weave, lifting pairs of odds & evens (1, 3, 5 &7, and 2, 4, 6 & 8)
  • Warping method:  Direct warp method, back to front; double threading from back apron rod through heddles to peg. Wound on to back beam and finally sleyed through reed and tied off on to front for weaving.
  • Number of warp ends: I didn’t count, and made mistakes, although there were supposed to be 320, there ended up fewer.
  • Reed: 10 dent
  • Width in reed: approx. 15″, I forgot to measure.
  • Sett on loom: 20epi
  • Selvedges: No reinforcement in the selvedges. Used a temple to keep width in reed.
  • Sett after finishing: Warp 22 epi, and weft 22 ppi.
  • Color Pattern Warp:  [16 (ends) HB, 4 G, 4 T, 16 HB, 4 D, 4 I ] repeat across, end with 16 HB.
  • Pattern Weft: Twice repeated the warp stripes in the ginger, topaz and denim, otherwise no pattern, just one color, HB, used shuttle.
  • Finished: 1/4 inch turned hem, then washed and dried in machine, then steam pressed, measuring 62″ long and 13.5” wide, and weighs 115g. 
  • Yardage:  Total yardage used for finished piece = approx 2310y, figured from weight of finished piece and not including loom waste.

tea towel two

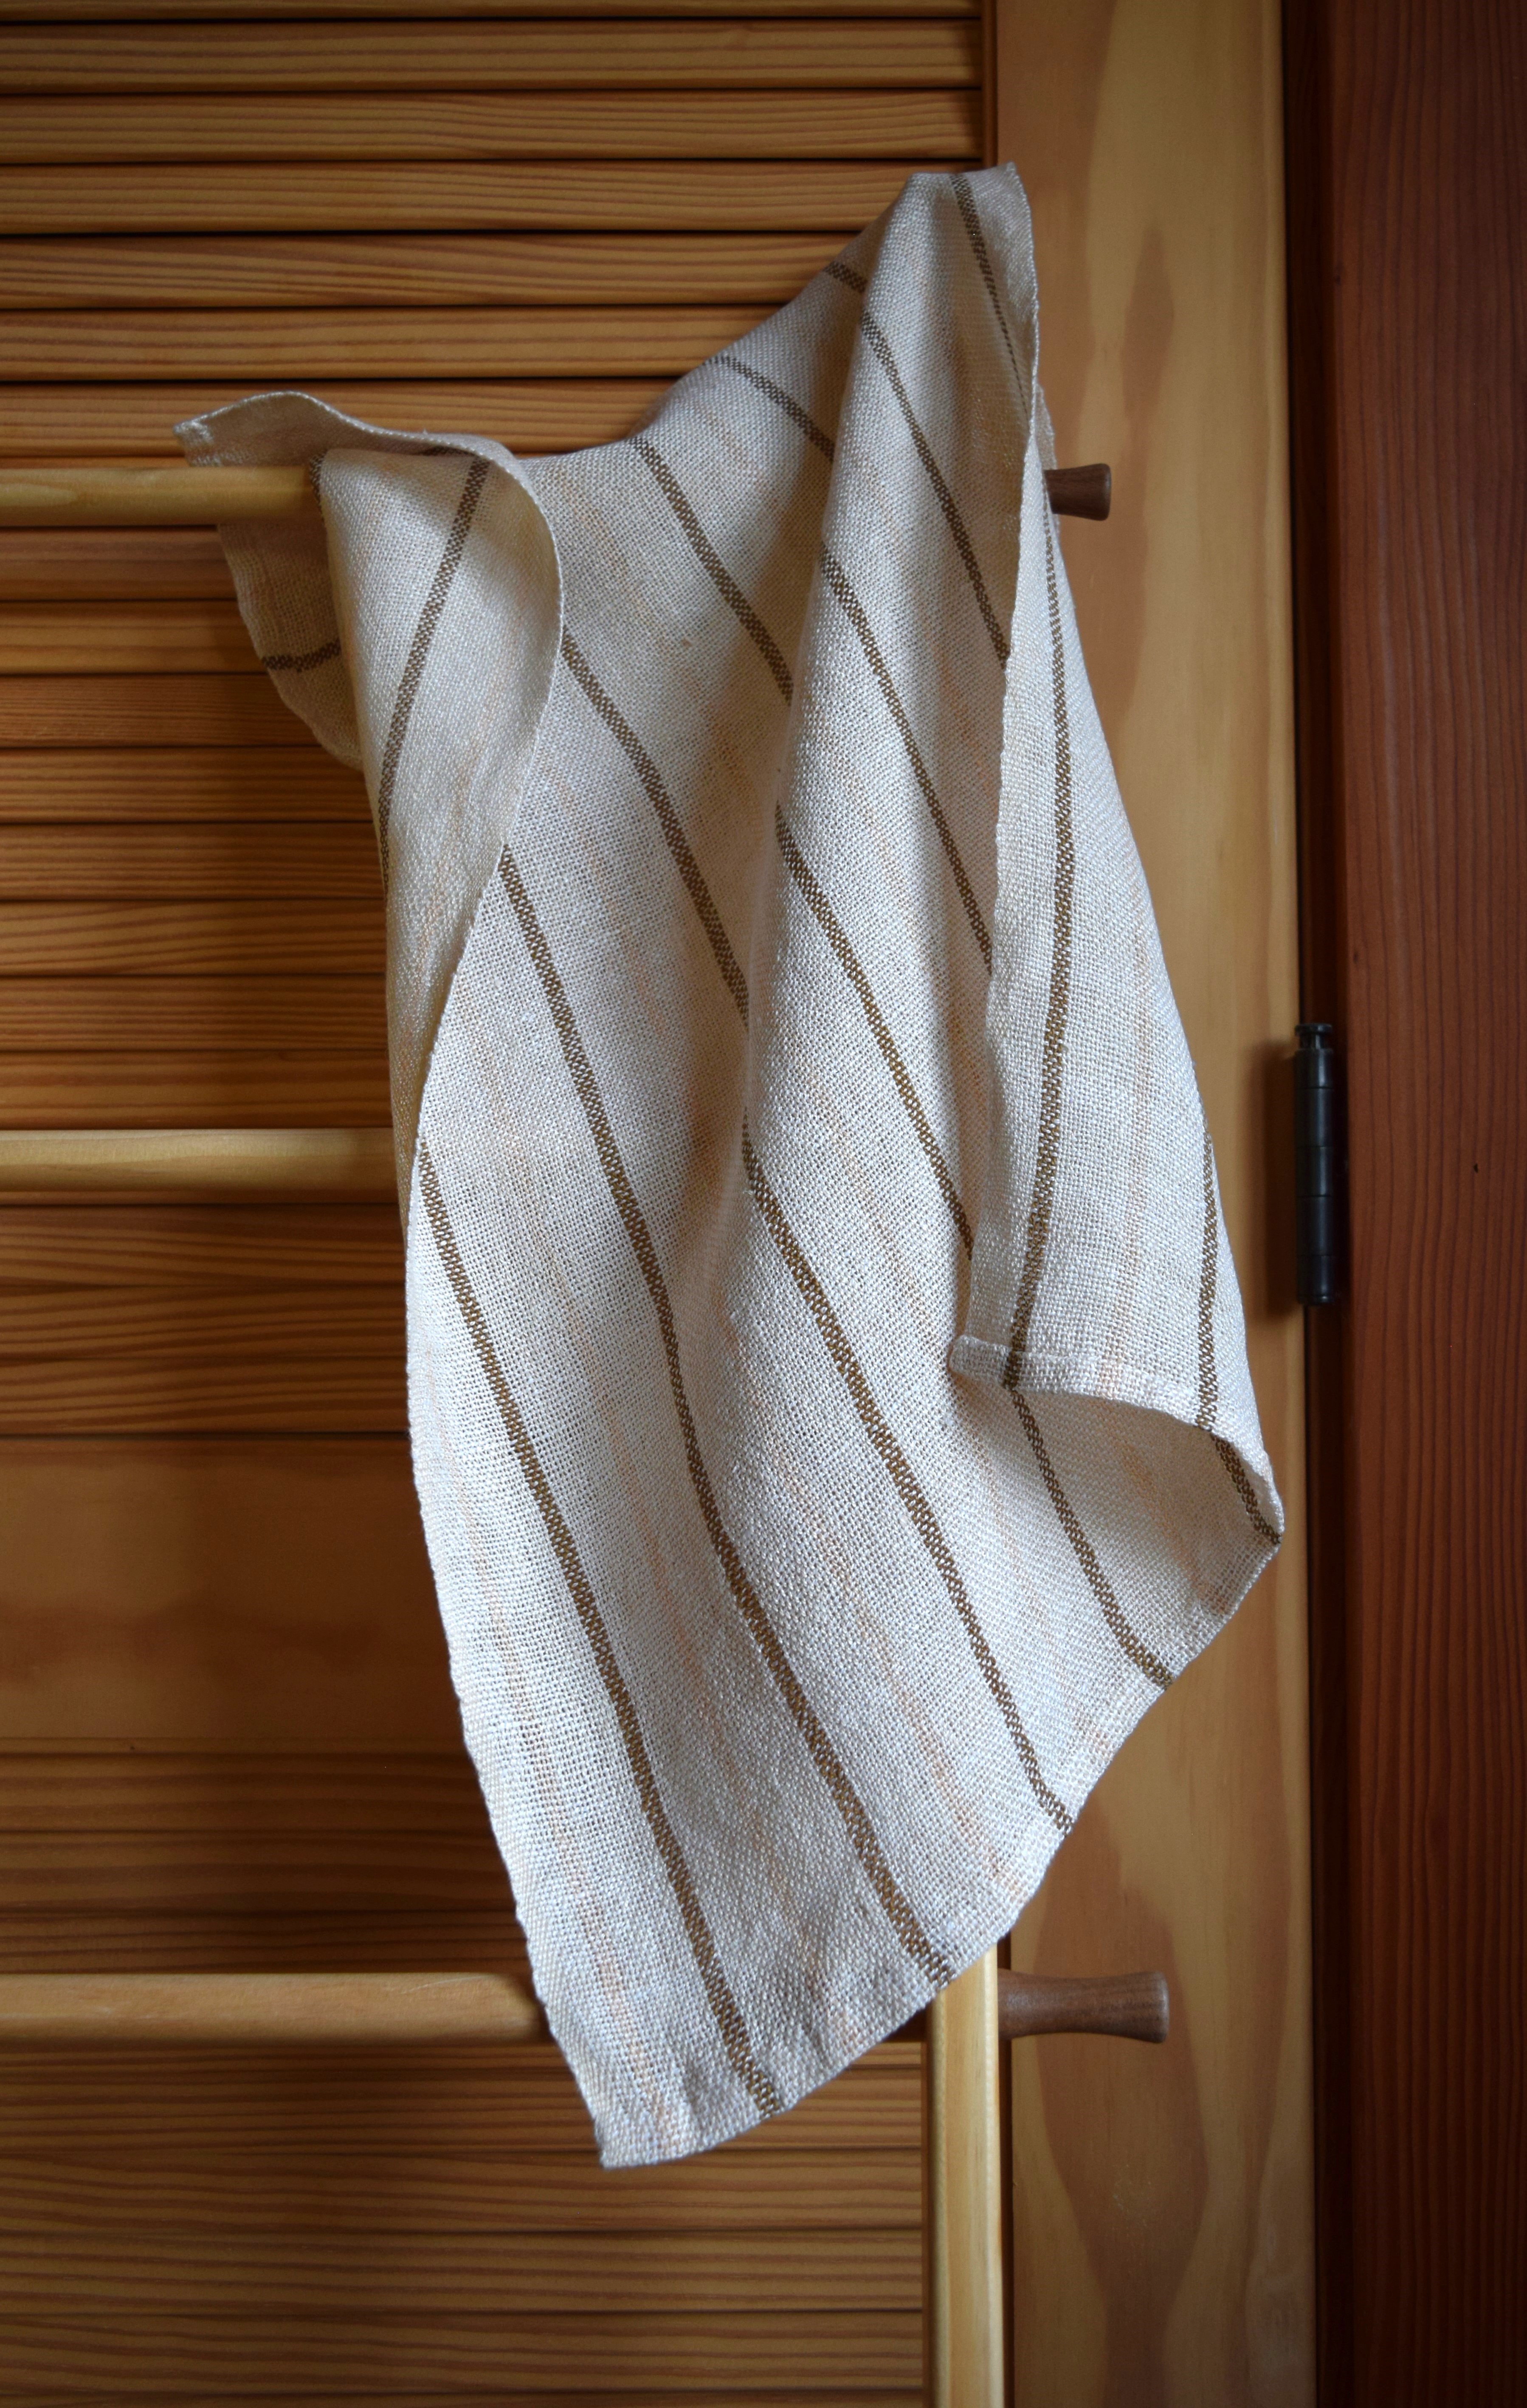
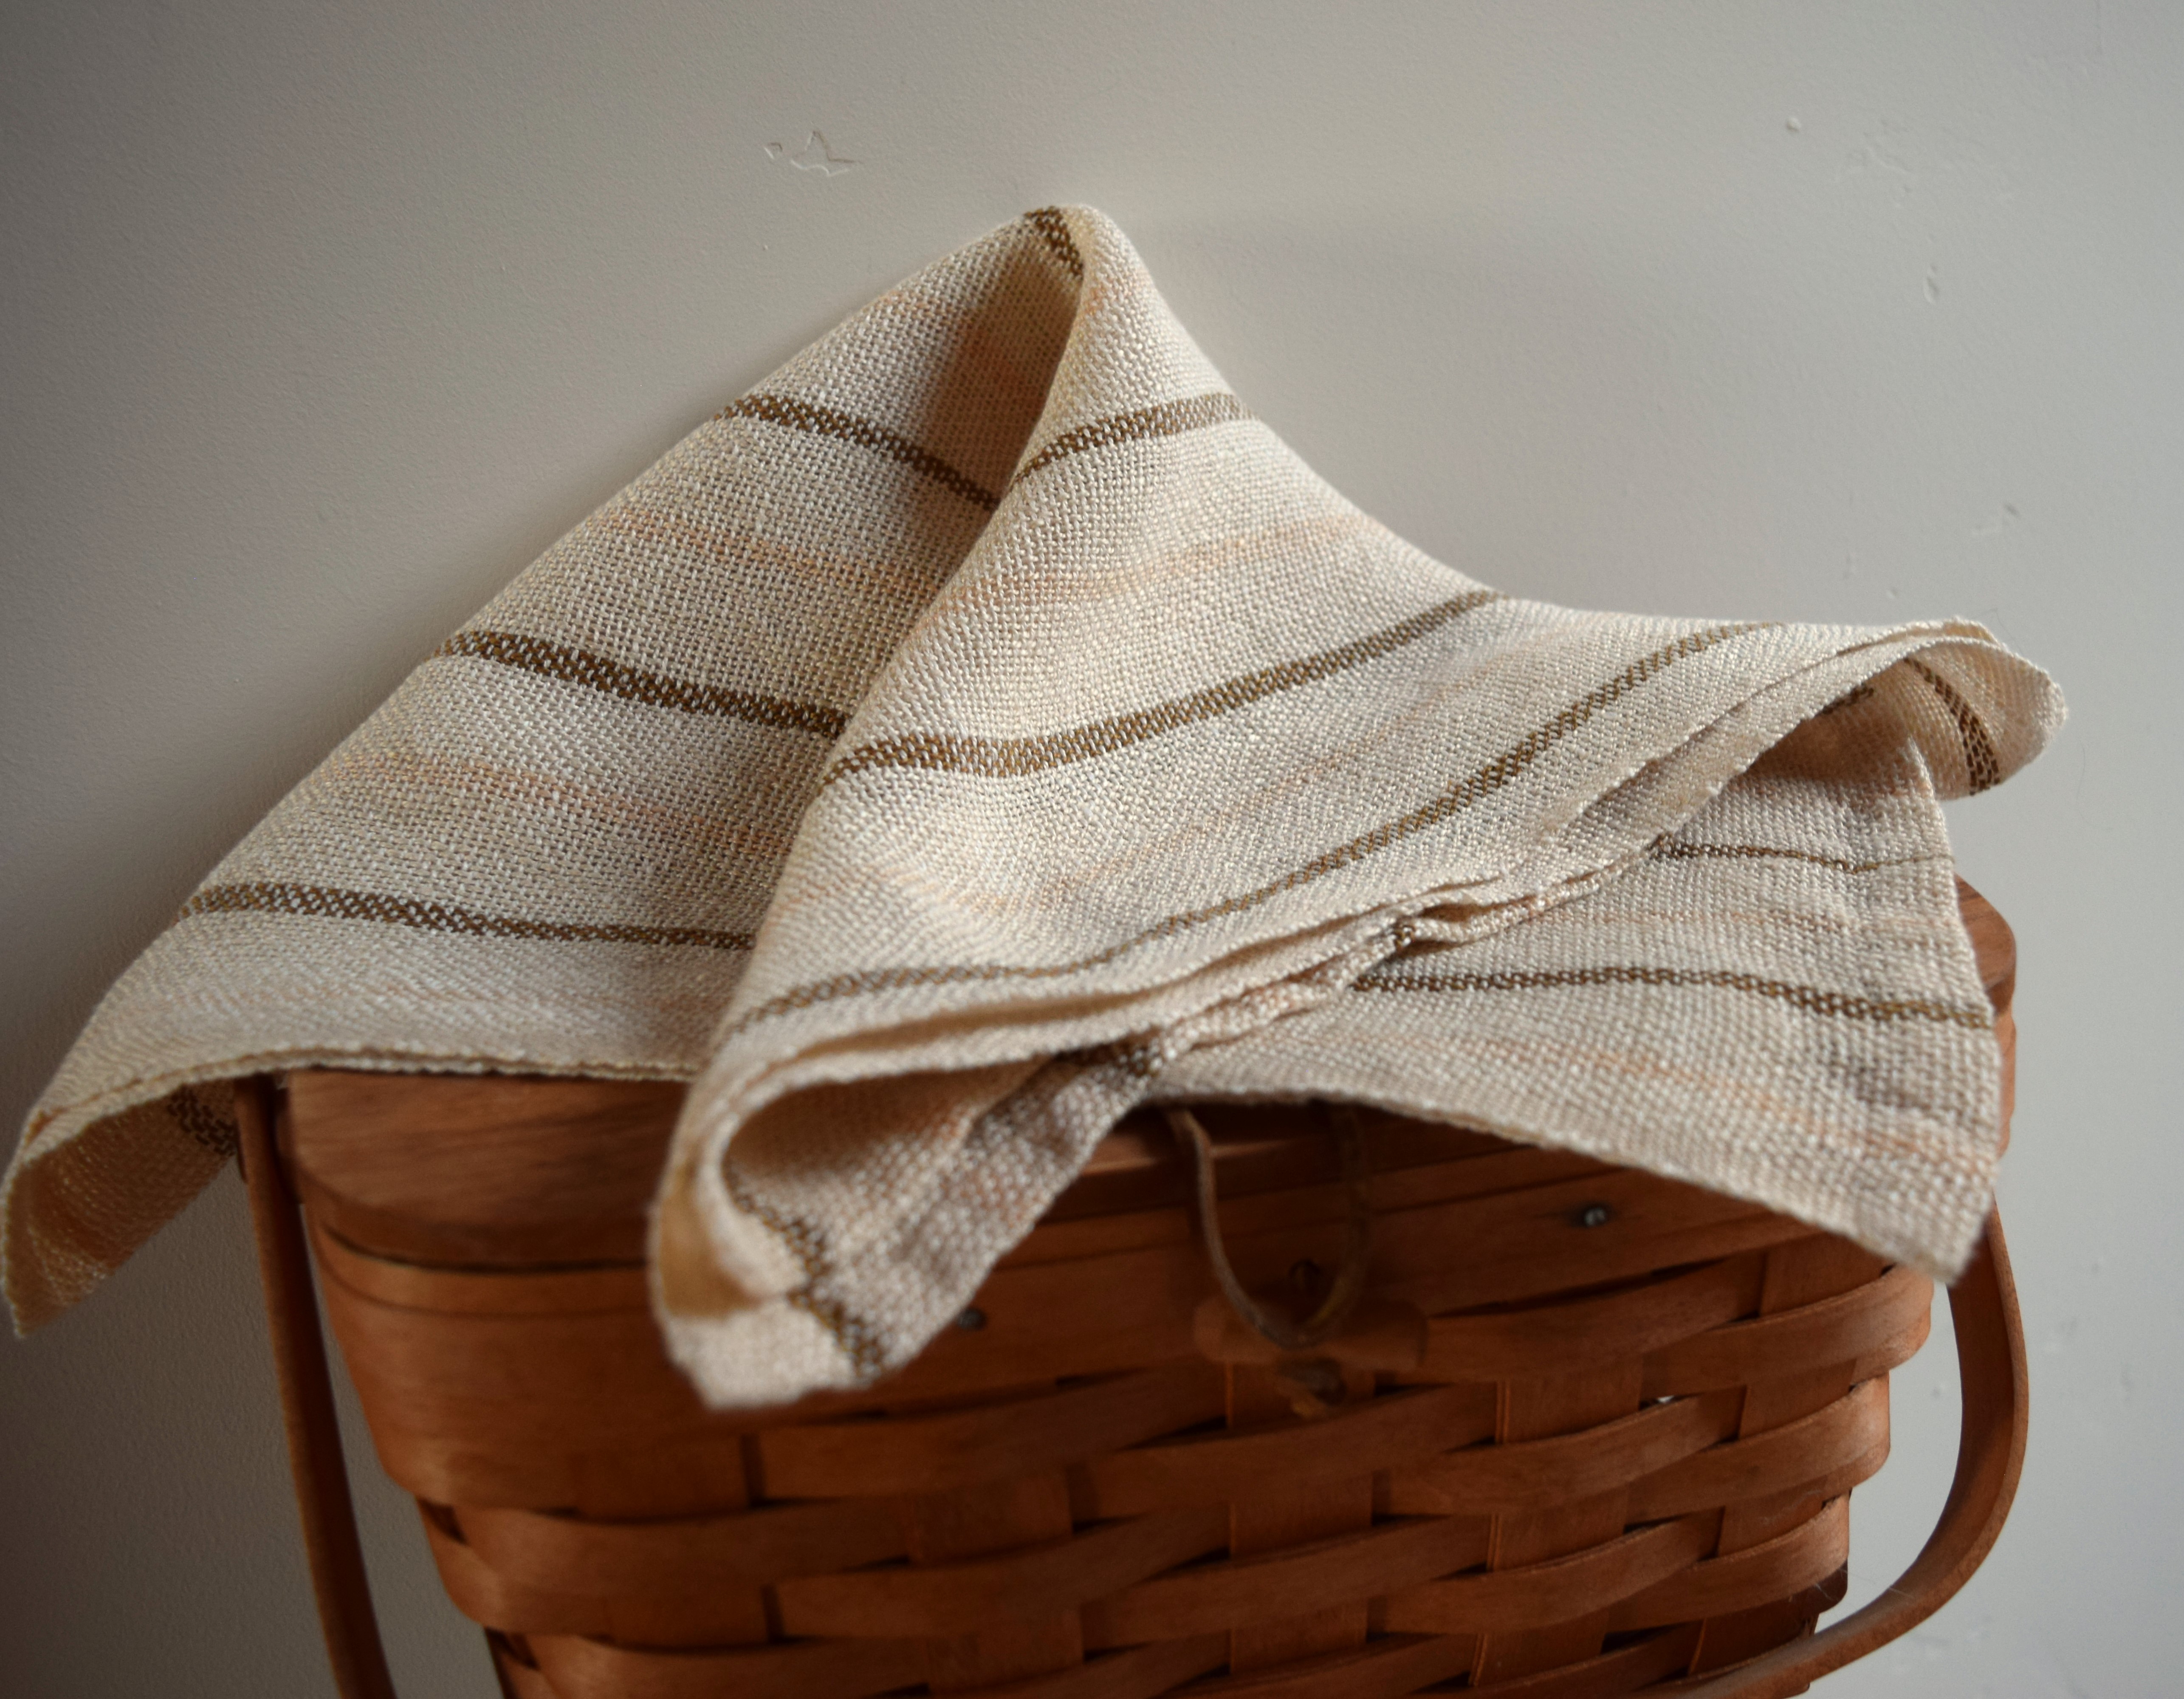
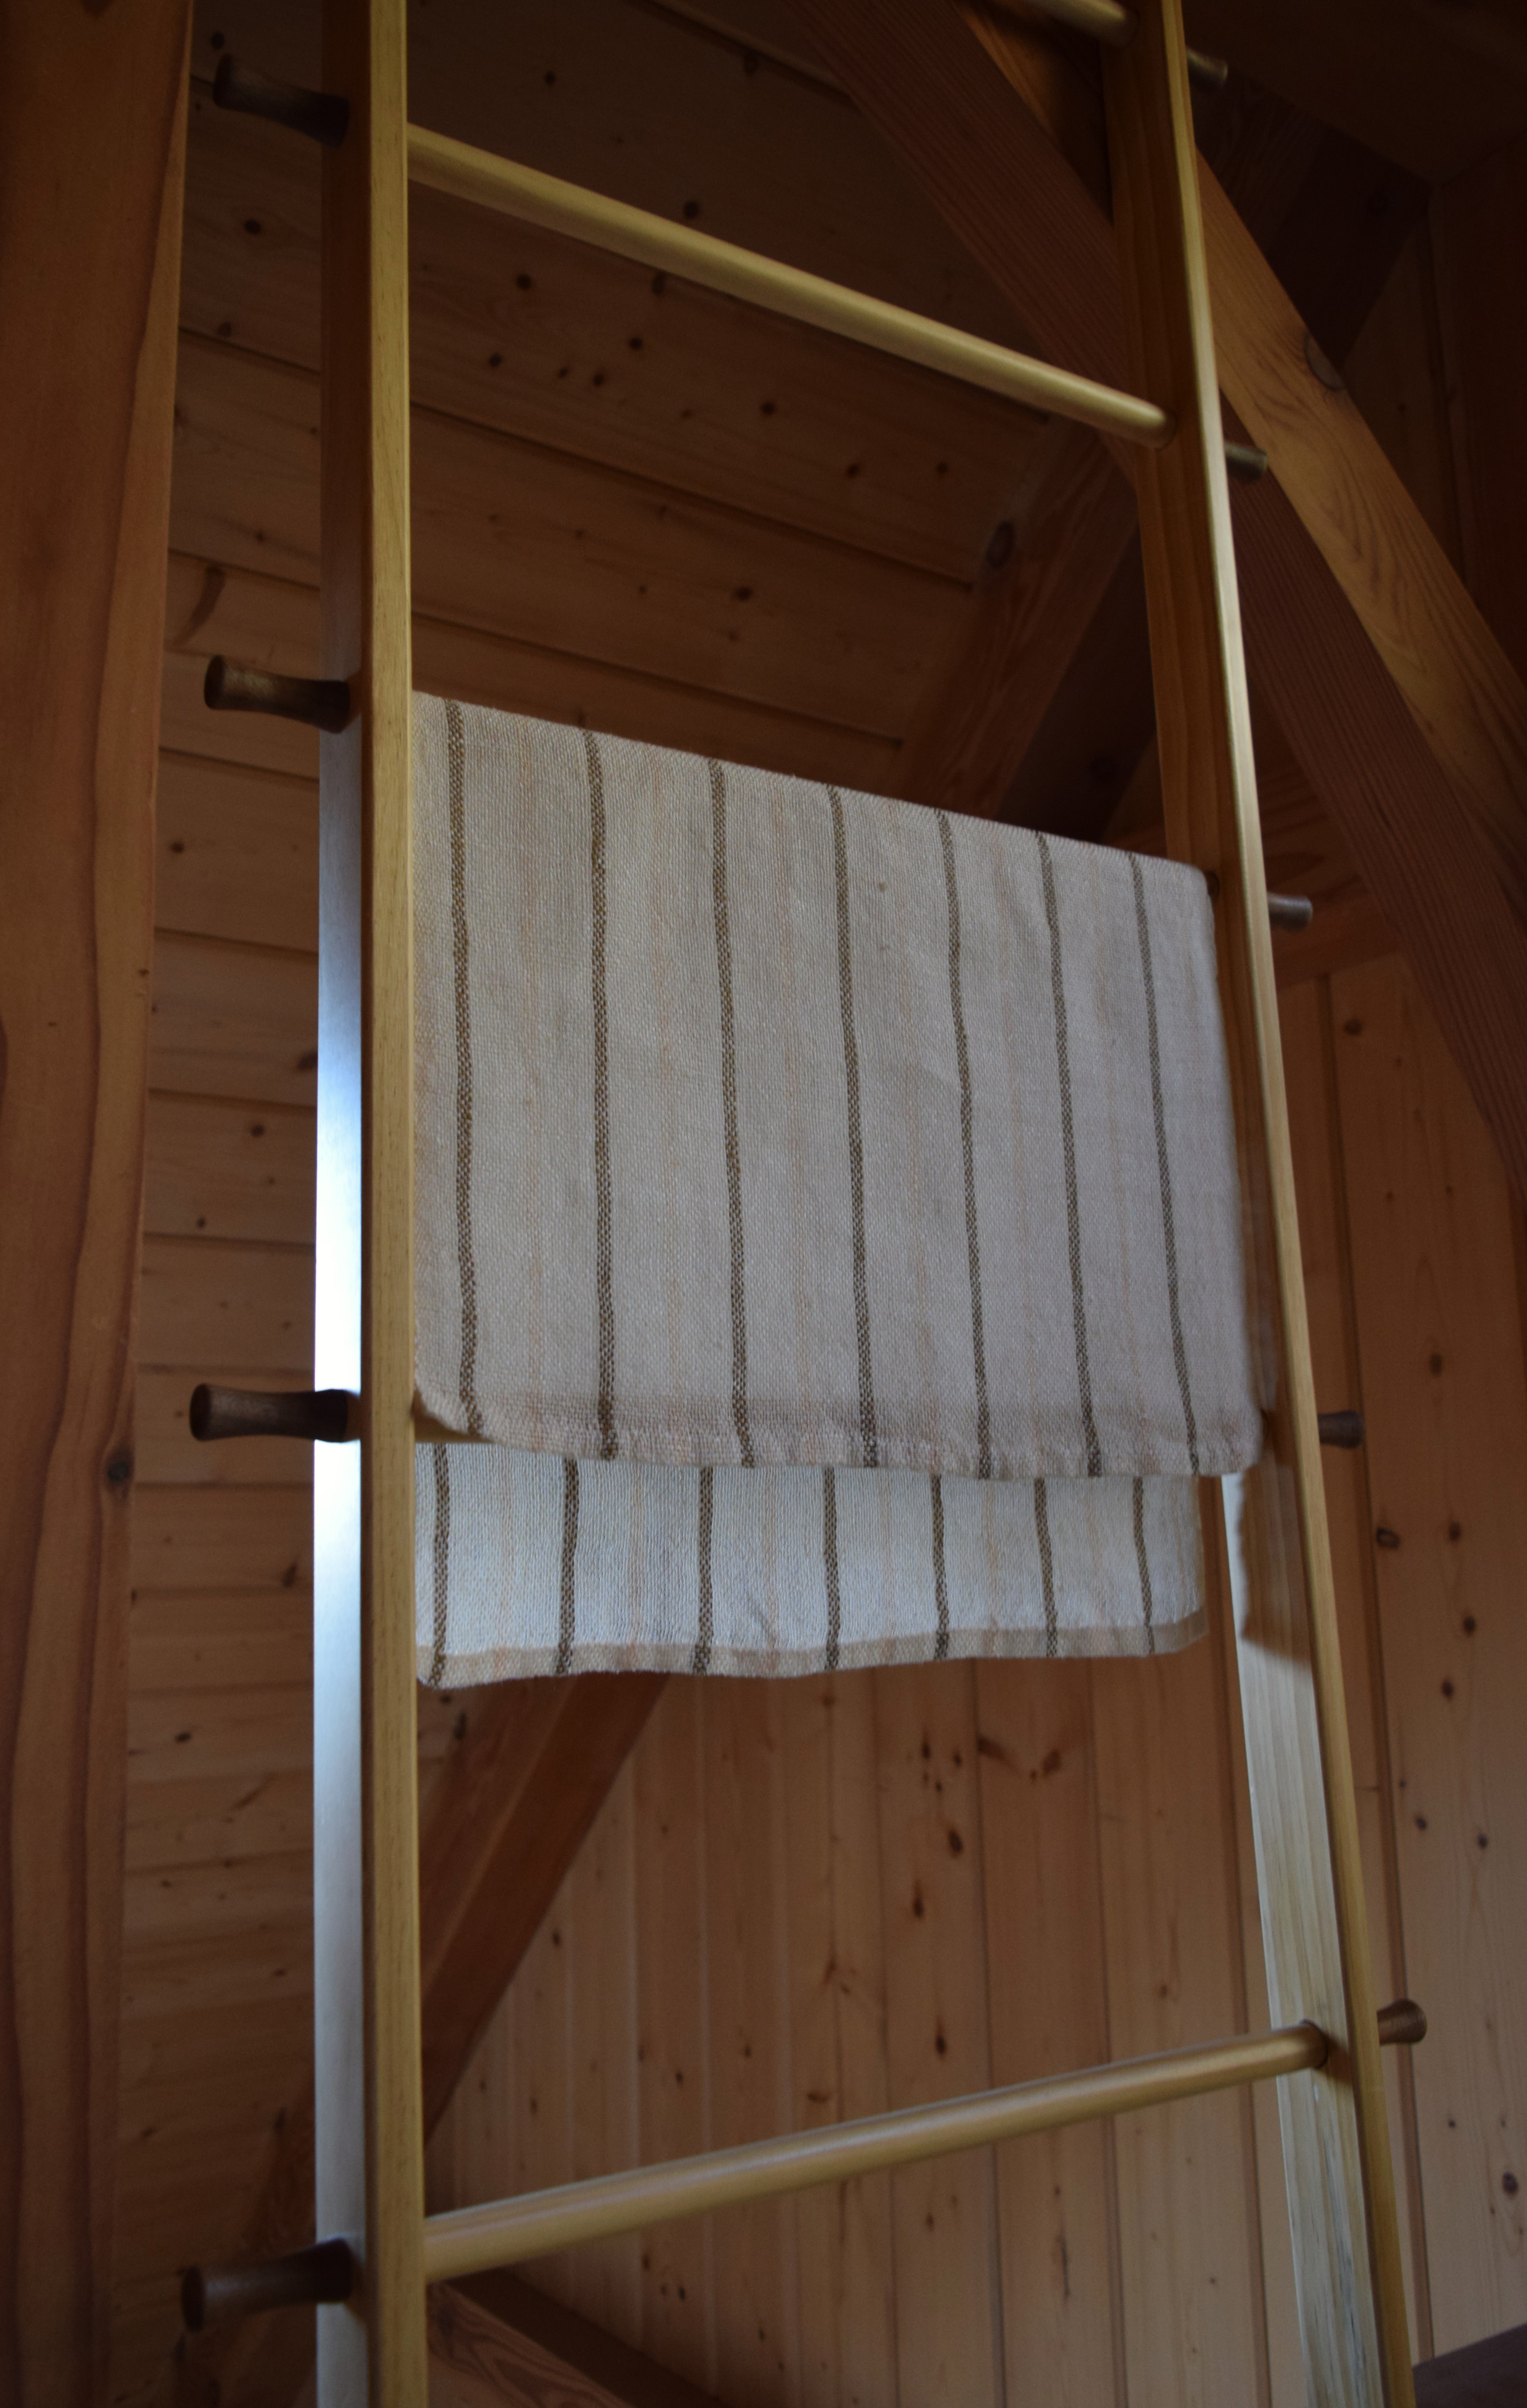
A finished linen kitchen towel, woven pretty quickly for a birthday gift, and then I let it sit around for a week or longer before deciding today to finish it with a hem, wash & dry, and ironing.

It is very rustic and open weave as far as table linens go, and it is definitely going to need another twenty washings & dryings before it feels like a proper tea towel, but that is the fun part, experiencing the transformation of the linen.

♣   Weaving Notes  ♣ 

  • Using Bockens Lingarn 16/2 linen (100% linen) for both warp and weft, and I used my 15 dent reed. The listed sett (epi, warp threads per inch) for this yarn is 20-24 epi,  and I got about 16 epi, and 14 ppi (weft threads per inch) of 14.  Still not perfectly balanced, and looser weave than I wanted it to be. The dilemma is from the stiffness of the linen I suspect, and 100% linen is never easy to work with at any stage of the plant-to-cloth process, but I am motivated to figure it out because I love linen!
  • Warped 1 in the heddle hole, and 1 in the dent slot, with 1 extra thread in the first and last 2 selvedge warp threads.
  • Color: 12 golden bleach, alternating stripes of 4 dark gold and 4 light gold, with weft as white.
  • I have been packing in the weft with the stich shuttle which is longer by about 10 inches than the weaving width, using it a bit like the sword of a backstrap loom, because I don’t want to stress the plastic rigid heddle reeds pushing too hard to tighten the weave up.
  •  I forgot to take measurements of the finished piece, after wet-finishing (washing & drying) which I am guessing to be 16″ by 28″, before shrinking much, will probably eventually shrink to about 15″ x 26″ , with epi around 18.
  • Improvements for next time: With this yarn I think I would like a tighter weave, as it lists recommended 20-24 epi for sett. (At this stage in my weaving, I don’t know if listed sett is for how the fabric sits on the loom, or relaxes after taken off and wet-finished, or if it needs to be specified.) Tightly woven table and kitchen linens on a rigid heddle loom may just take some experimentation. To compensate for the openness of the weave, I used my stick shuttle to really press ( beat ) the weft in, and still I am not getting ppi as high as the epi, so wondering how I can tighten up the weave.  One way I want to experiment in getting a tighter balanced weave for this yarn is doubling up on the reeds, threading through two 10 or 12 dent reeds and attempt to get 20-24 epi, for a tighter warp sett/epi, but I don’t think I could get the same for the ppi (wefts per inch). I believe it may be the nature of rigid heddle weaving to have some difficulty in creating a balanced tight weave, as one can easily achieve on a floor loom with a much heavier beating of the steel reed. 
  • Also I think next time I will waste less warp on a hemmed piece if I lash the end knots to the sticks instead of tying the warp ends to the stick. For some reason the rigid heddle instruction book shows this method of tying the warp to the sticks, which I believe is intended for a fringed finish, but I think I’m ready to learn a better way for weaving for pieces intended to be hem finished, especially for expensive or handspun yarn. 

artful patches 2

jenjoycedesign© patch 8

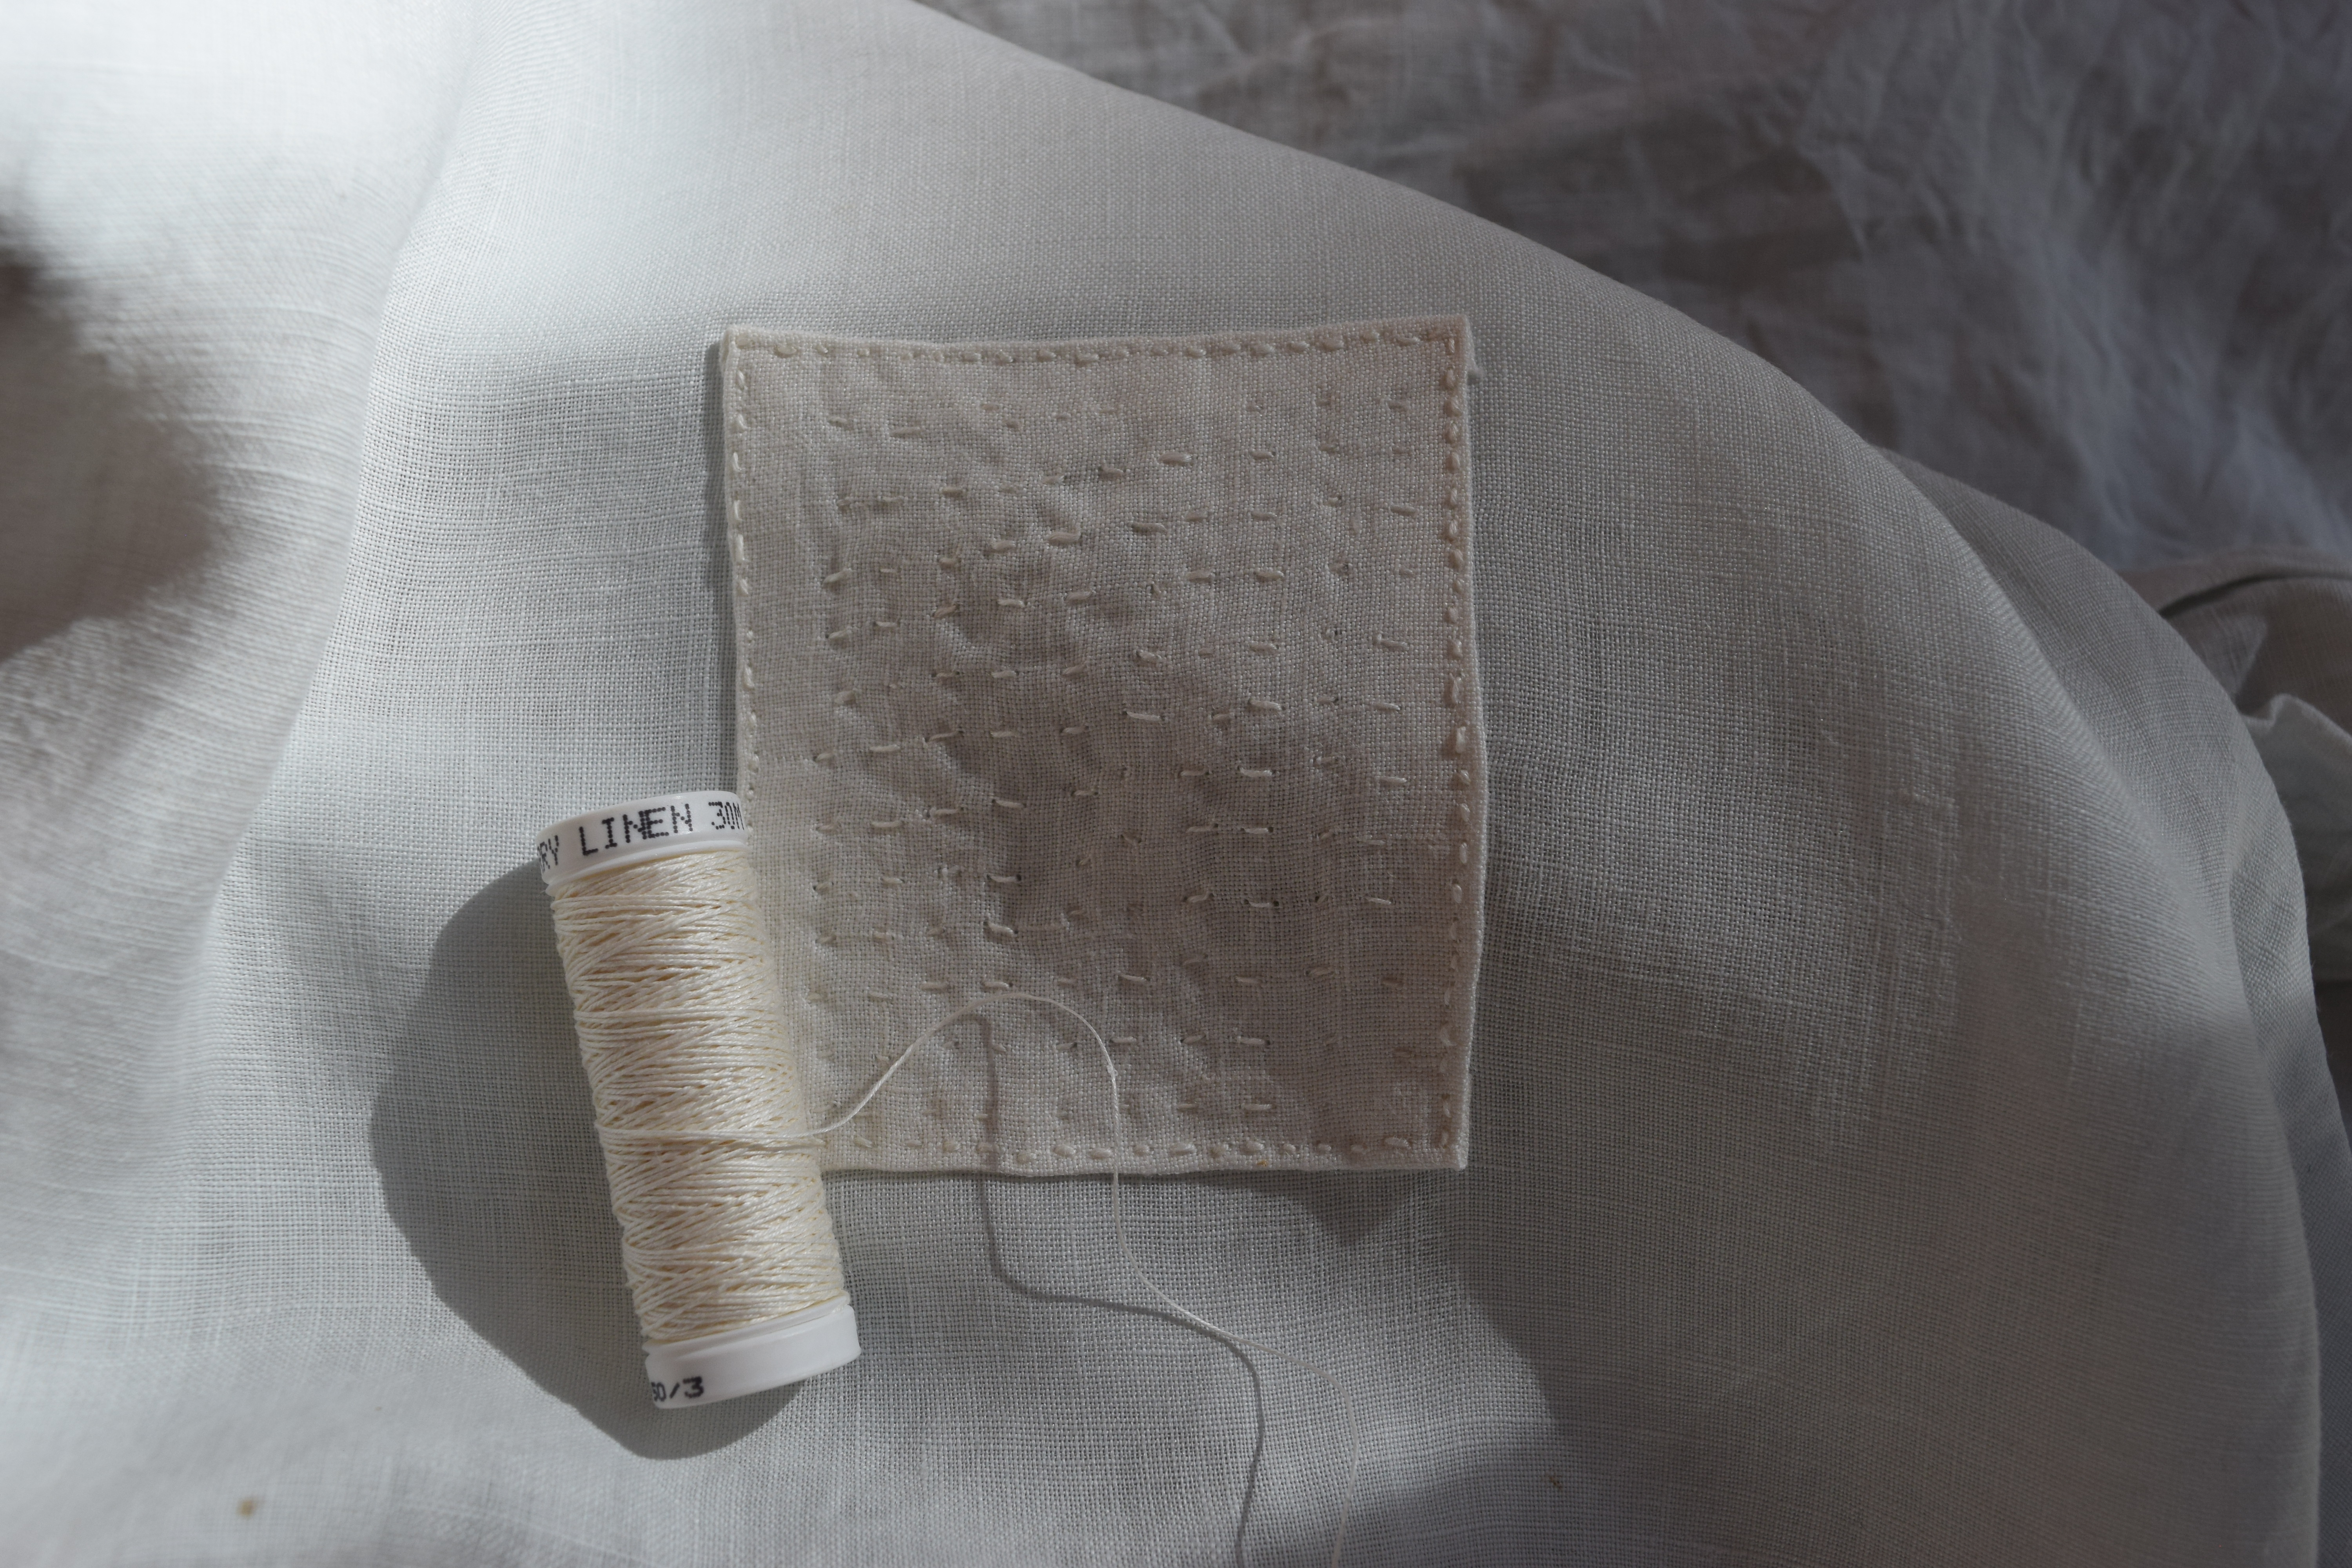
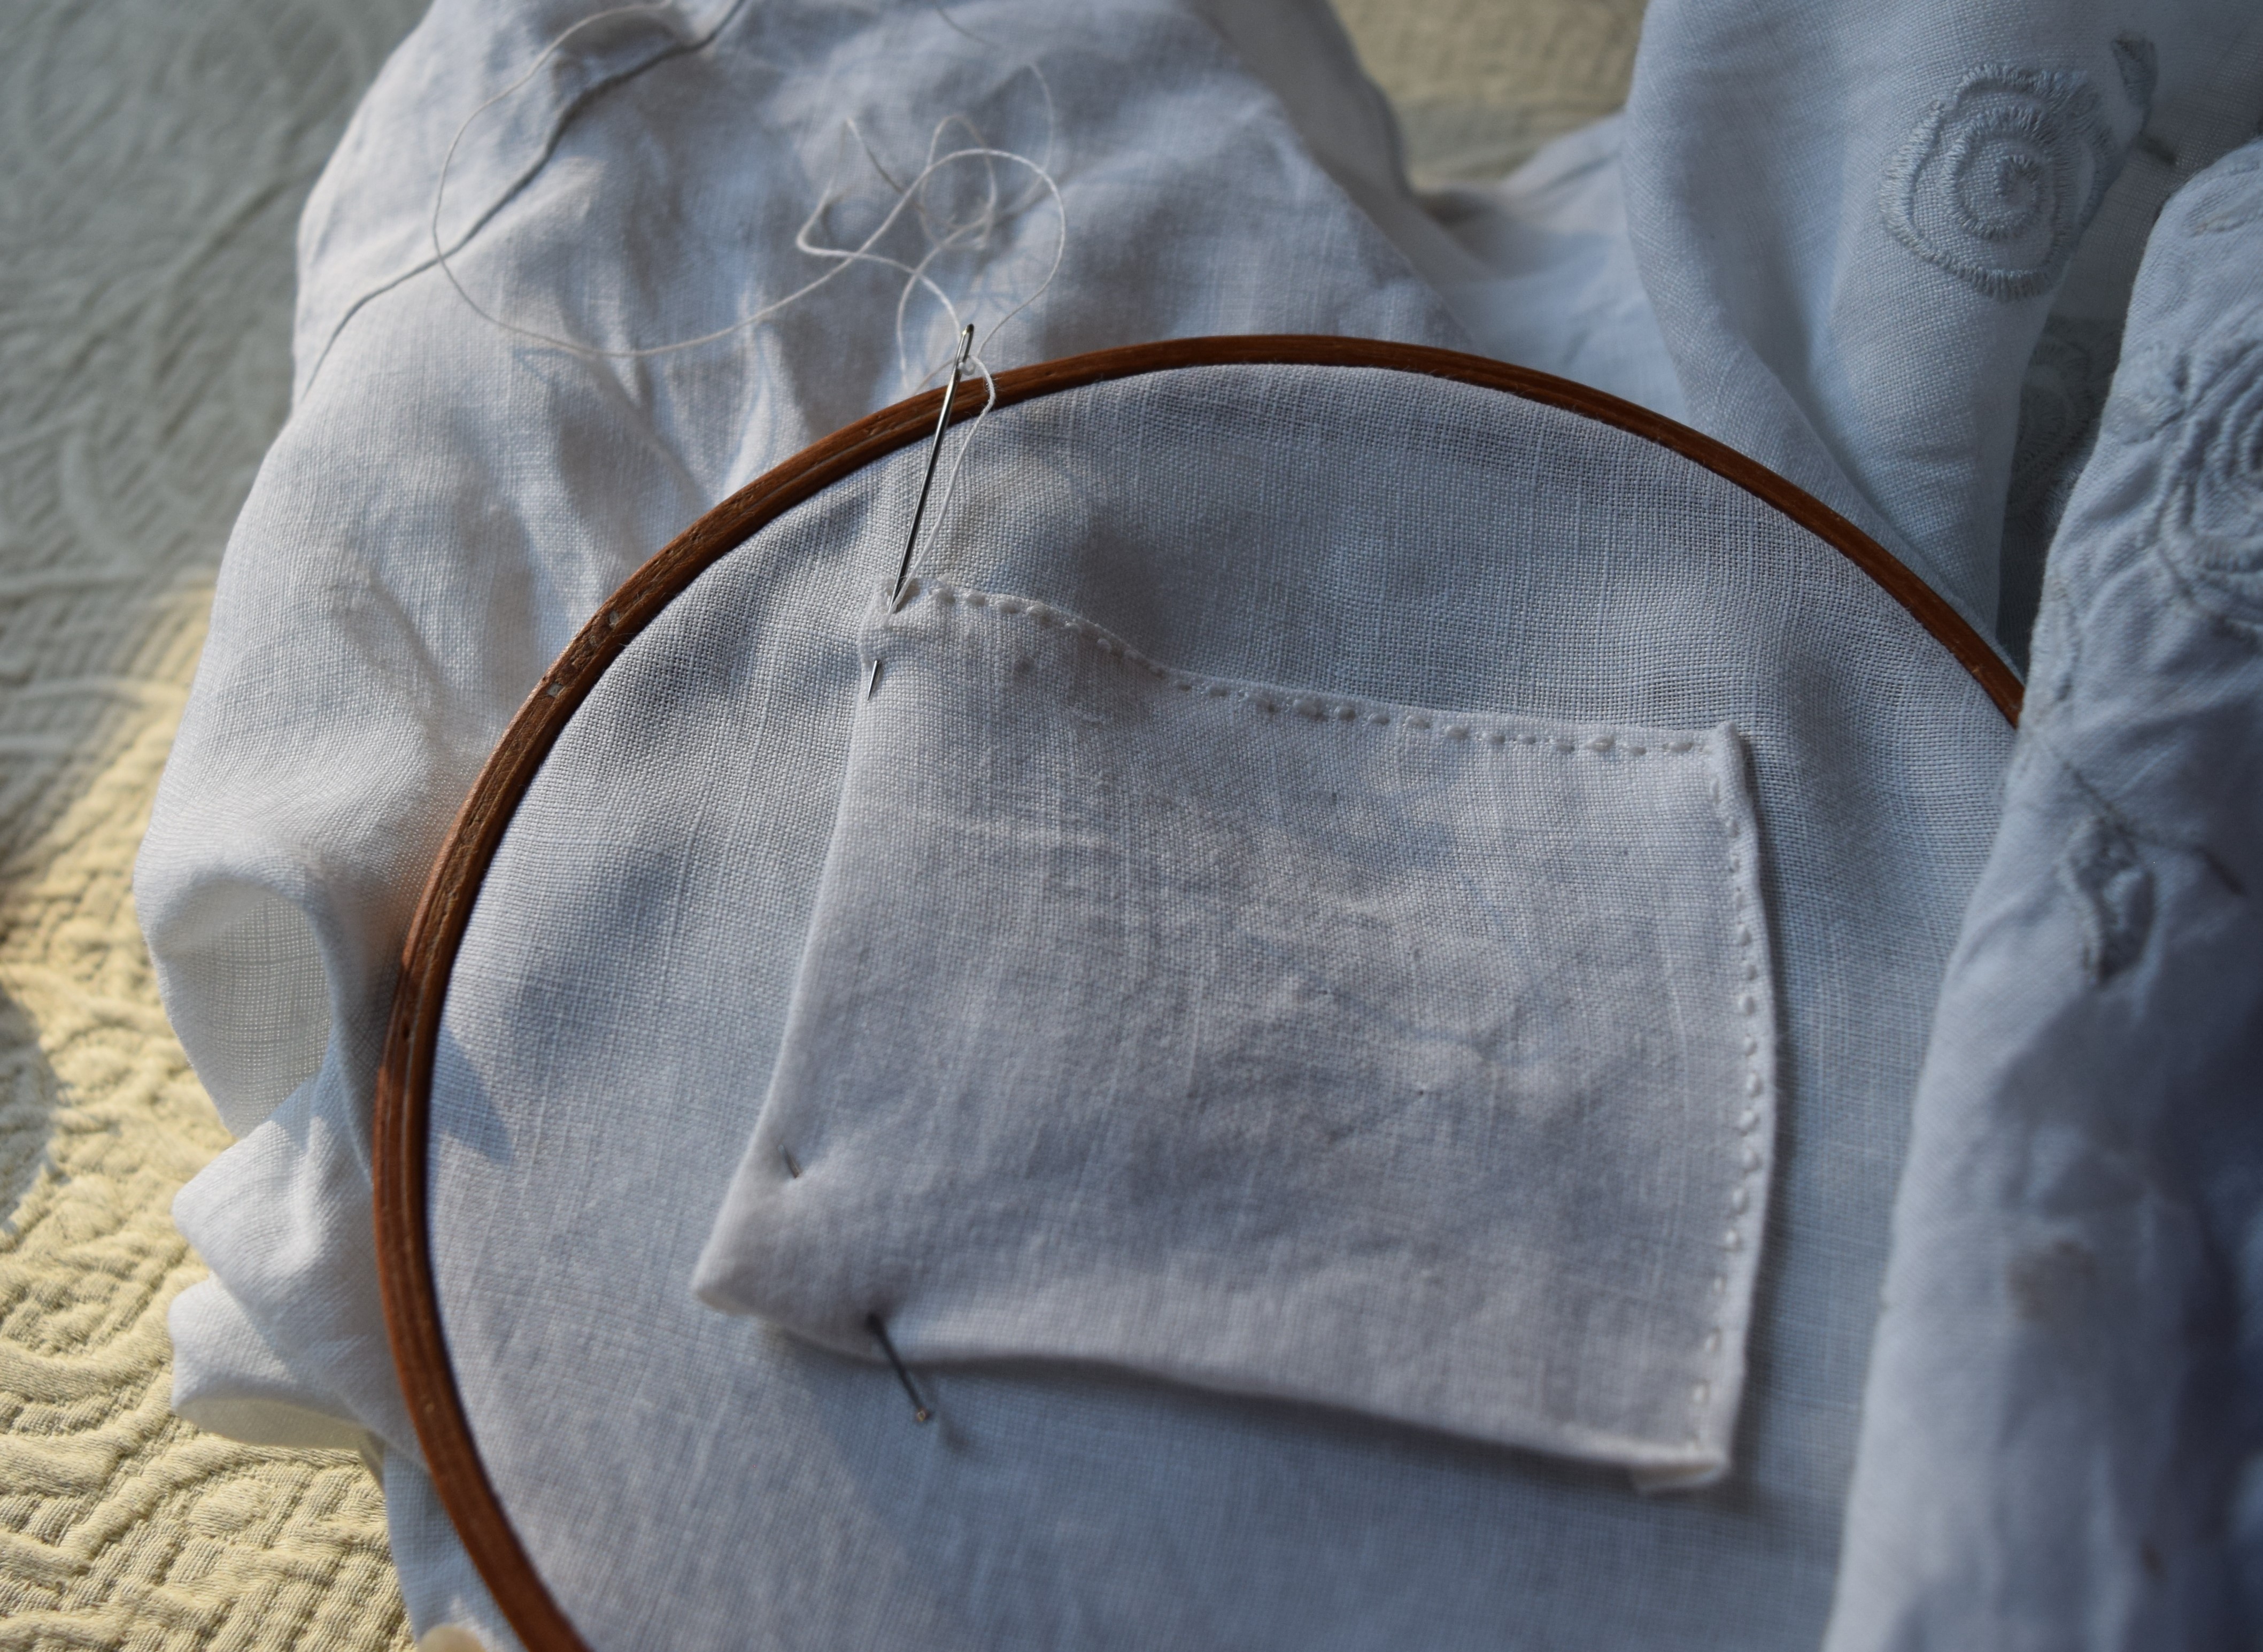
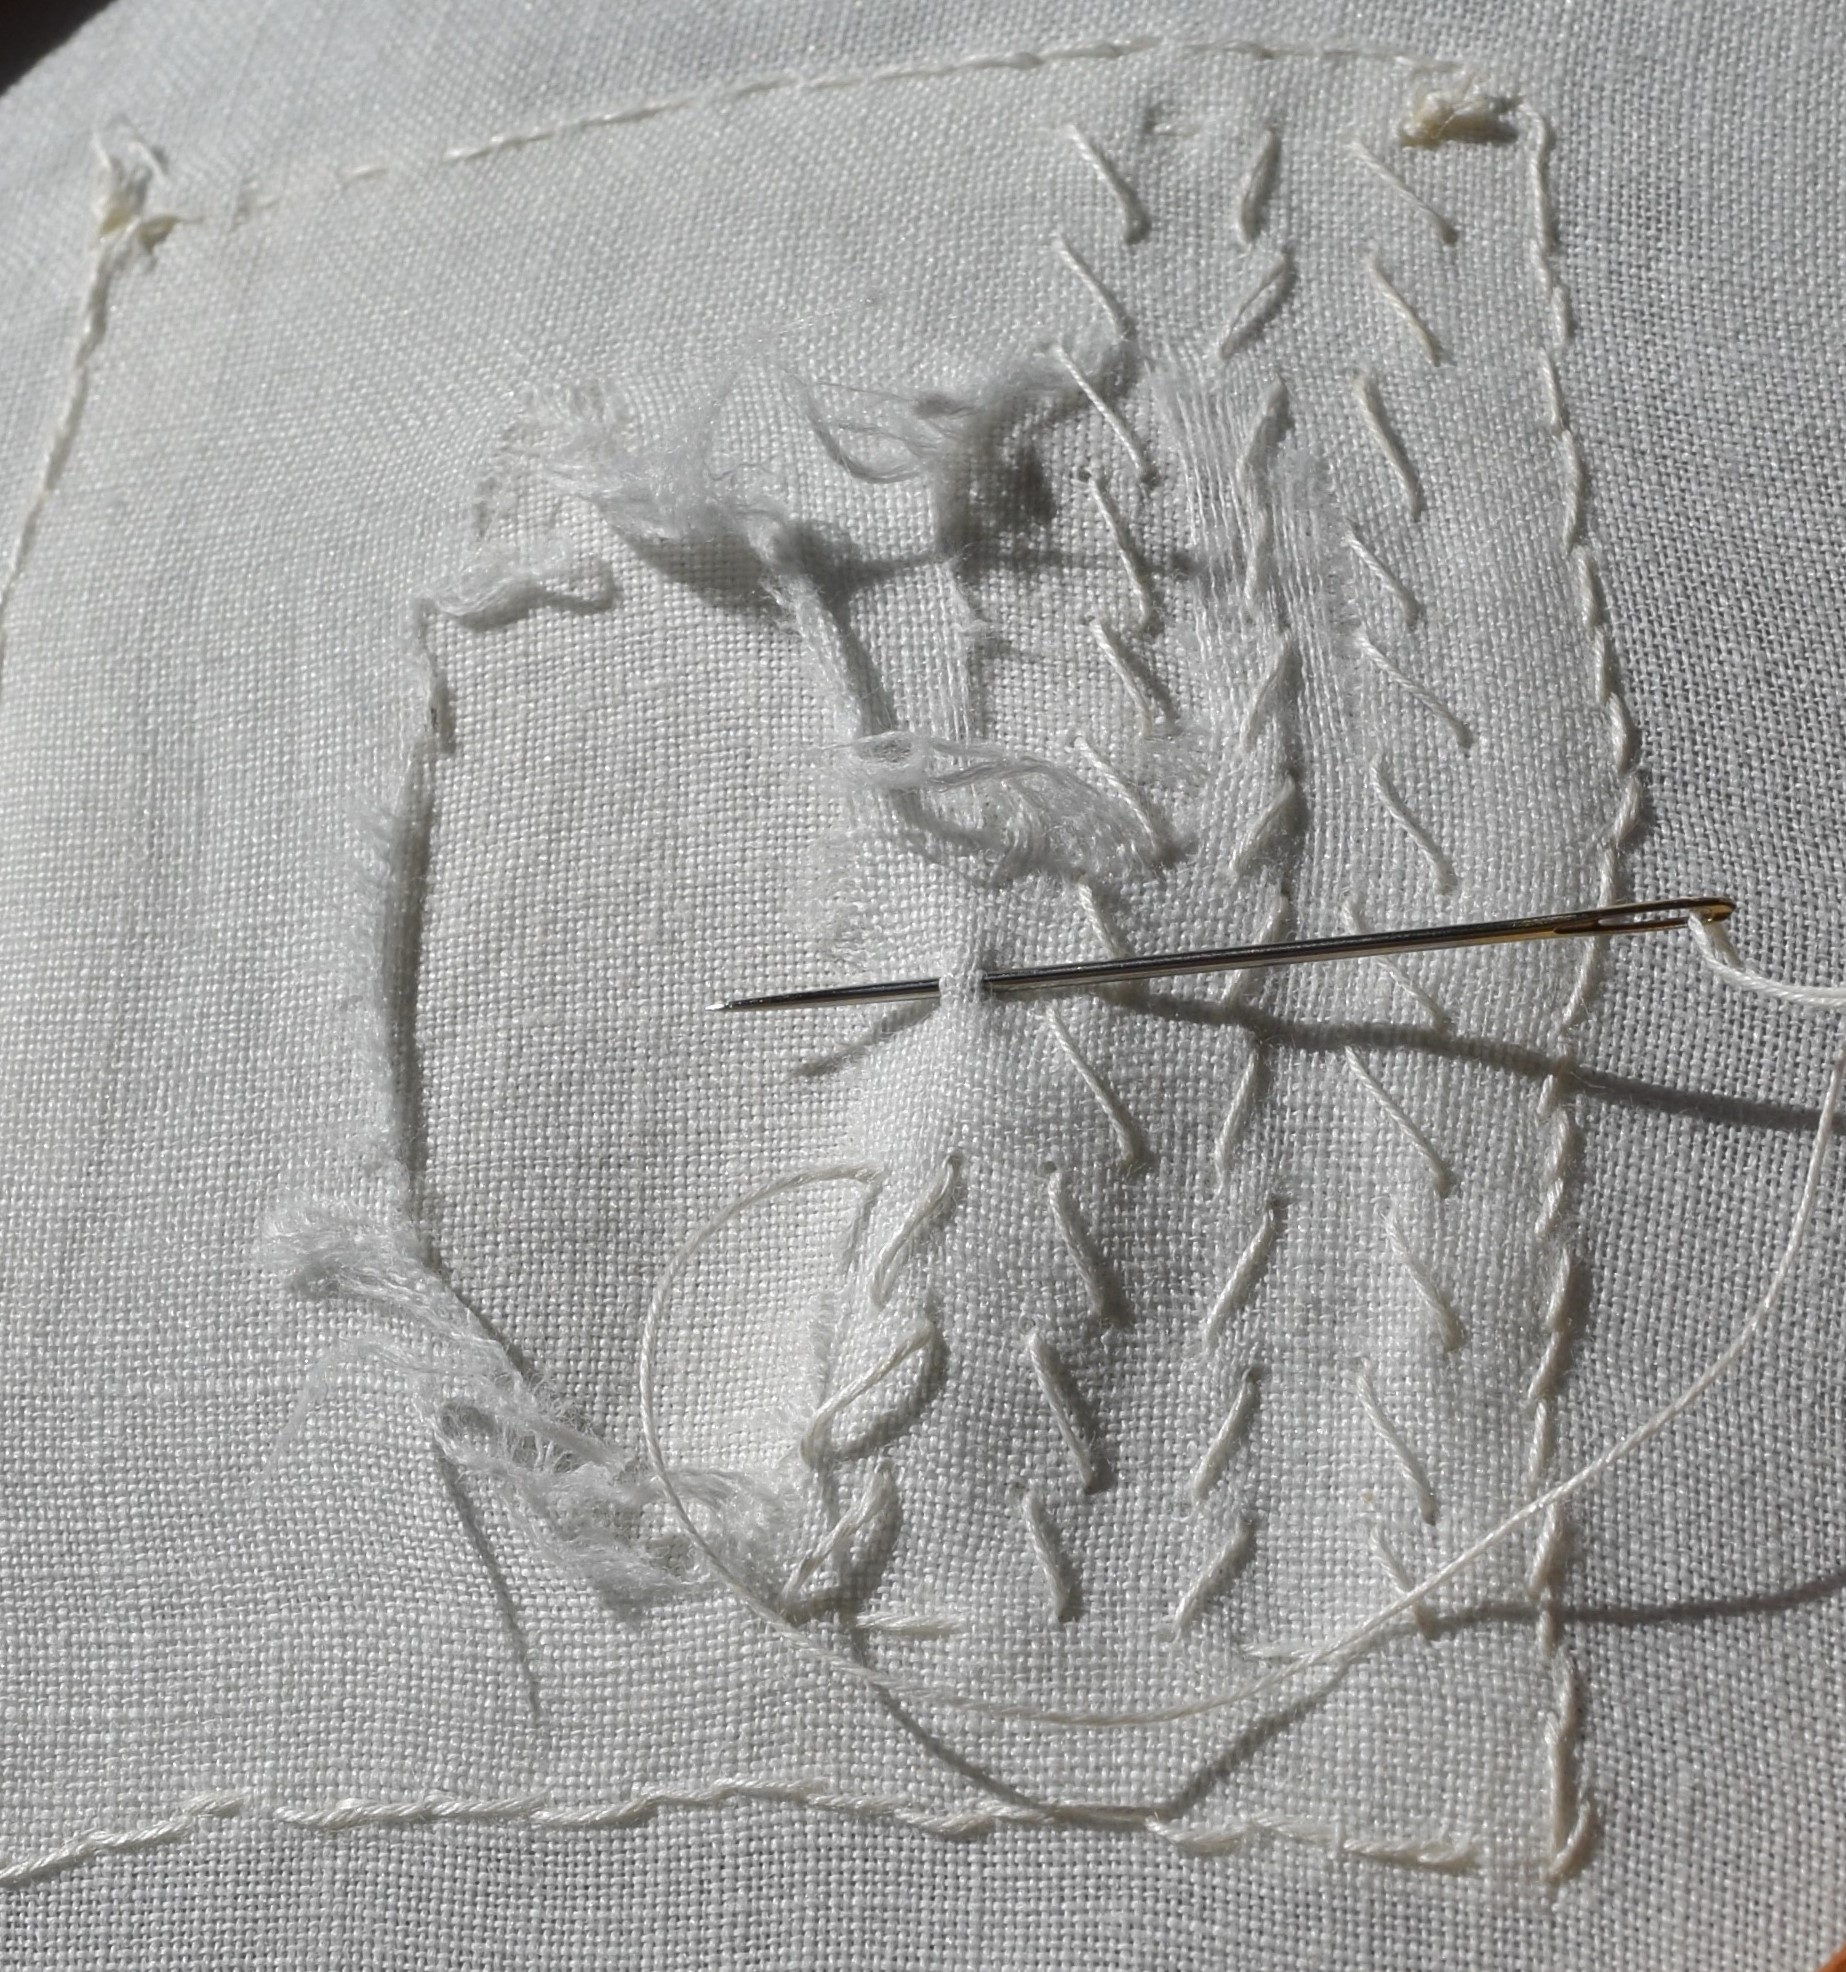
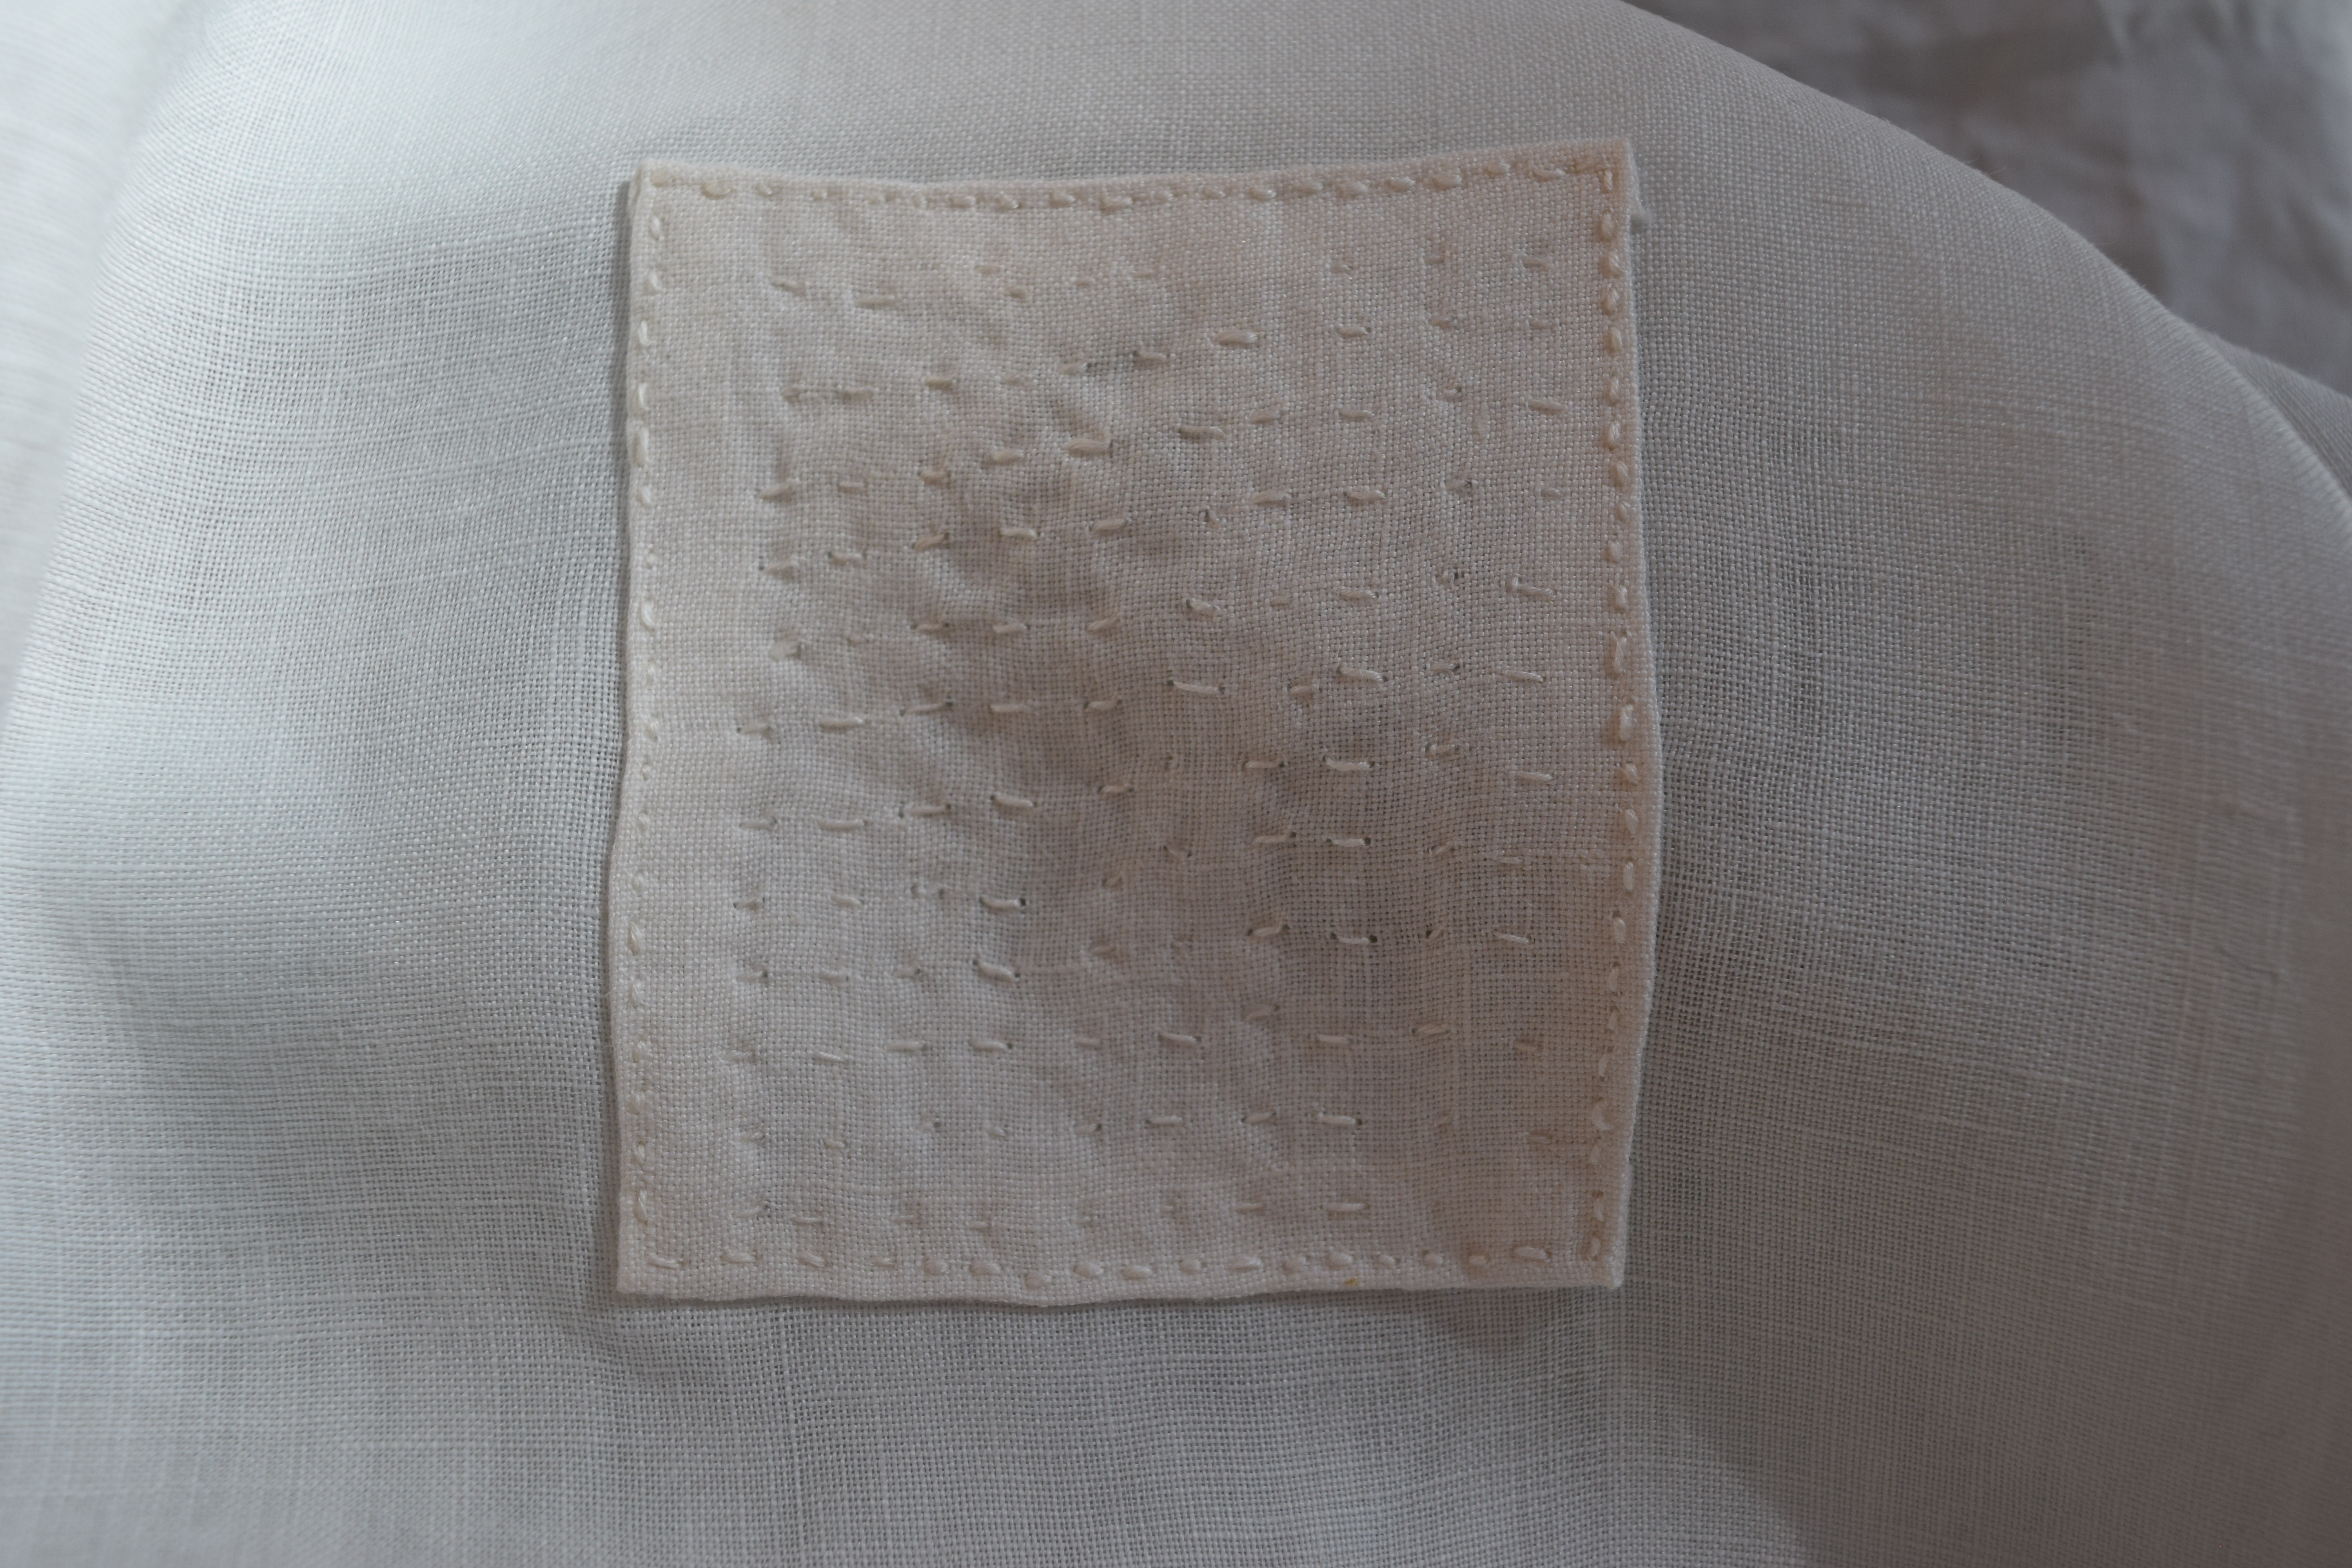
Its been a lovely relaxing couple of weeks since not allowing myself any serious knitting.  I have had a pile of  linen shirts & pants staring me down that have been needing patches, and in recent days I finally attended to the chore. Actually, its not a chore at all, mostly it is an opportunity to be creative. I am refining my patching technique to using the “pad stitch”, effectively stitching the layer with a hole against a patch layer, and learning that this pad stitching thing really strengthens the all over fabric from the back of the work, while keeping the little tacks of thread in front looking as artful as can be, nearly like sashiko. With a back stitch around the perimeter of the patch, so that in front it looks like little bead stitches, but again, it is all quite well fastened as it has a lot of thread running along the back. Ironing well between each step, I find the fabric grain stays straight much better too.  And while I only demonstrate an outside facing patch, it would of course be much more couture if a second patch were placed on the inside of the shirt, pad stitching through all three layers and sandwiching the actual shirt layer between so no raw edges of the hole ever would show on the inside,  but I’m just not that fussy.  If you click the 1st image in the mosaic, you will see the steps and stitching . . .

This is my first patch I’ve used linen thread on linen fabric, and I am smitten with the feel, and the look of it. It is a little thicker, but more pliable, and works fine with linen.  Oh, and I have a thing about linen going way back in archives, and so that most of my clothes I’m wearing are linen, and Irish linen is my favorite linen of all linens.  This is an Irish linen shirt .  . crisp and long wearing . . . just an old gardening & hiking shirt which has many patches all over it, but worth every one, some patches overlapping patches, because it is lasting me quite a long time. After the wildfire I ended up buying mostly used linen clothes on ebay, really affordable , but also the odd thing is I’m not really comfortable in new clothes anymore.   So the great thing is that I could say I’ve gotten a lot of practice developing my mending methods — I swear by pad stitching! — and going for the element of very functional as well as the artfulness of nice hand-stitching.

Artful Patches

jenjoycedesign©014

These days when I take a needle & thread to mend,

I attempt to do something artful.

jenjoycedesign©004

Becoming intimately involved with warp & weft in the fabric of something that you wear on your skin is beautiful,

and maybe even a little bit essential.

It is such a novelty these days it seems,  to have any skills at all in mending.

jenjoycedesign©002

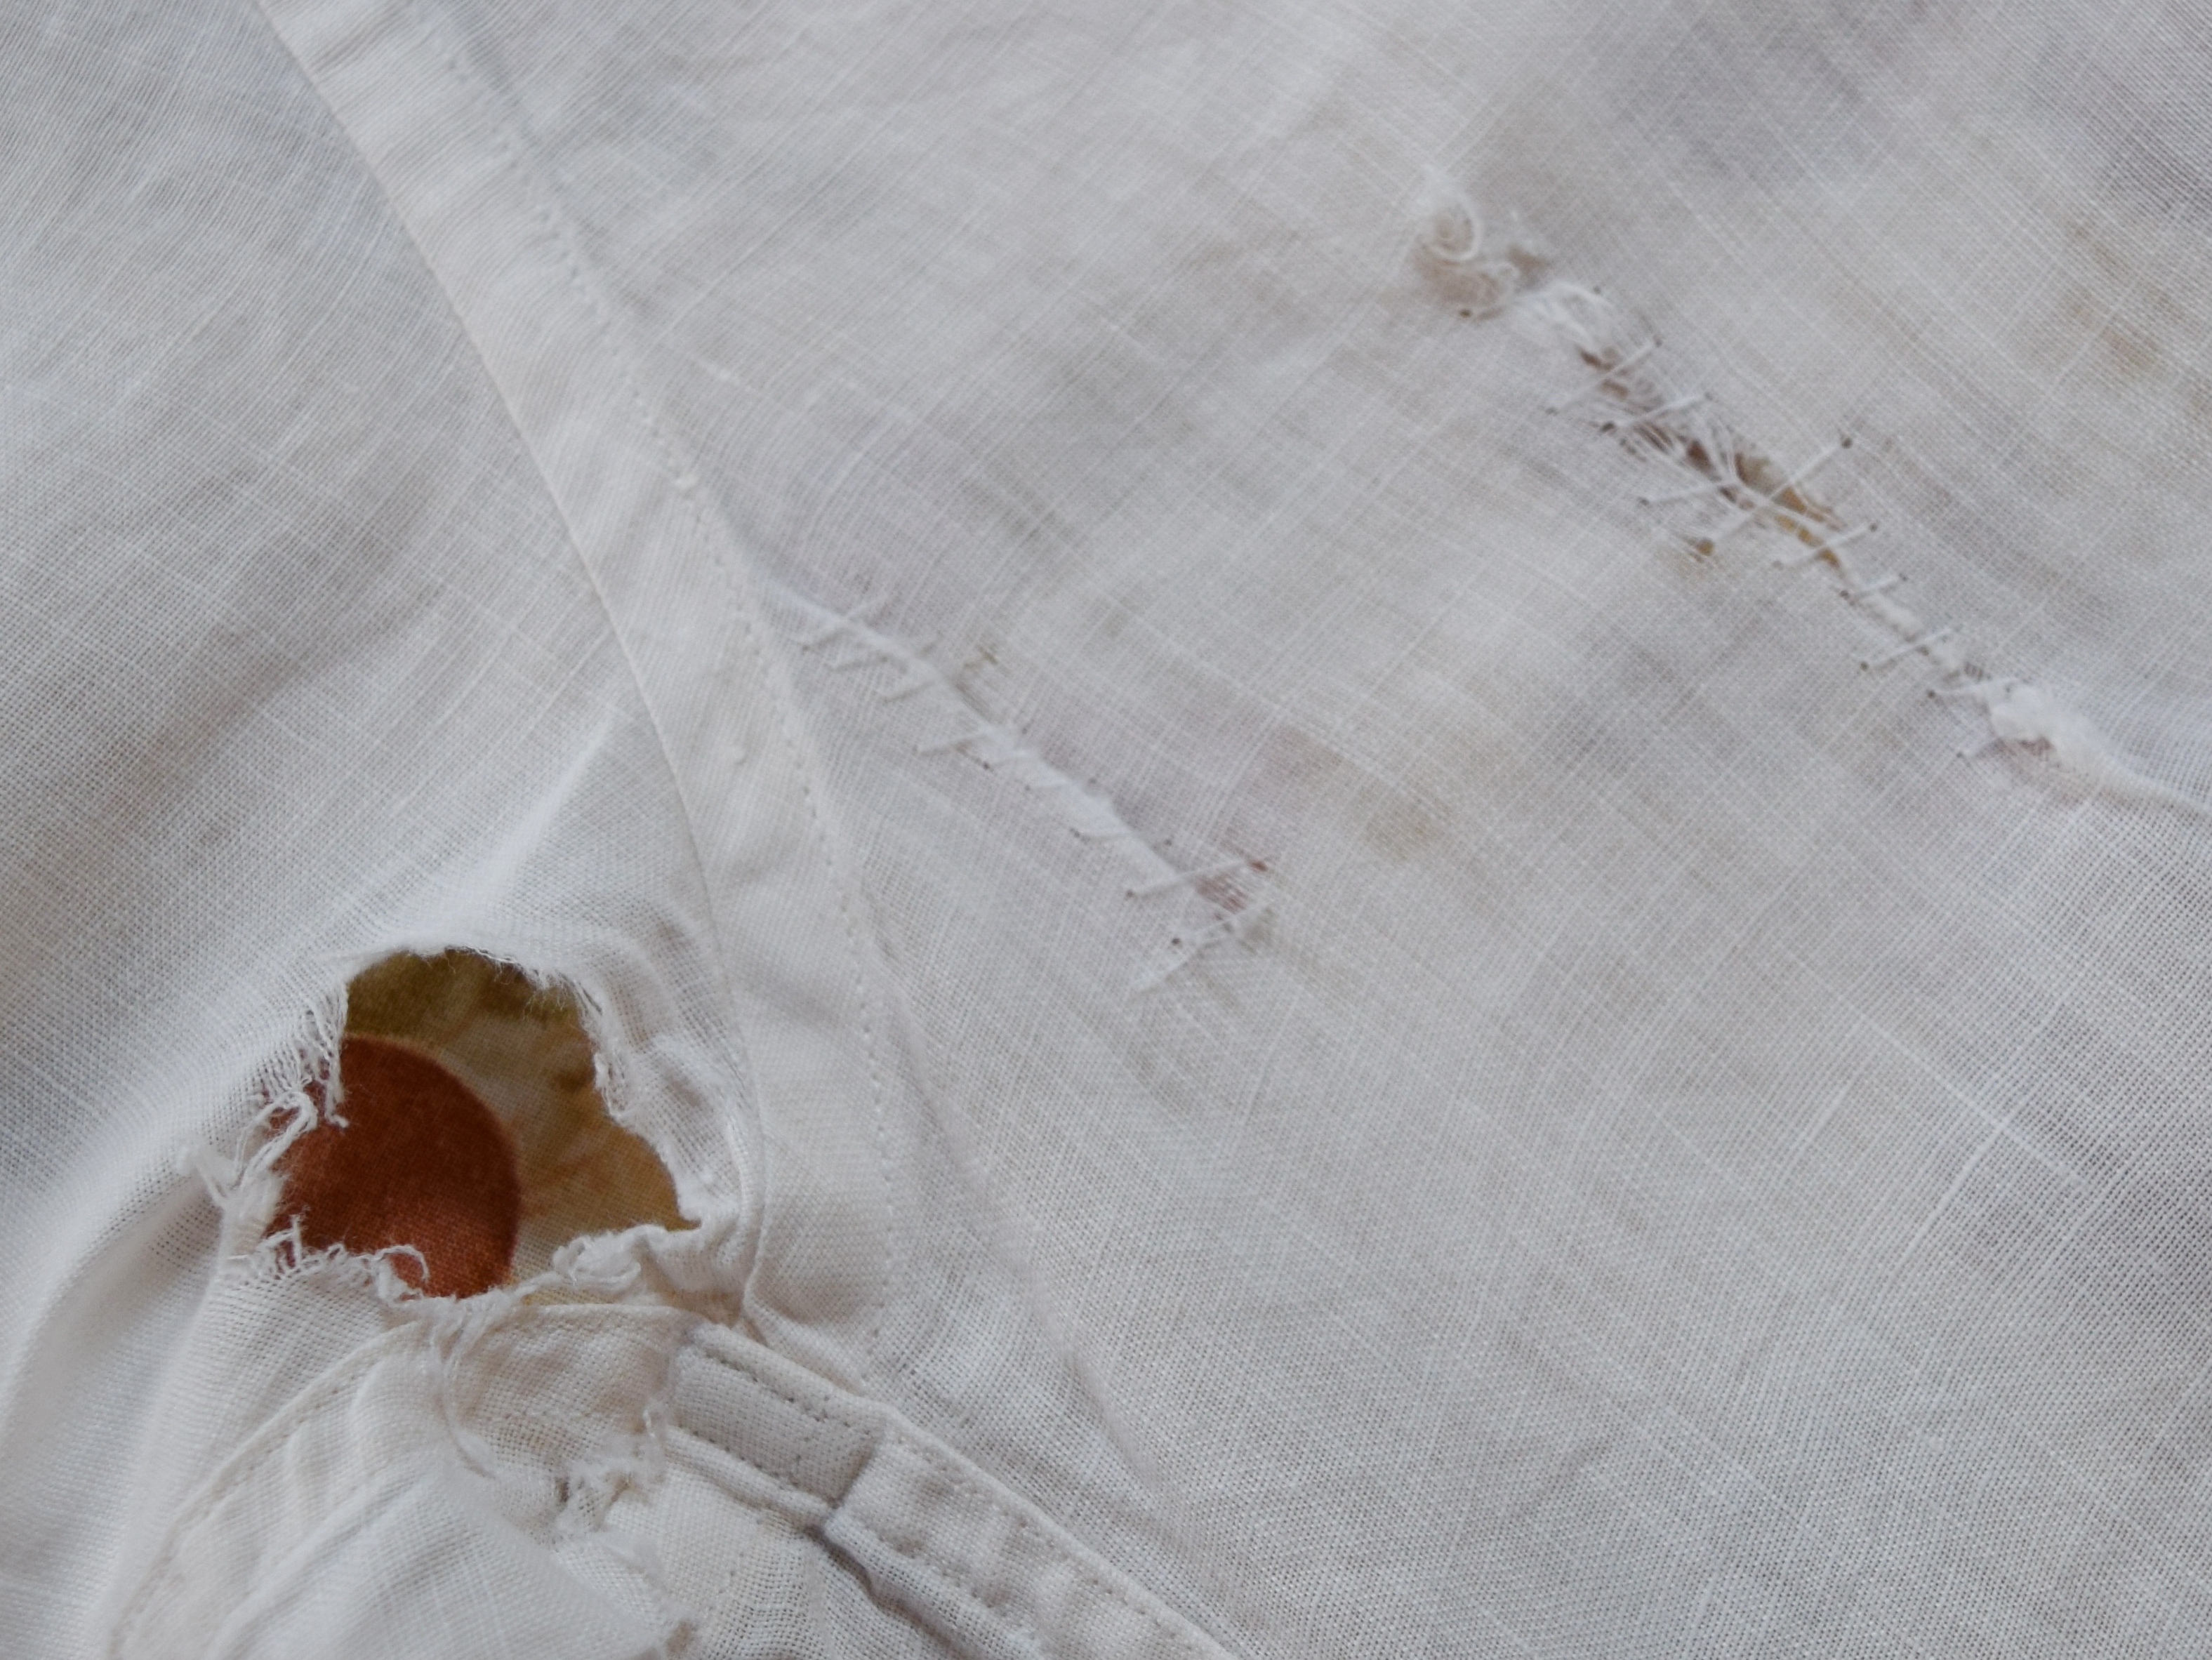
Do you recall this  linen shirt make-over from nearly two years ago?  You might recognize the collar re-do,  and already I have nearly worn a hole in the linen,  and this is just a fun patch job of it, although the white-on-white is not really easy to see the detail, especially in this early morning light.

I have a second shirt I’m patching here,  that is full of holes, and I am using it to practice my new ‘quilt patching’ technique.

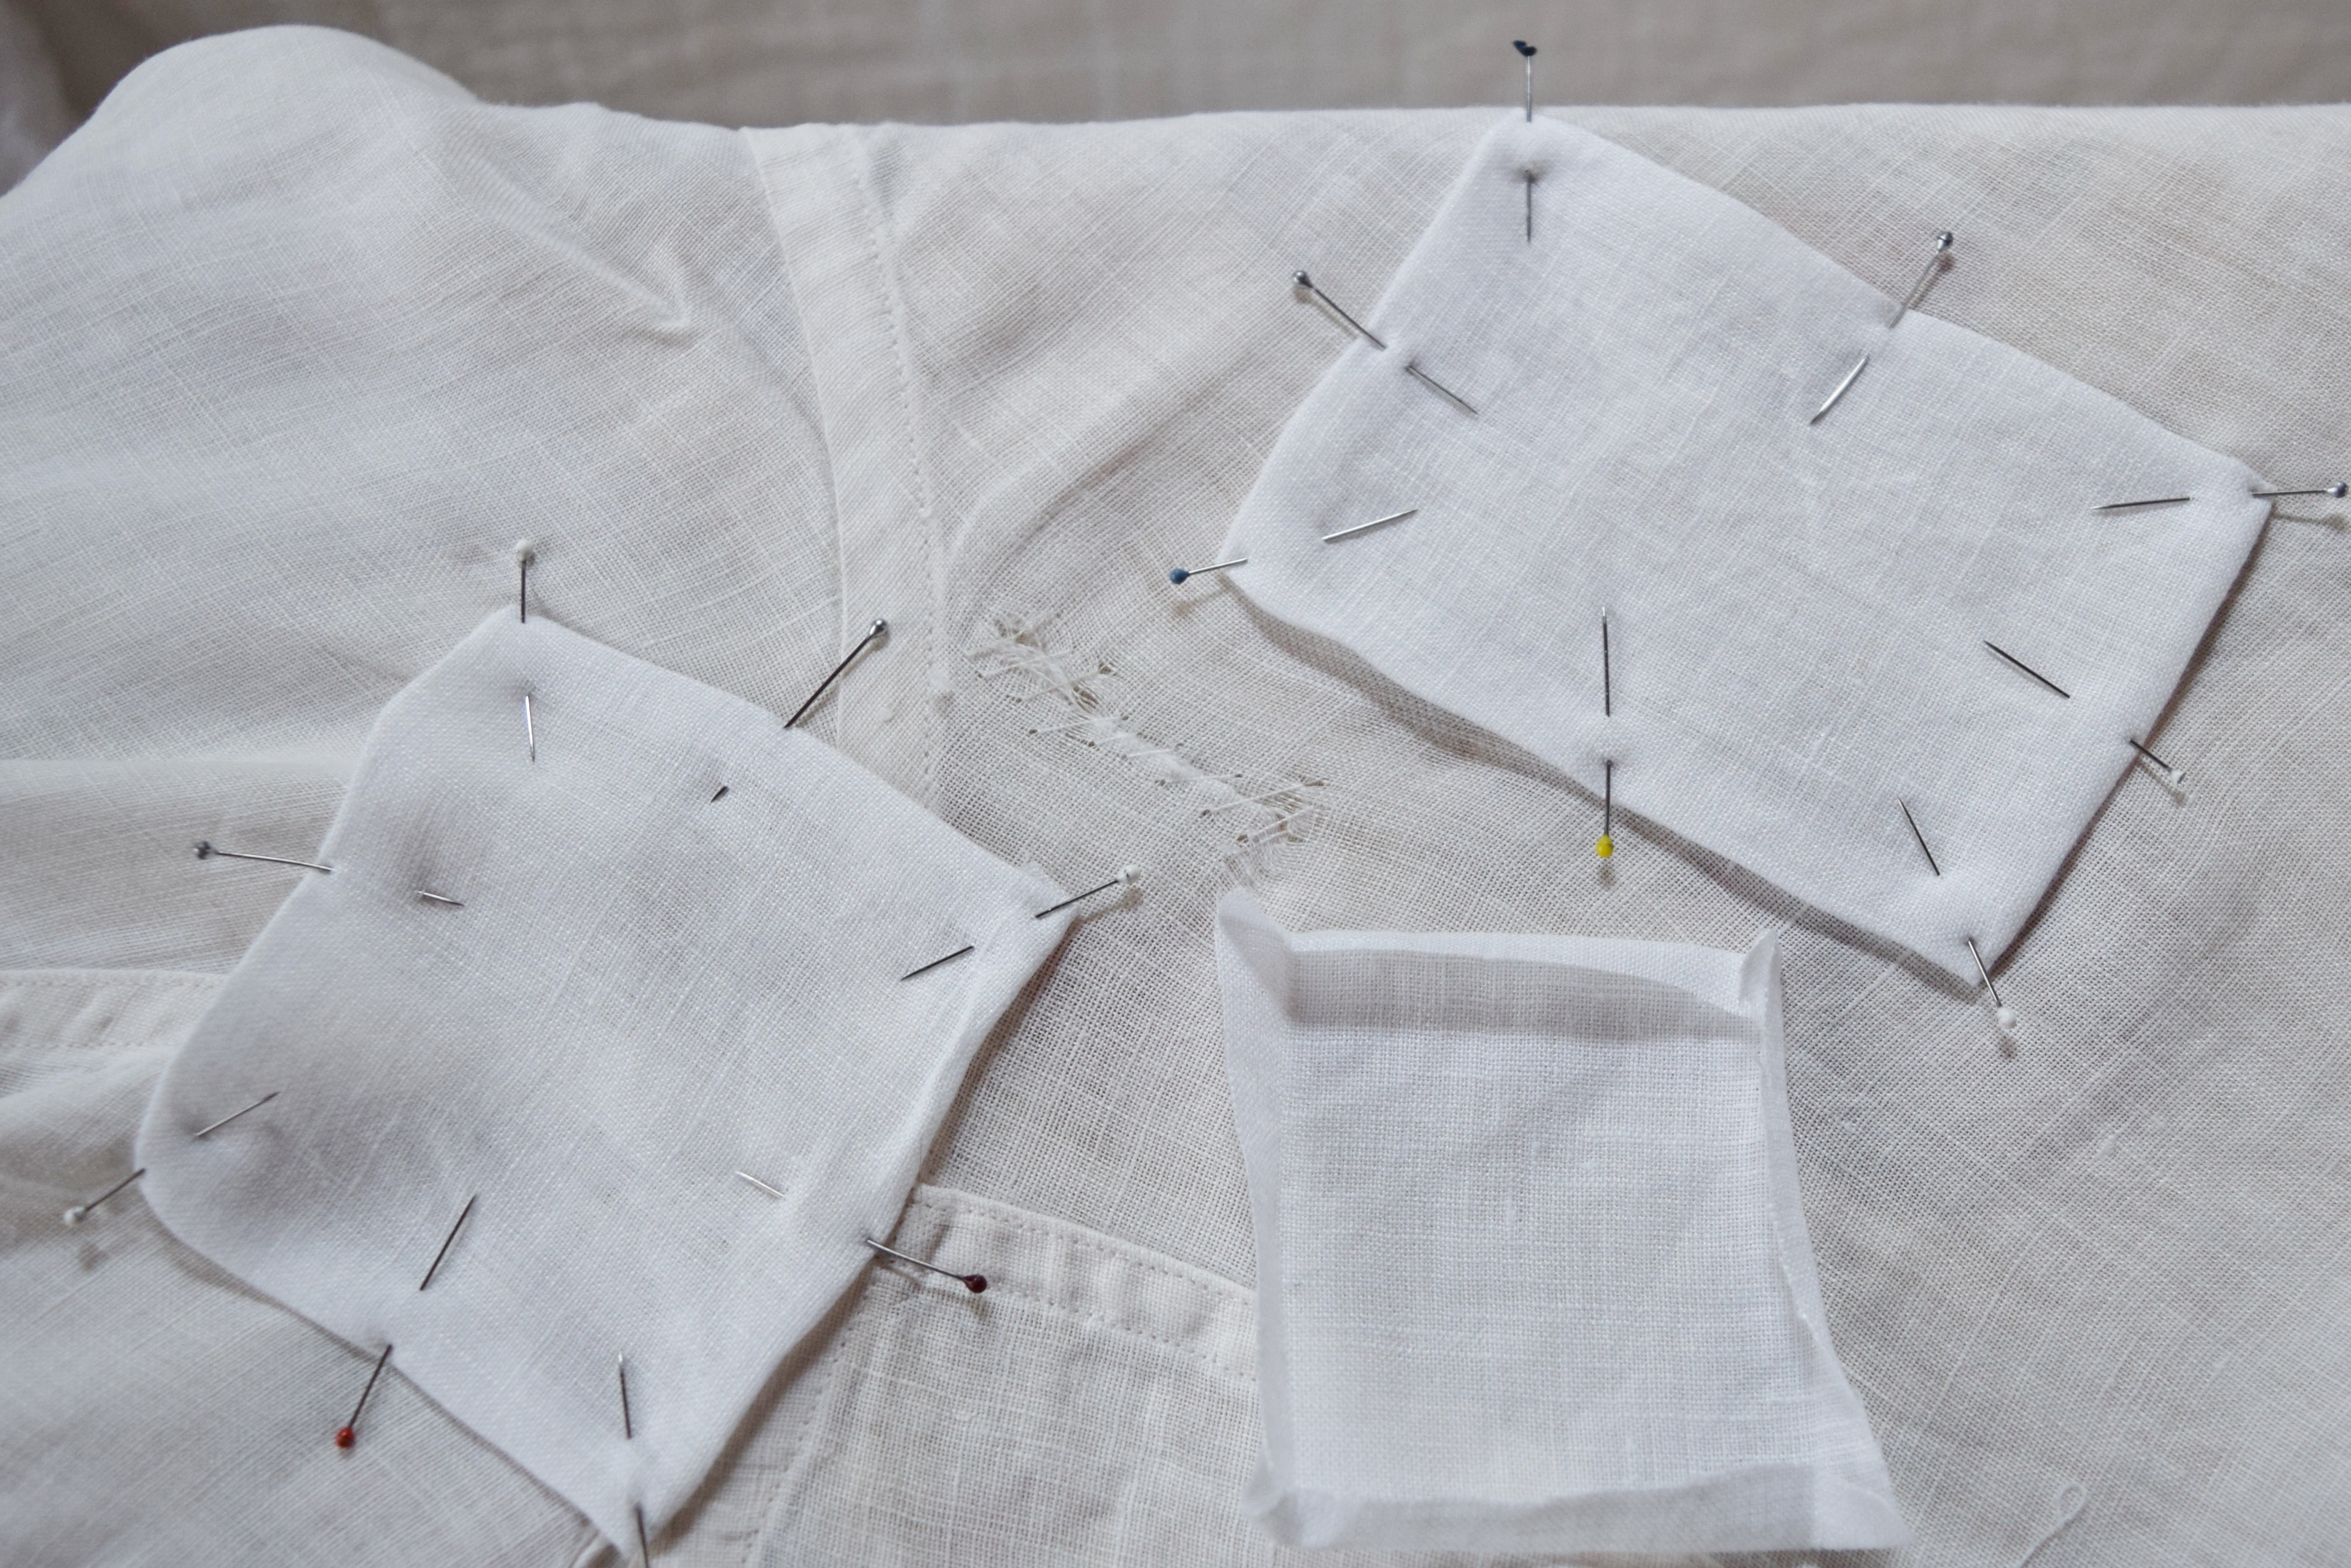
Here is what I do:

  1. Whip stitch hole shut, aligning grain of warp & weft  threads as much as possible.
  2. Cut squares of new fabric on the grain, big enough to fold back up to 1/4 inch hem on all edges.
  3. Iron all edges to fold in, and pin to garment with care to aligning grain of fabric with both garment and patch.
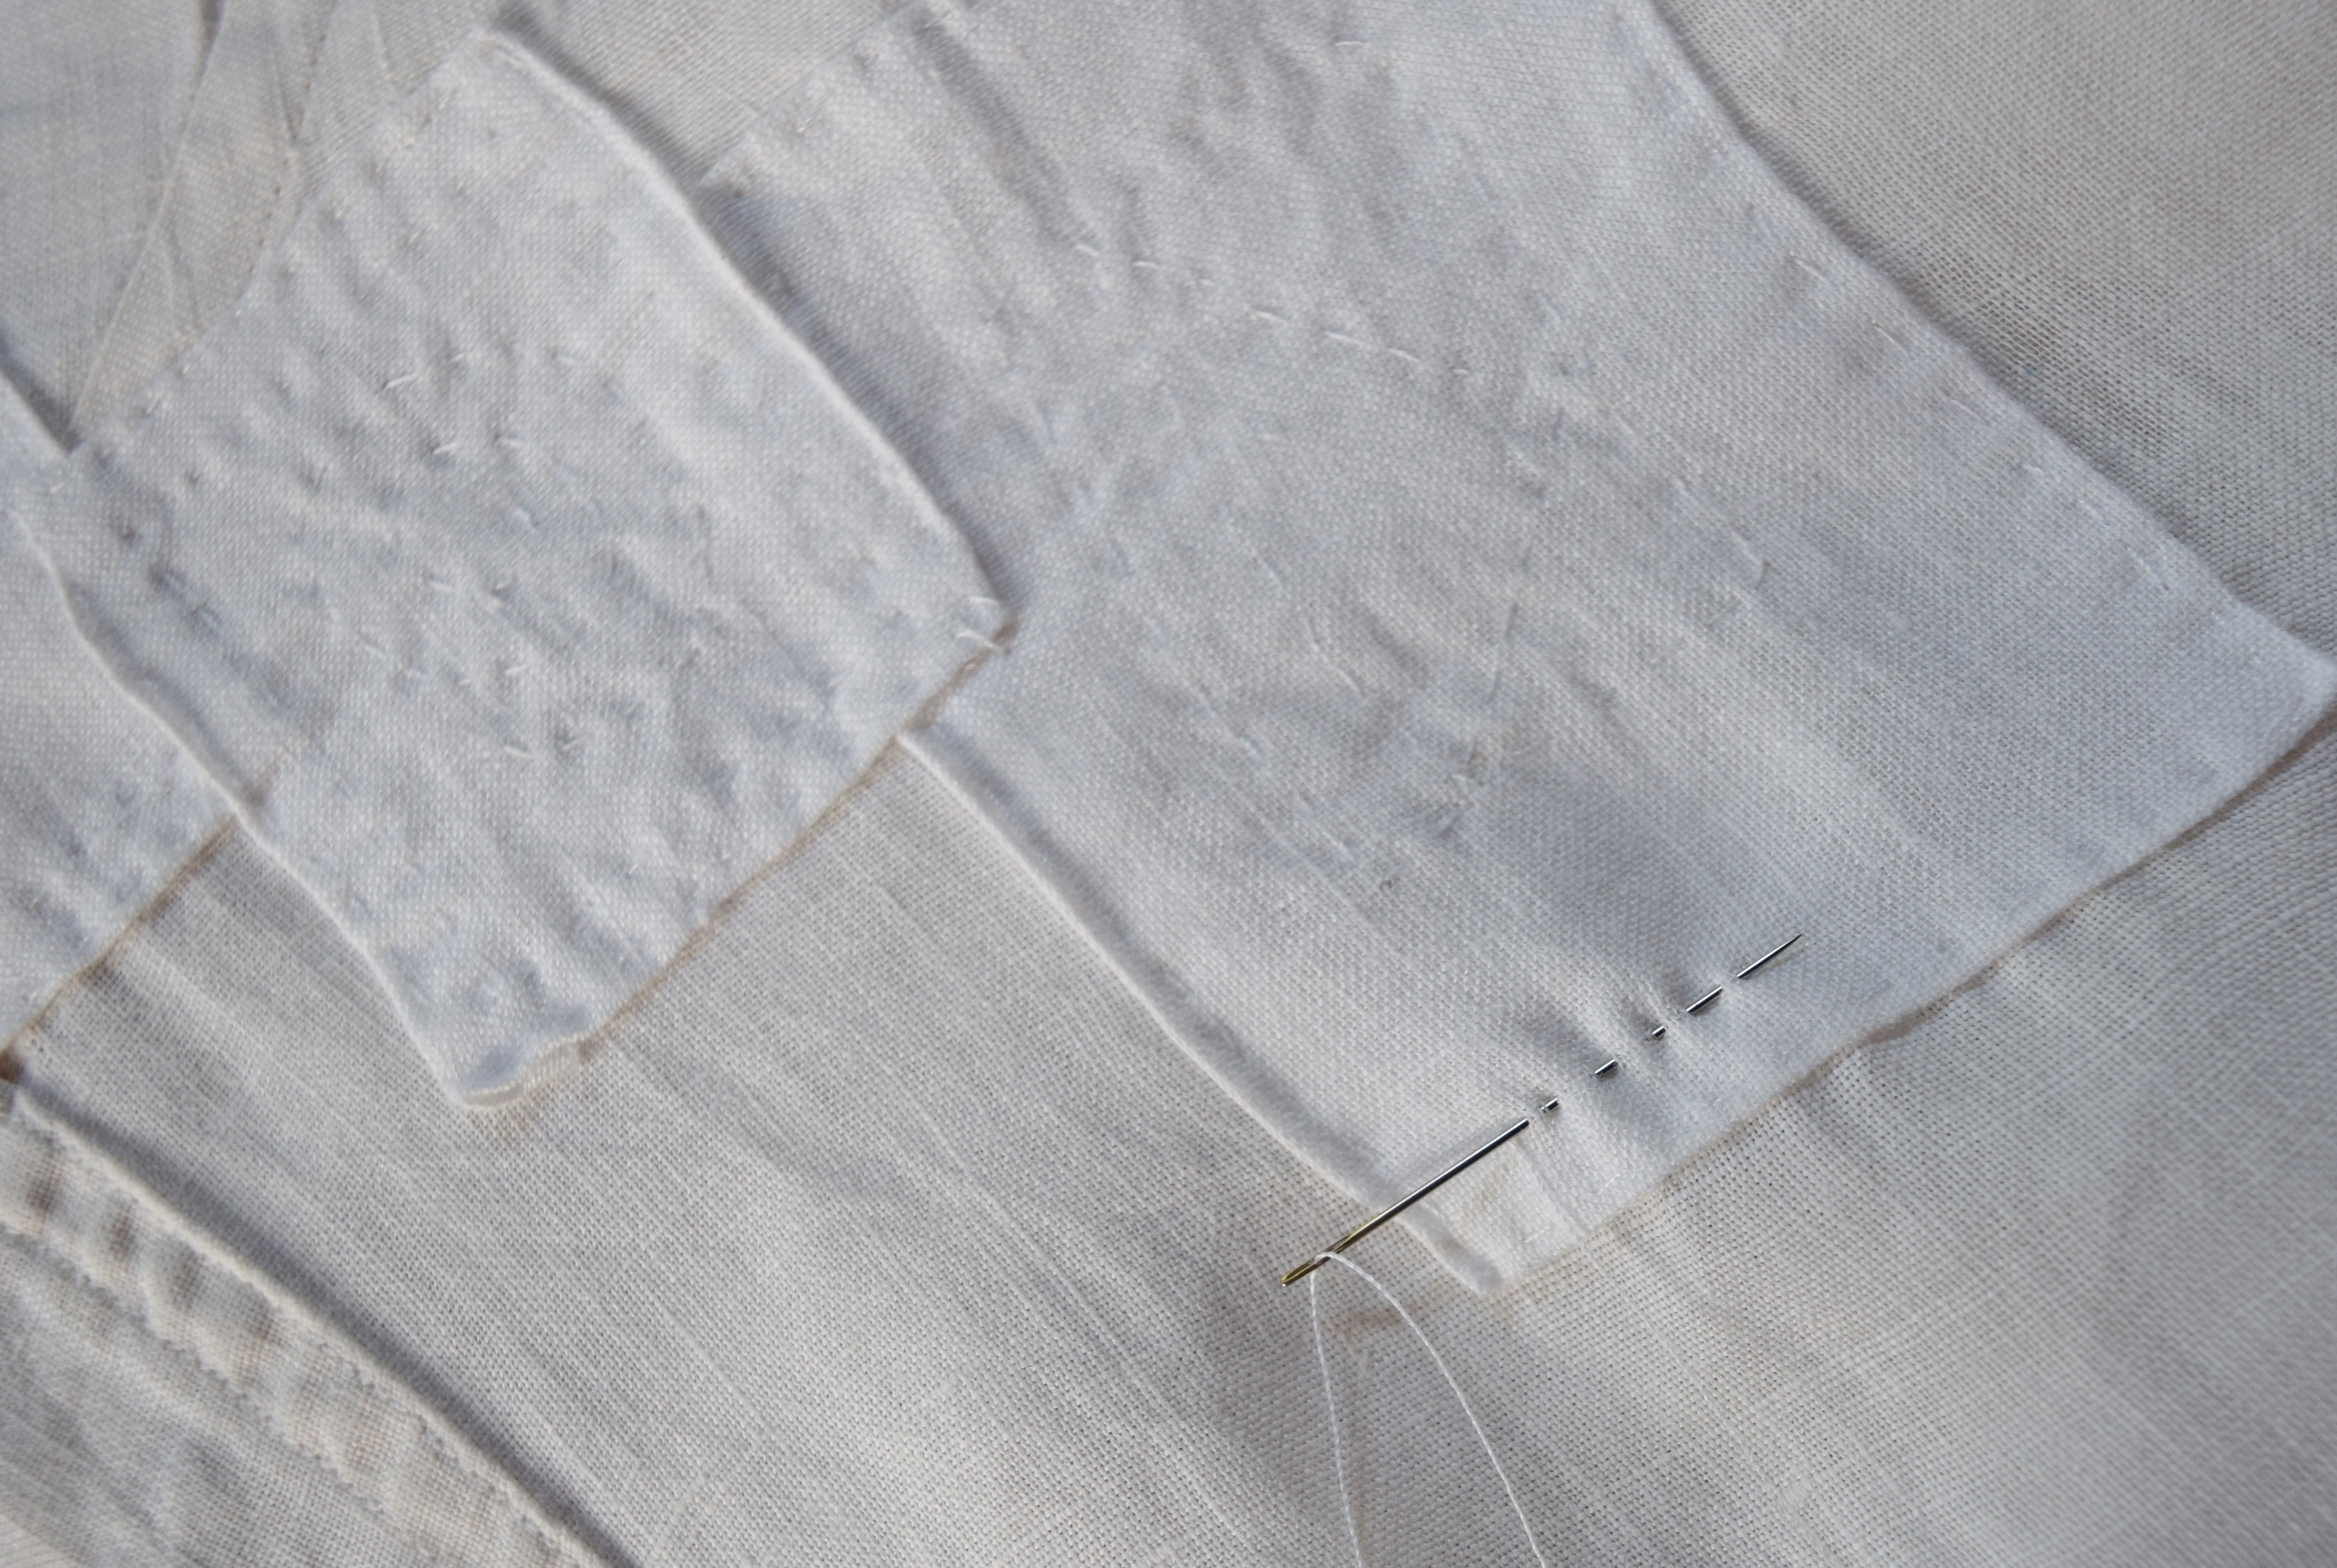
  4. With a simple running stitch, sew as close to edge as possible, then again, artfully fill in the patch with shapes, ‘quilting’ the patch against garment, which improves wear of patch as well as looks good. Almost as if you stuck on squares to quilt for the pure craft of it!

Quite a hash of patches, but it makes the shirt all that much more of a treat to wear again!

jenjoycedesign©017

Just in case you’re curious, you can see all posts “New From Old”  HERE (including this one, but scroll down!)  This category has grown over the years, sharing  artful mending & upcycling that I have done, where even I go deep into the warp & weft and try my hand at difficult weave darning.

I hope you try the quilted patch on one of your holey shirts, and see how useful as well as lovely a simple running stitch can be!

jenjoycedesign©012